
Welcome Back
If you have NOT read part 1 of the Lion Mosaic, please read the first part before continuing to part two. If you read any further without having seen part one, things may not make sense.
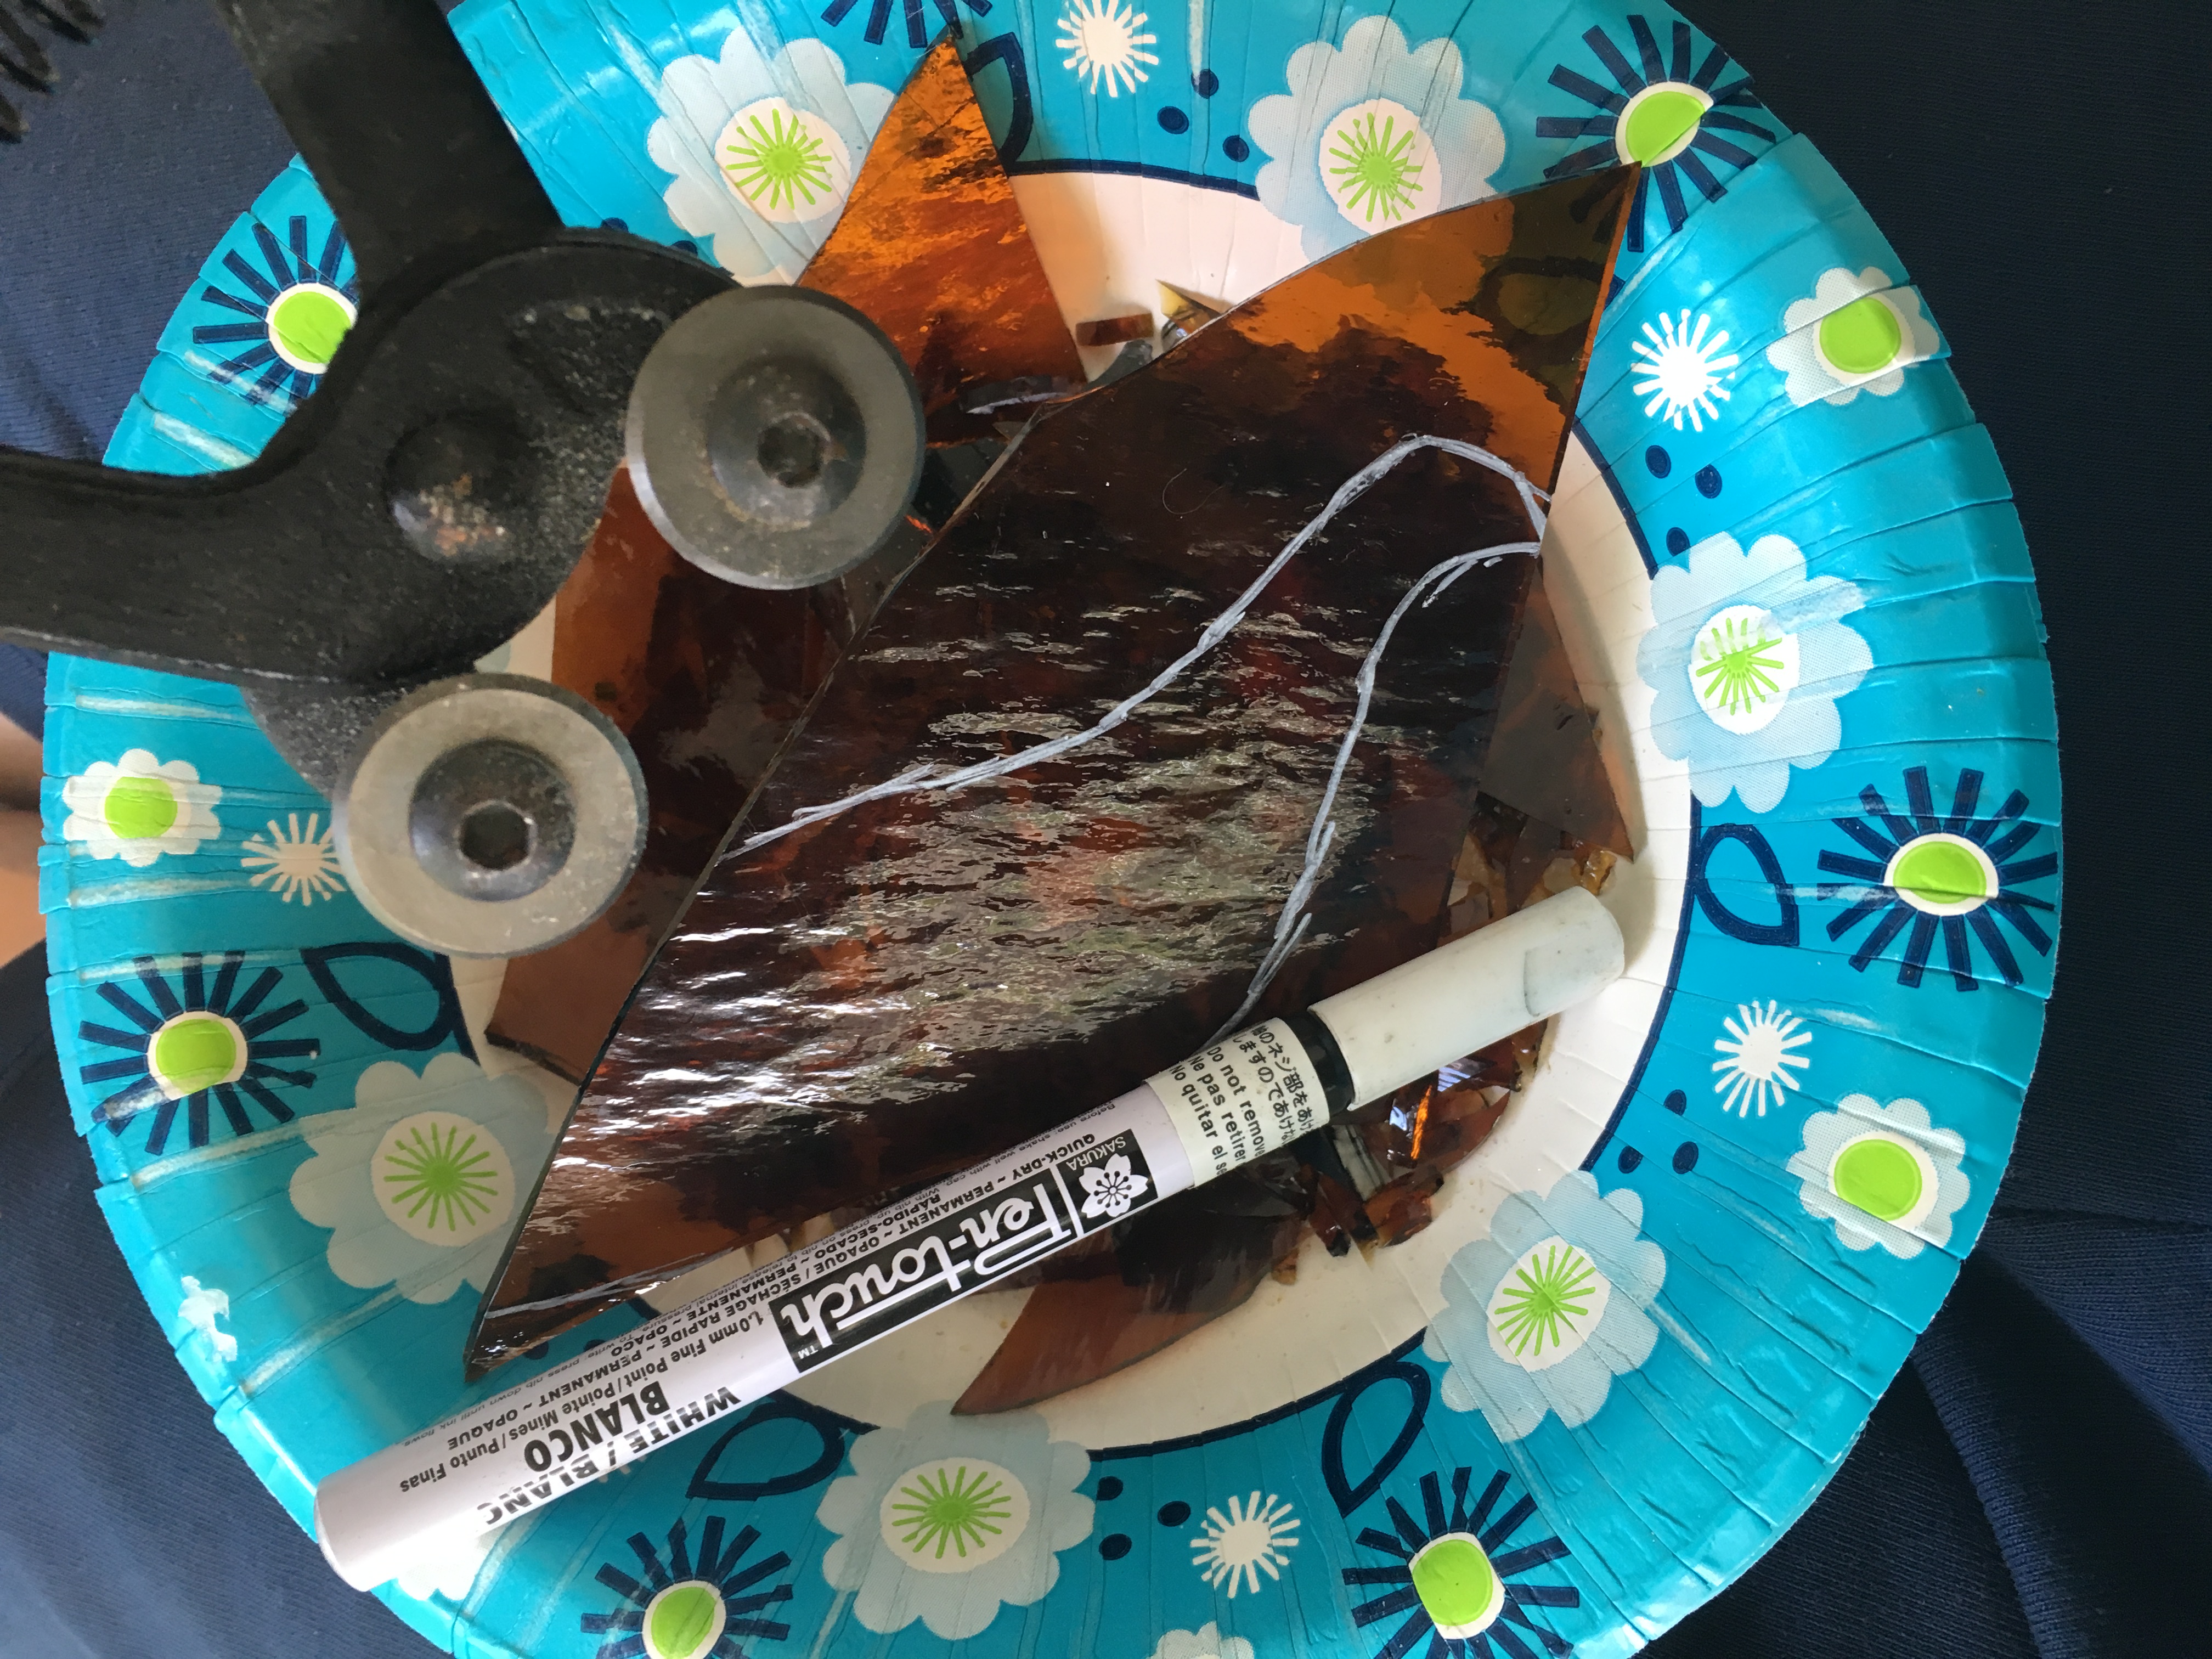
Setting up Outside

Start out with a bunch of paper bowls and a Sharpie. Mark each paper bowl with a color of glass, separating light and dark tan pieces from the main piece of glass for the face. Set up your Cutter’s Mate and Waffle Grid, making sure the tip is sharp and is dipped in cutting oil before use. Set Kujo to the side to watch you work.
Safety Precautions
Always angle your nippers away from you and everyone else, as glass can go flying. Wear safety glasses as well, and never hold glass by the edges as it makes getting cut easier. Keep your workspace clean and wear shoes, as well as keep pets away from the broken glass shards.
Scoring Glass with the Cutter’s Mate: Why it is the Best Tool You will Work with
The Cutter’s Mate is designed to apply the perfect amount of pressure to score the glass, which is very helpful for cutting large pieces and for people with Arthritis or other hand or arm issues. For this project, you will need the shorter piece that looks like this to be able to cut straight lines. Very gently press and guide the Cutter’s Mate once your glass is properly aligned to about one block on the Waffle Grid.
Scoring Glass Normally
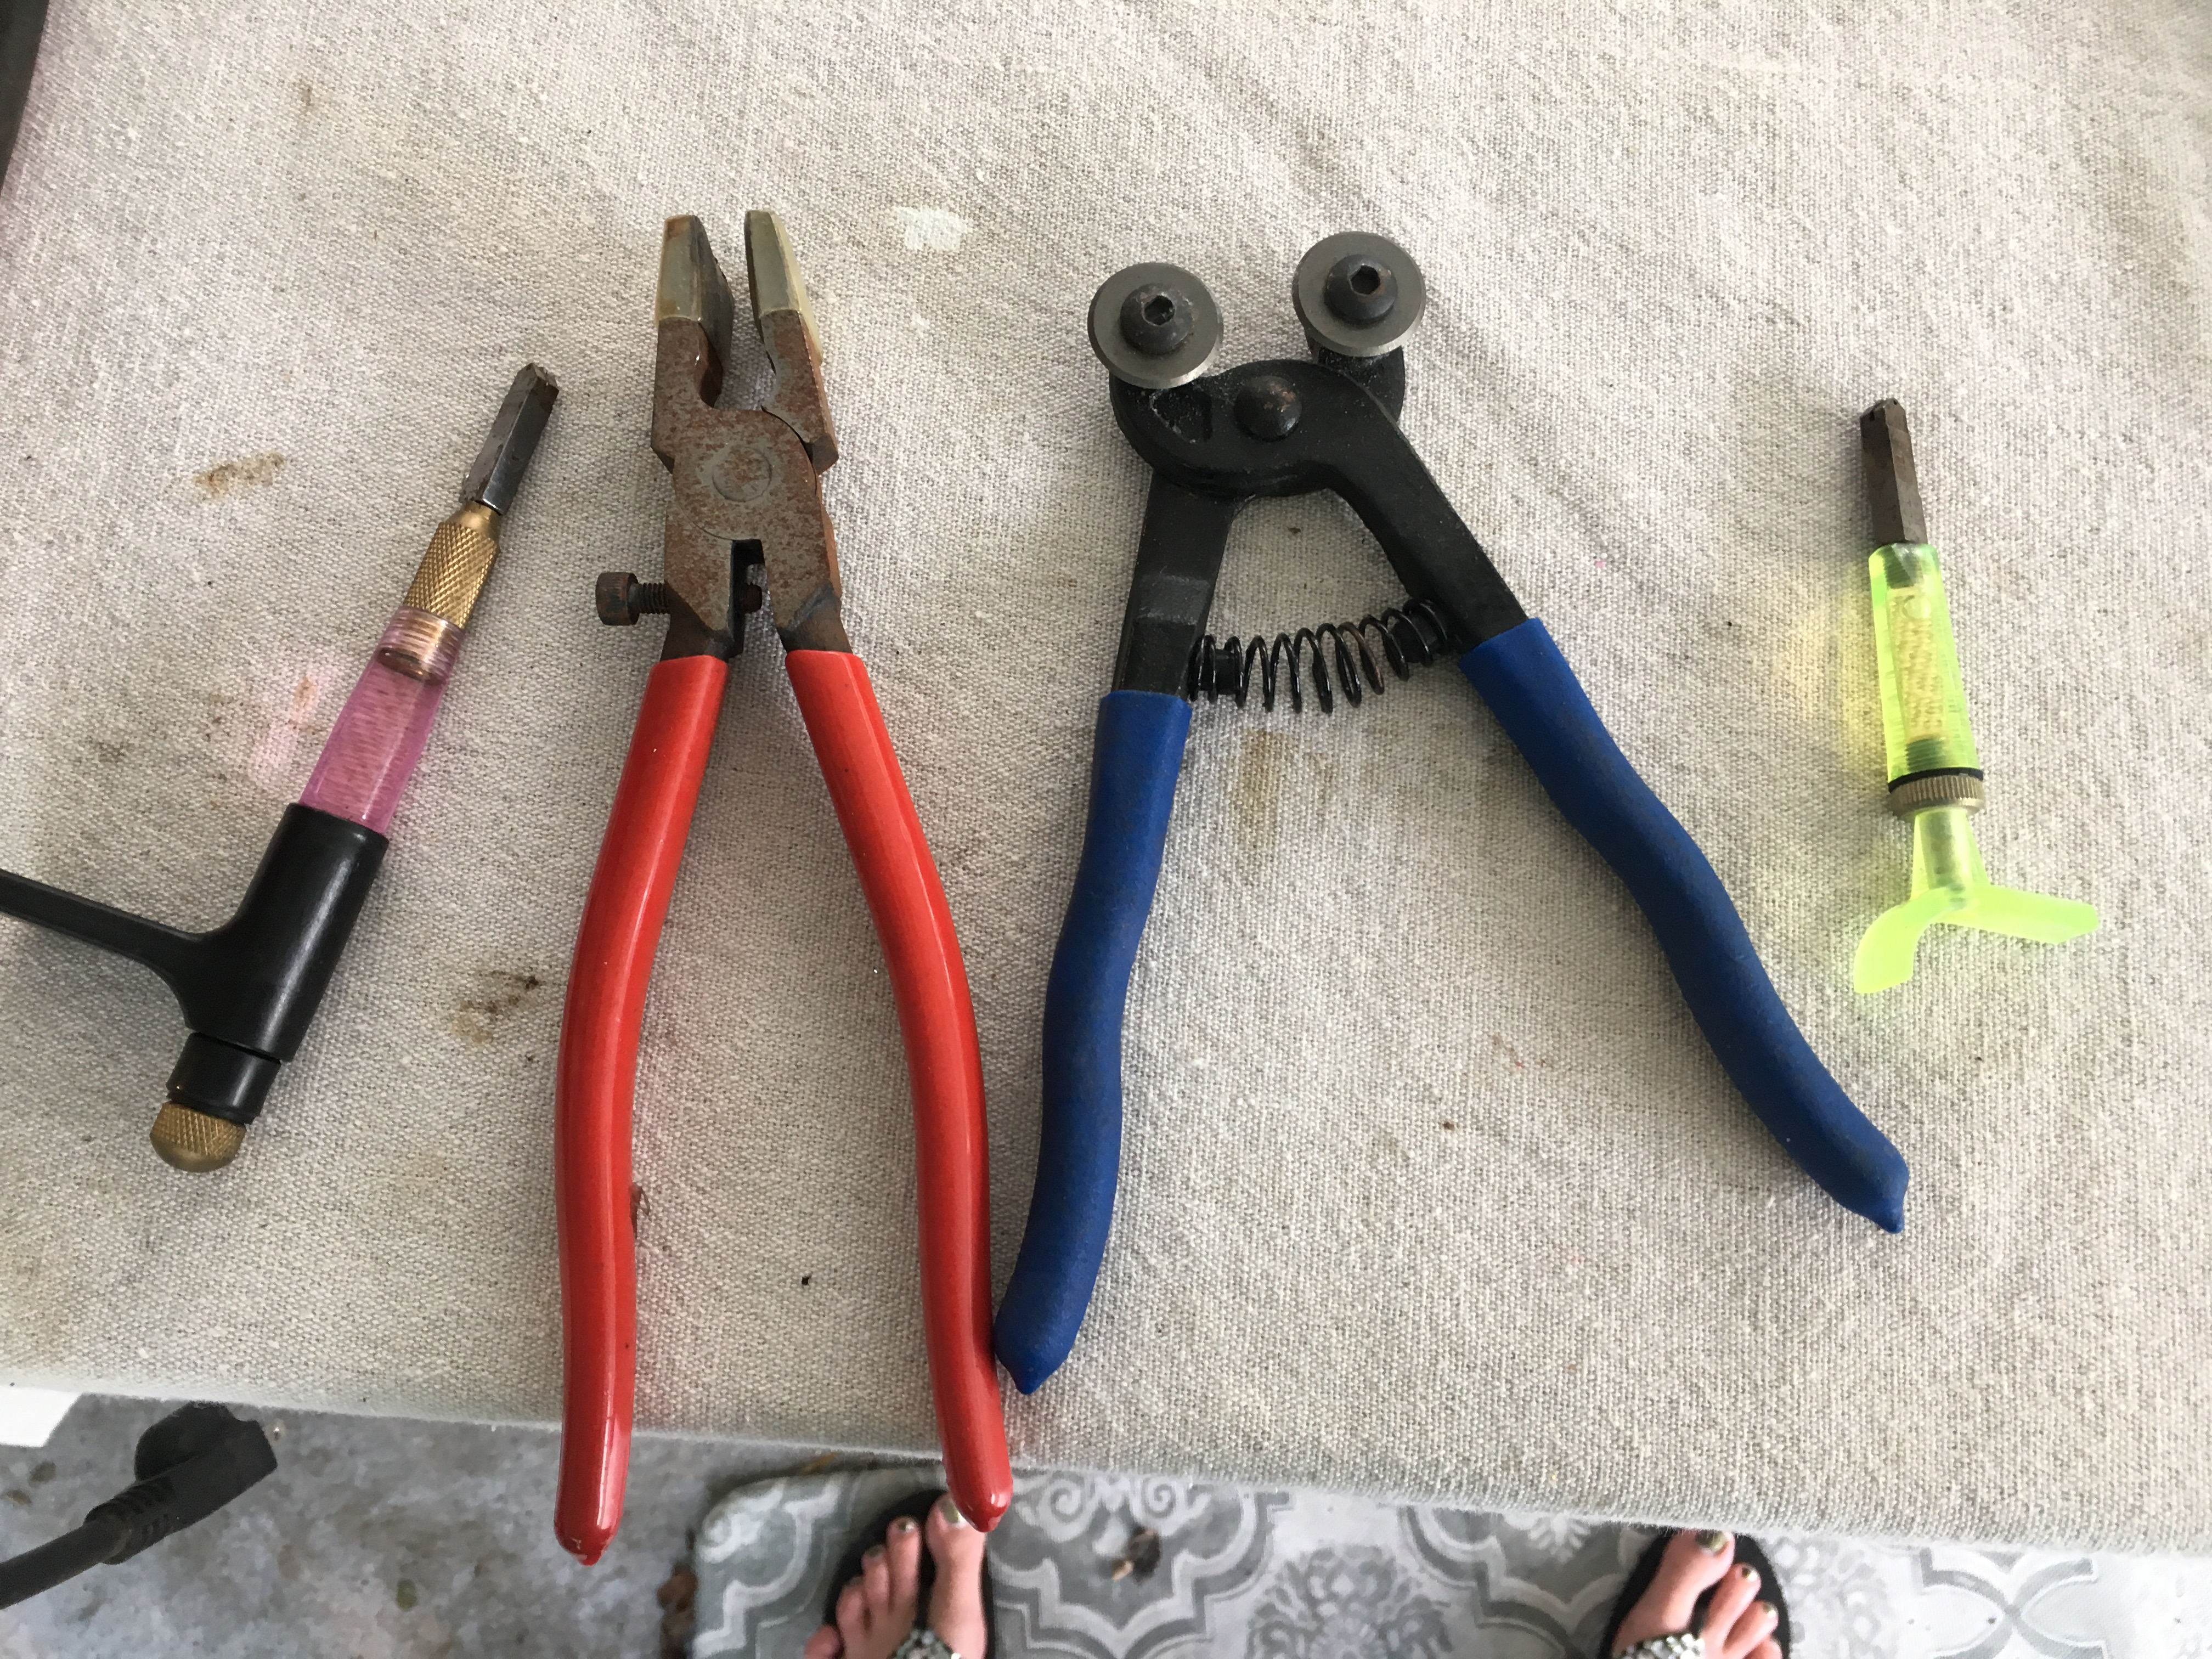
If you do not have the money for the Cutter’s Mate, a handheld glass cutter will work just as well but require you to press down hard. Make sure not to move or lift the blade when scoring the piece. Always use cutter’s oil and cut strips in about a half inch thick.
Breaking the Glass in Strips
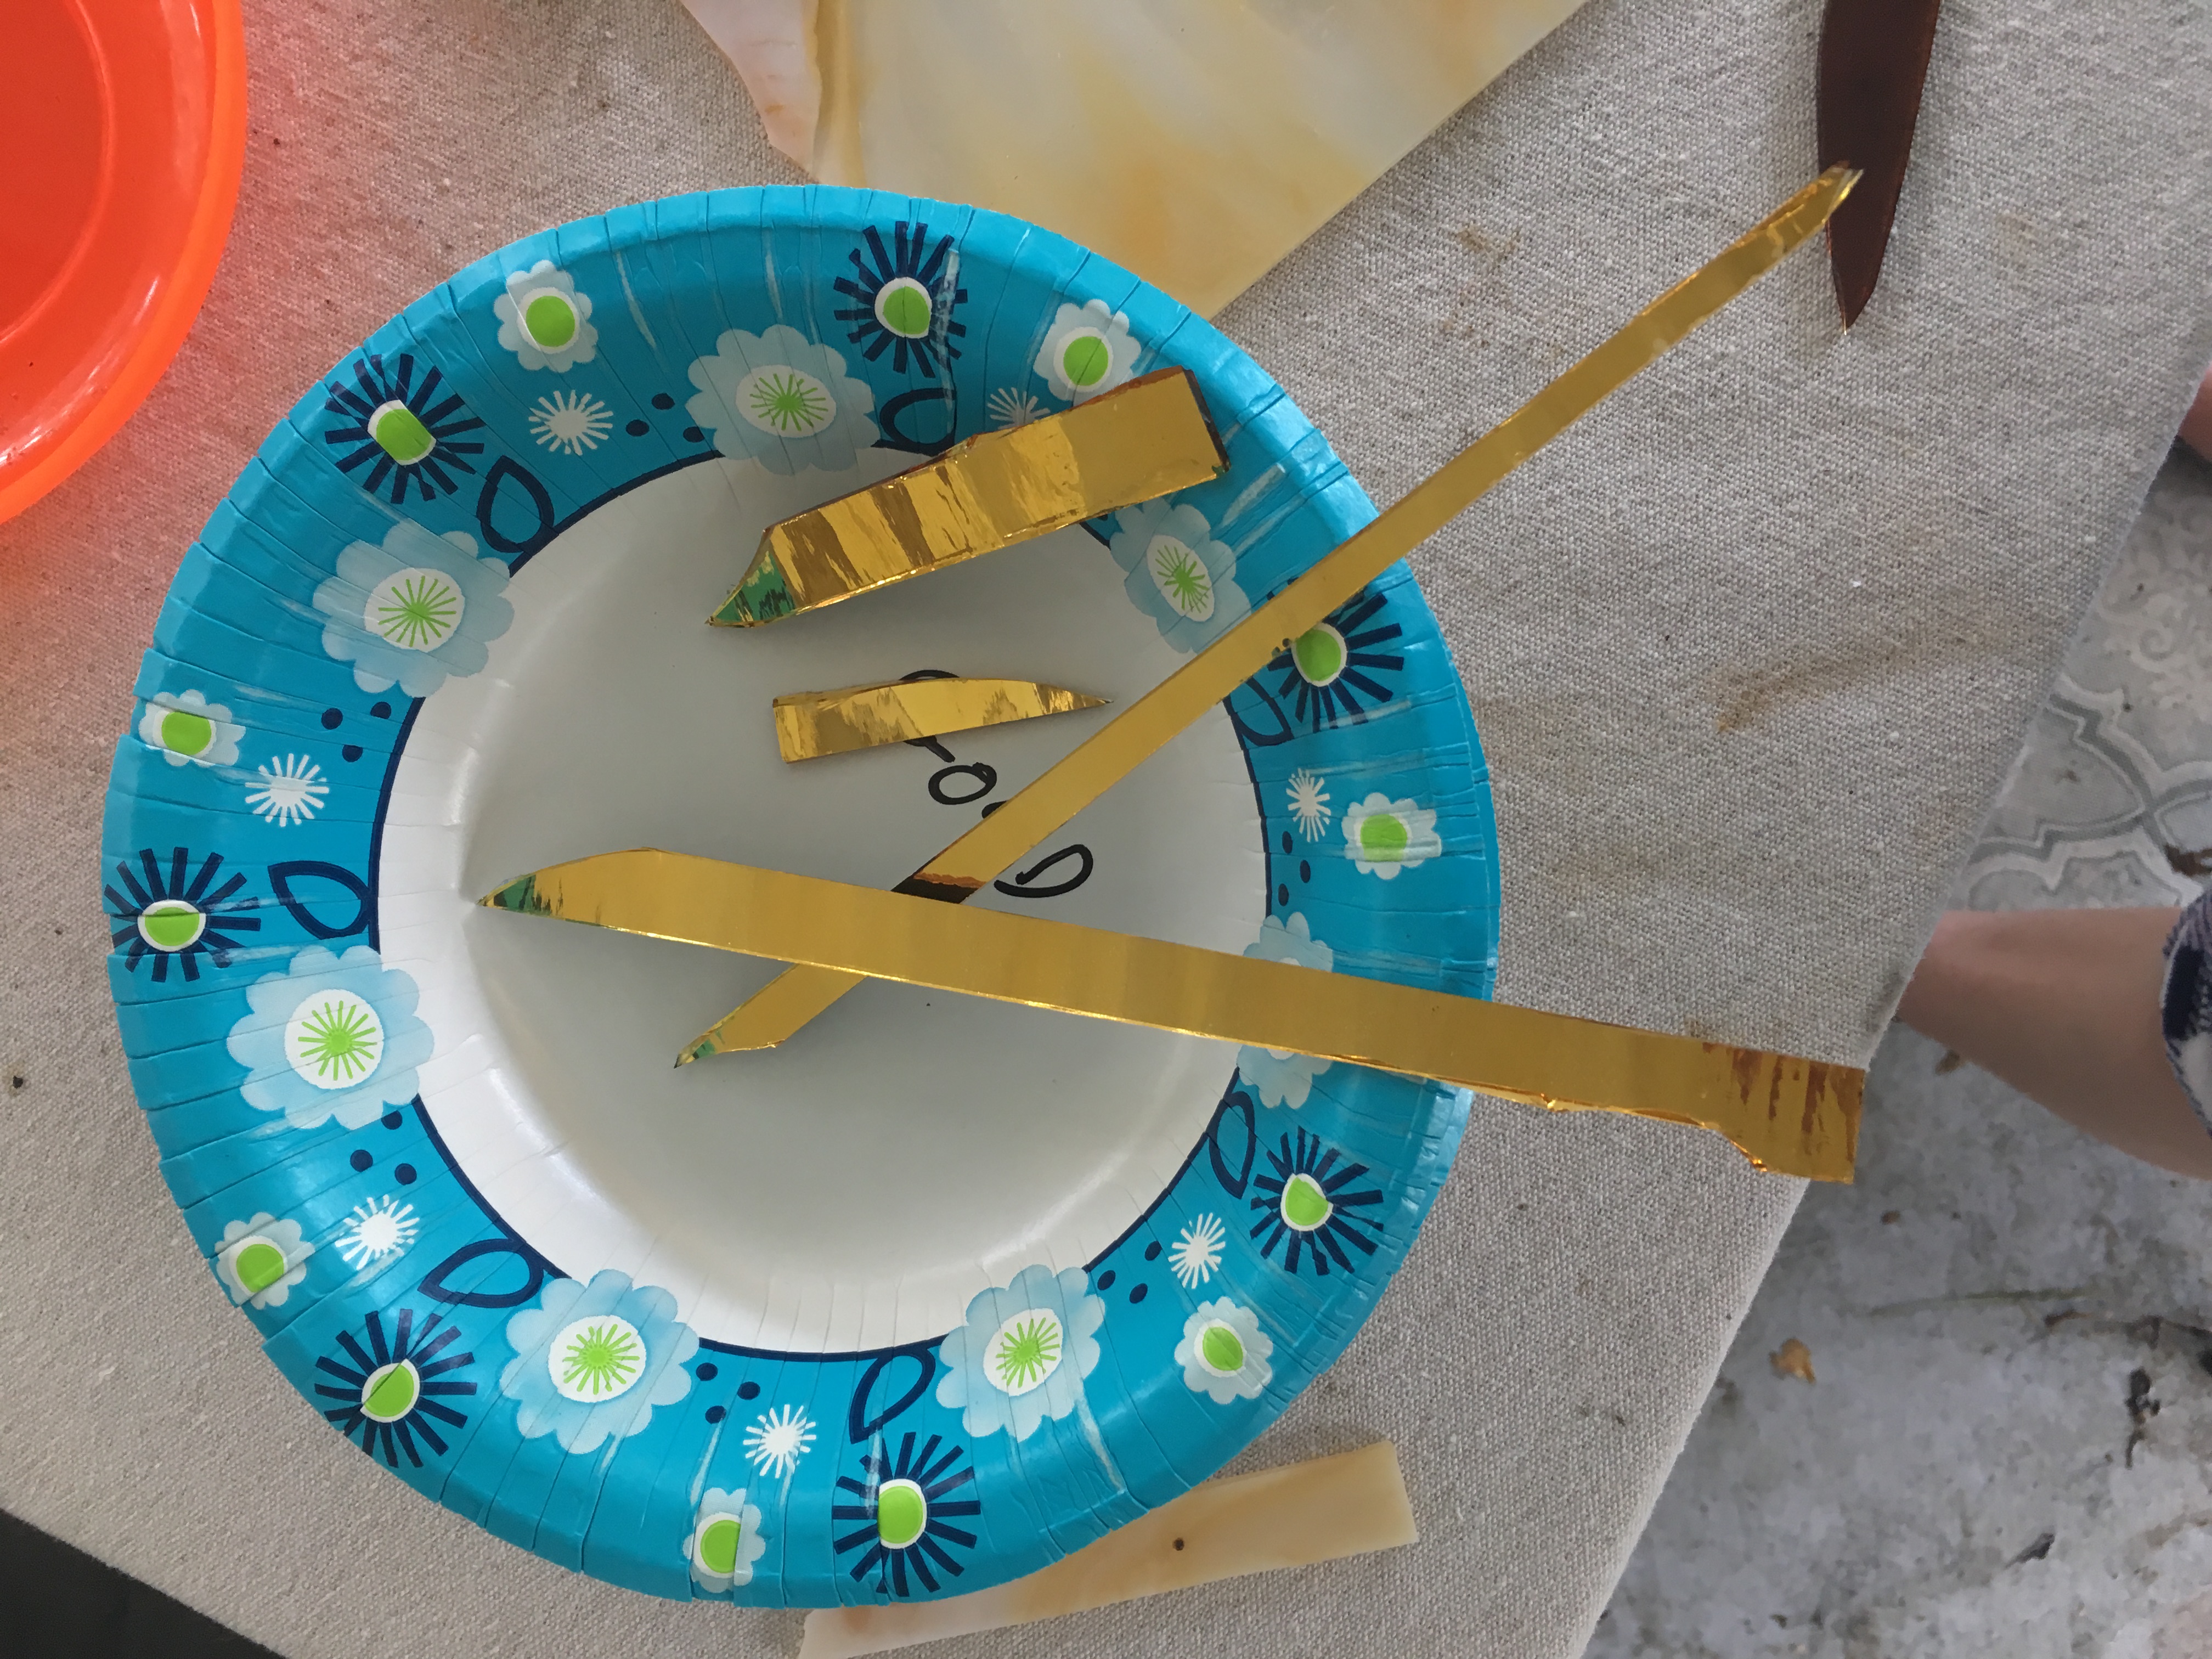
Once the glass has been scored, a weak point has been created. Glass breakers have a jelly coating over the clamping part that at first glance looks like just caps. Do not remove the caps. The caps protect the glass from scratching. There is also a line in the middle of the nippers. Line the line up perfectly on the scored line and press down gently until the glass snaps along the score. Repeat the scoring and breaking process until at least three strips of tan are created and ready for the next process.
Nipping the Glass in Triangles
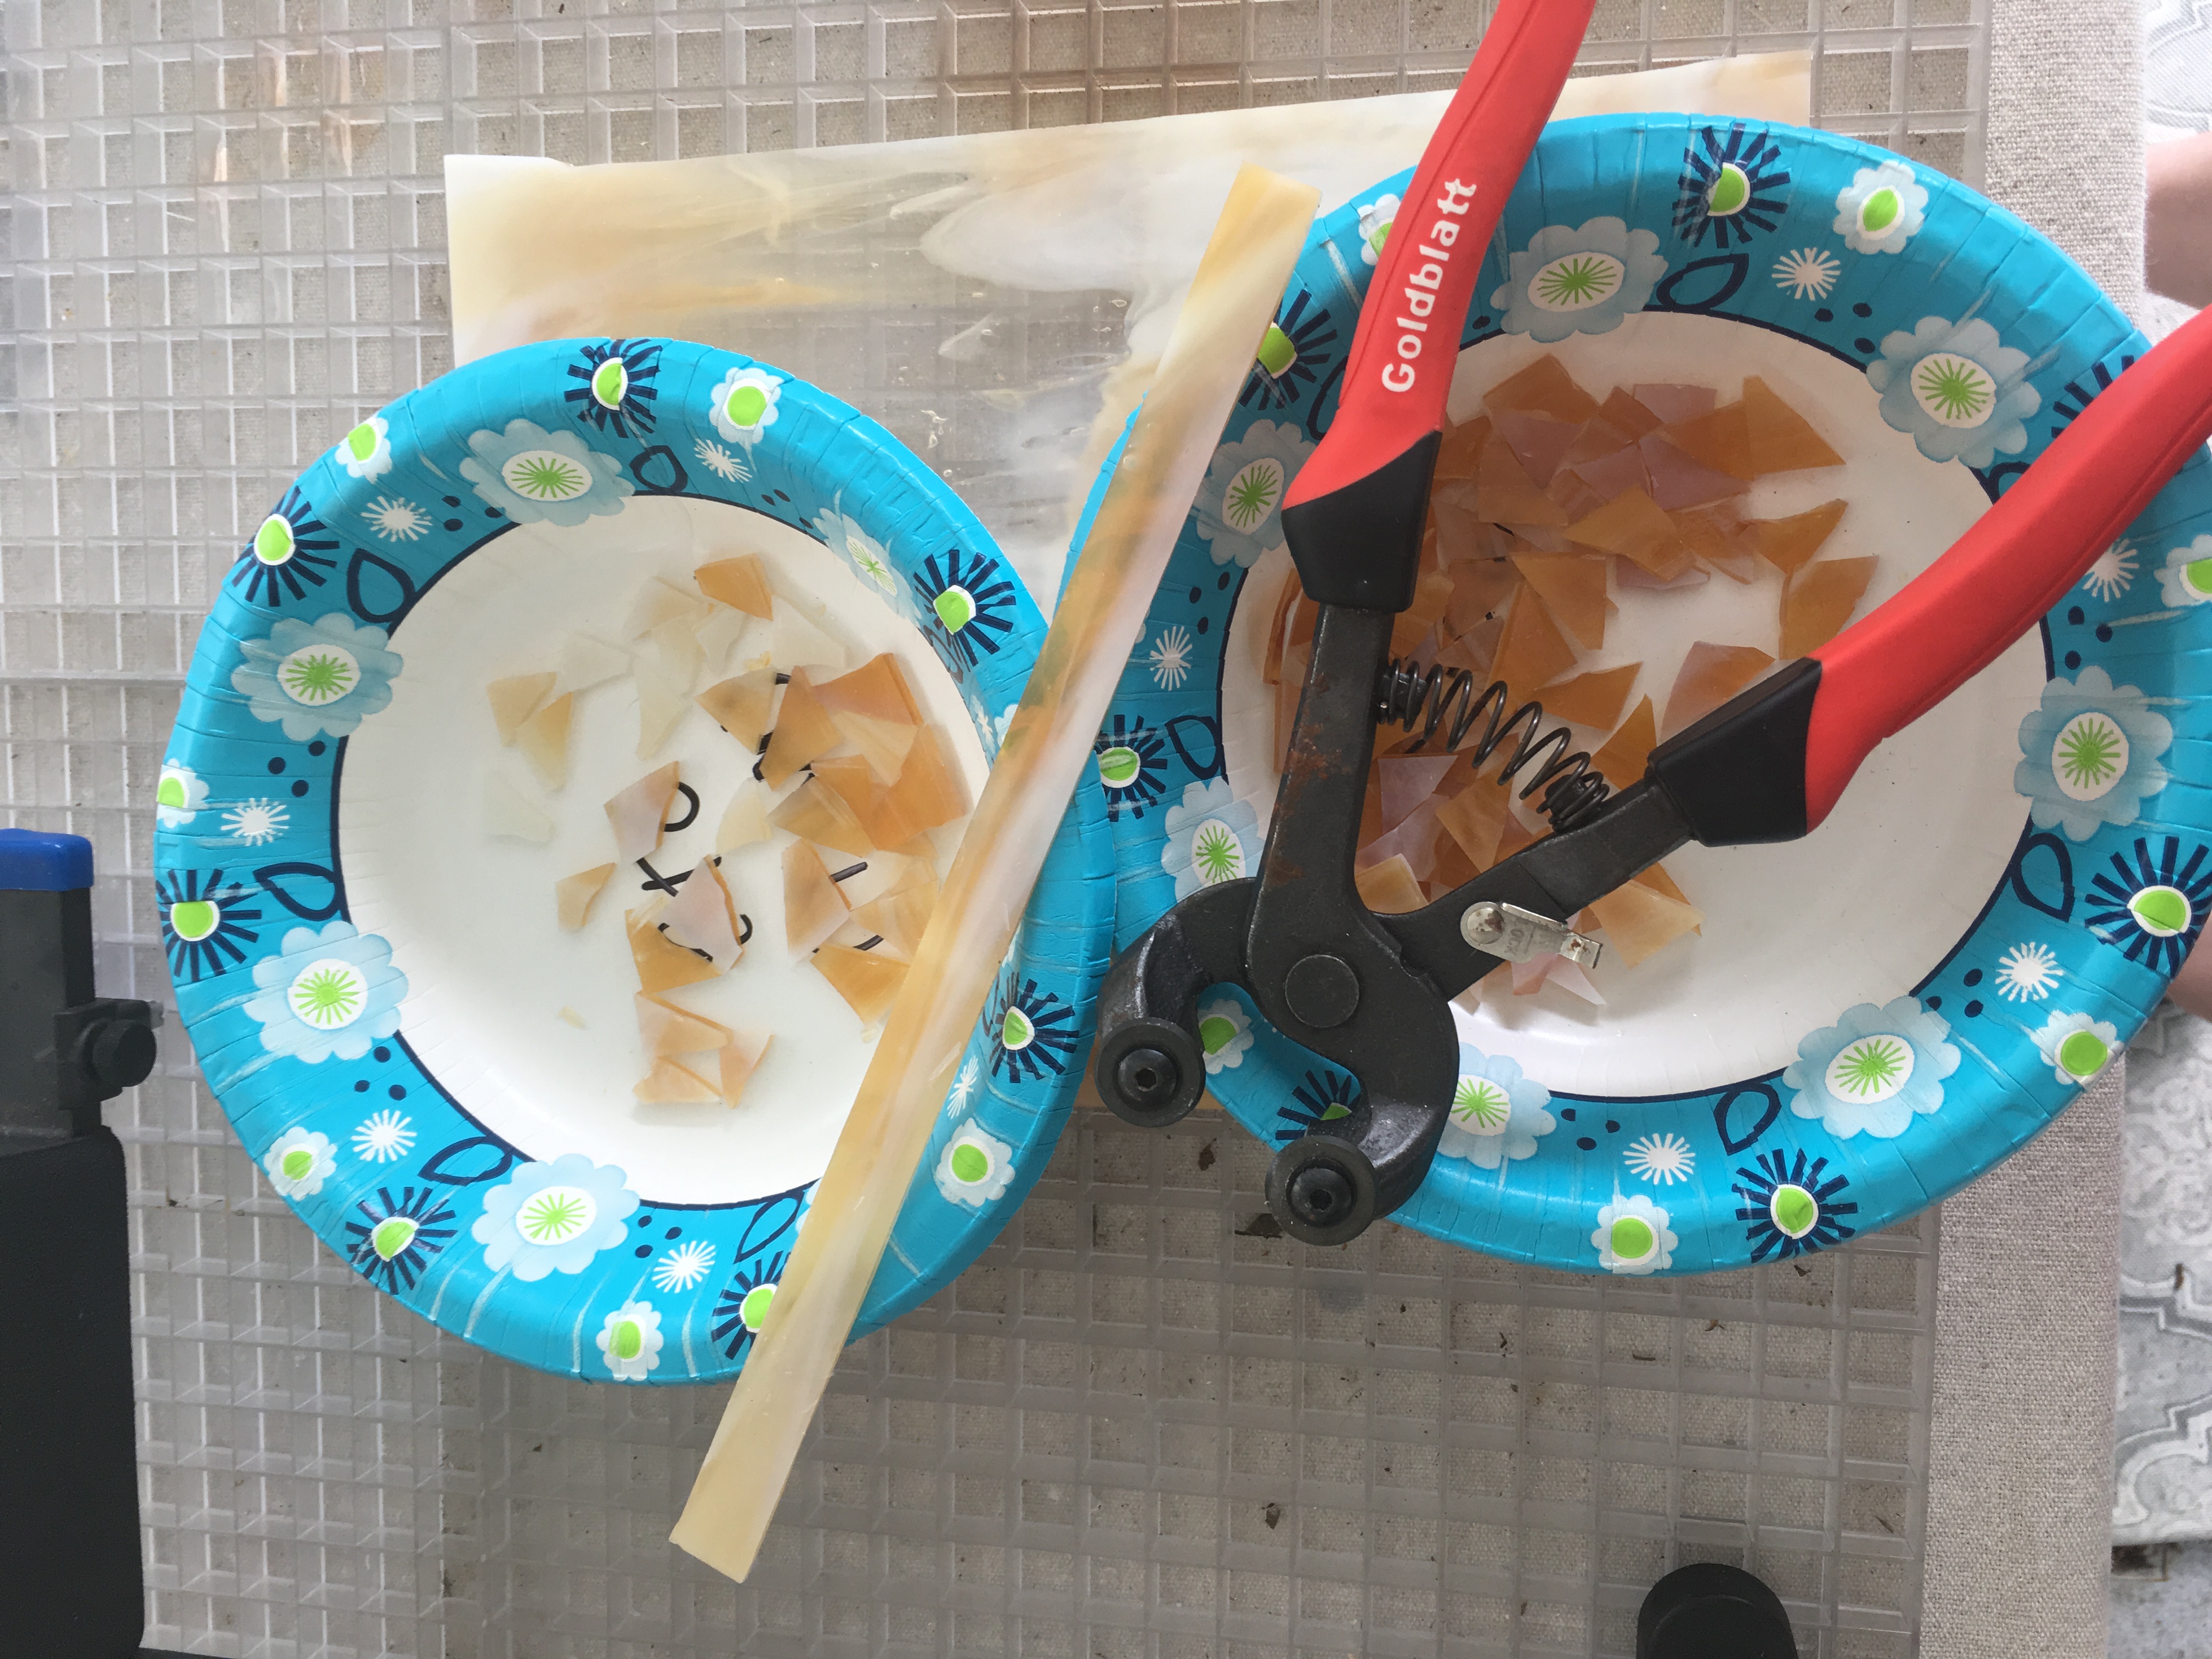
Picking up one of the strips, use a pair of glass nippers to start nipping triangles. Start by going at a slant, then straight, then a slant, then straight.
Sorting the Pieces by Color
I found it easiest to sort the light and dark tan so that I can properly use them where needed. I used two bowls and nipped the glass into the appropriate bowl.
The reason for the Gem Bowl
The purpose of the gem bowl is to be the bowl of requirement. For instance, if only a touch of gold glass is needed, a piece can be nipped off into the gem bowl and picked out for what you need. I also broke the two glass beads over the gem bowl, more on that later.
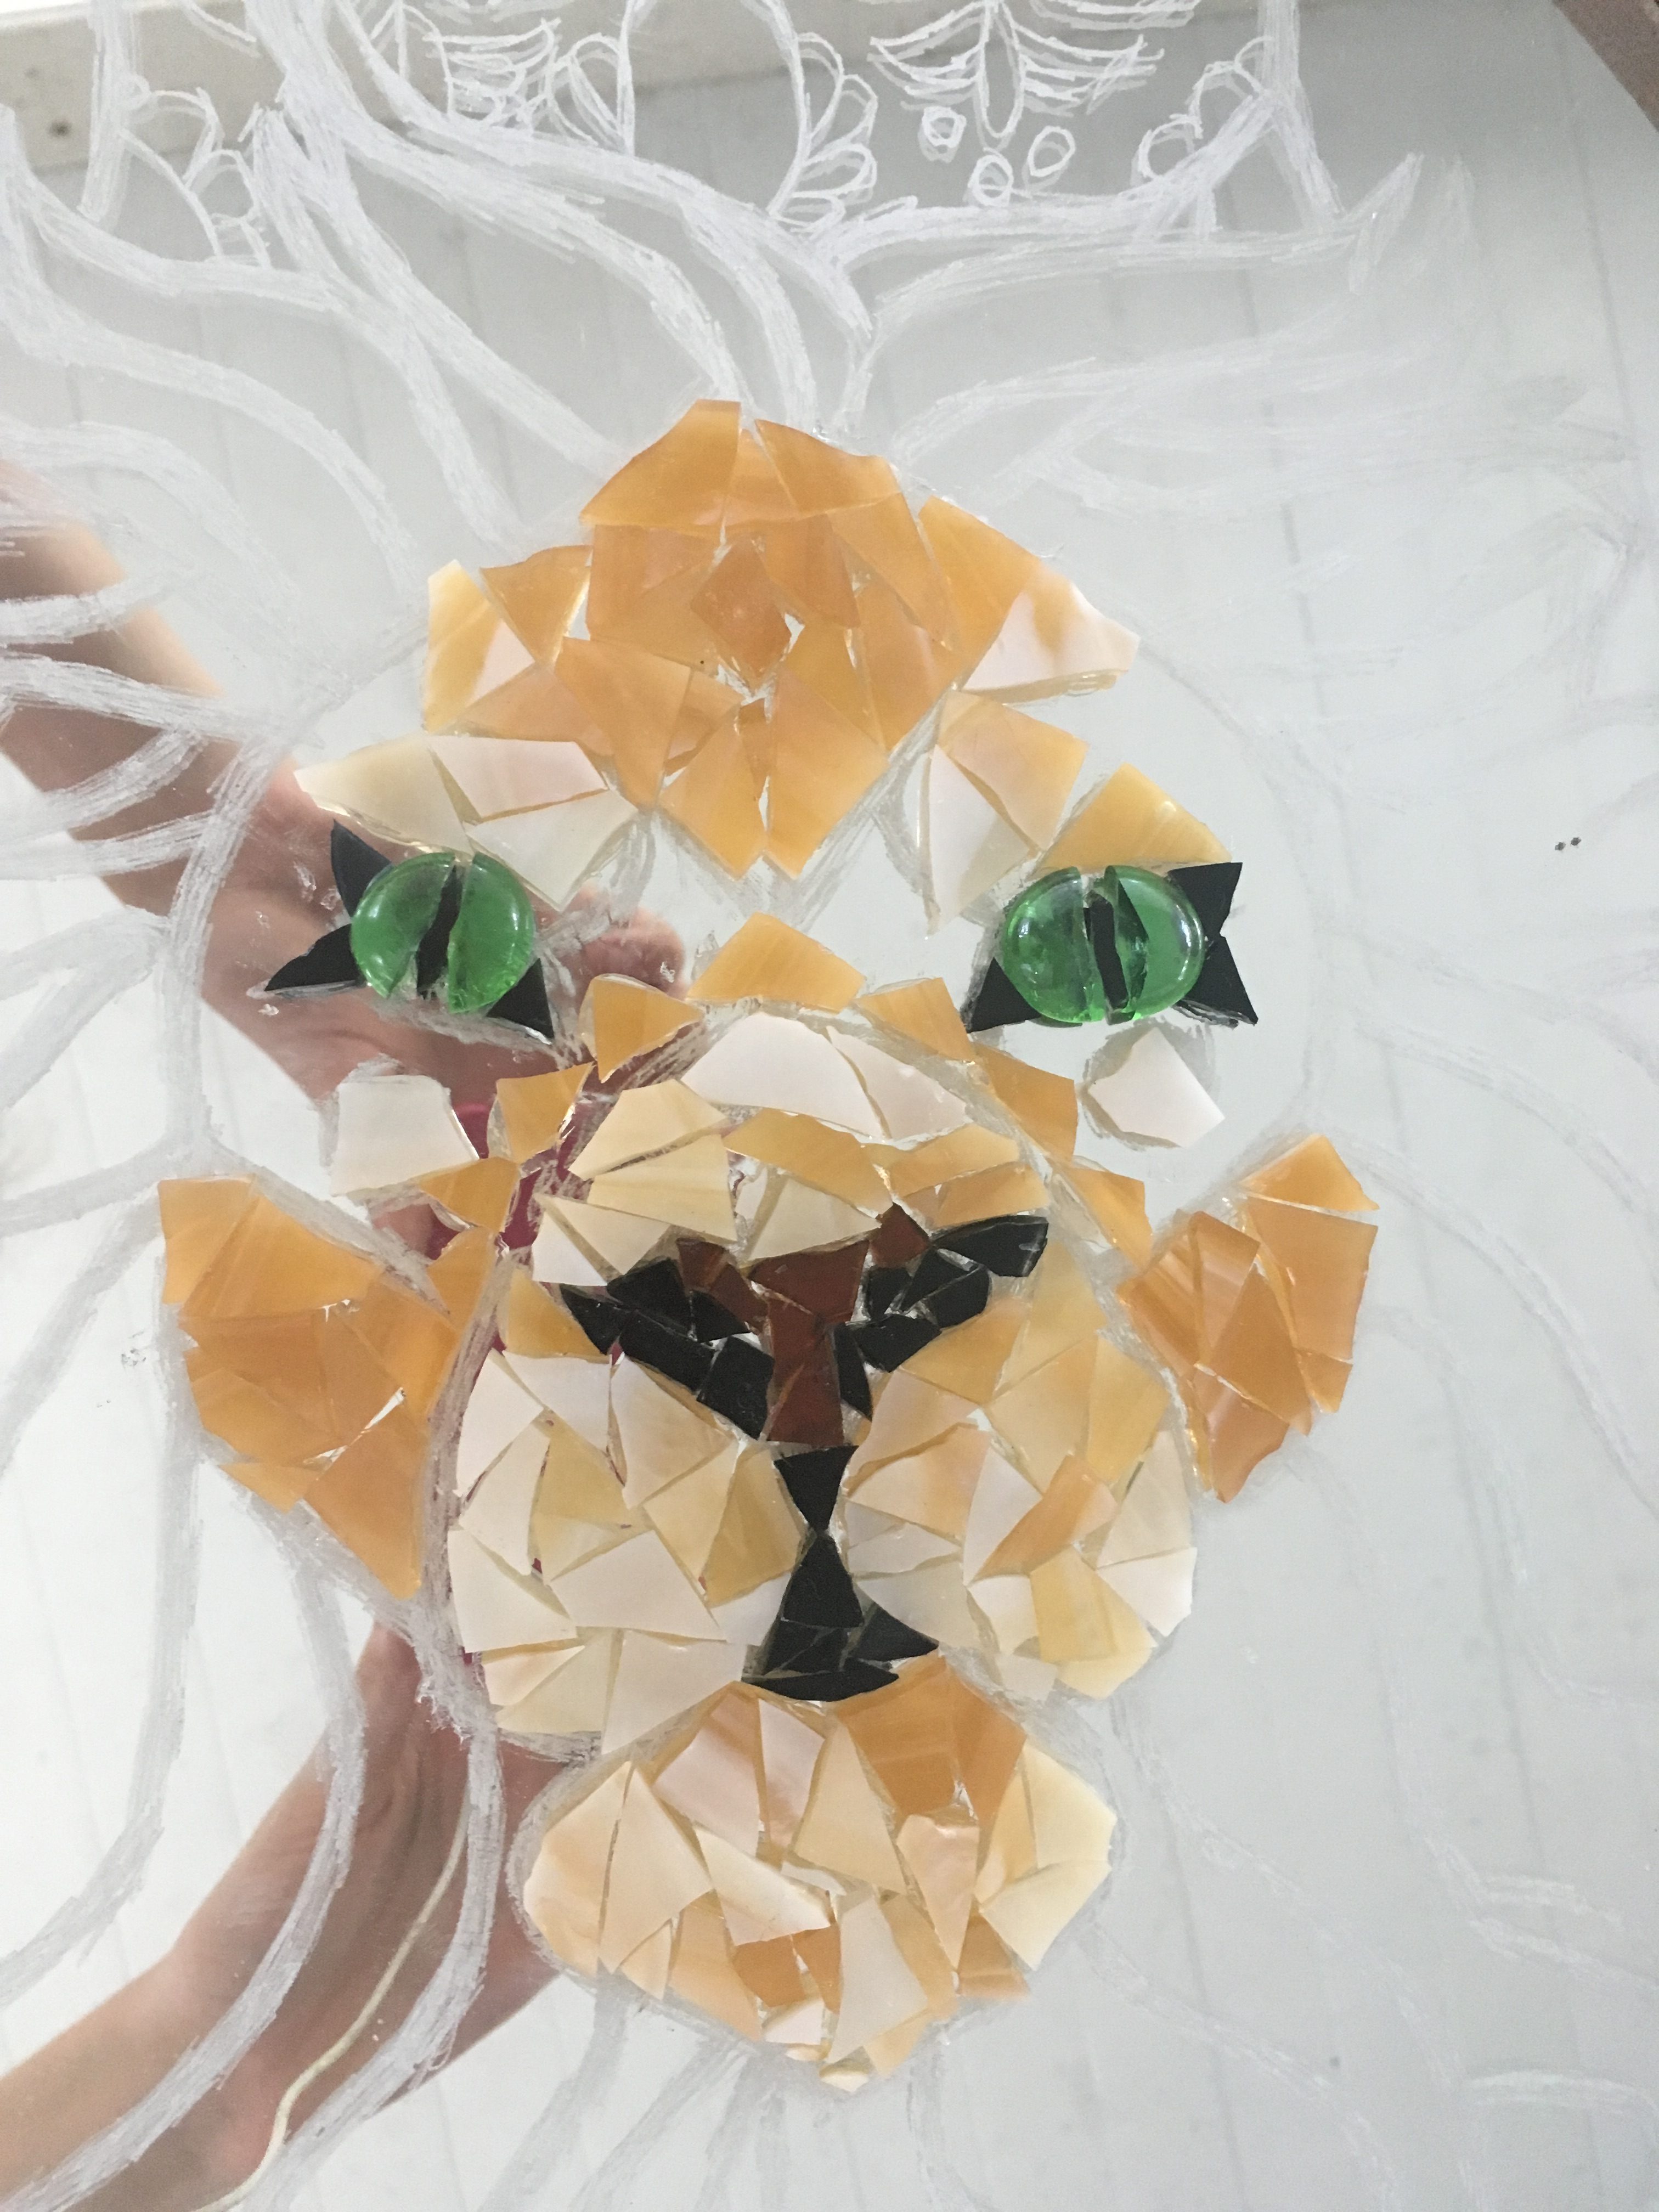
Arrange the Pieces on the Upper Muzzle
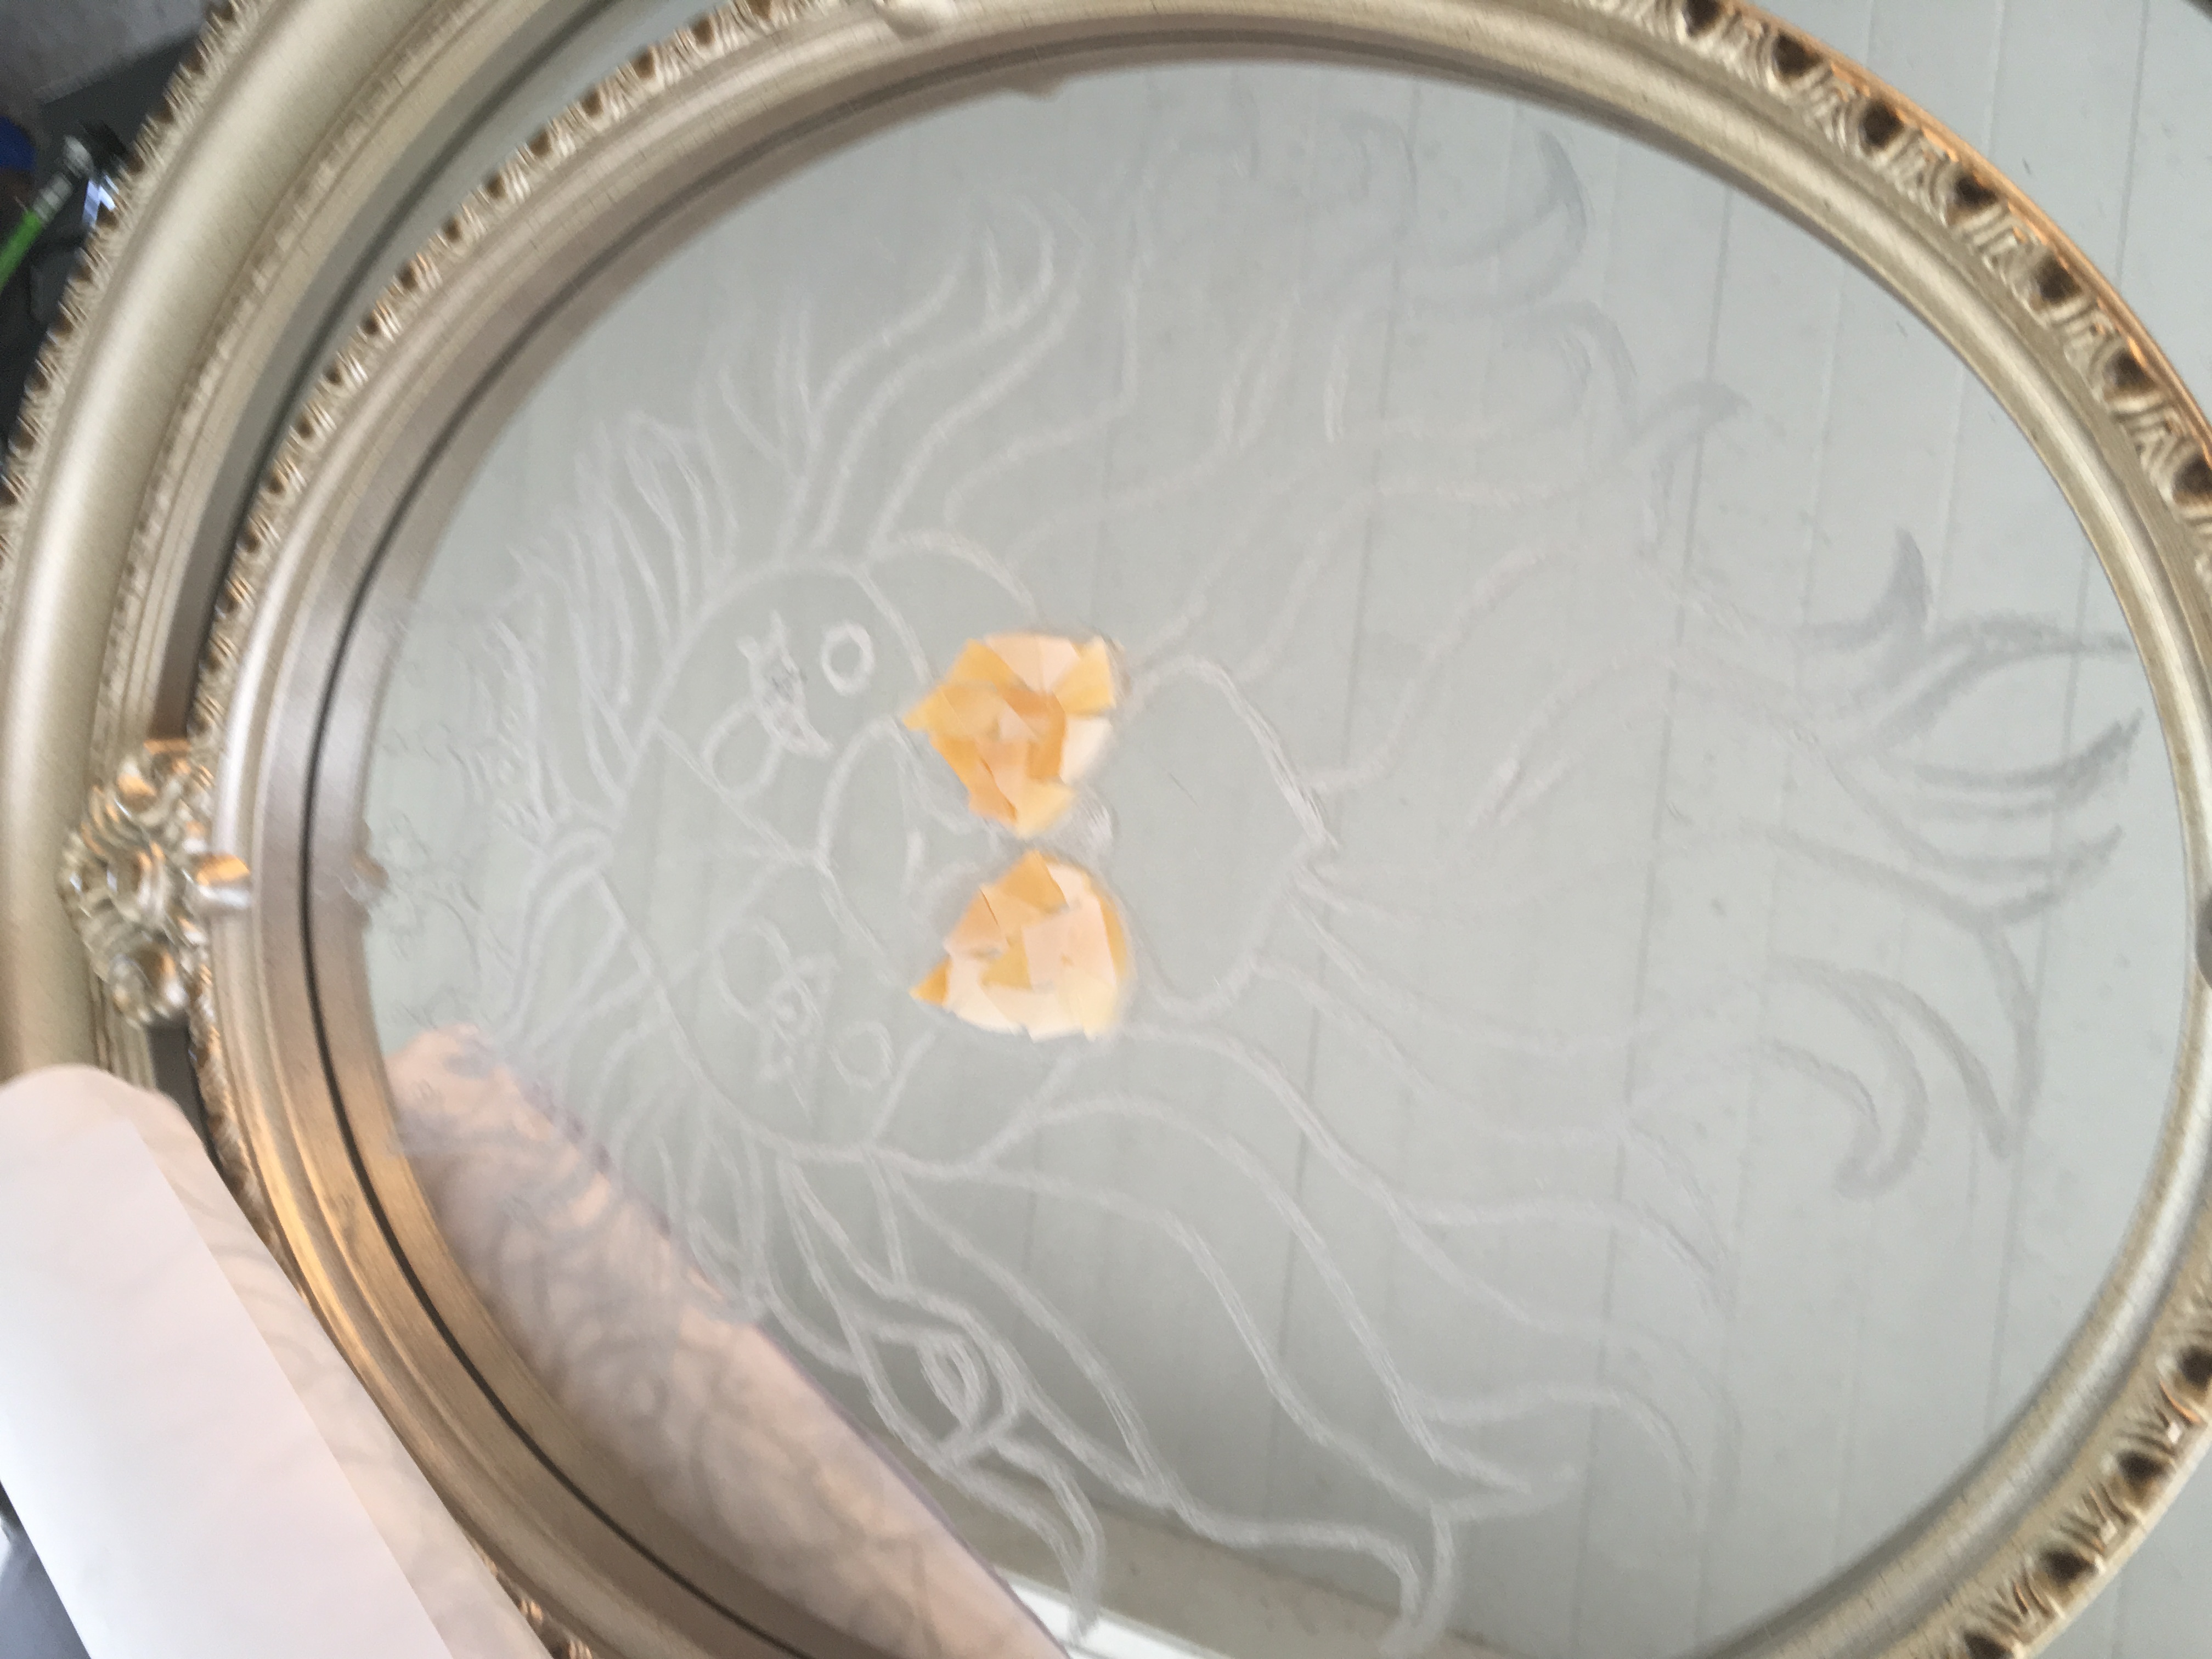
As you prepare the glass, arrange the pieces on the sides of the muzzle. Make sure to stay in the lines as you do so.
Glue the Muzzle Pieces of the Lion Mosaic
Pick up each piece after the pieces have been placed and glue them down carefully. I recommend this glue to help you.
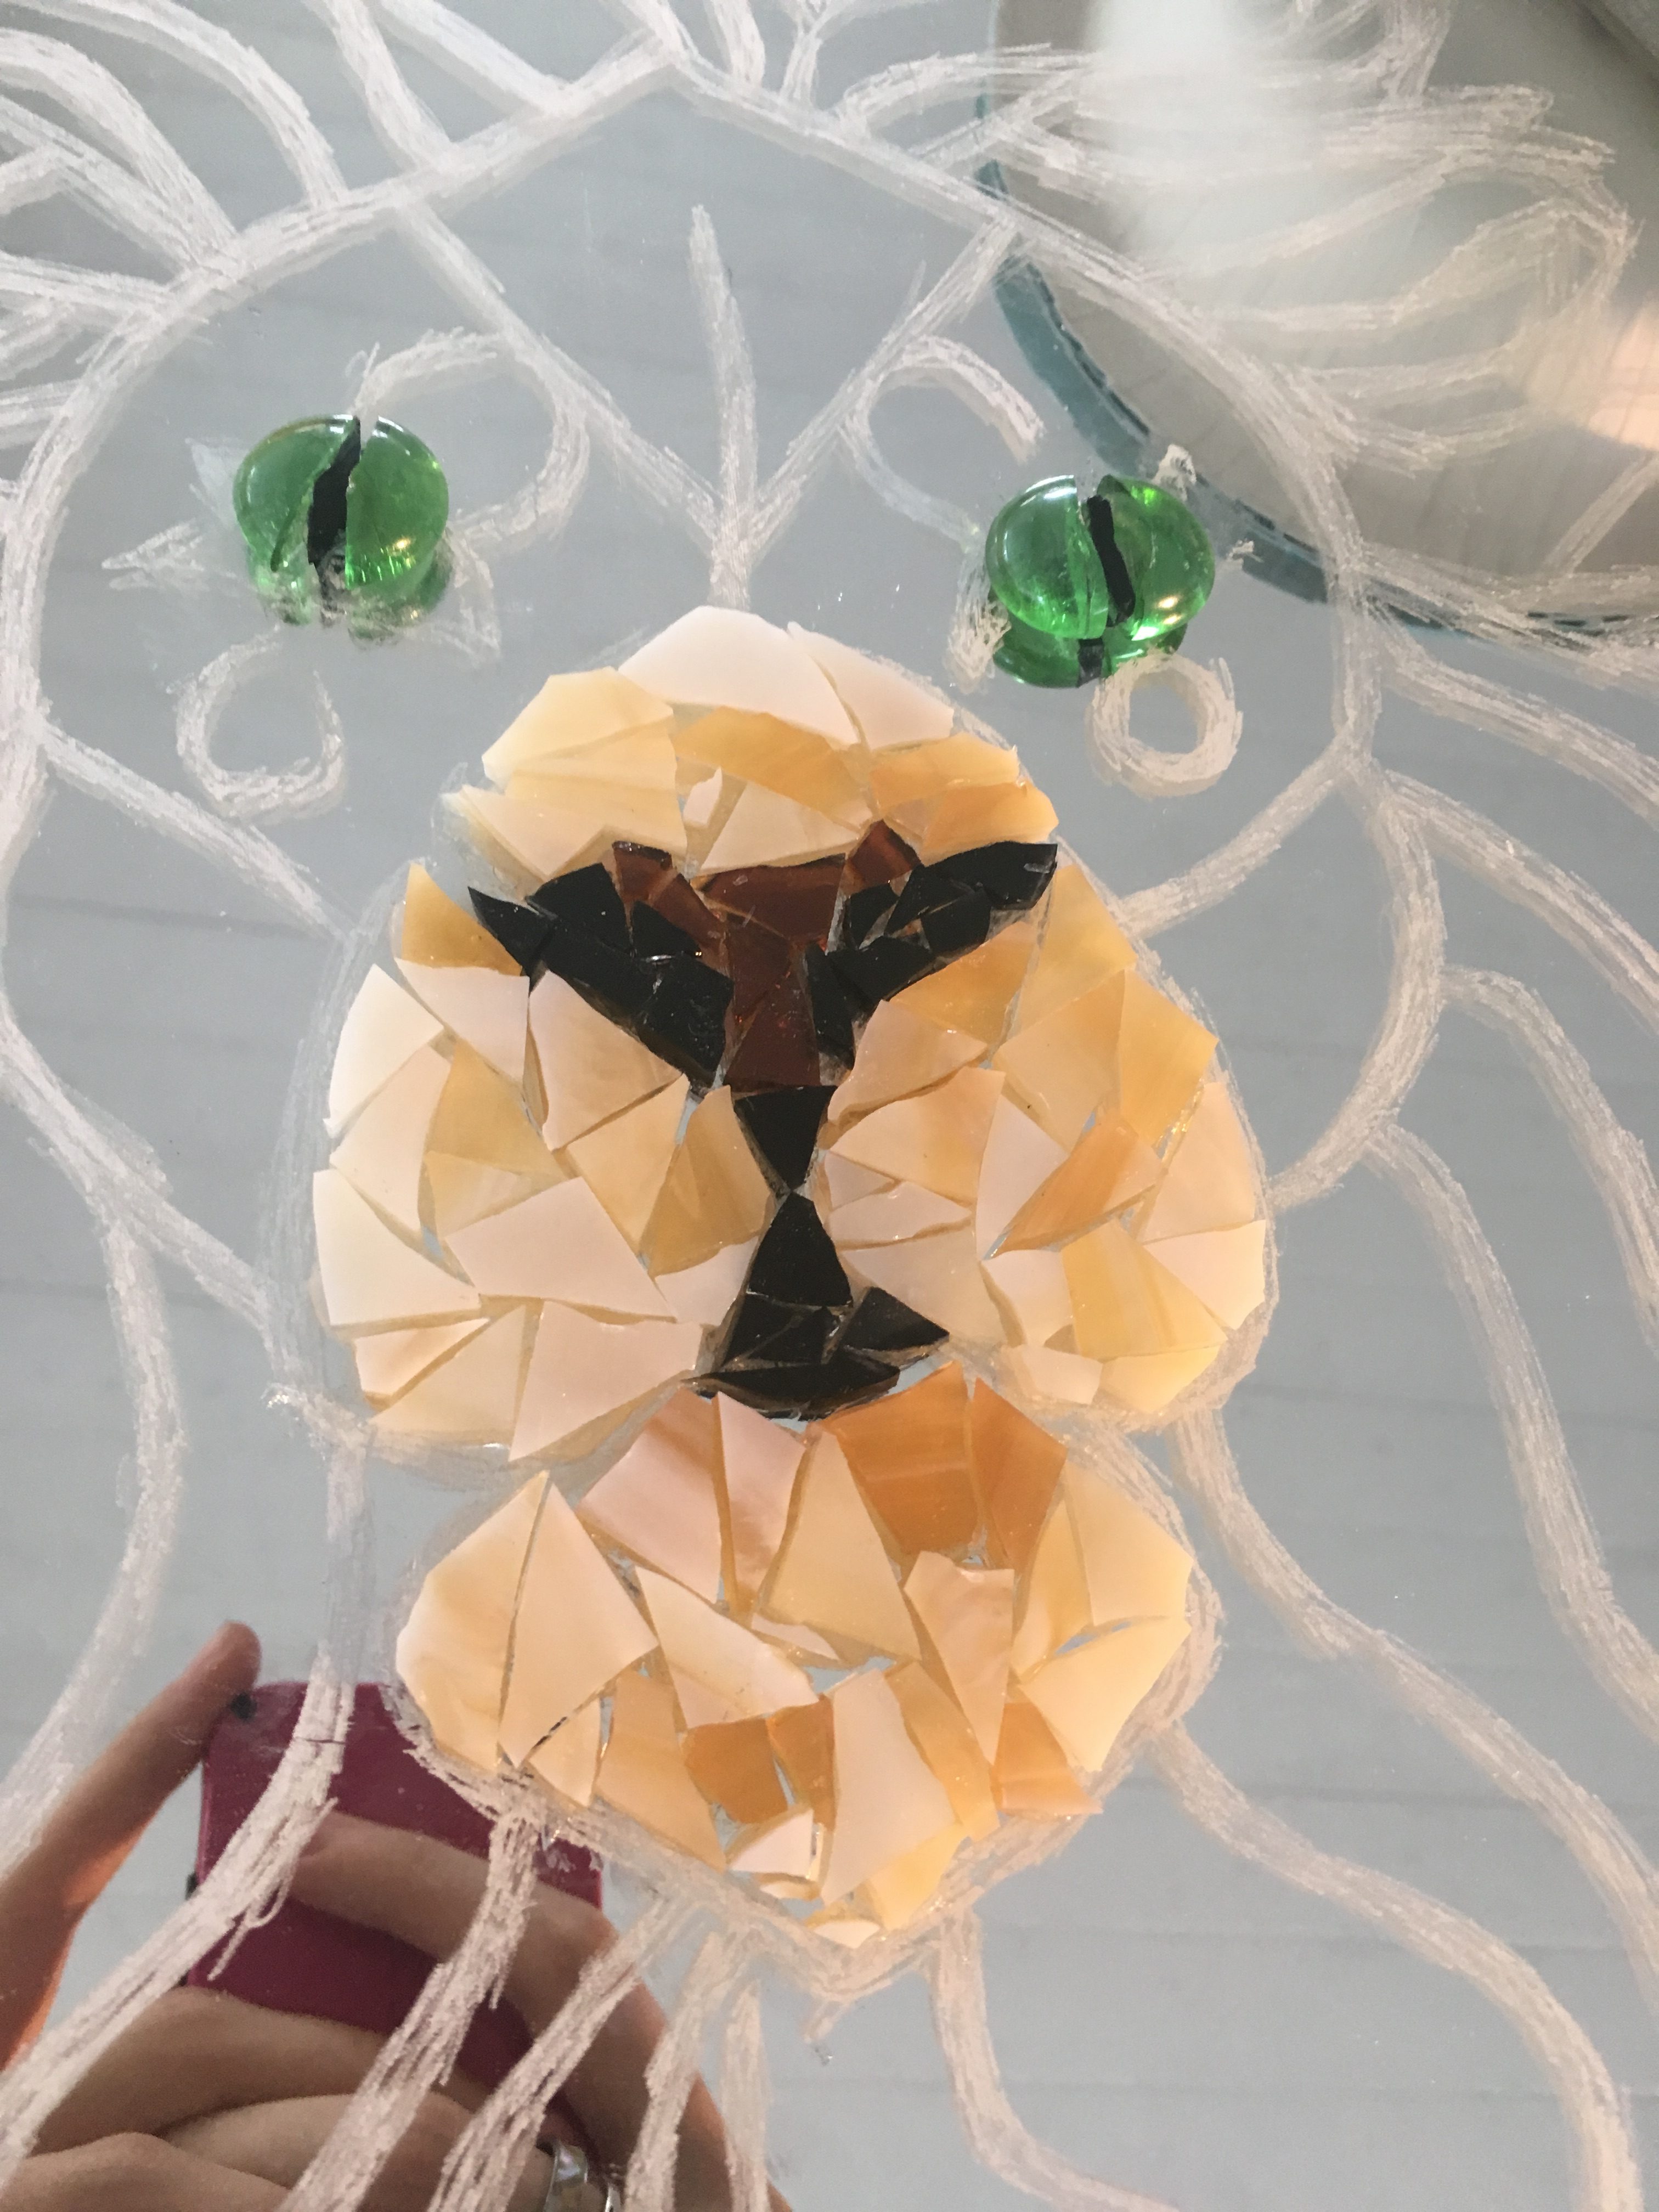
Making the Nose and Mouth with Brown and Black Glass
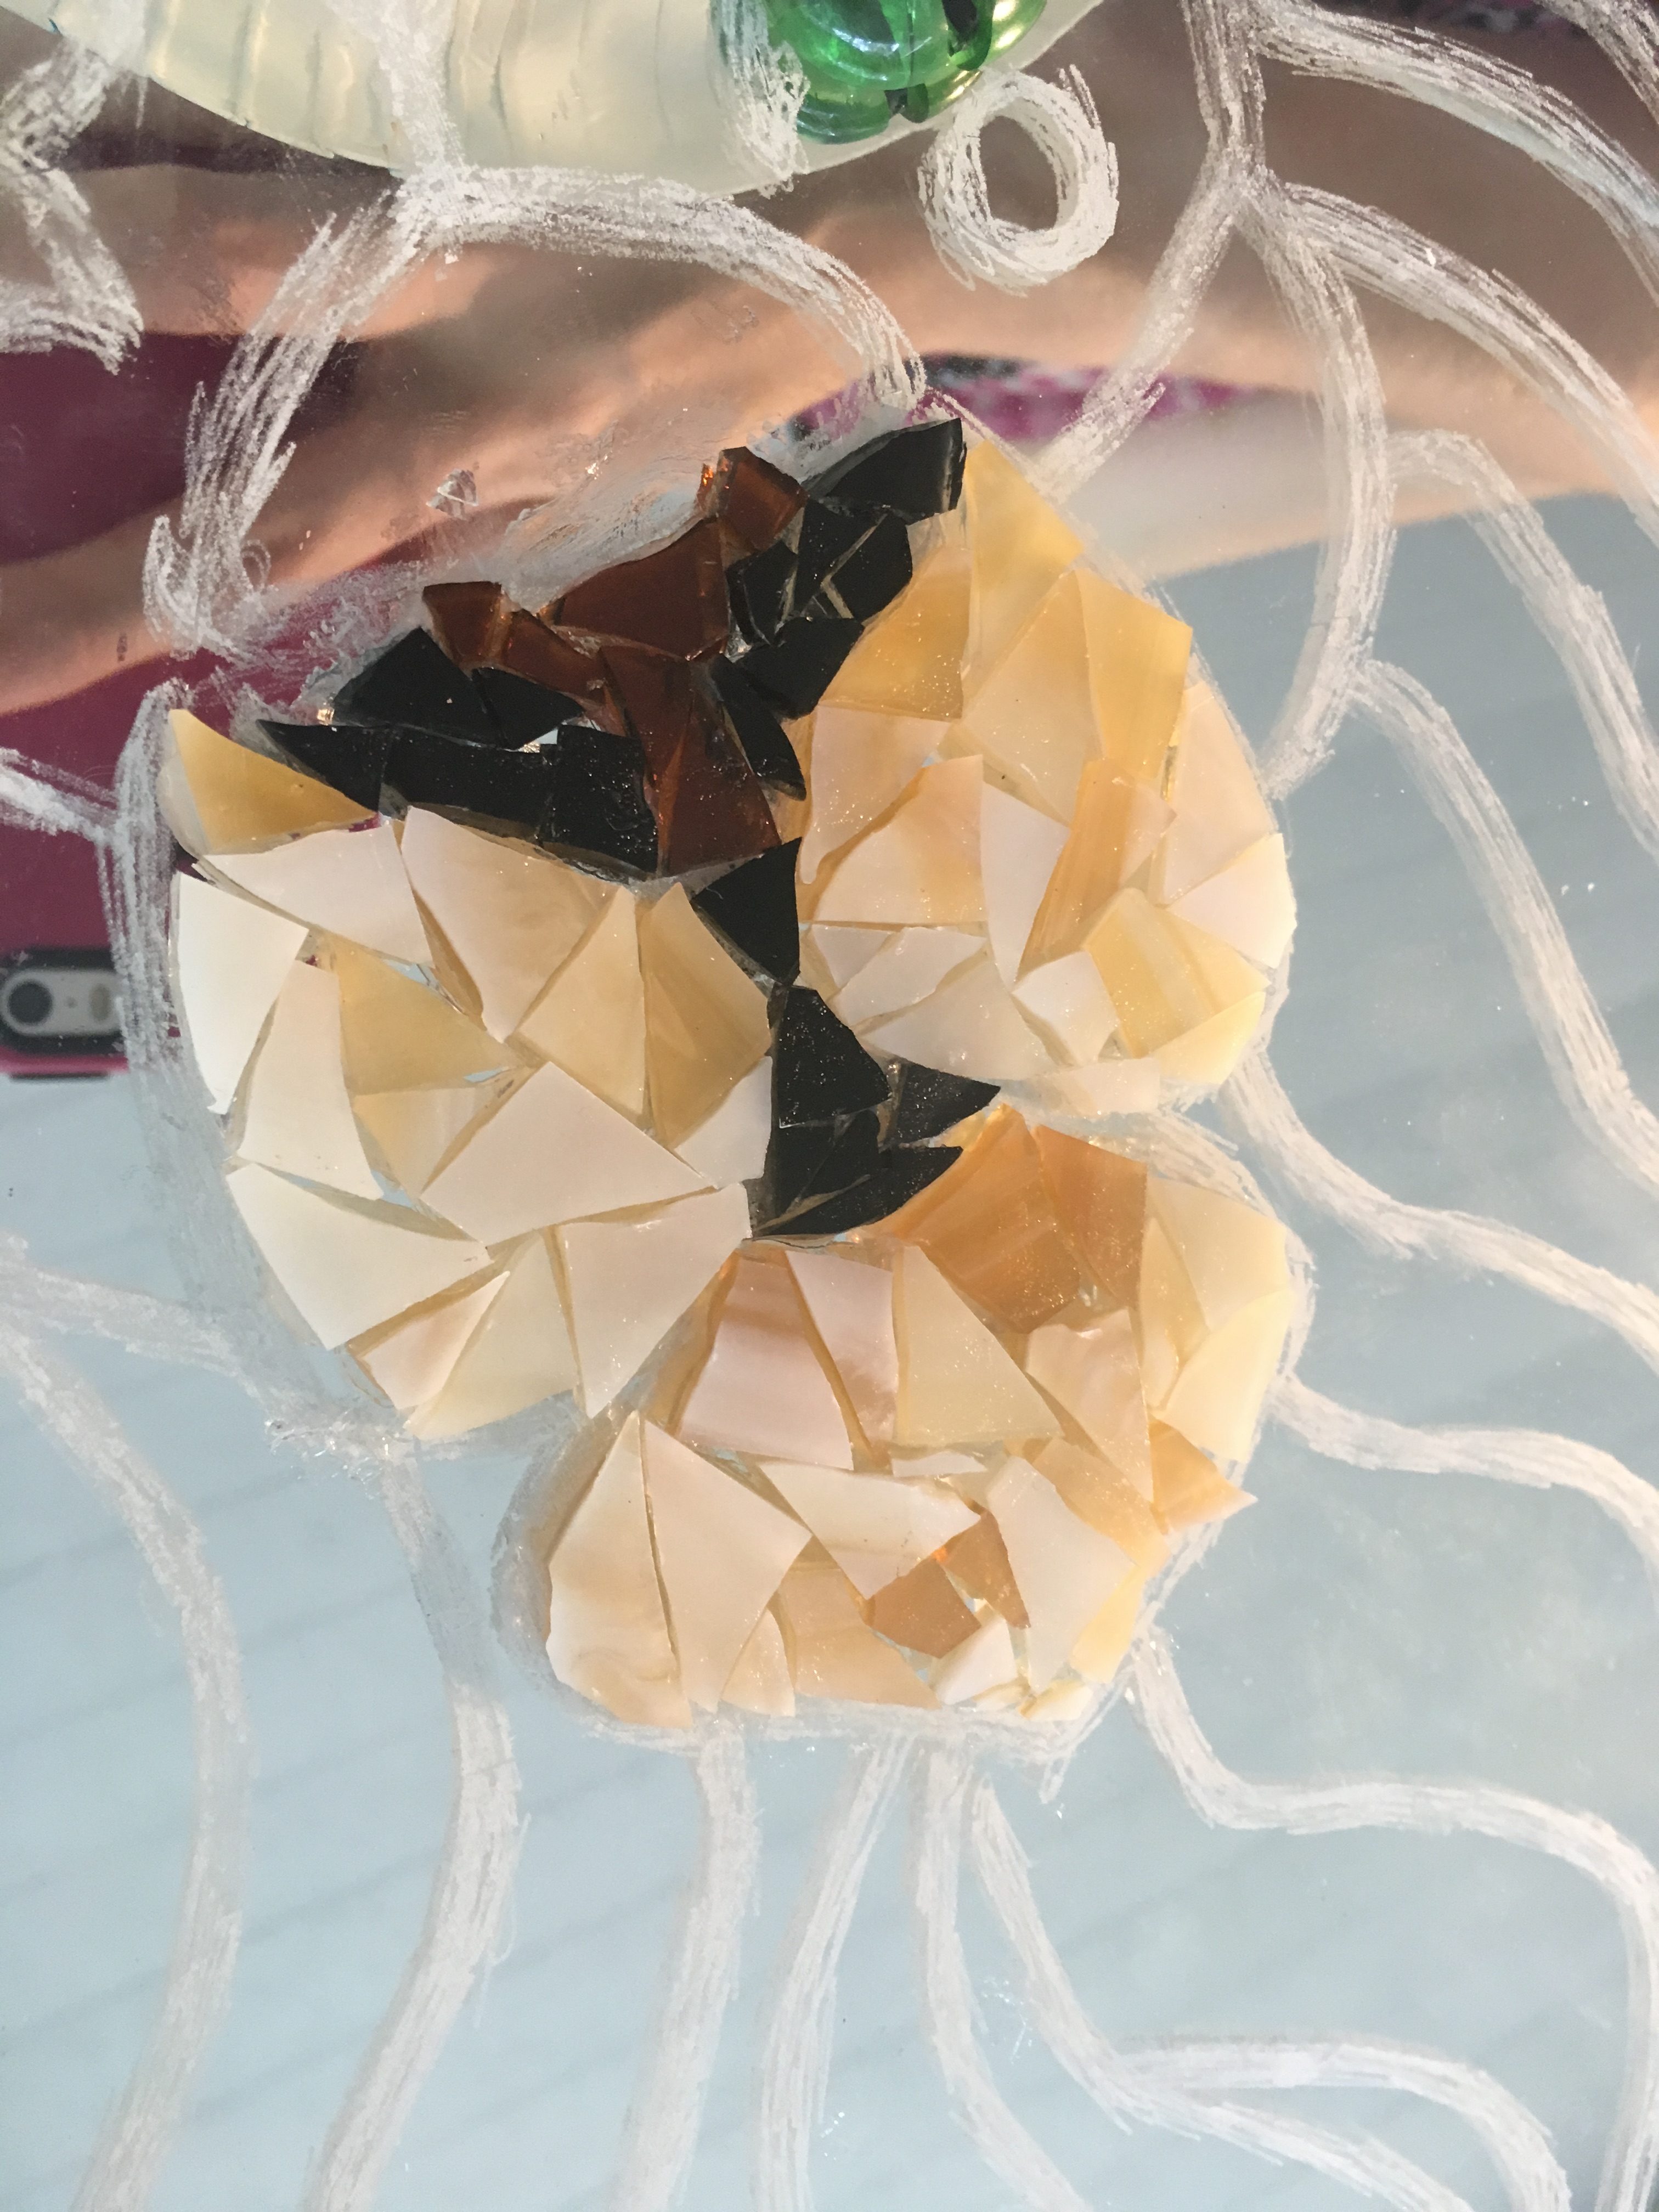
Using a very small piece of the brown glass, nip enough pieces to fit the outside of the nose. Add black to the nostrils.
Making the Chin of the King
Using some pieces already nipped from the light brown bowl, fill in the chin to make a rounded teardrop shape. Feel free to add variance with the glass.
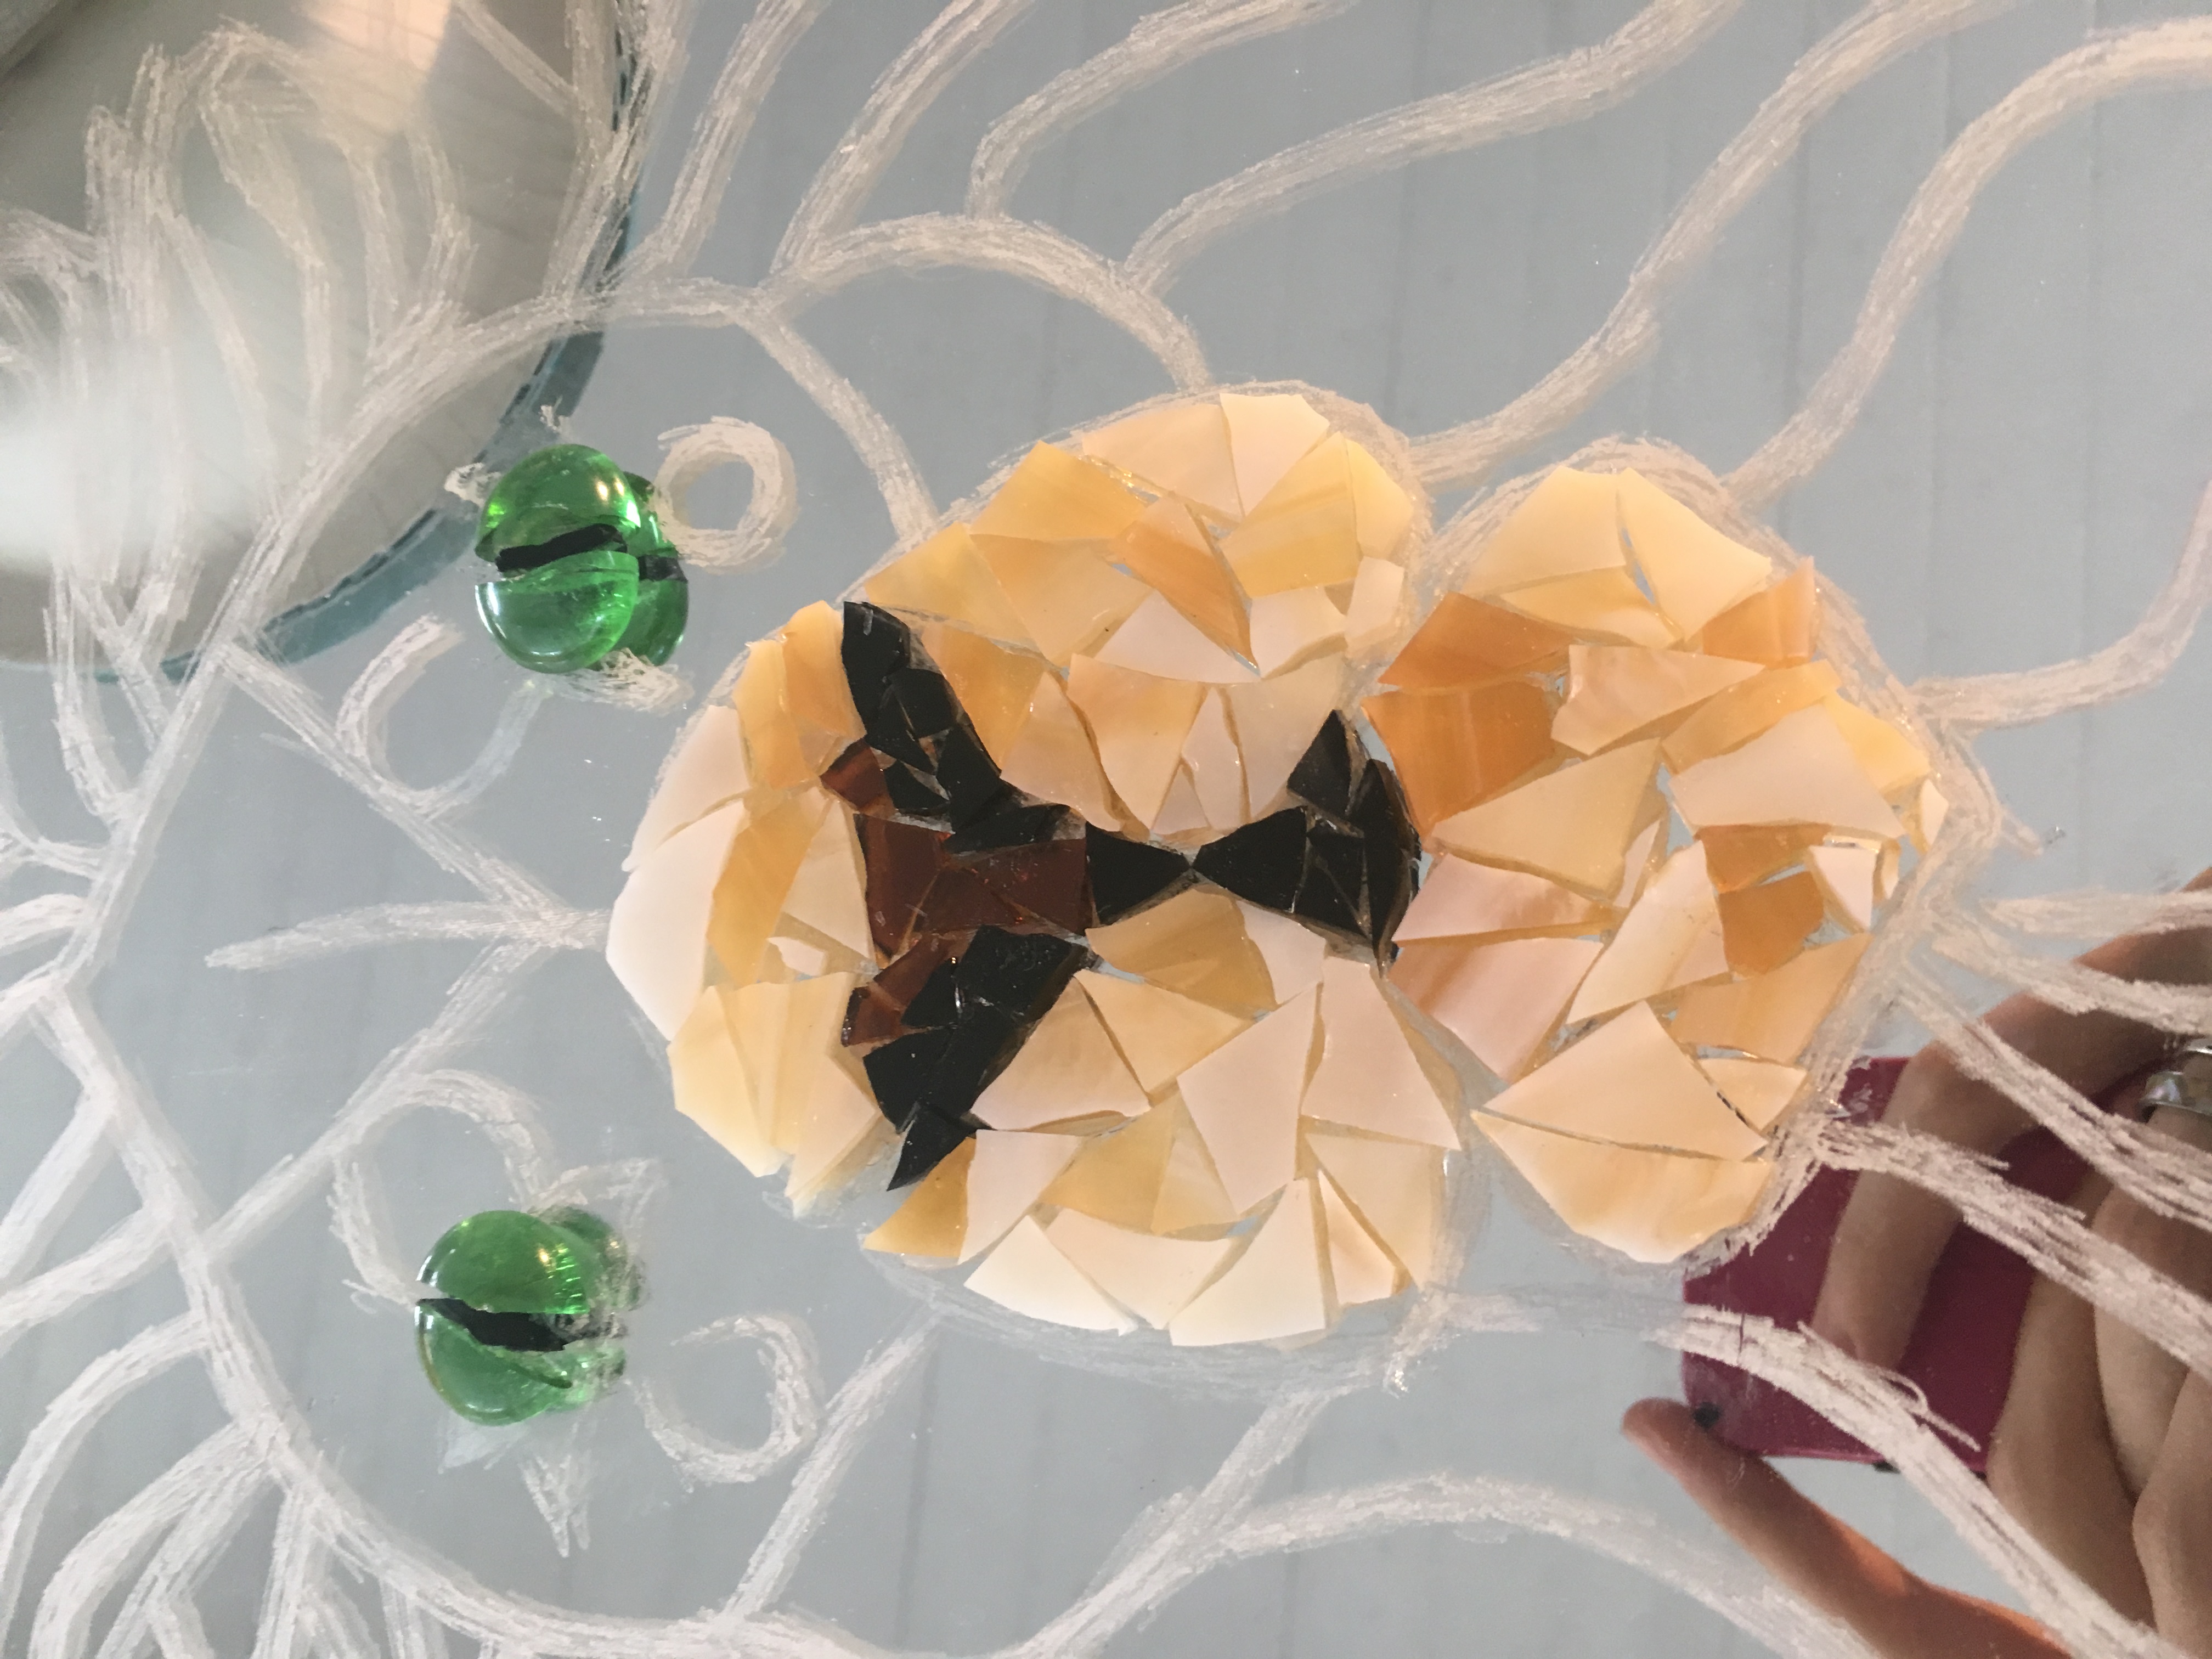
Splitting the Green Gems
Next, using a pair of nippers, break a green glass bead in half. This may take a few tries to get right, but I believe in you.
Making the Pupils
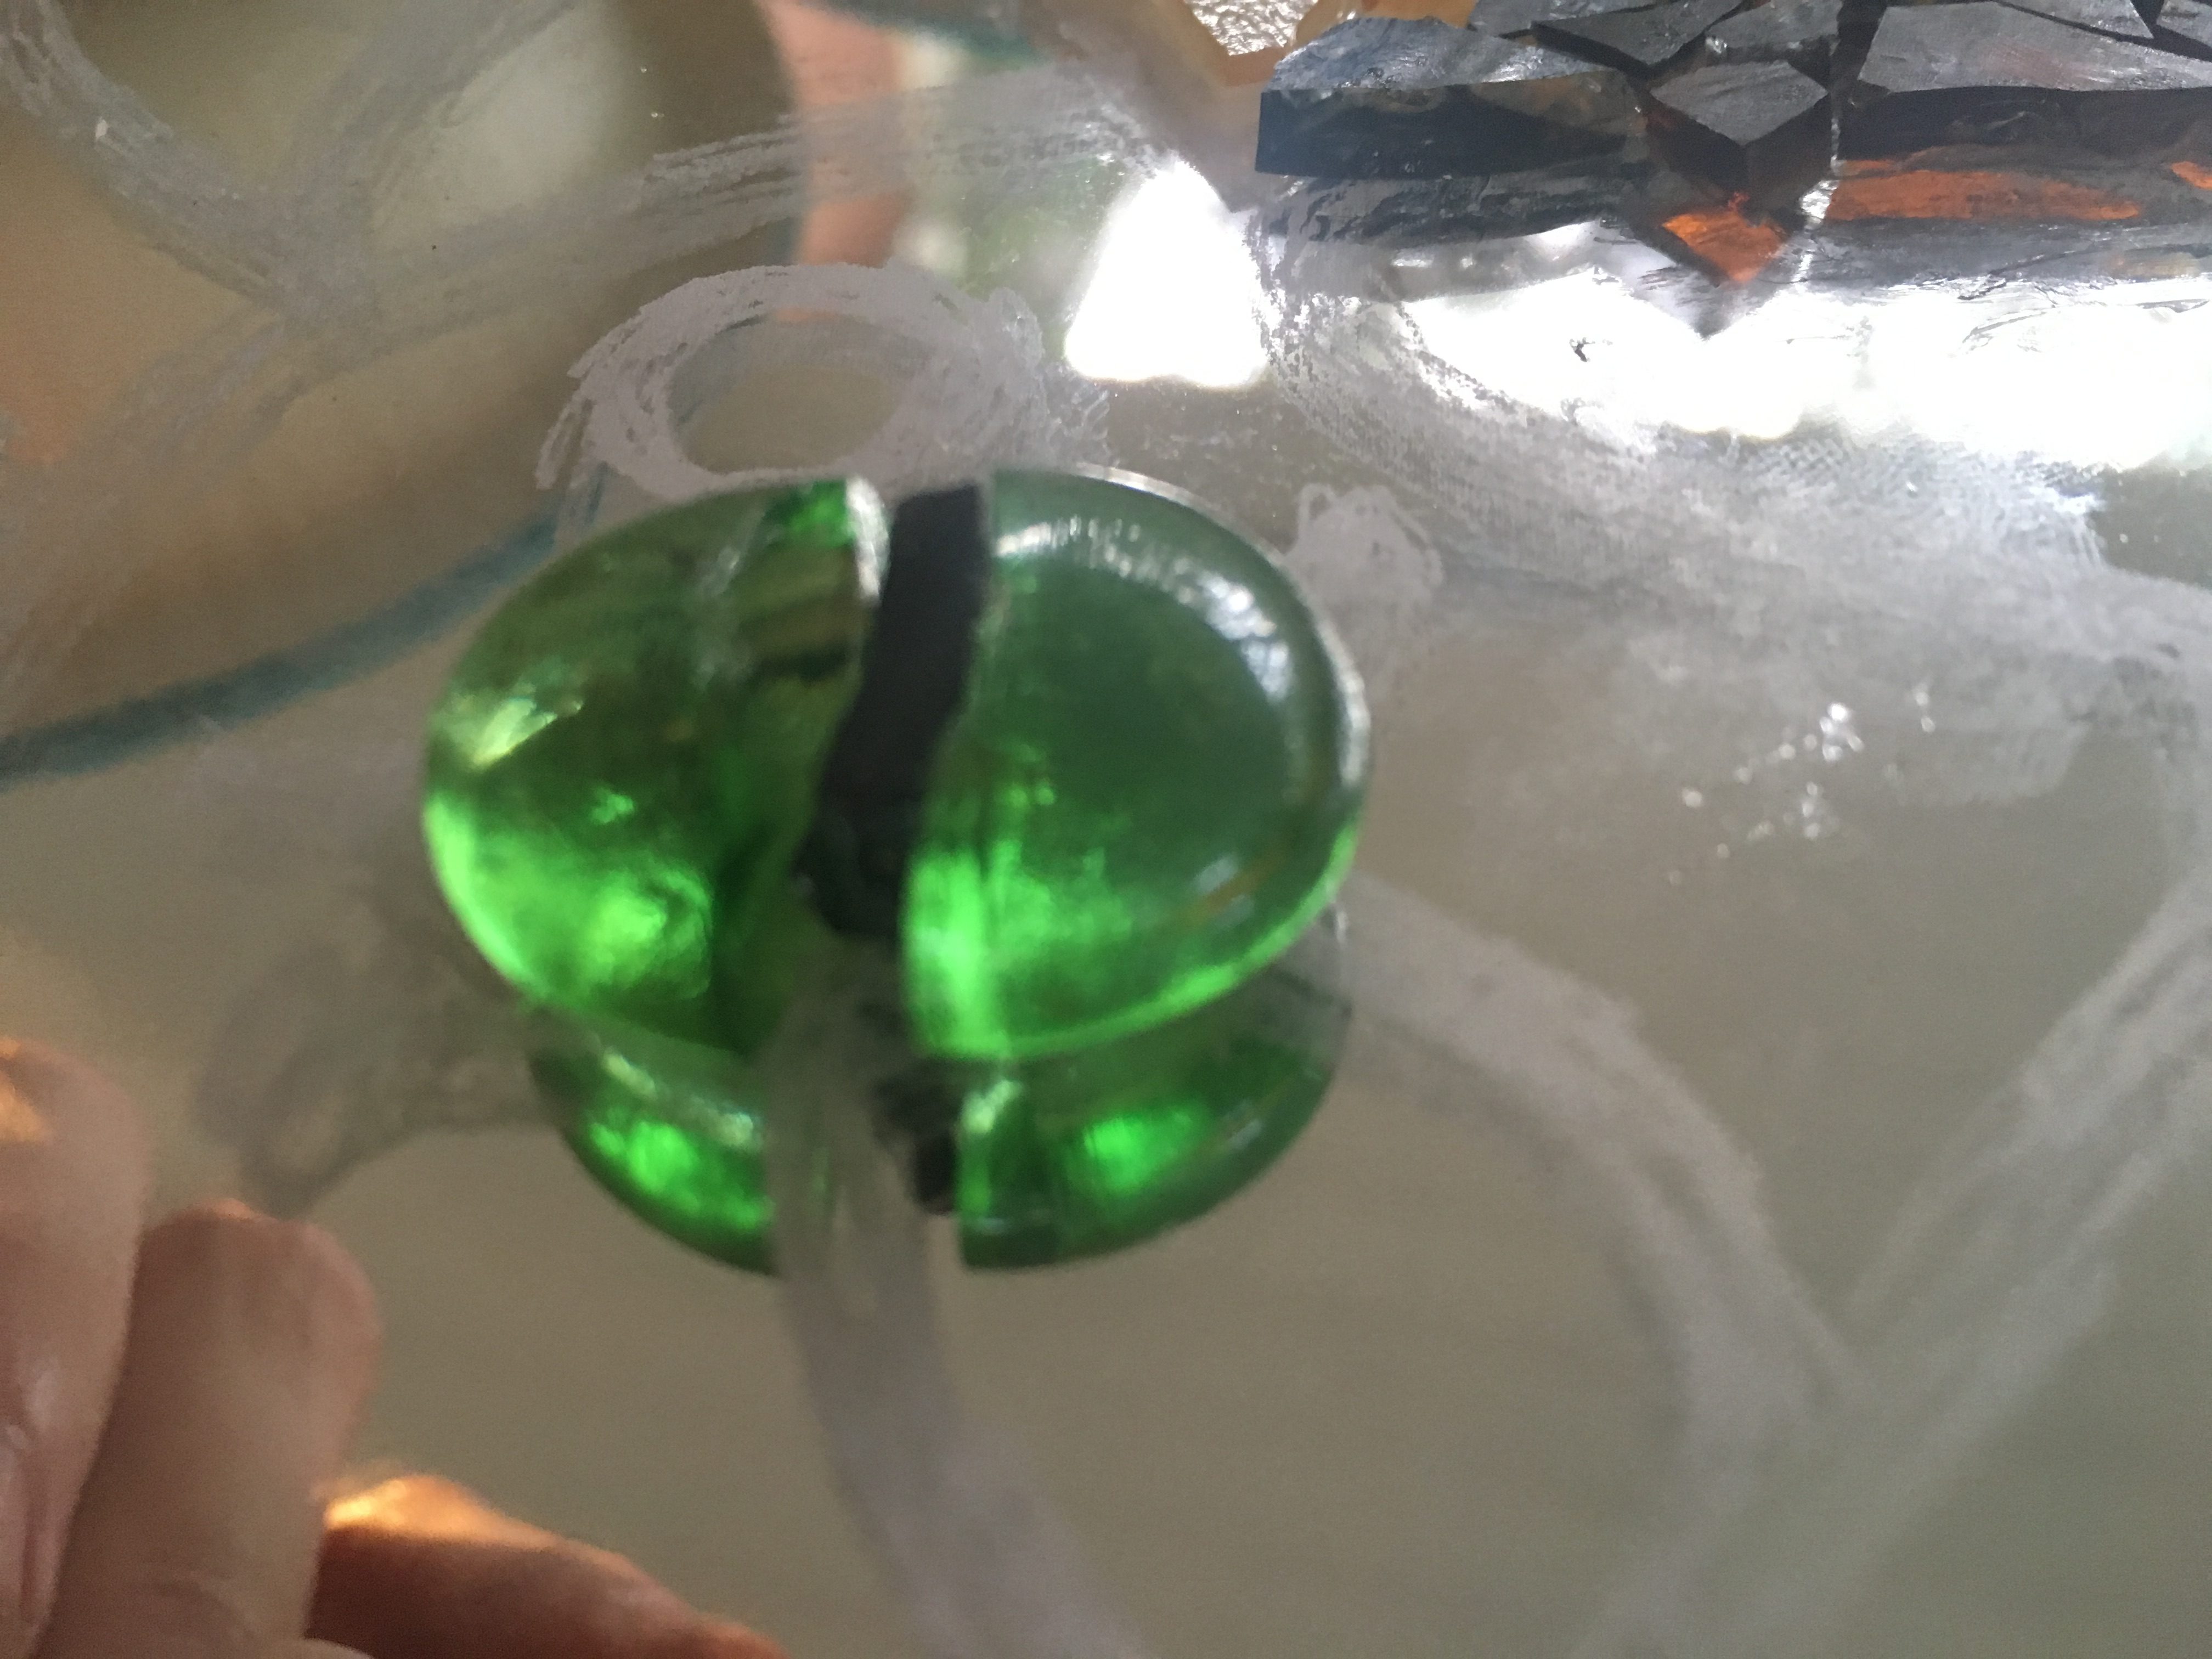
Glue two small black pieces together to make the pupils. This will bring the pupil up to the same thickness as the glass bead, and will be unnoticeable once grouting is complete.
Glue the Eyes on the Lion Mosaic
Glue the eye on with the clear silicone glue, pupil and the colored parts. Leave it to cure for about an hour for stability. Angle the green part around the black part to make it look more catlike.
Adding the Black Eyeliner Stuff
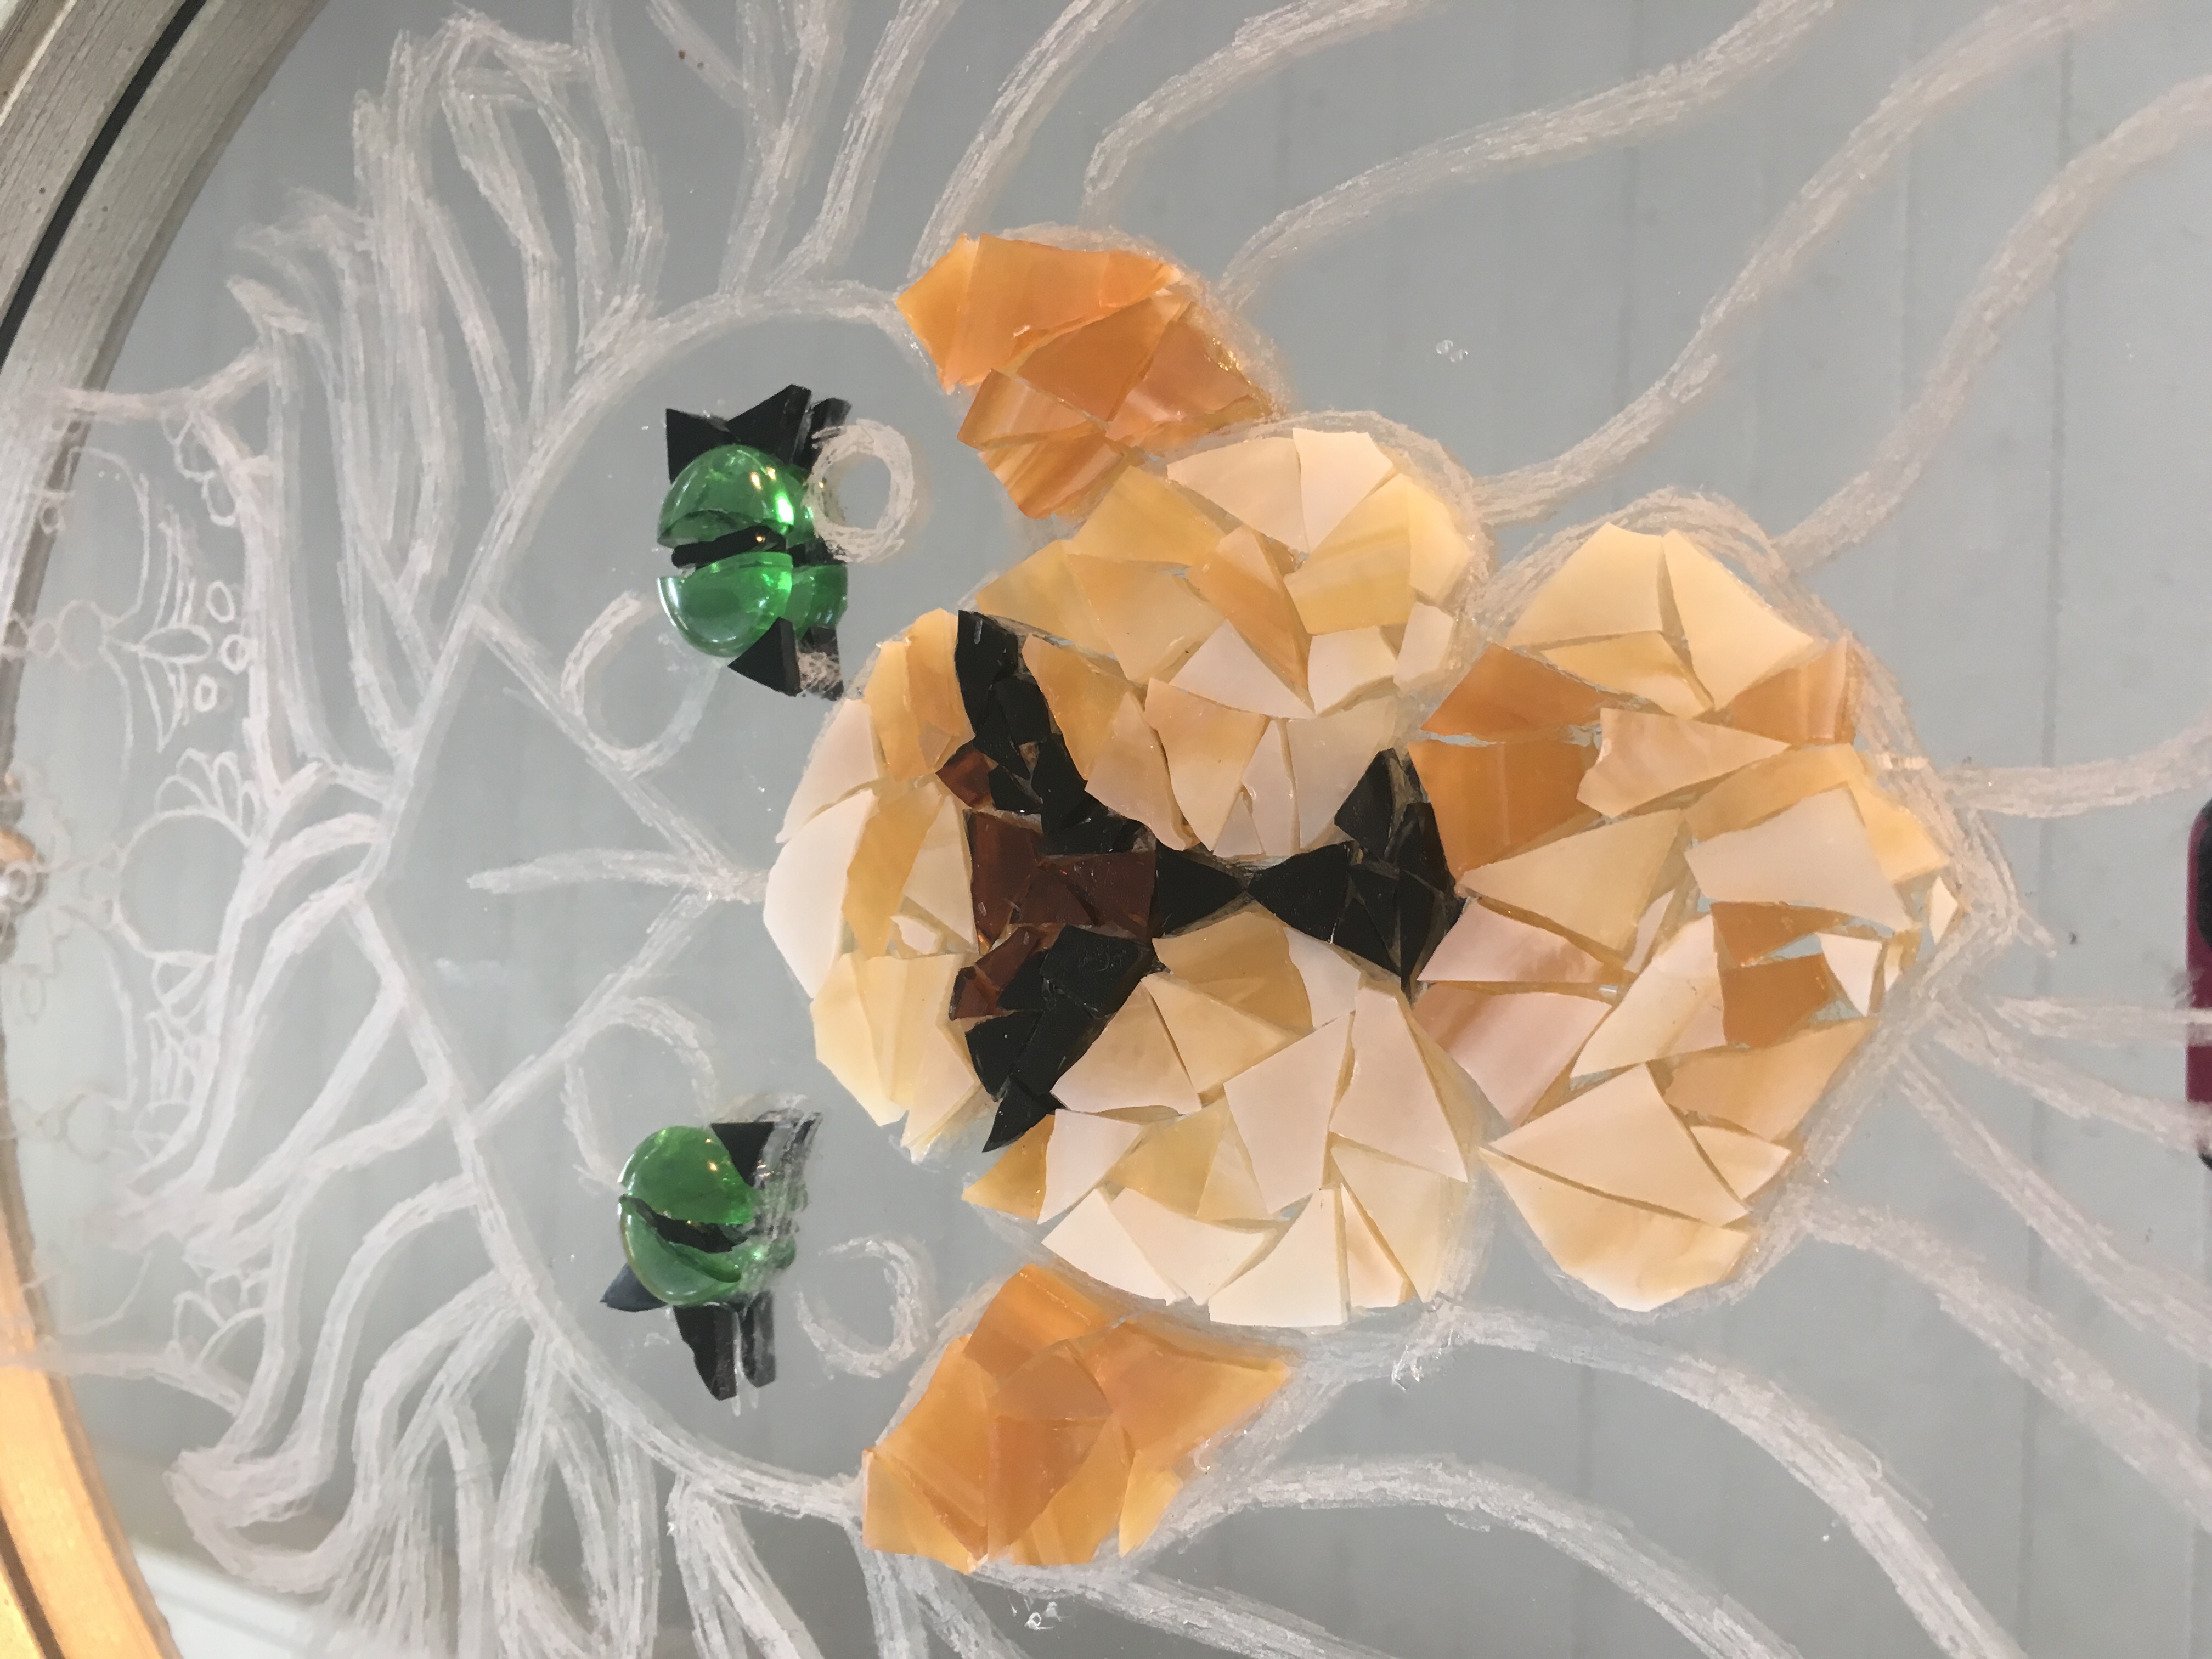
Add three triangles to the outside of each eye, one at the inside corner and two facing out on the outsides. Glue them down securely.
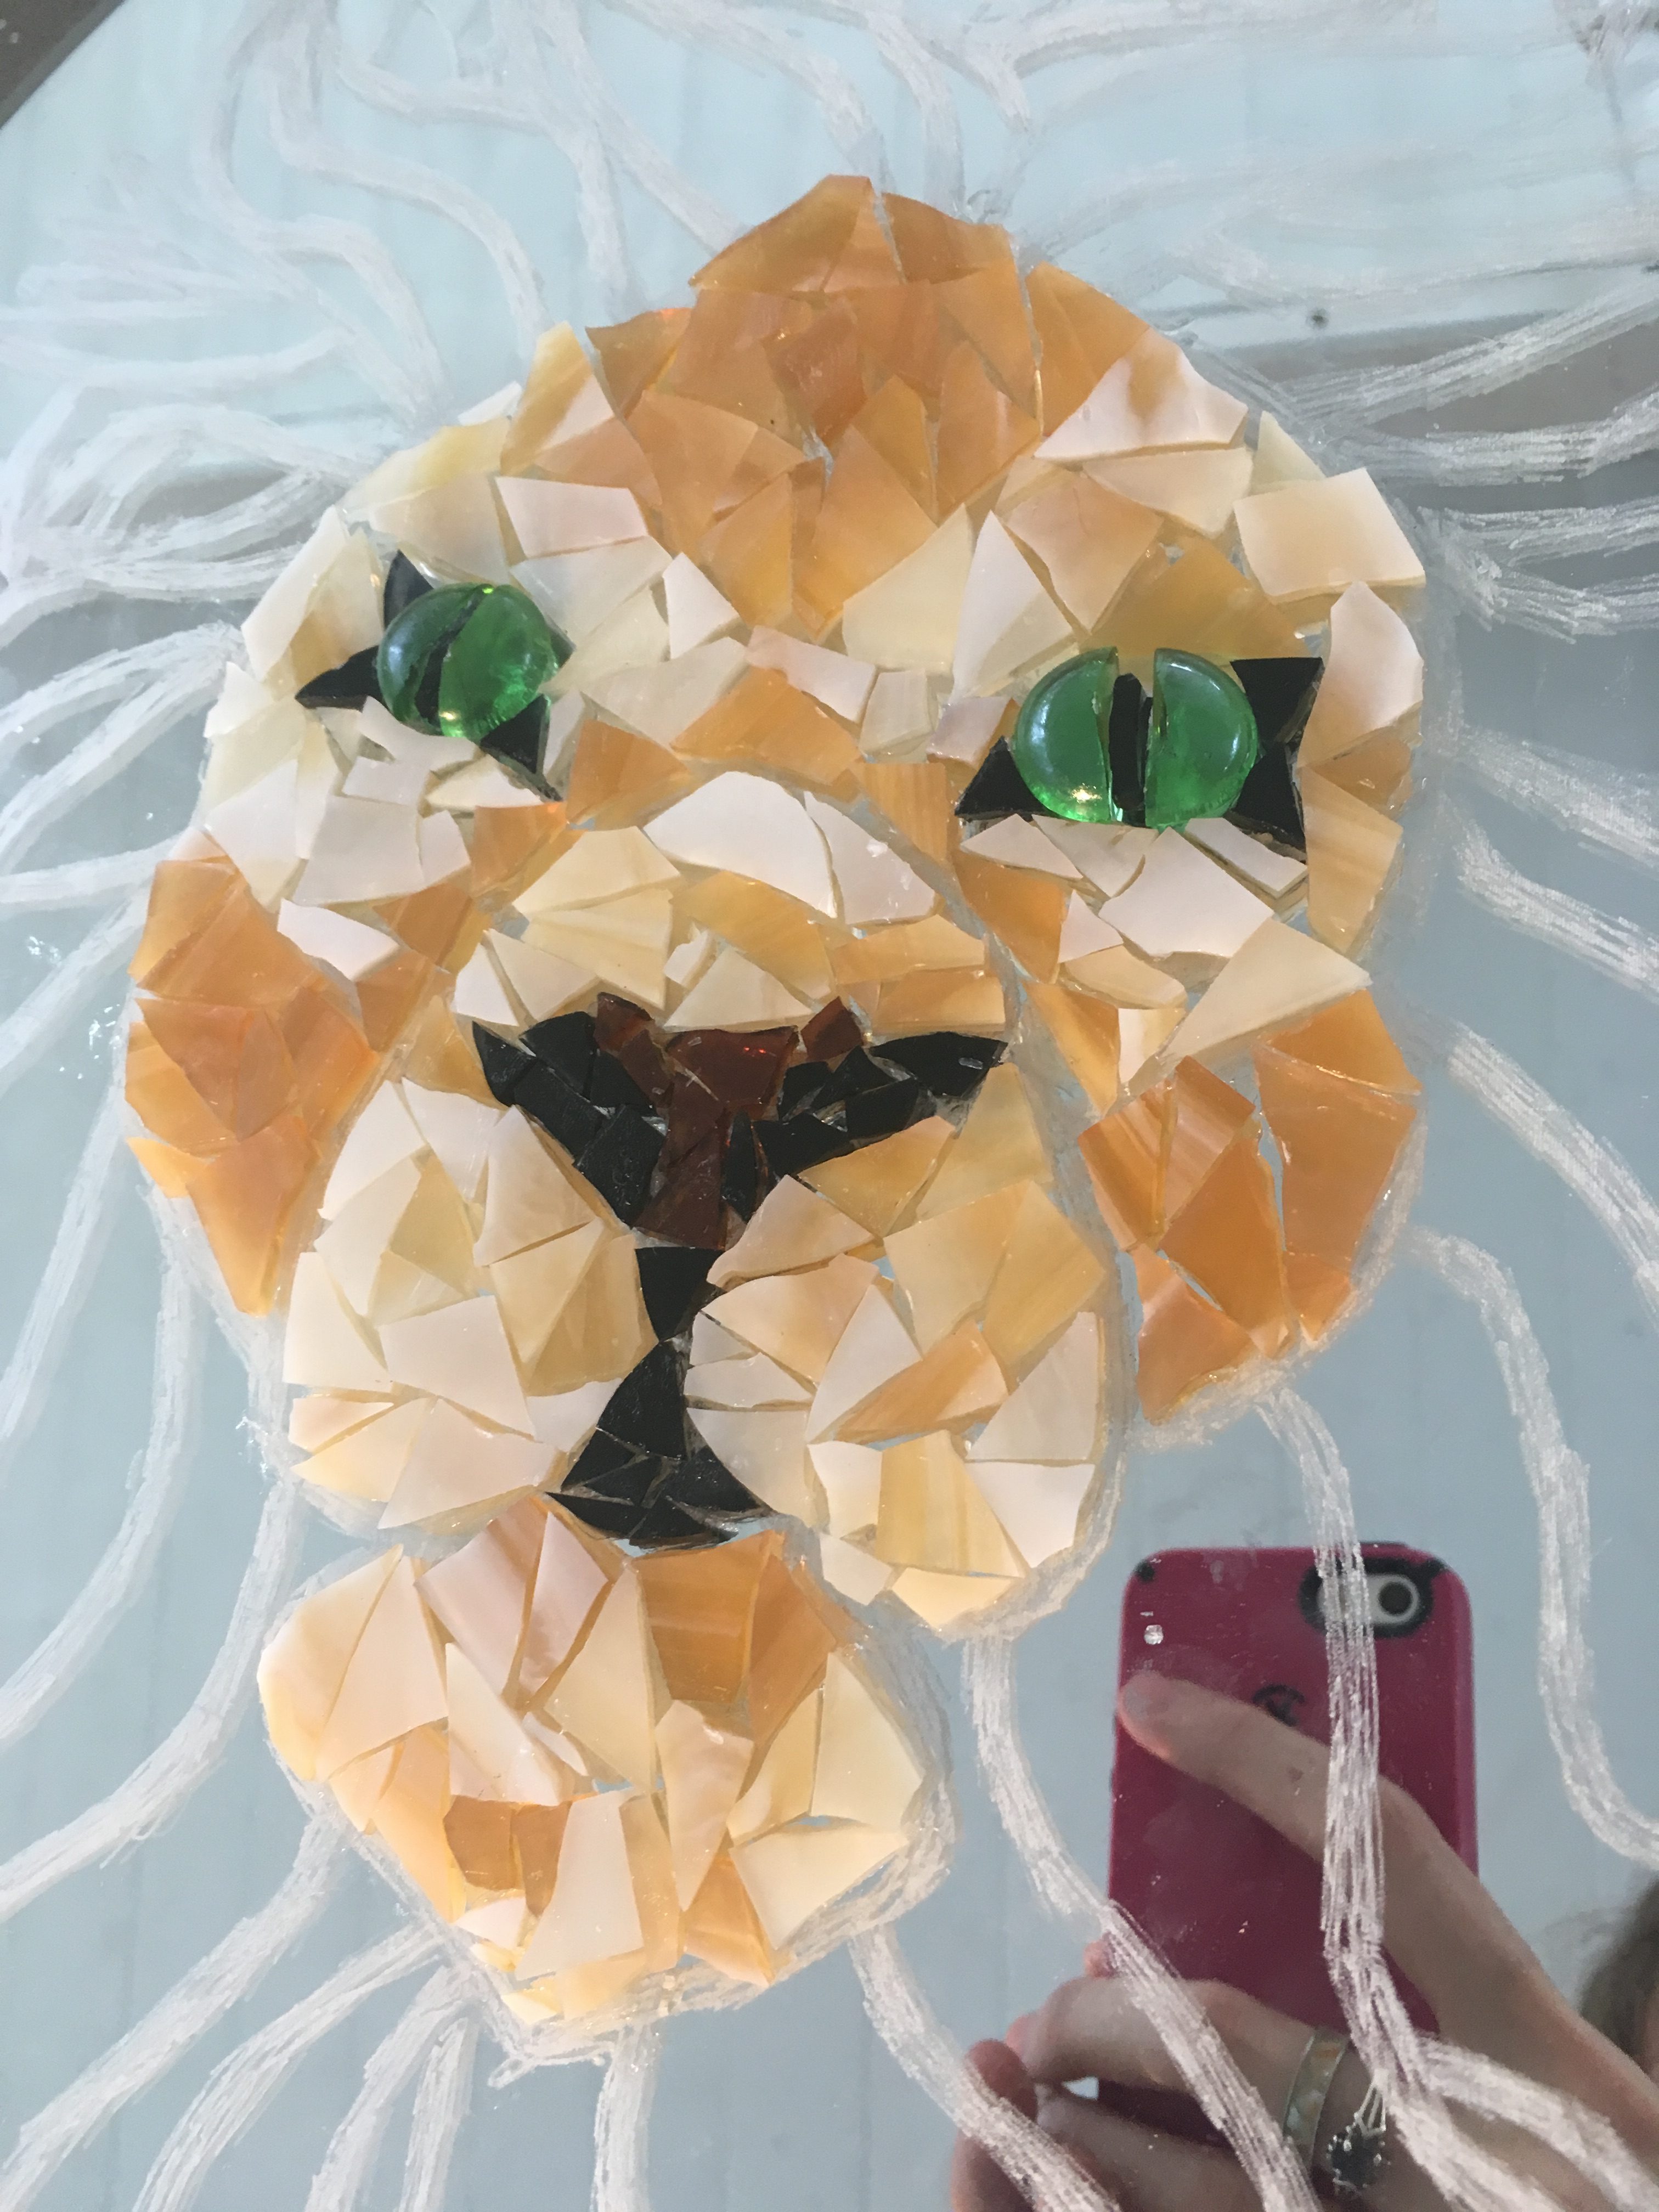
Making the top of the Muzzle
The muzzle is also done in light brown glass. Place and glue all the pieces as you did for the sides of the muzzle.
Cheeks

Darker brown glass is required for the cheeks, to make the muzzle stand out and give the piece a bit of shading. Pick out the darkest pieces and arrange and glue them to the cheeks.
Marking the Highlights
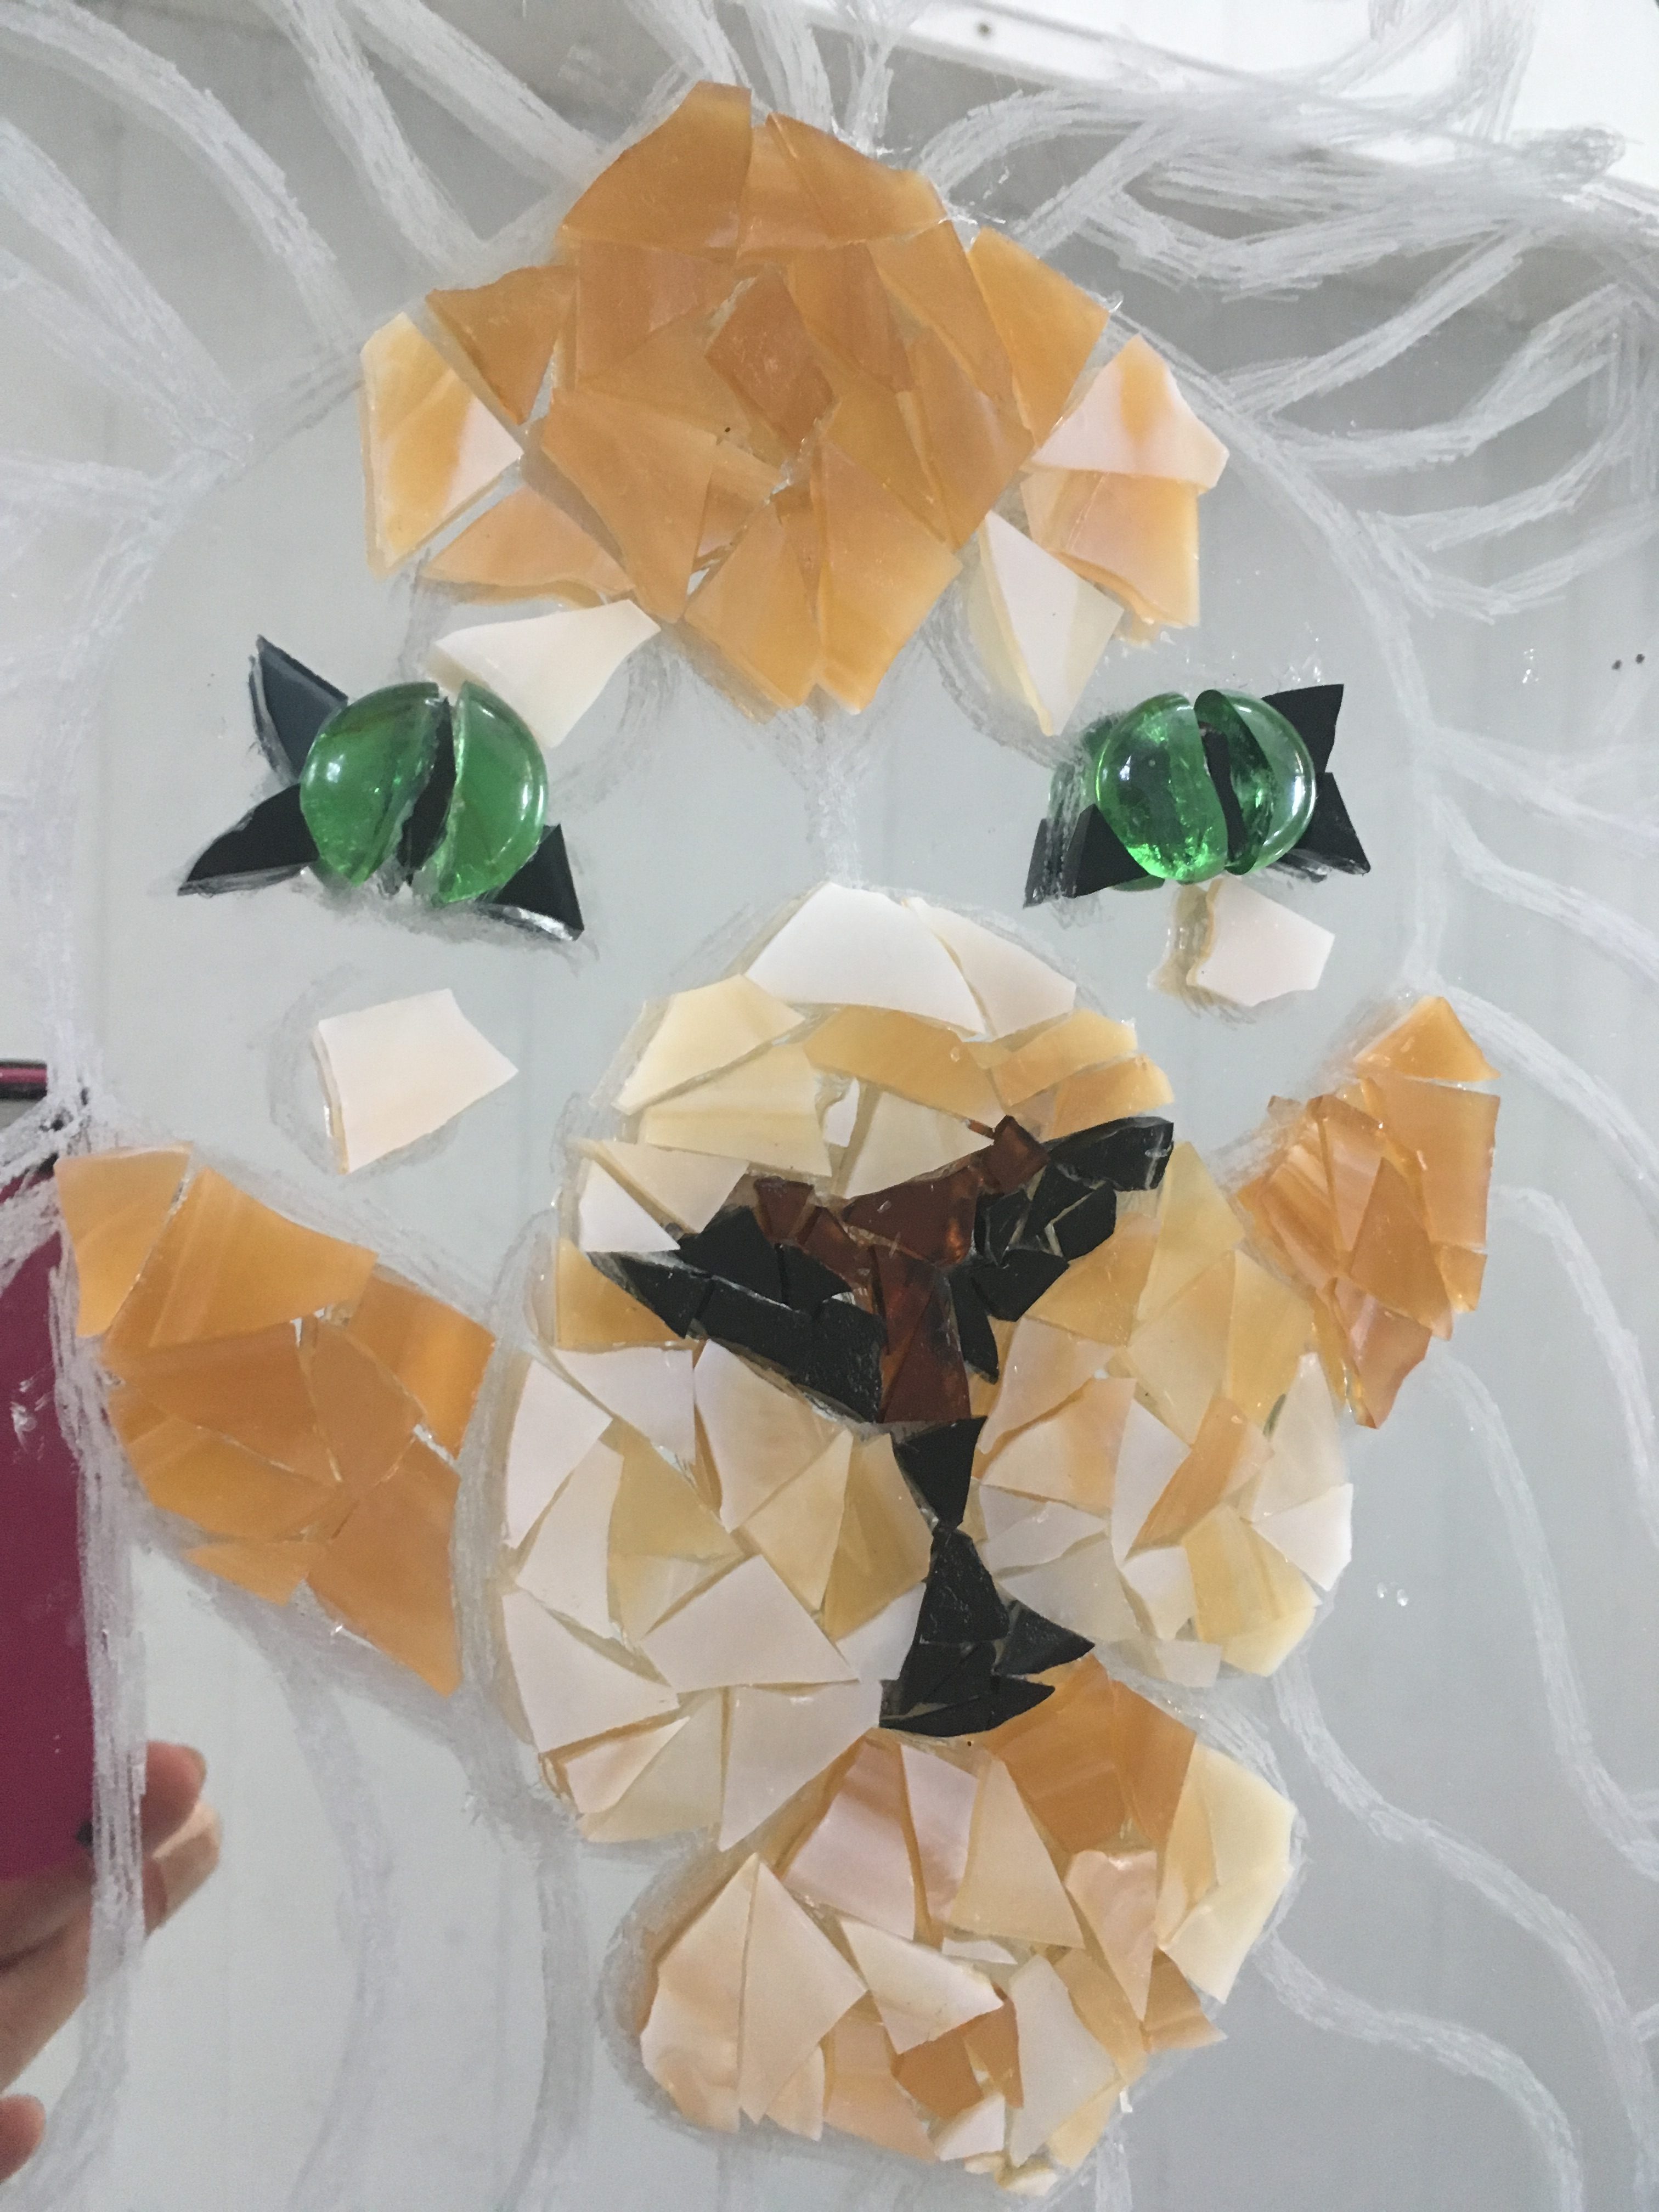
Put the lightest pieces of tan down at the four places there are circles and glue them down. We will work around them to blend them in with other colors of glass.
Filling in the Forehead
The forehead also uses the darker tan brown similar to the cheeks. As was done for the other places, arrange and glue.
Dark around the Muzzle and Light around Eyes
Close to the muzzle, add a ring of dark tan brown glass and glue it down. This will make the muzzle stand out more. Fade it out to the light spots and eyes.
Finding the Gems at Black Market Minerals
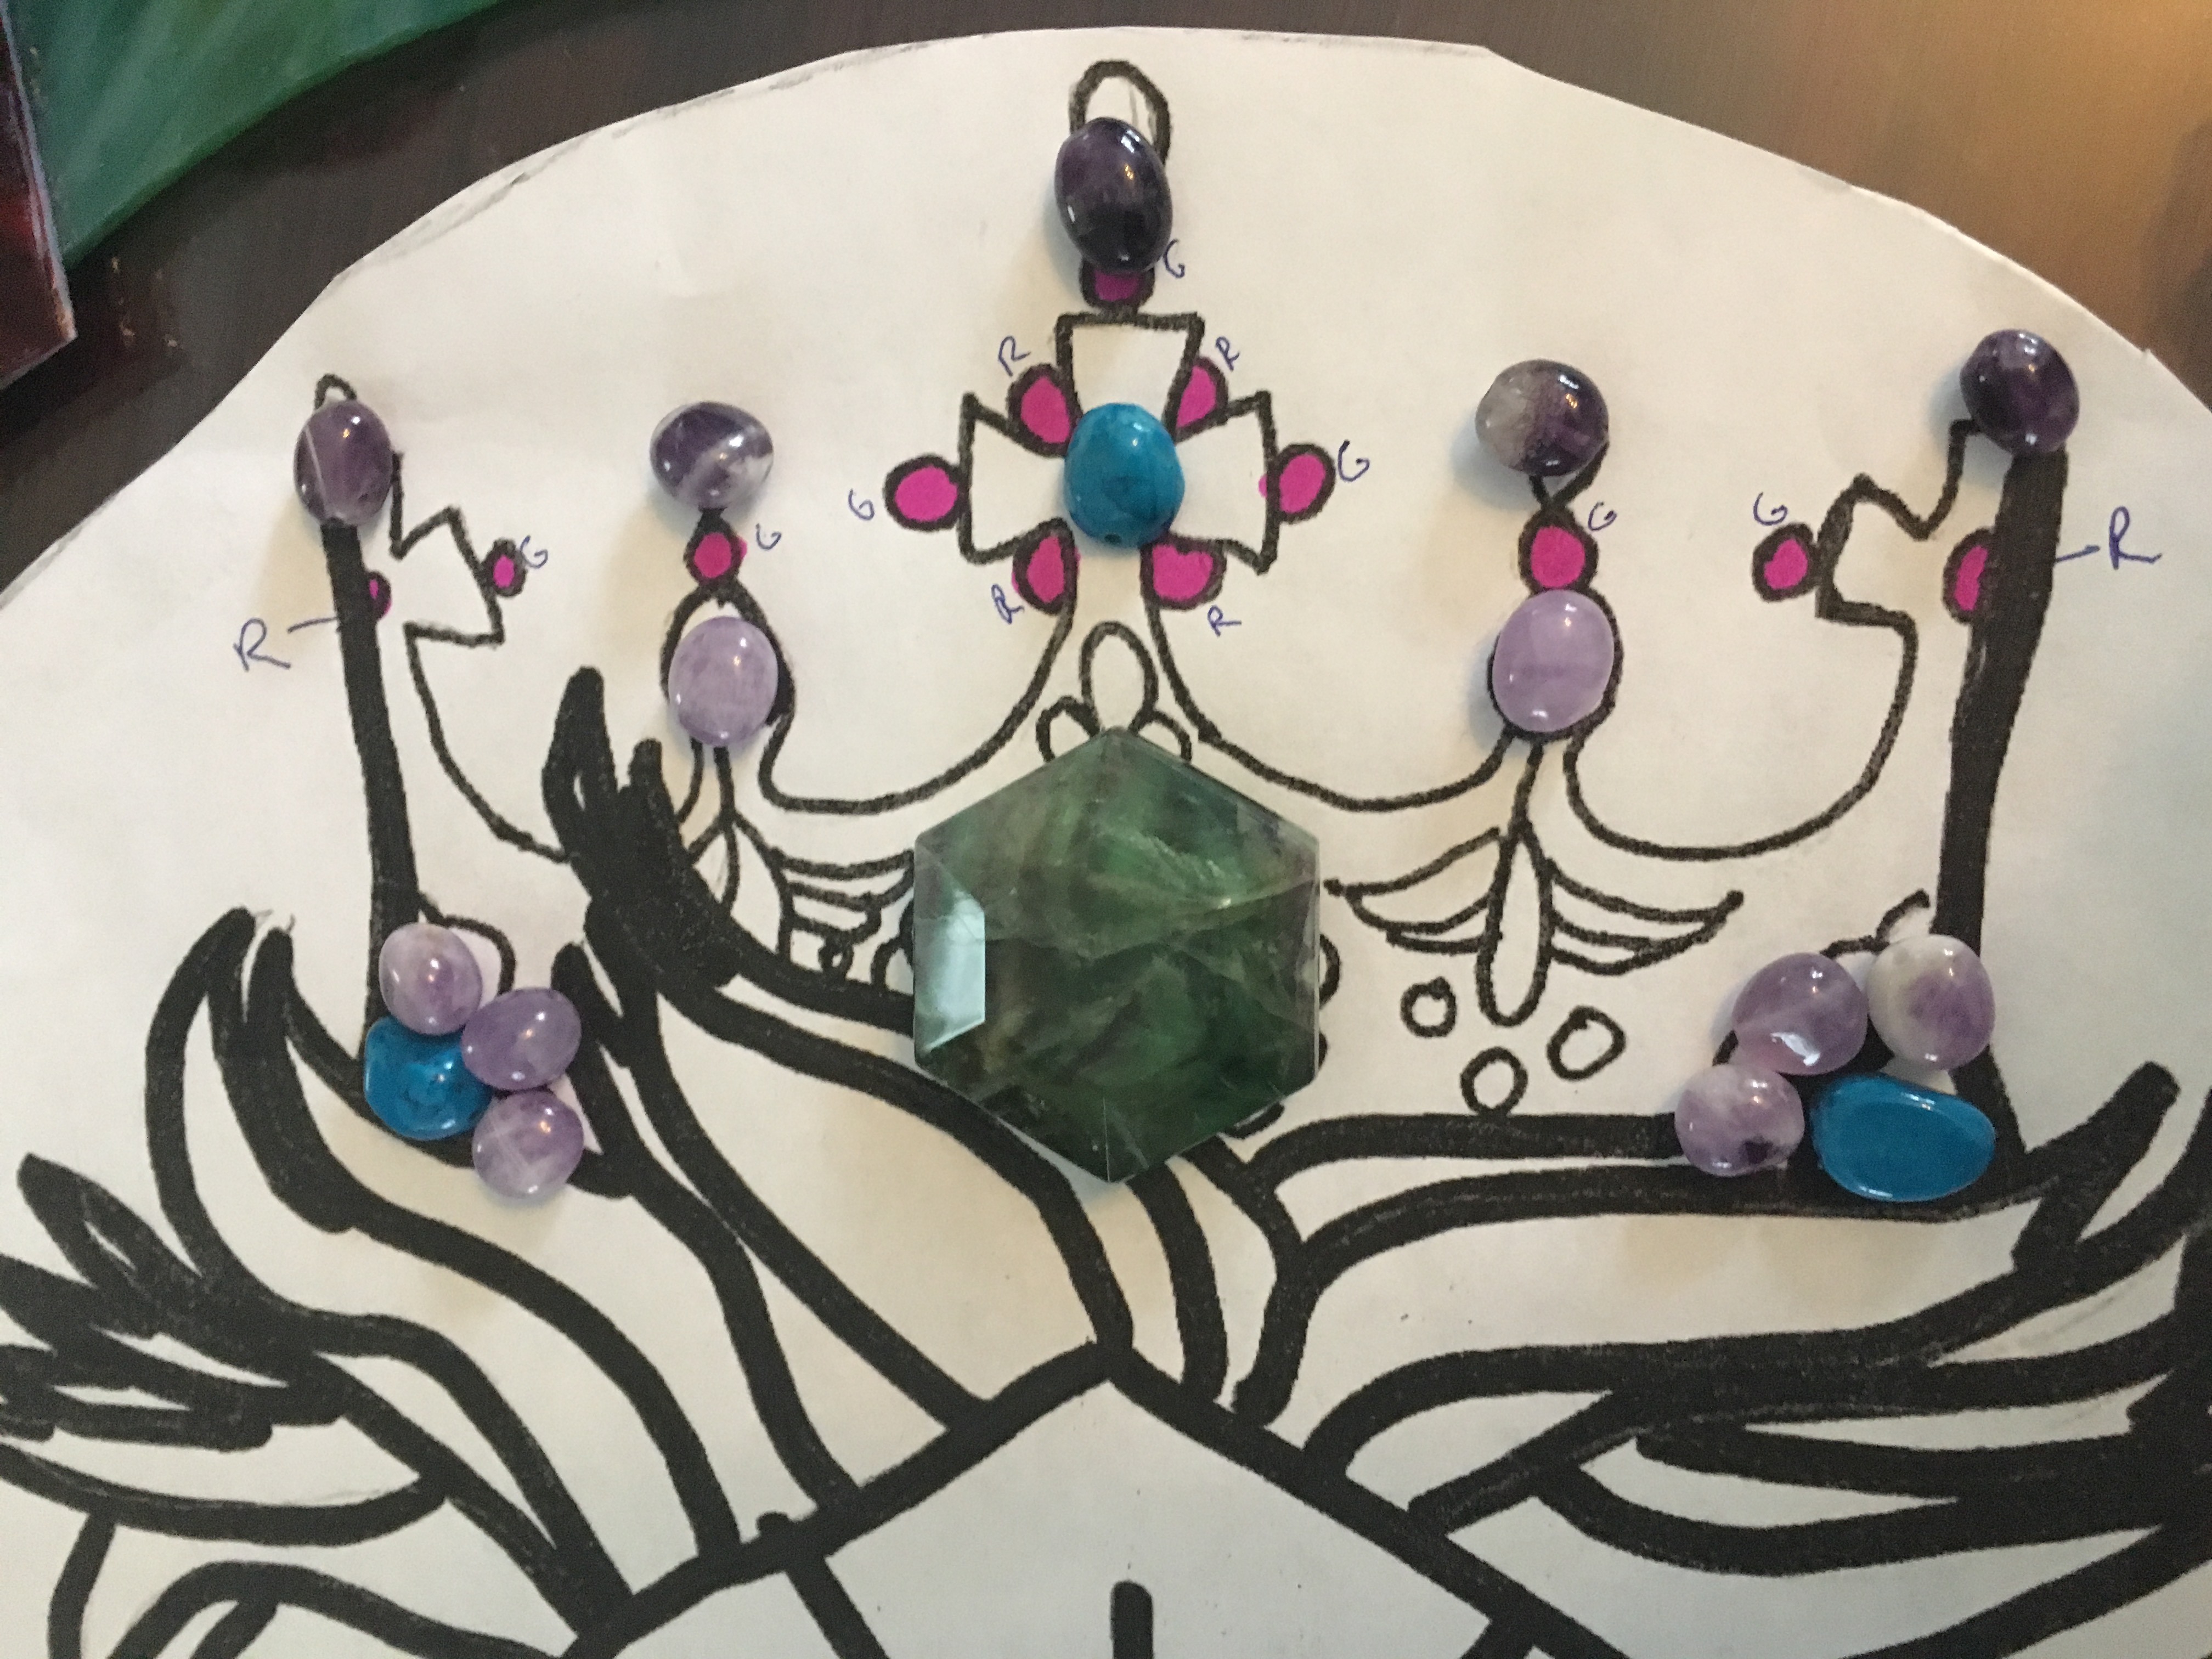
We went to a lovely little gem shop and found a big Florite stone for the top of the crown and three beaded bracelets that we took apart and arranged on the crown as we desired.
Gluing them in their Spots

I needed assistance from an adult for this, my hands were not steady enough to properly line everything up. Glue each gem carefully in its spot.
 Allow to Cure overnight, Part 3 Coming soon (Finish)
The glue needs to set to avoid unwanted disruption of the beads. Let the beads sit overnight and come back to it in the morning. Part three coming soon.