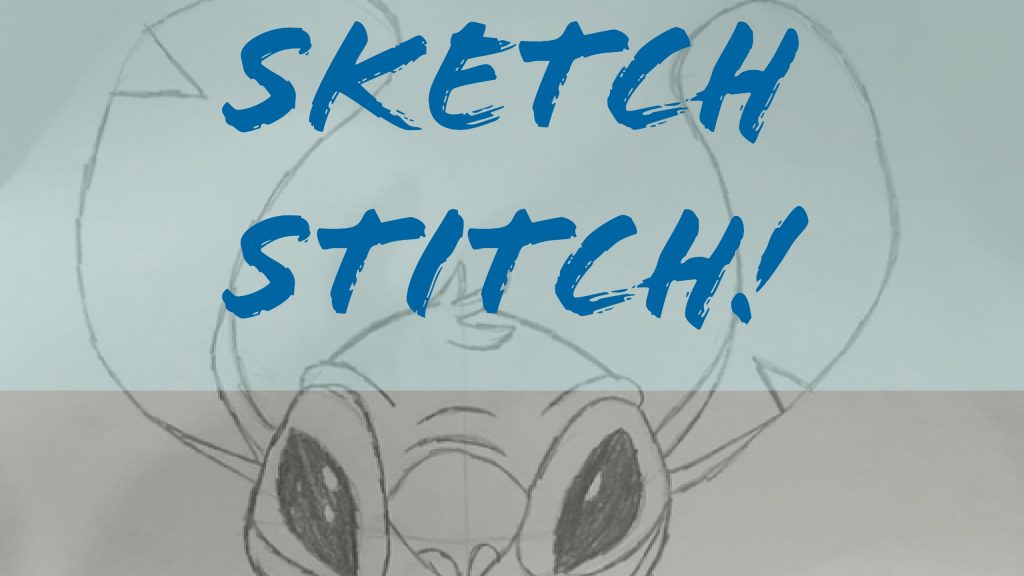
Stitch is a very cute Disney character that can be difficult to draw, However this helpful tutorial inspired by Disney’s art festival makes it much easier to handle! While sketching stitch, I met Vlogger Brandon, from Brandon GoesRawrr. He inspired me to make this tutorial. We were not allowed to use erasers, so I challenge you to draw without one! Sketch lightly so that your mistakes can be ignored.
Here are some of my favorite pencils!
If you choose to color him in, perhaps consider using pastels. Derwent’s Pastel Pencils are less messy than regular pastels and very fun for sketching.
If you must use an eraser,kneaded erasers are the best thing since sliced bread. They’re also a good fidget toy as it does not stain your clothing or furniture if you happen to leave it somewhere.
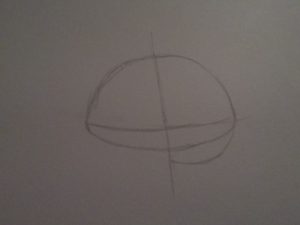
Step one
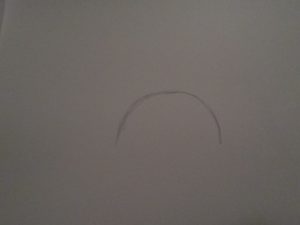
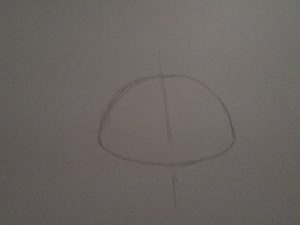
Start by drawing a half circle very lightly. This will be the top of Stitch’s head. Connect the two halves with a slightly curved line, making sure the edges are rounded and not sharp. Draw a line down the middle of the shape.
Proceed to draw a straight line very lightly across the shape horizontally where the curved line starts on the face.
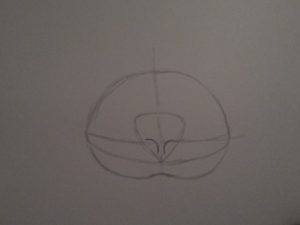
Step two
Next, extend the bottom of the middle line just a itty bitty bit. Then draw a curved line on either side outside of your bottom line to meet the end of that middle point and the sides of the face, so stitch looks sort of like this face… :3.
Draw the nose next, as seen in the picture below. A triangle shape with a curved top. Draw two little nostrils on either side.
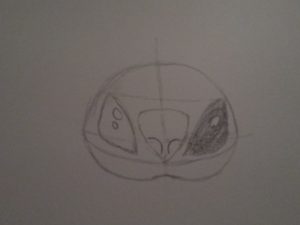
Step three
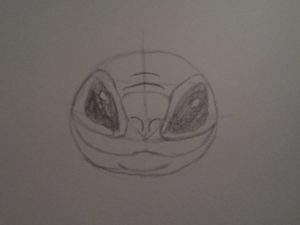
Then draw the eyes, which are kind of shaped like a football. I put one highlight in one eye and two in the other eye, to make it pop. I recommend making the highlight bigger than you think It should be in case you accidentally over shade the eye. You can add more but not always take it away!
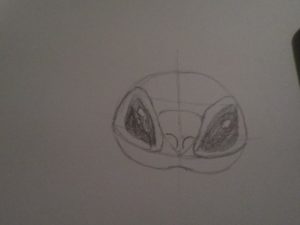
Step four
Then draw curved lines around the eyes, that follow the bottom guideline, go around the eye, curve up, and meet the side of his head.
Step five
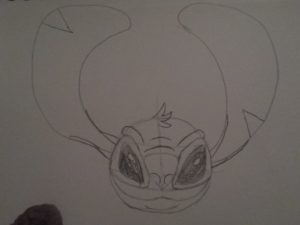
Then draw a line under the mouth for a chin, another line for the neck, and draw two lines above the nose, the one down close to the nose should be a bit longer.
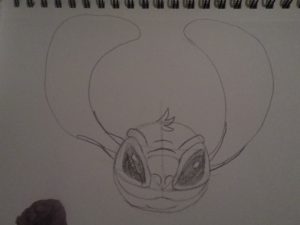
Add three tufts of hair to the top of his head and his eyebrows. His eyebrows stick out from his head, they curve back to right above the eyes.
Step six
Next is the ears. Draw a big floppy loop coming from about where the eye is and up over his head, coming back down. Repeat on the other side and draw little long triangles that go out.
Finish
Add a chip in either ear and you are done! You can color him in or leave him blank.