
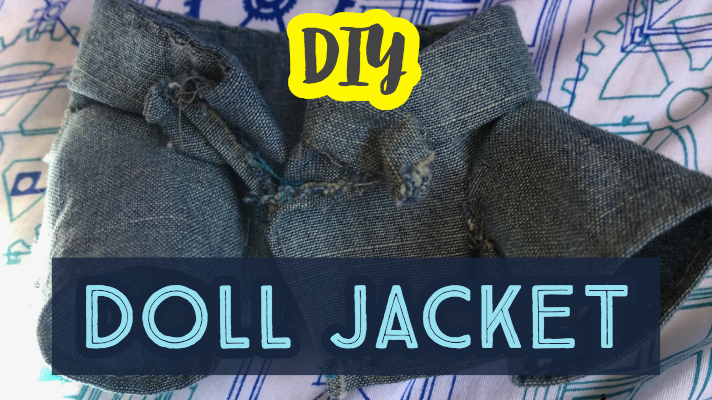
Sewing can be really hard for dolls and stuffed animals, as they are small and it is very easy to ruin whatever you are sewing with much smaller seam allowances. One of the main problems with sewing small clothes is cloth that is too thick, so for this Doll Jacket make sure your cloth is nice and thin before you start. Be prepared to spend a lot of time sewing painfully tiny stitches with a very sharp needle.
What you will need
- Thin denim fabric
- Patience
- Grey thread
- Needle that is very sharp
- Scissors
- Plush or doll for sizing
Finding the Right Fabric for your Doll Jacket
As I said previously, it is very important to find a thin and workable fabric. Look for a nice thin denim fabric that will not fray too harshly. You will not need much of it, I only used part of a sleeve off an old shirt.
Figuring out What you need to make the Main Part of the Doll Jacket

Start by wrapping the plush in the cloth, and figuring how much cloth will wrap all the way around them with room in the front for the front of the jacket. Remember it is better to have too much fabric than too little.
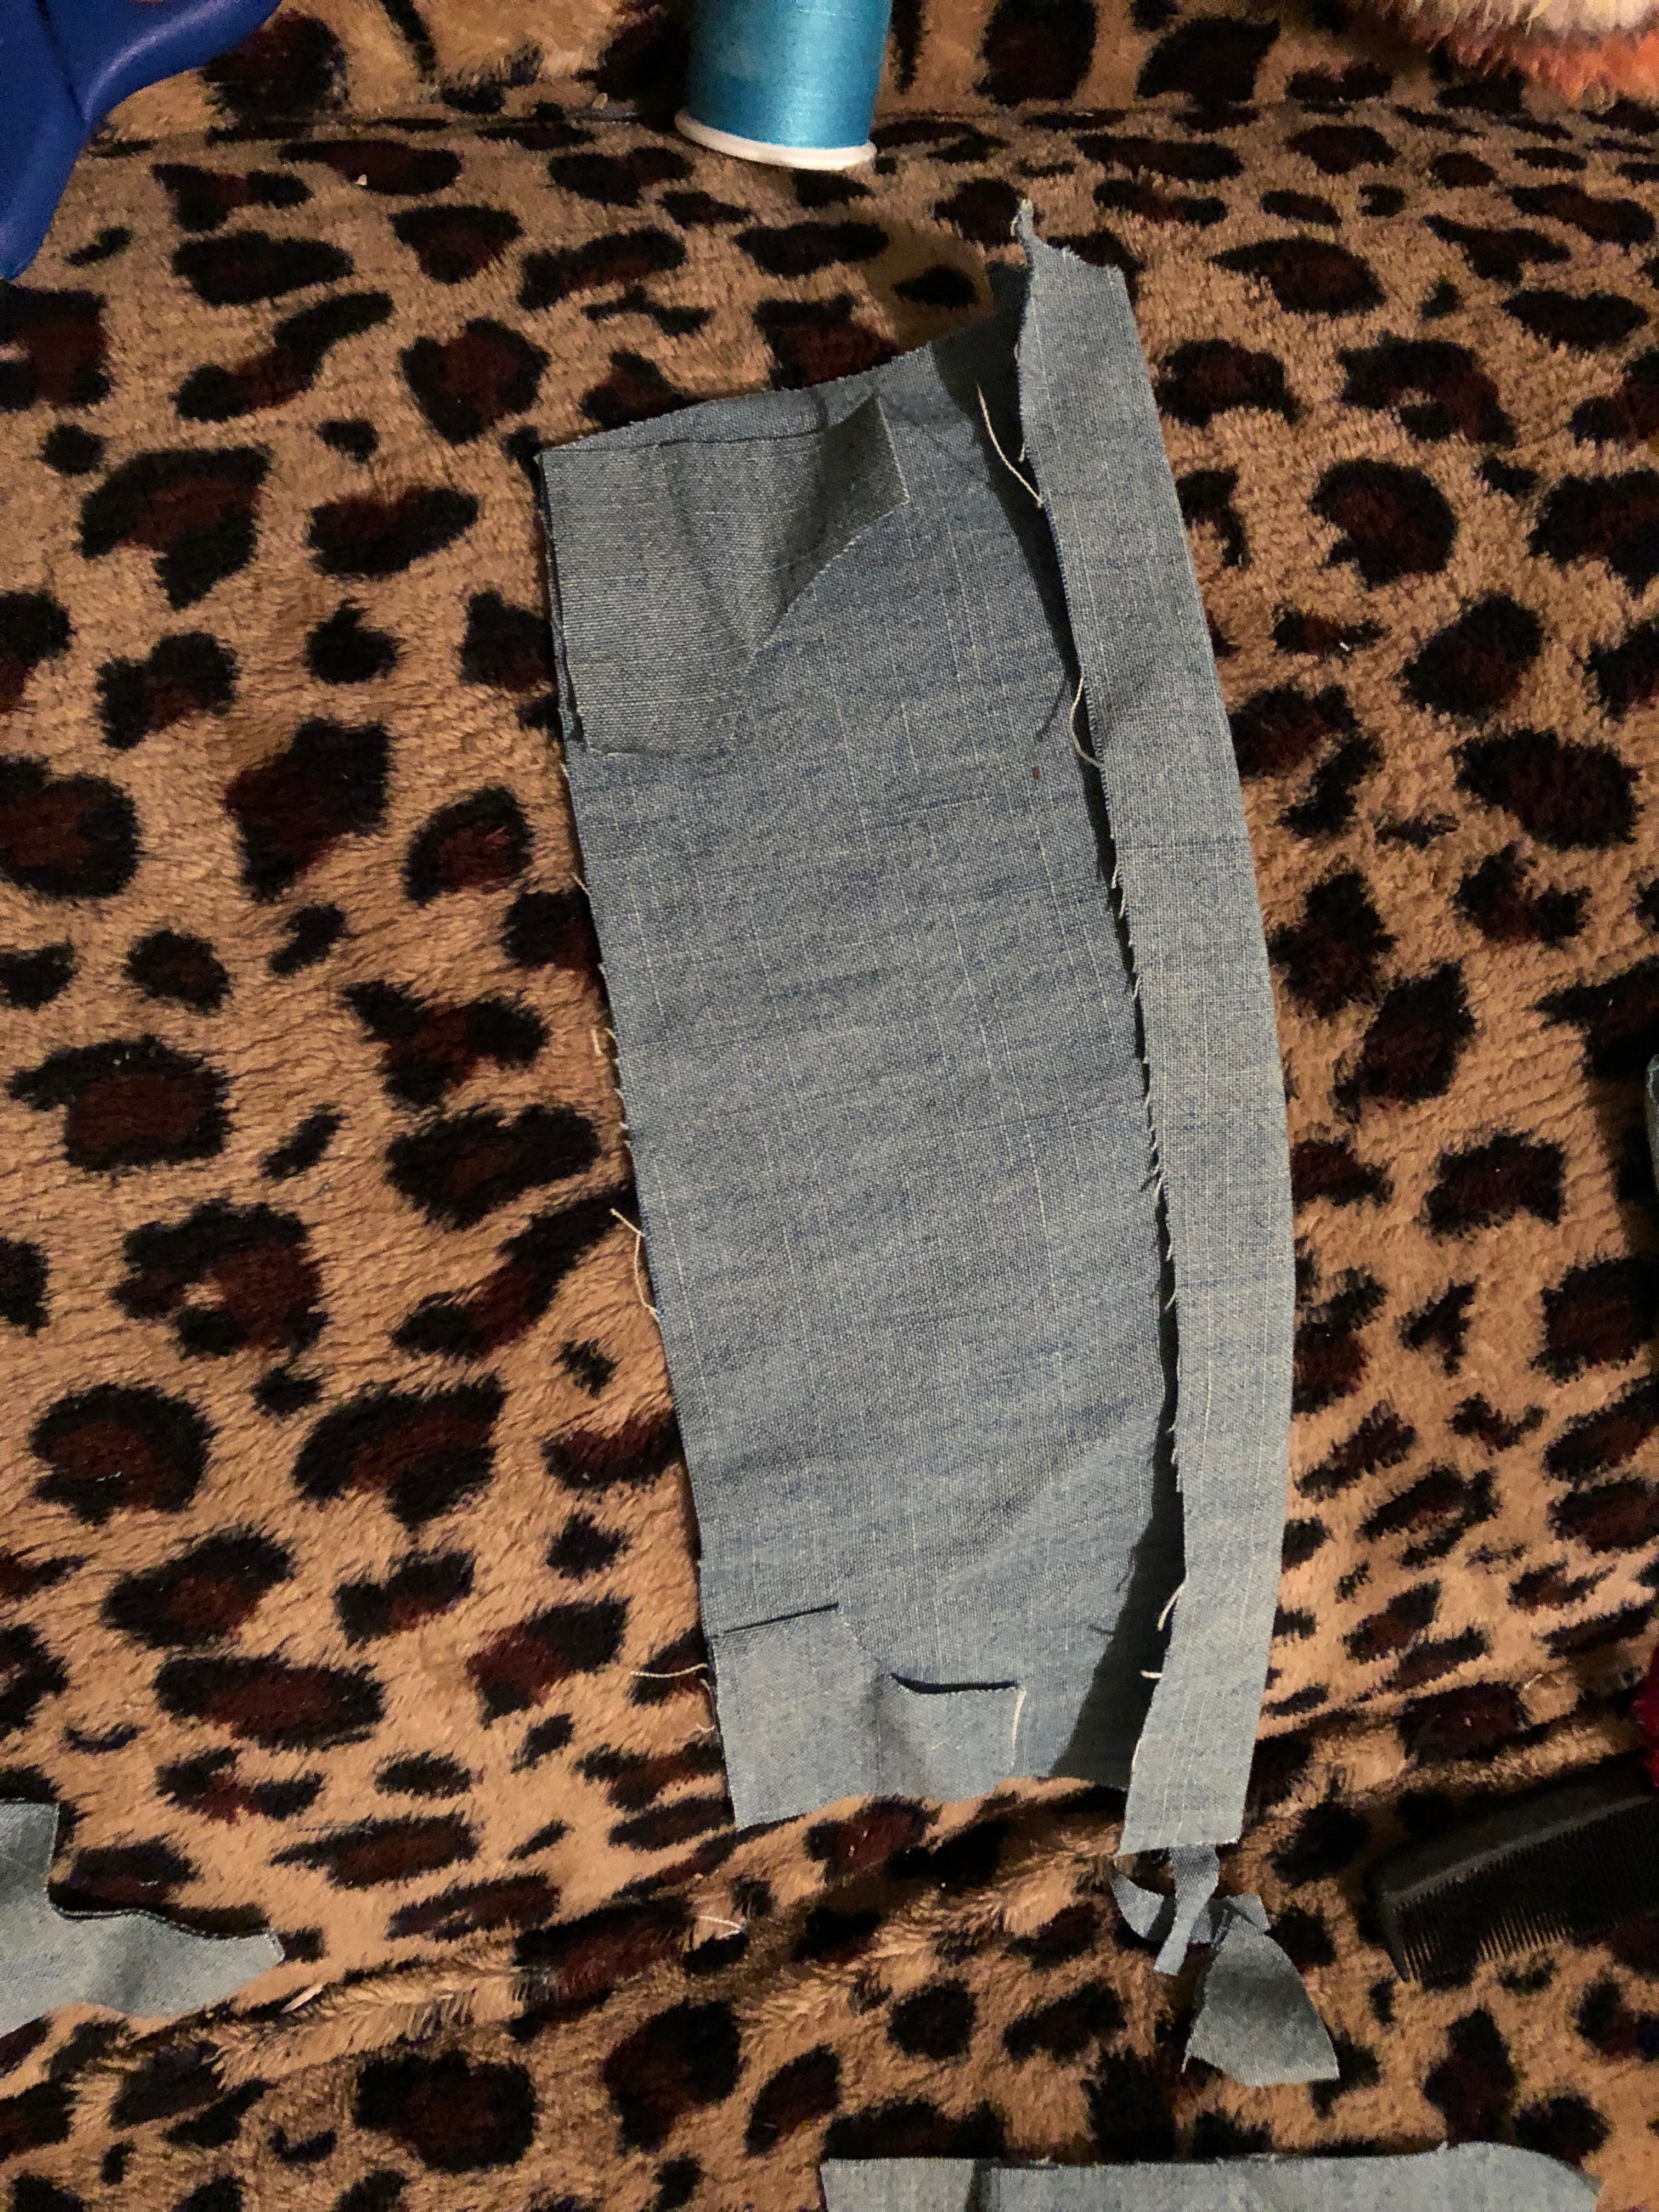
Measuring and Cutting the Sleeves

Your sleeve should go all the way down to the bottom of the foot, completely covering the arm, with a little room on either side to get it on and off easily. Remember the finished product is a full loop of fabric with sleeves, and you don’t want to tug your doll’s arms so hard they pop off.
Cutting the Tiny Pockets

Cut two small squares out of the fabric and make sure there is enough room for pockets on the jacket. Cut a dip out of one corner to make it like a zip up hoodie pocket, or a sandwich with a bite taken out of it.
Cutting out the Tiny Collar
On the top of the jacket, fold over the top edge and pin it down, about a quarter of an inch thick. Cut an angle at the bottom of the jacket from the bottom of the jacket to the edge of the folded down part, leaving a quarter of an inch of space at the bottom of the sides of each collar. Cut the collar itself to make that angle, cutting the part folded down and the fabric just underneath, as the collar will be double fabric pieces.
Sewing the Raw Edges down of the Pockets
Fold the ends of the pockets down and neatly use a blanket stitch along the edges to give it a more finished hemmed look instead of raw edged and half finished. This took awhile, so feel free to take breaks if your eyes get sore from focusing intensely on small stitching.
Sewing the Sleeves
Sew the sleeves using that same blanket stitch in a really small form to connect the edges of the two cloths made for sleeves. Make sure to do your stitches on the inside so that they won’t show after the sleeves are attached to the jacket.
Testing the Sleeves
Slip the sleeves on the arms of the doll or plush to make sure the sleeve can come on and off easily. Make adjustments as needed.
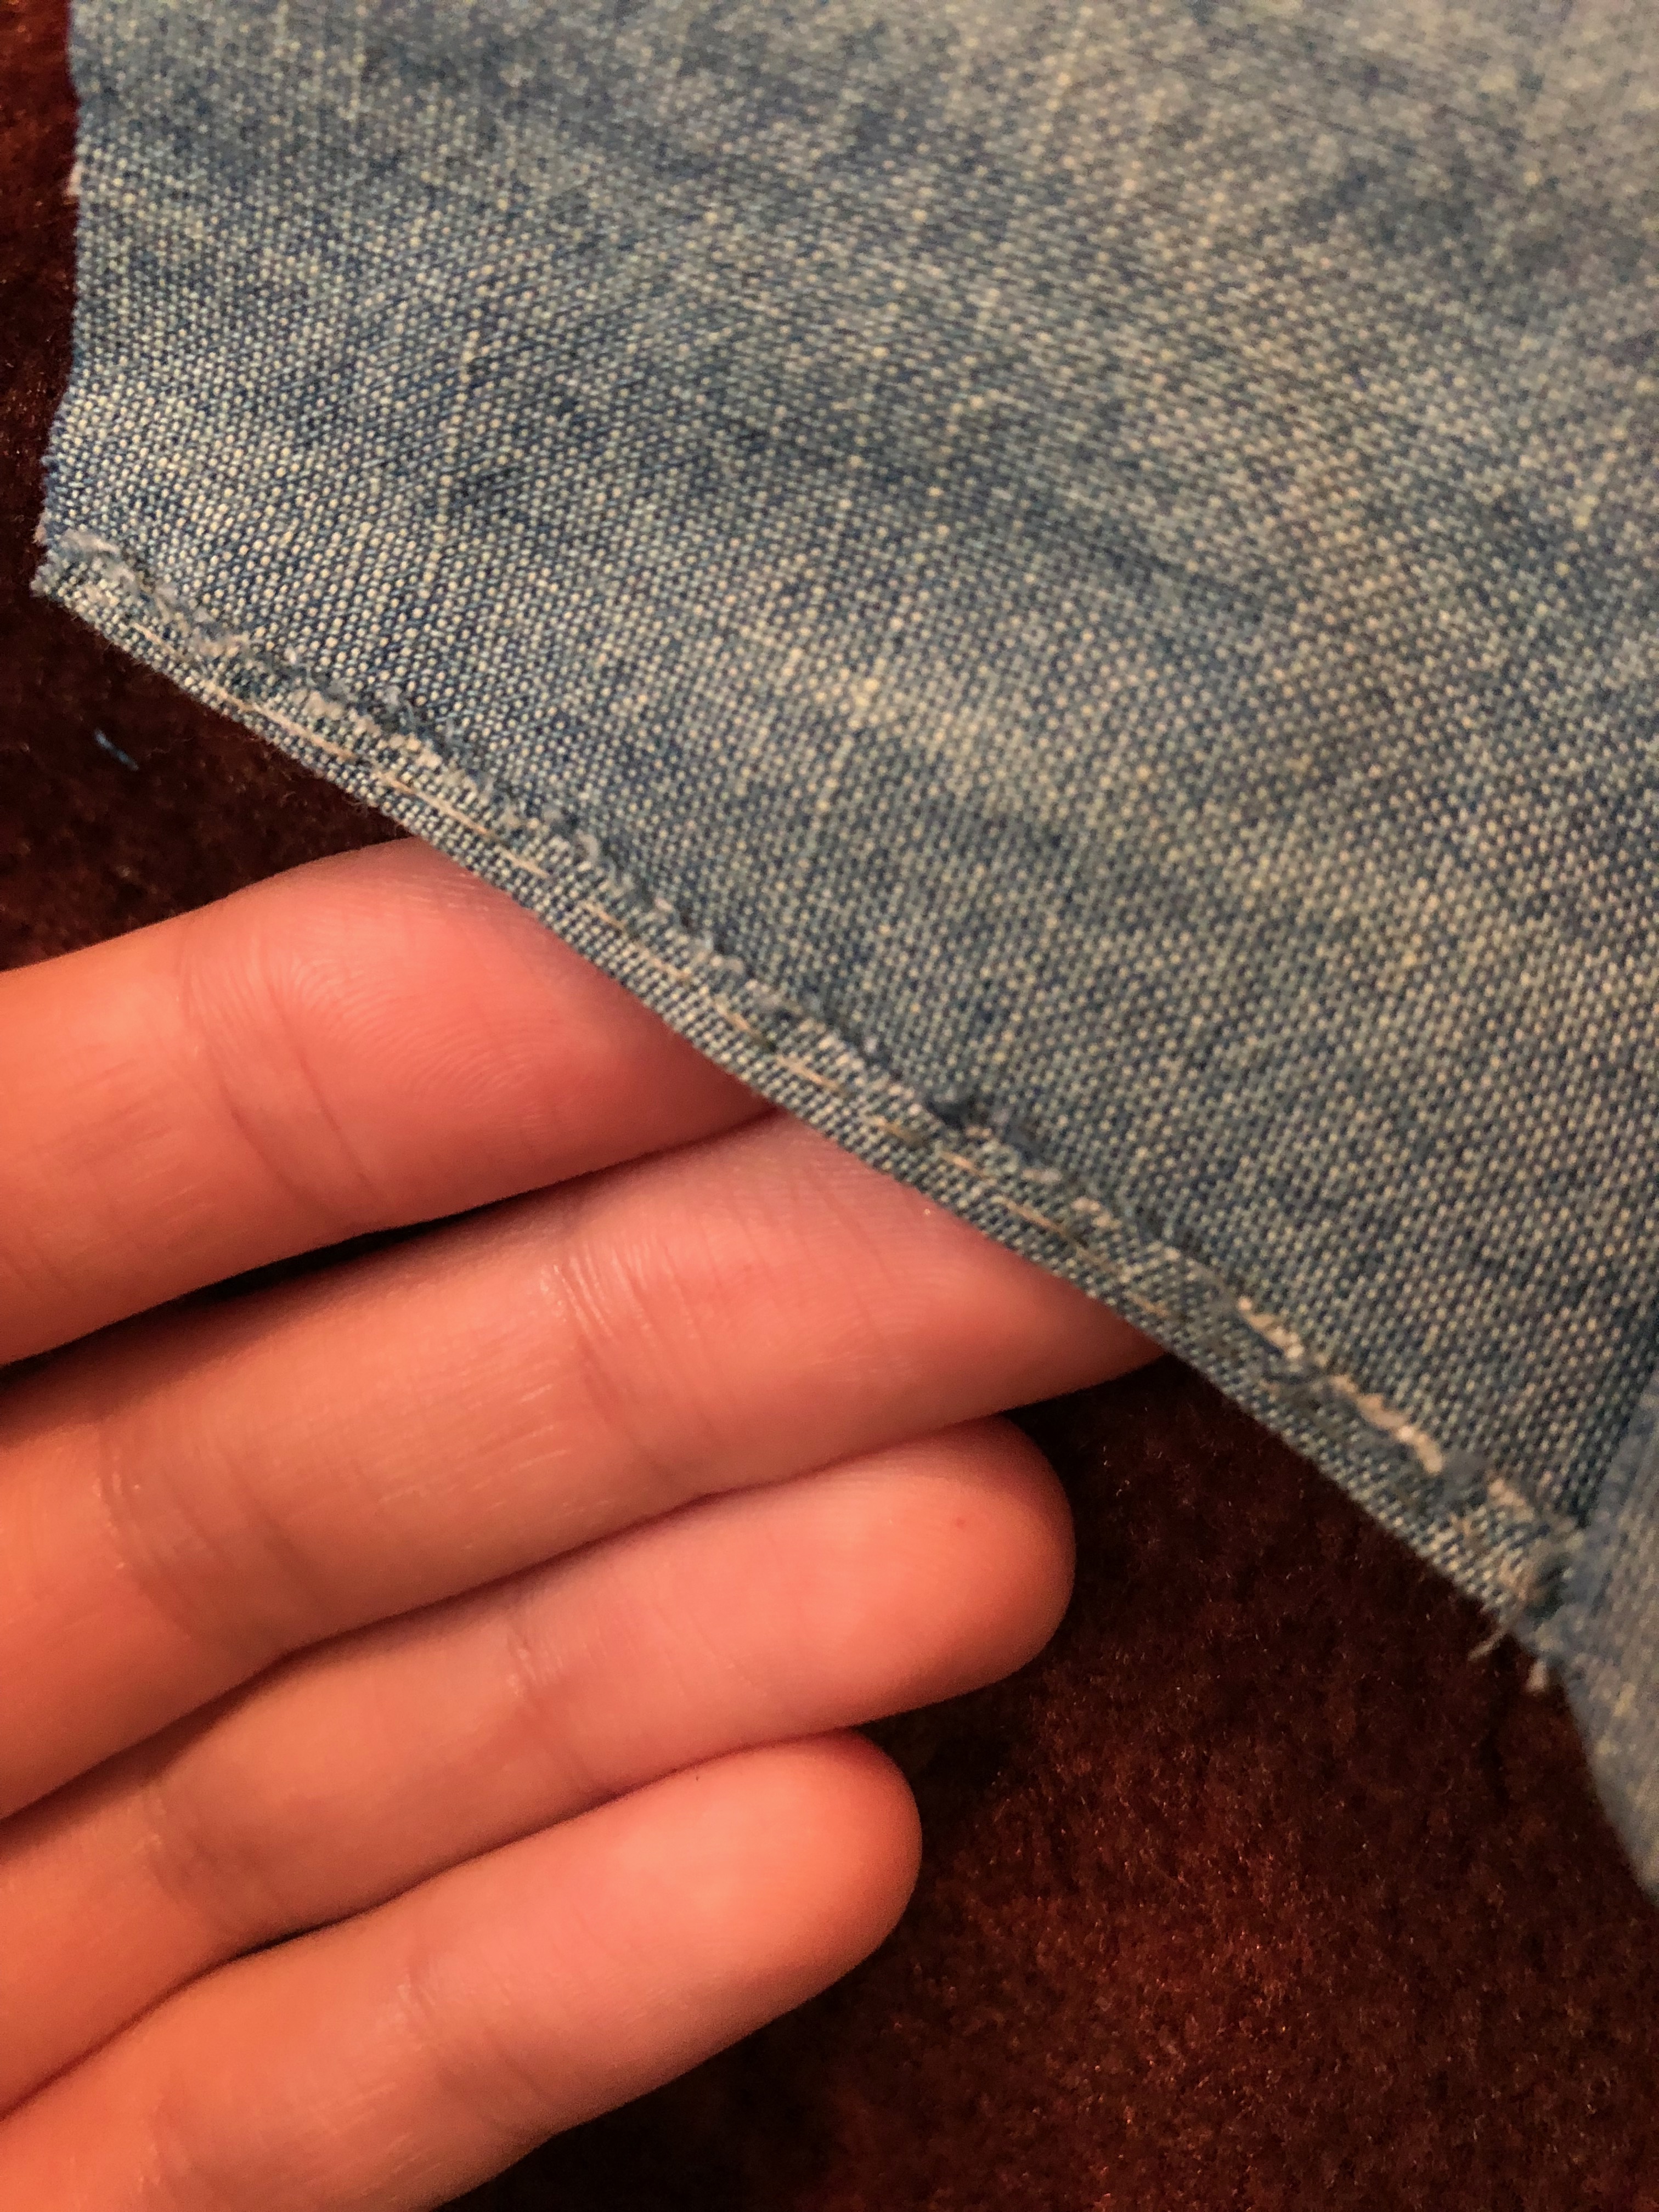
Stitching the Seams on the Edges of the Sleeves
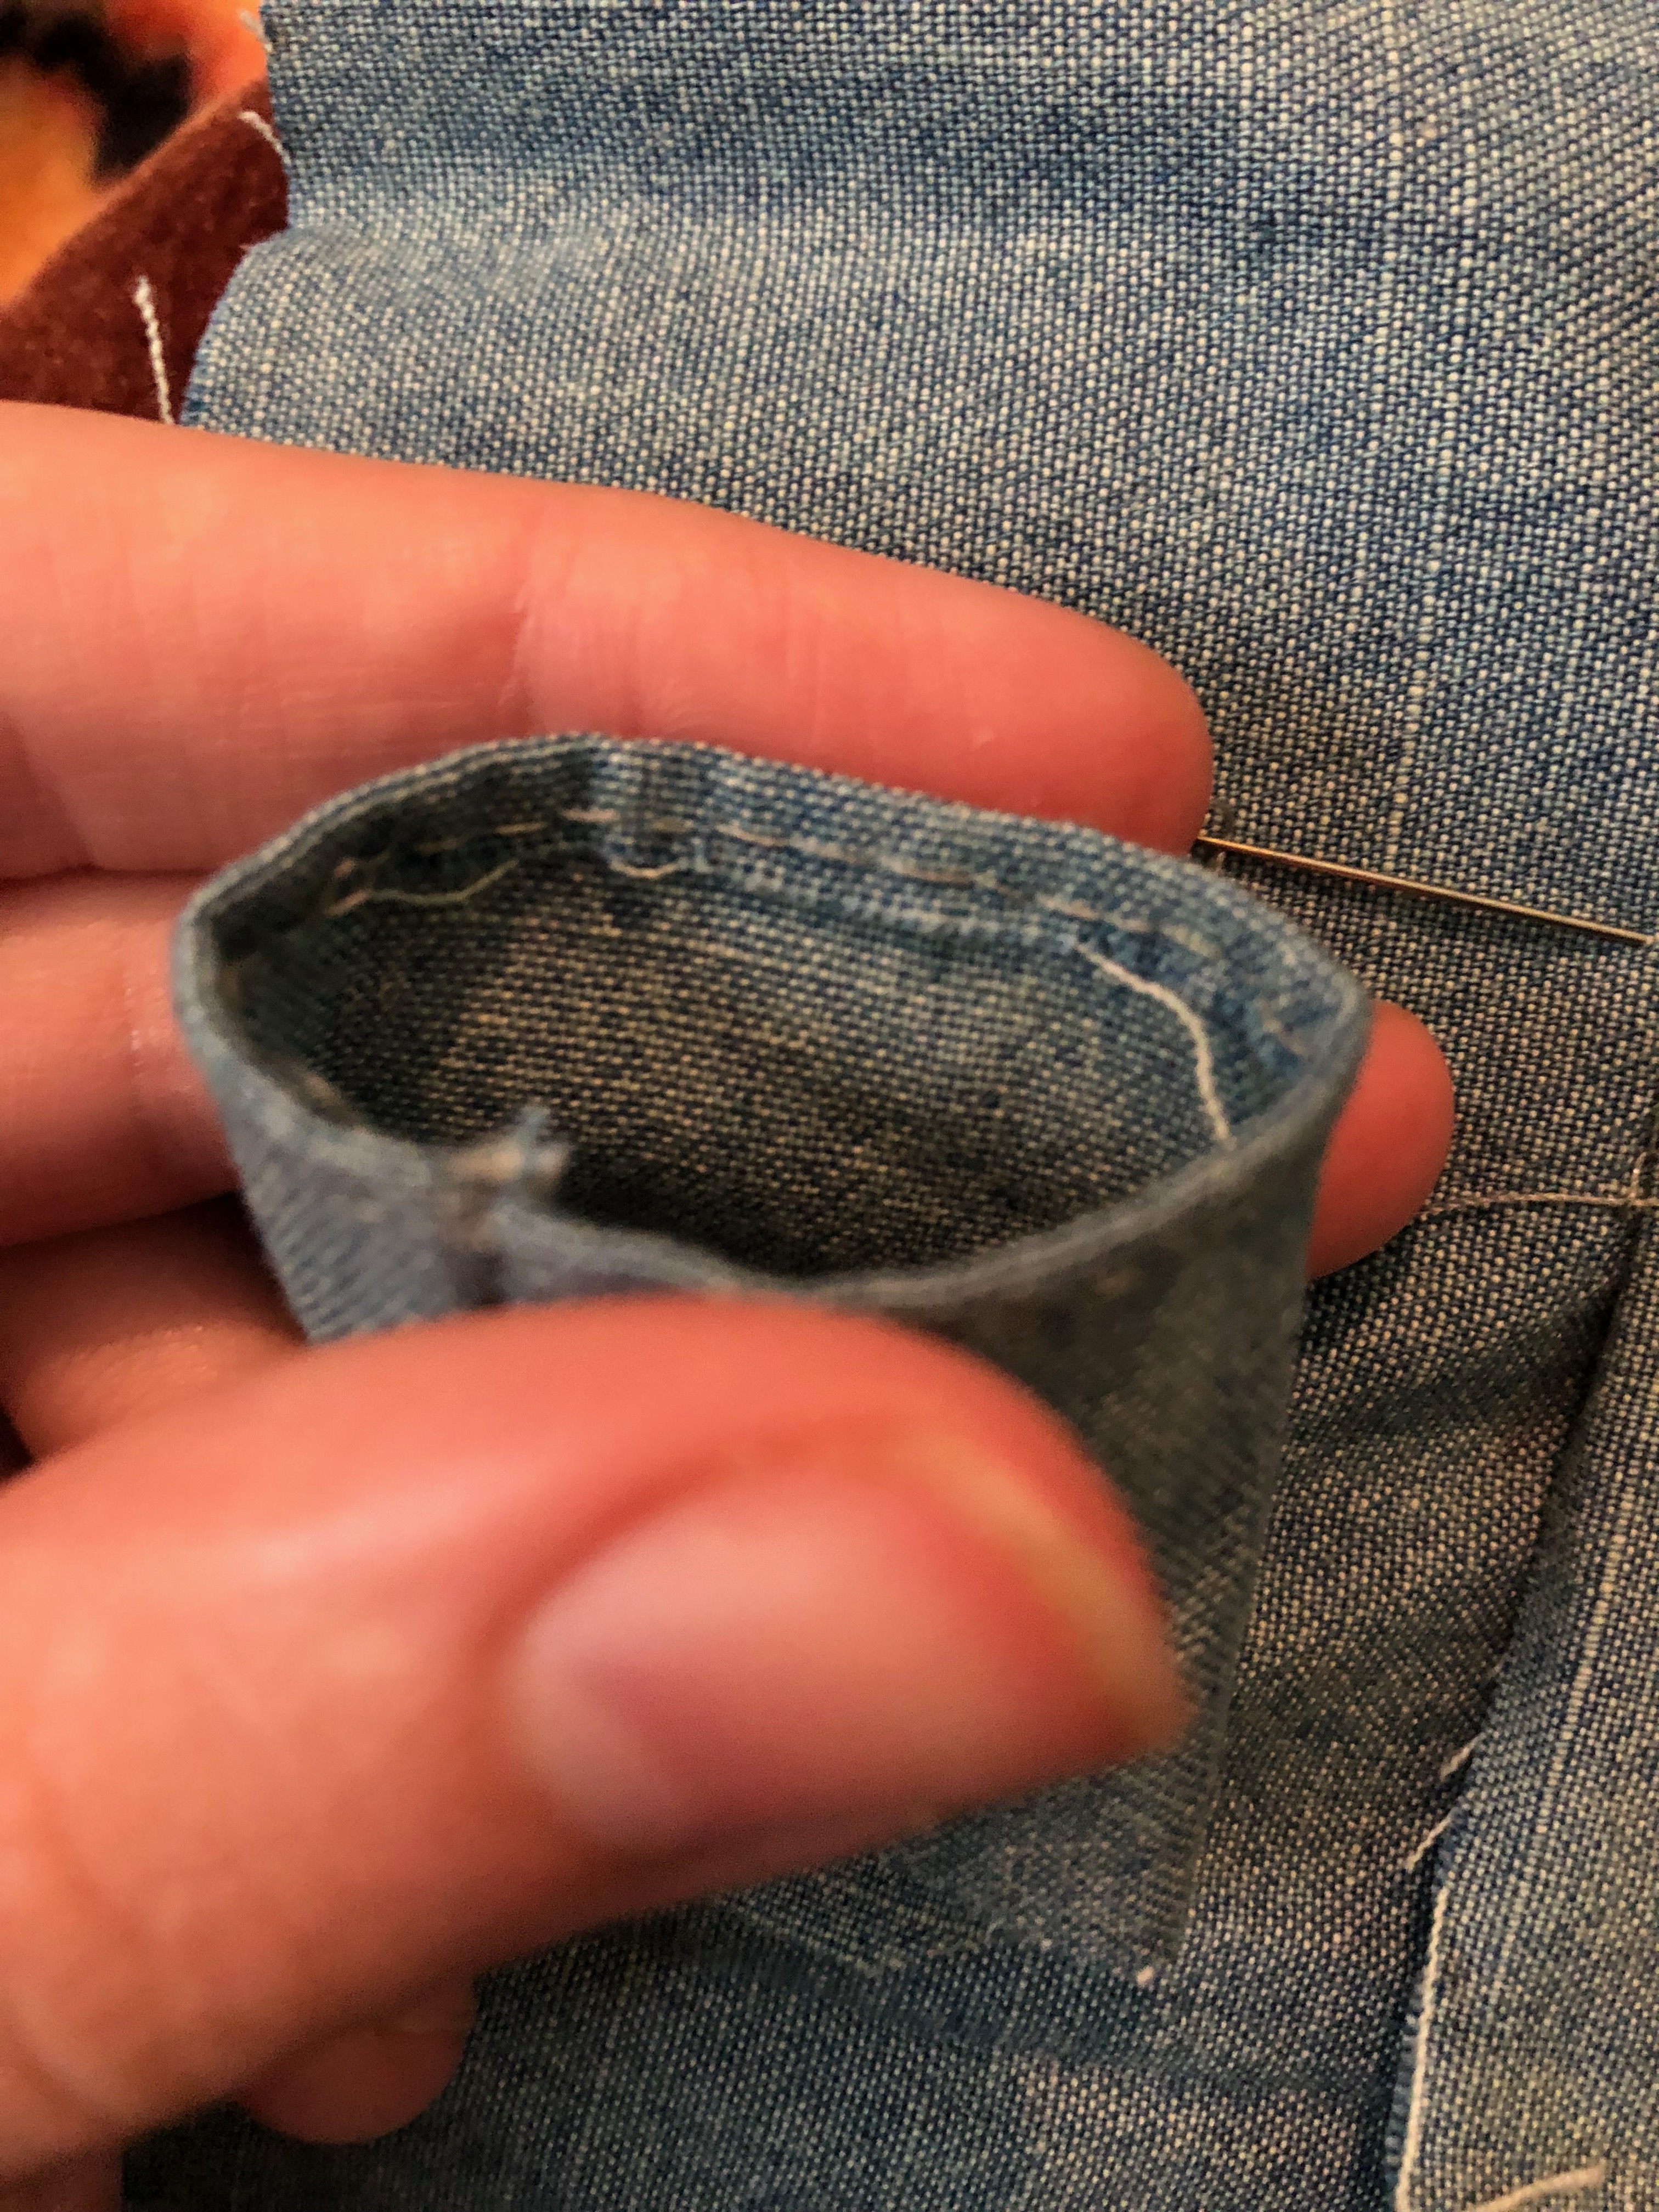
While the sleeve is still inside out, sew the raw edge down into the inside with tiny stitches, making sure to trim any strings that decided to stop by.
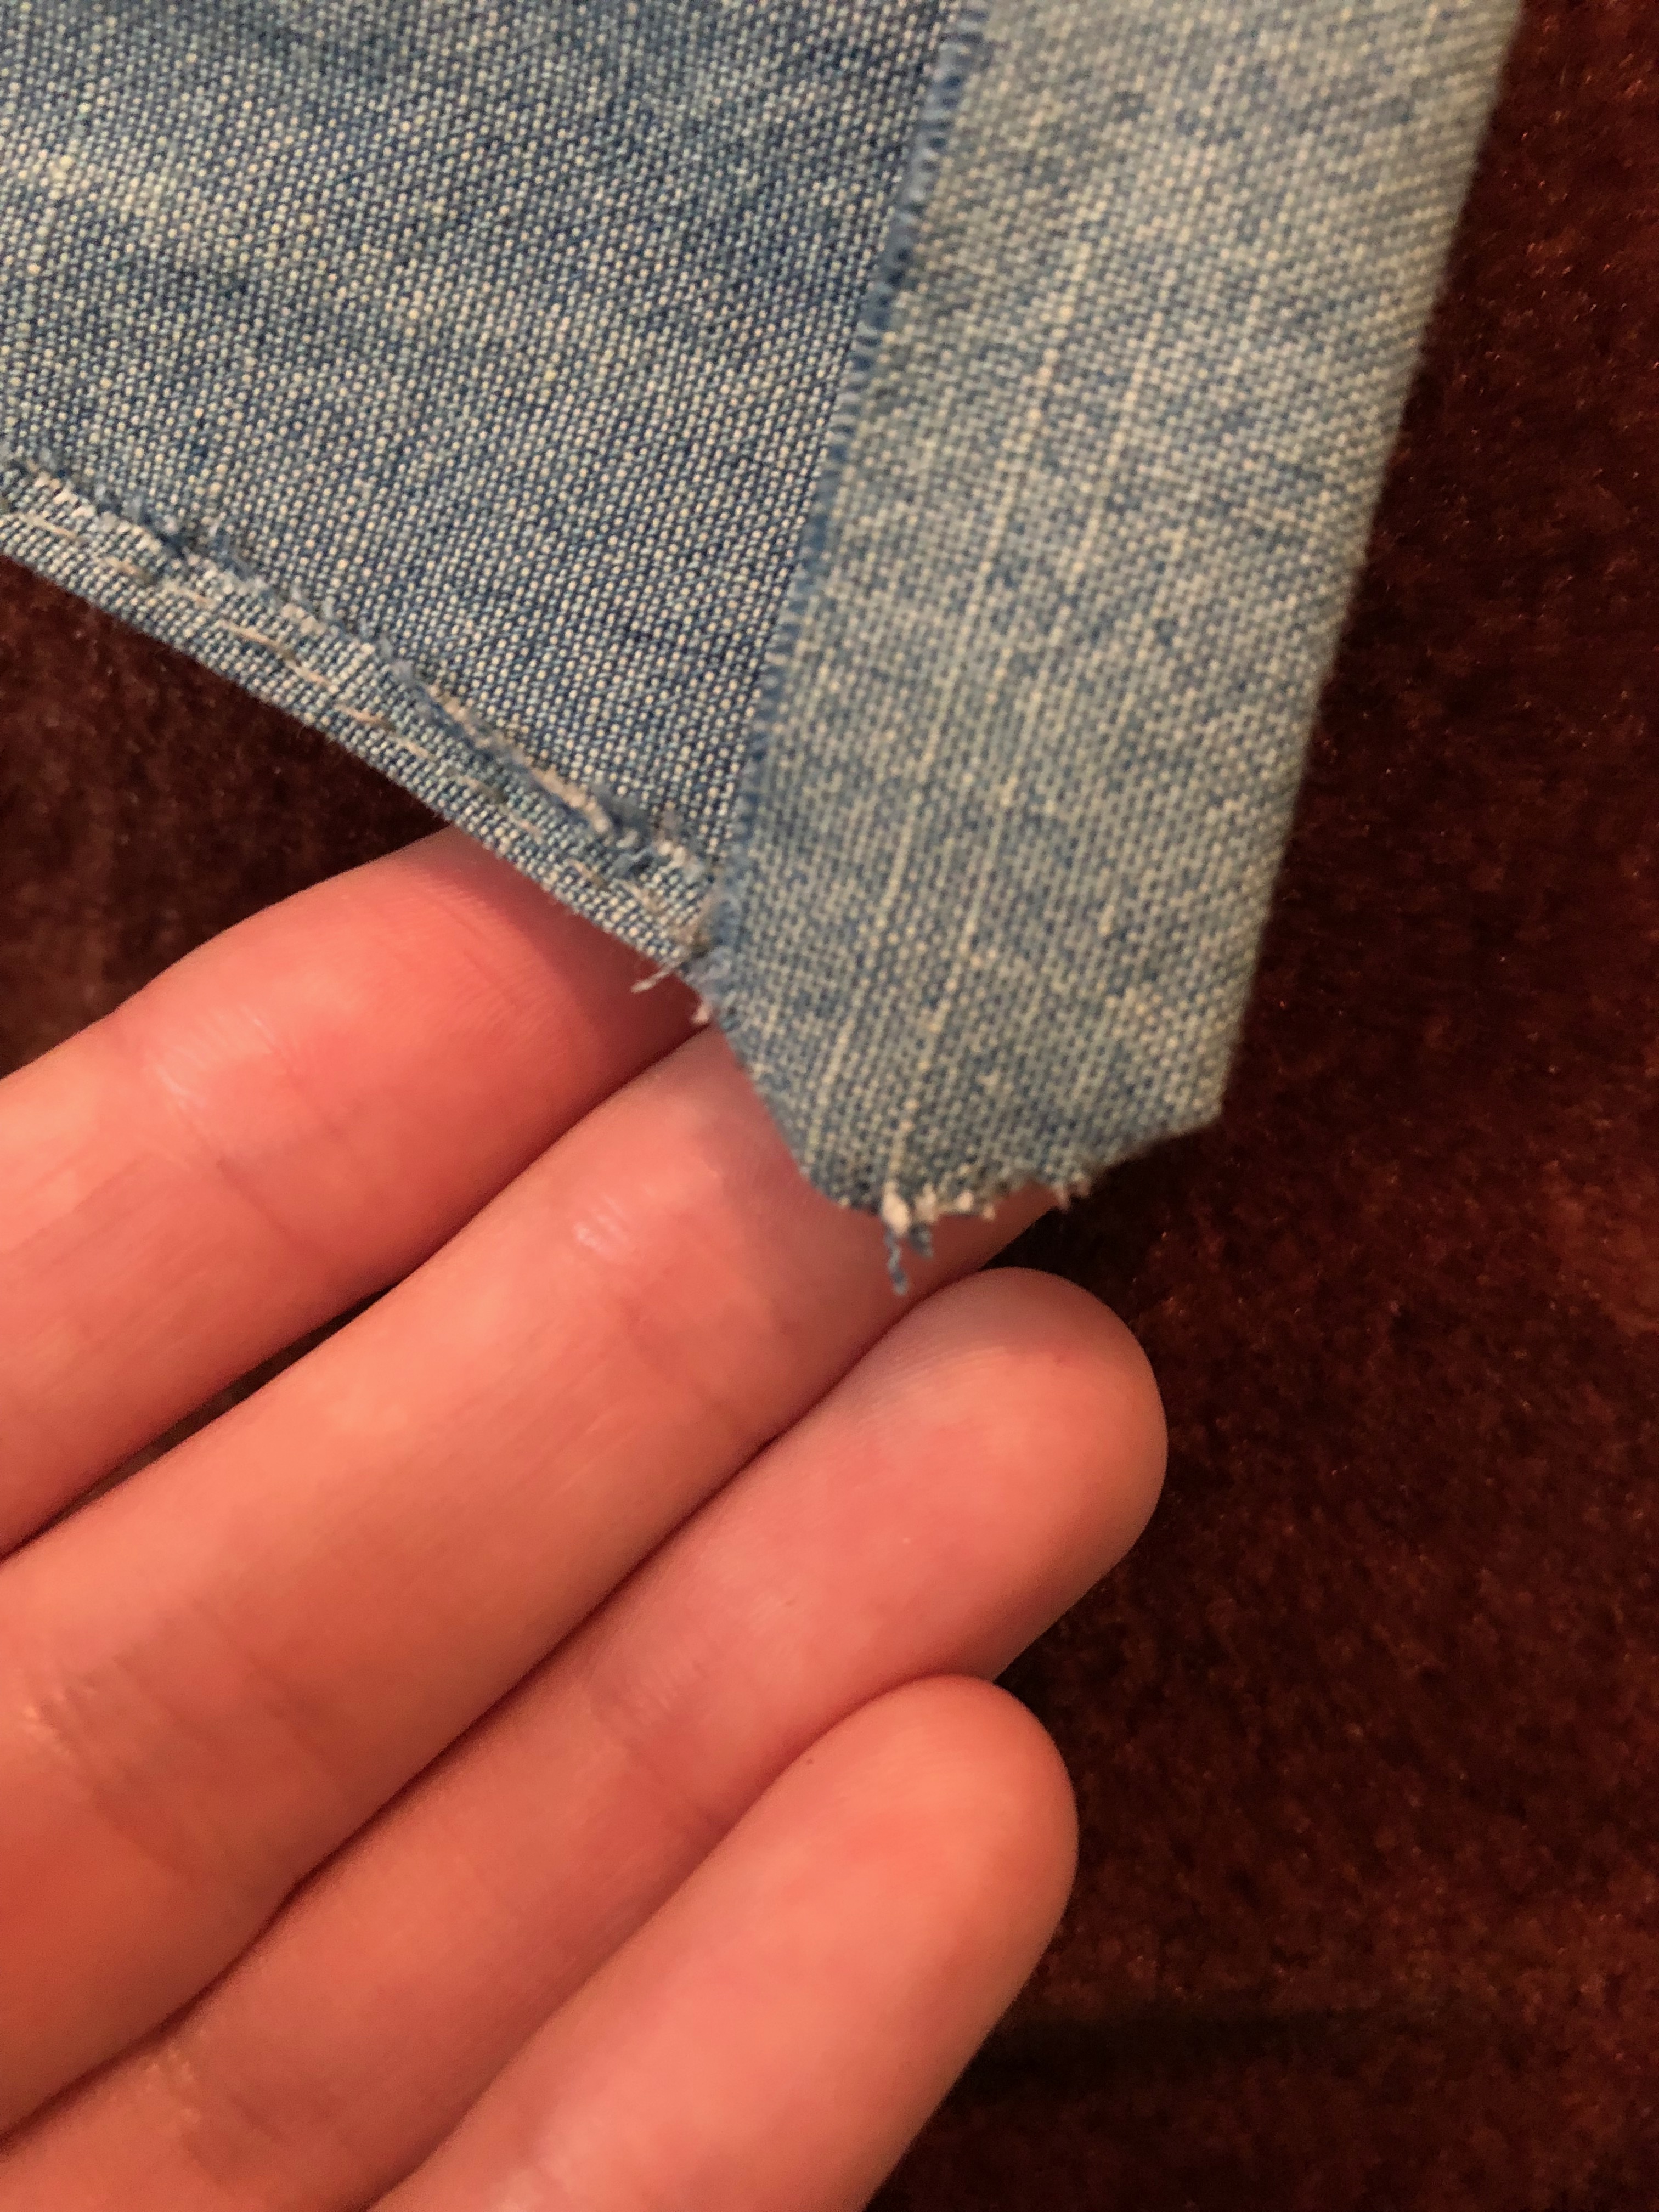
Making the Hem on the Edges of the Doll Jacket
Sew a straight line on the underside of the jacket at the bottom. This is optional, but needed if you would like a more professional look. Sew the side edges too, leaving the stitches a little bigger like a zipper.
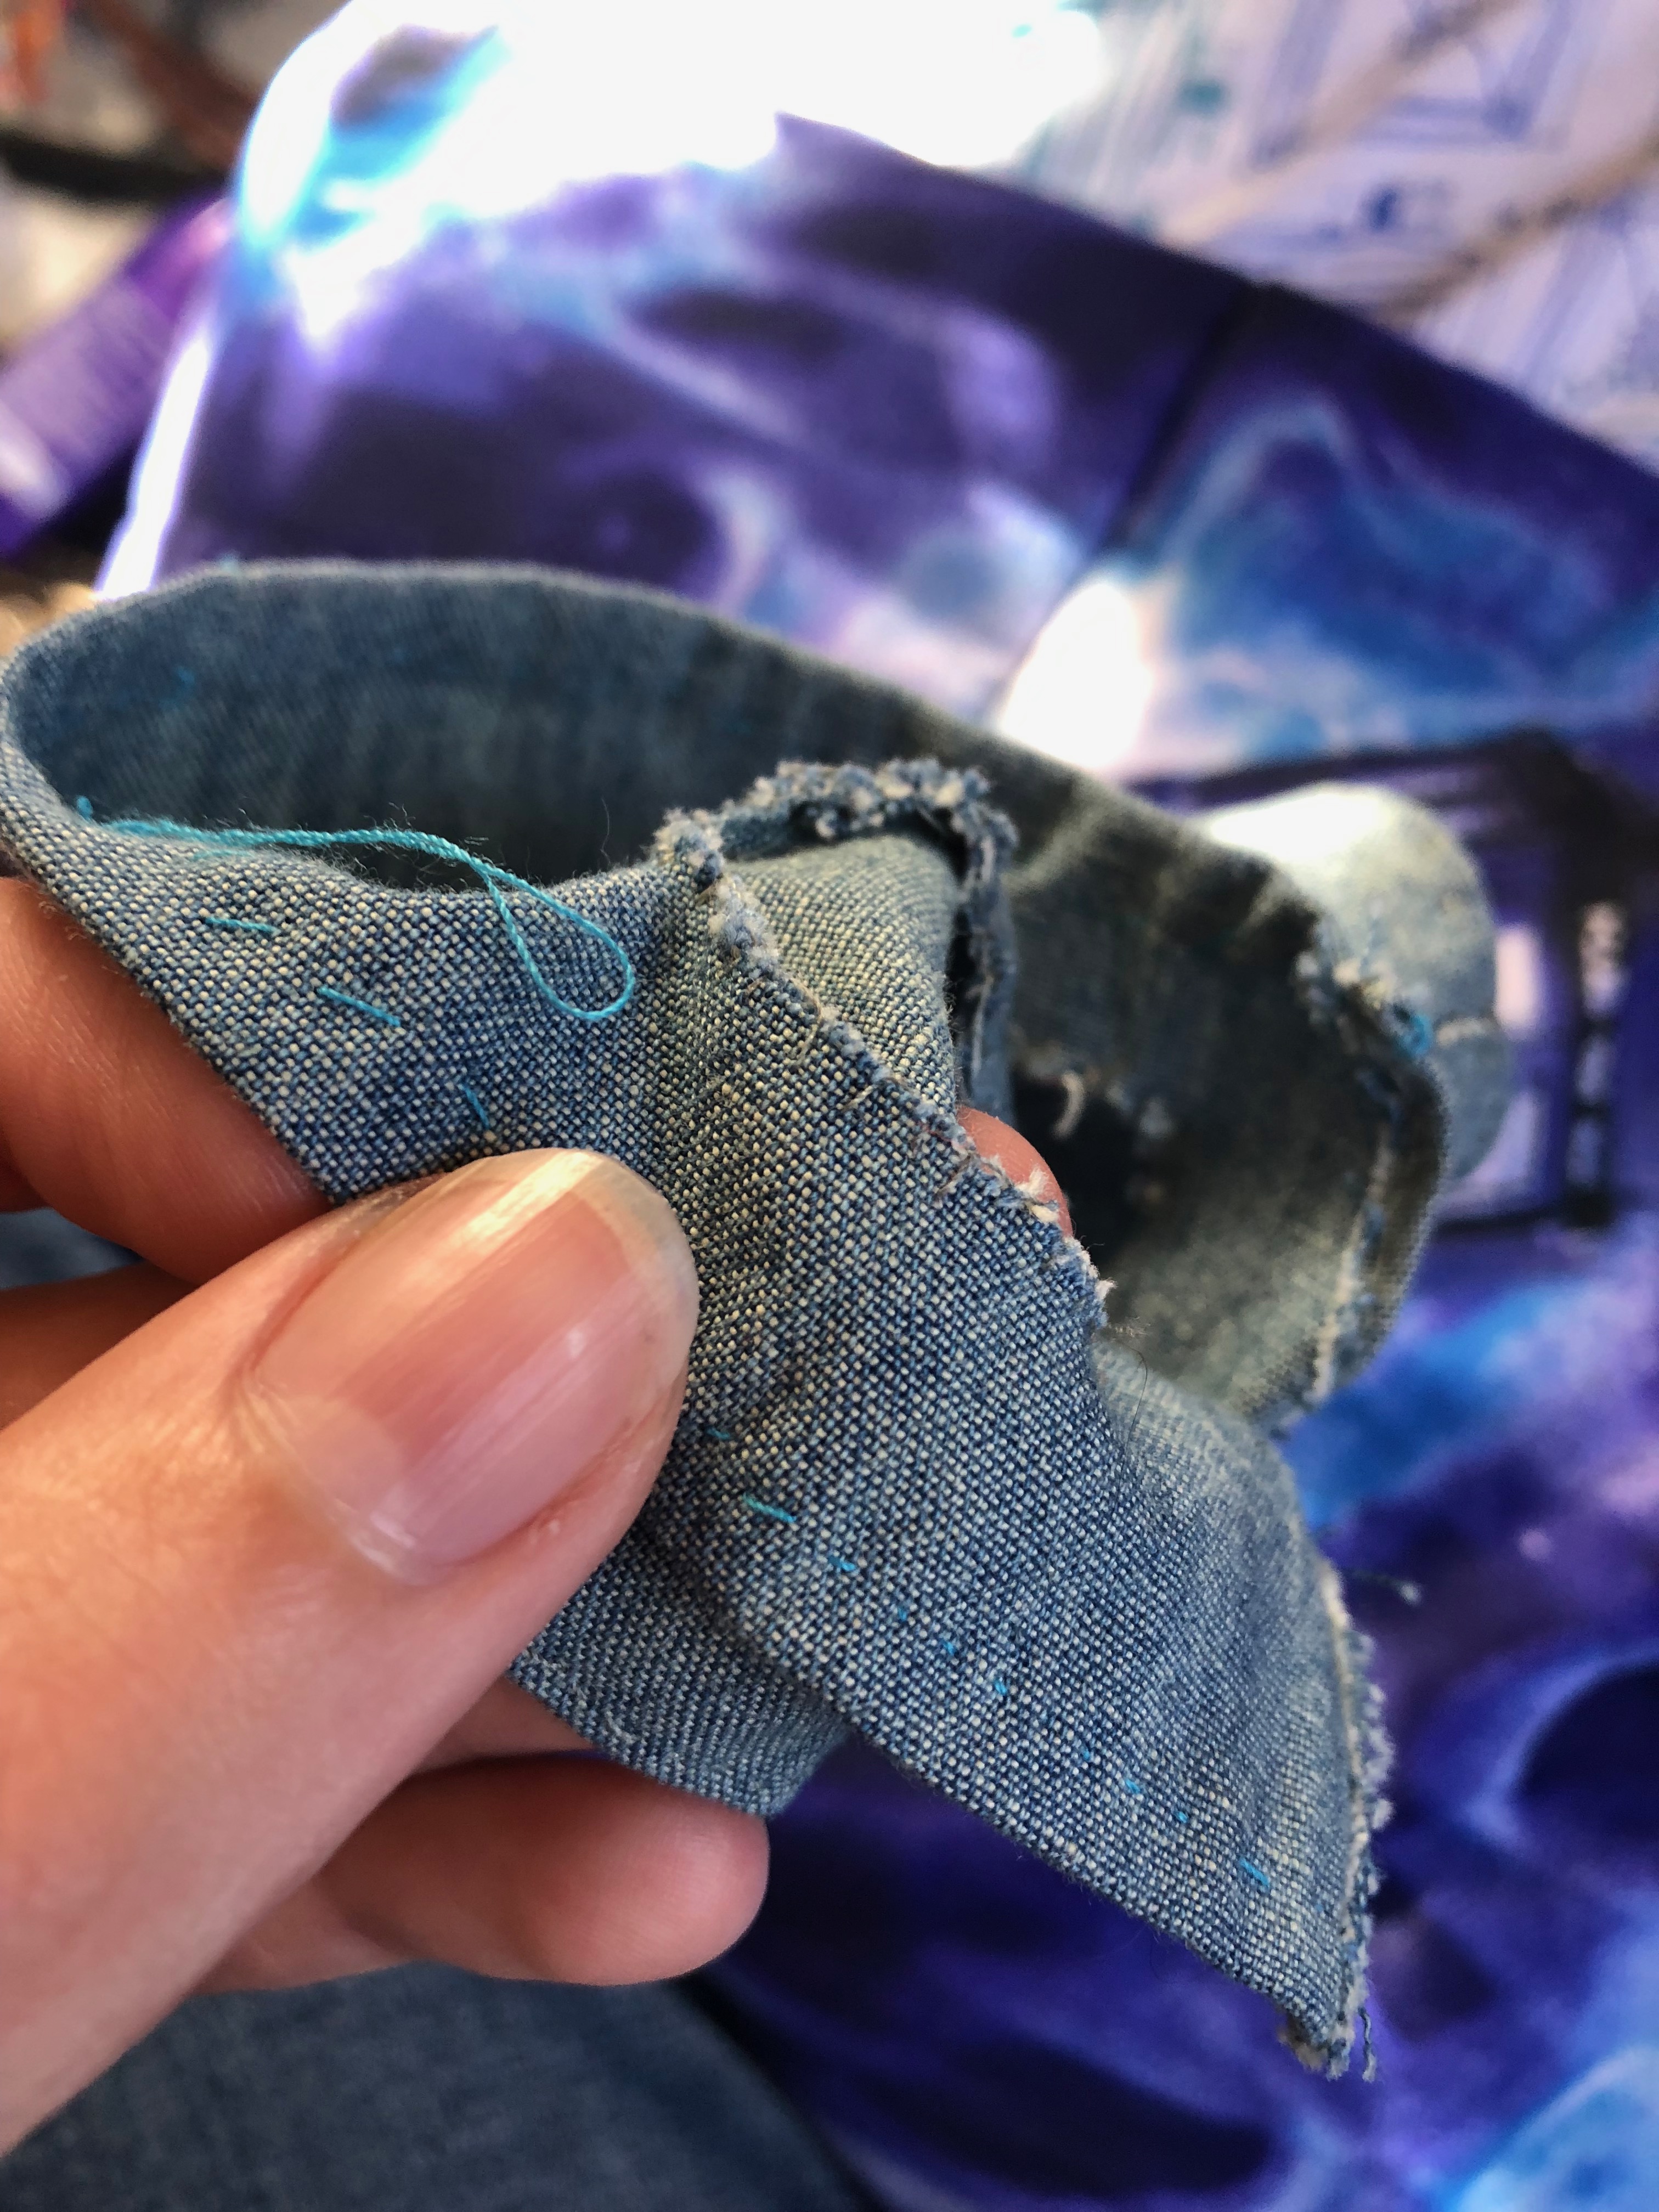
Sewing the Collar
Flip the collar inside out and sew just the corners down. Flip the corners right side out again, sewing along the edge to hide the raw edges of the fabric. I folded it under itself and did a fast stitch along the edge to hold it.
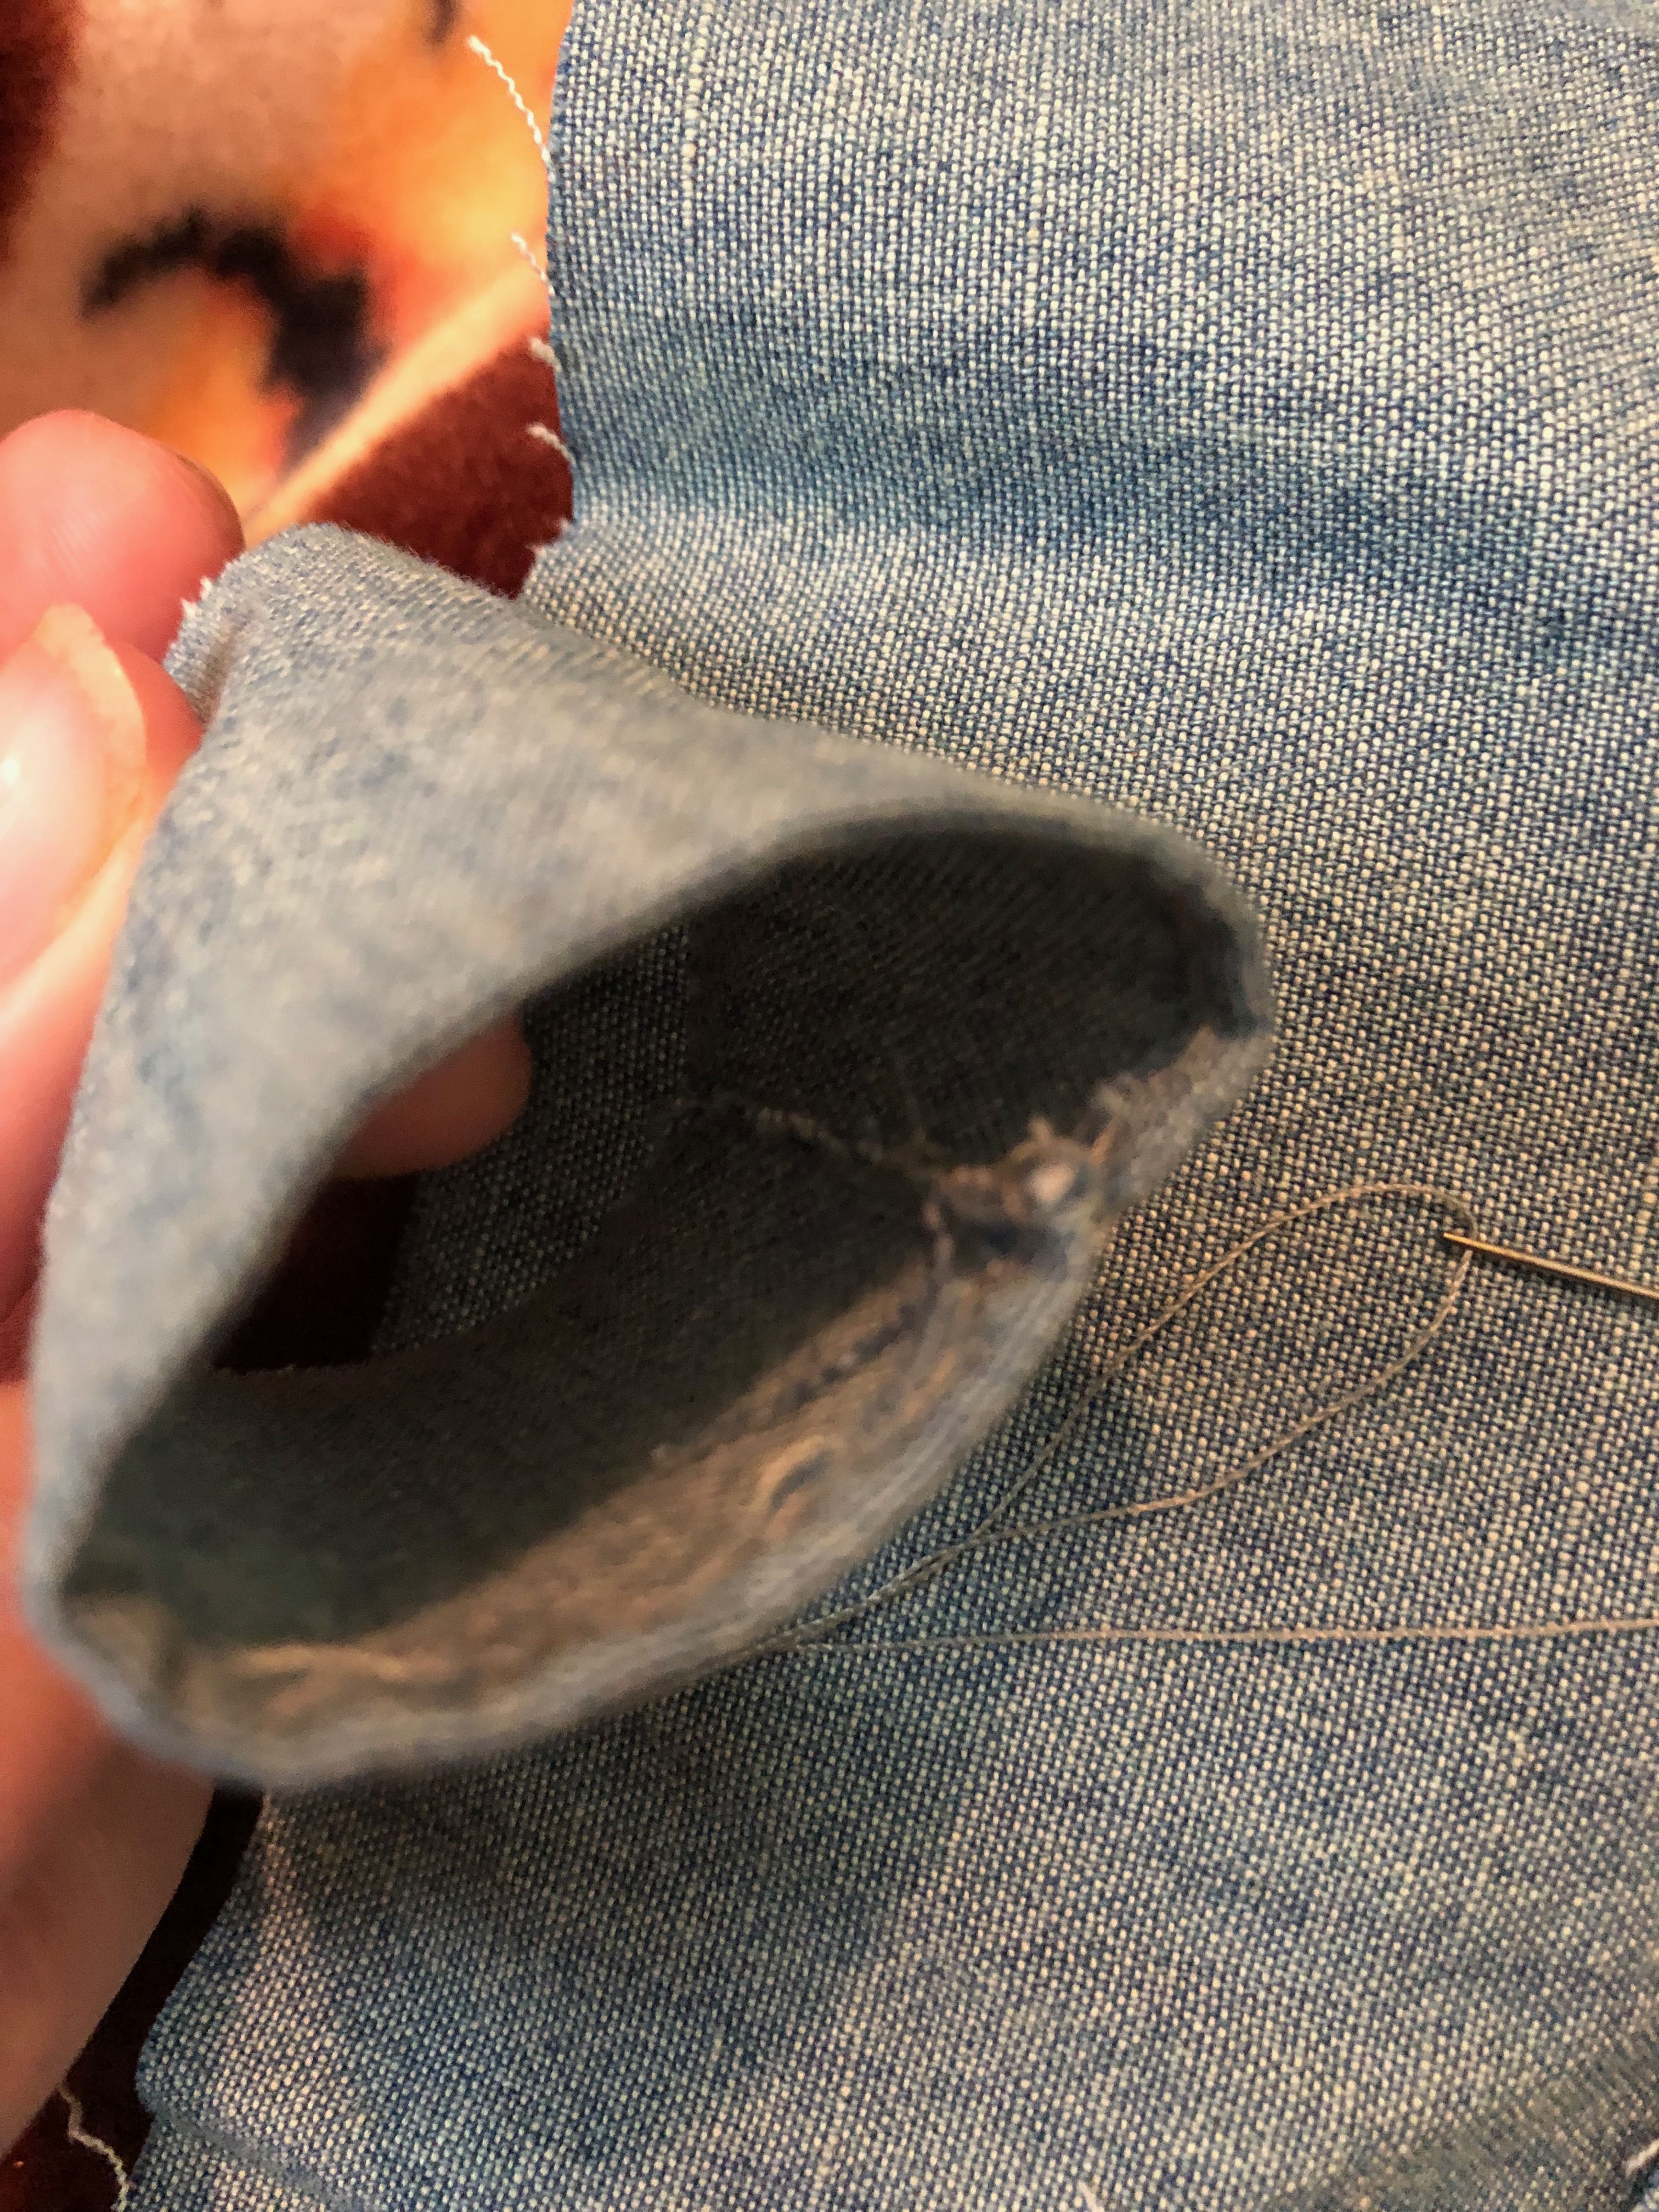
Cutting the Sleeve Holes
Put the cloth beside the stuffed animal and determine where the arm holes should go. Cut holes and make sure your spacing was correct, then ajust the size of the holes so the sleeves can fit in them.
Attaching the Sleeves
Sew the sleeves on using a tight whipstitch on the inside of the jacket. Make sure you flipped the sleeves right side out first, then put the sleeve on as it would be from the outside, tucking the raw edge into the hole and flipping the coat to the other side to sew a seam. It’s okay to pull the edge of the jacket up to the edge of the sleeve together to sew.
Testing out the Jacket
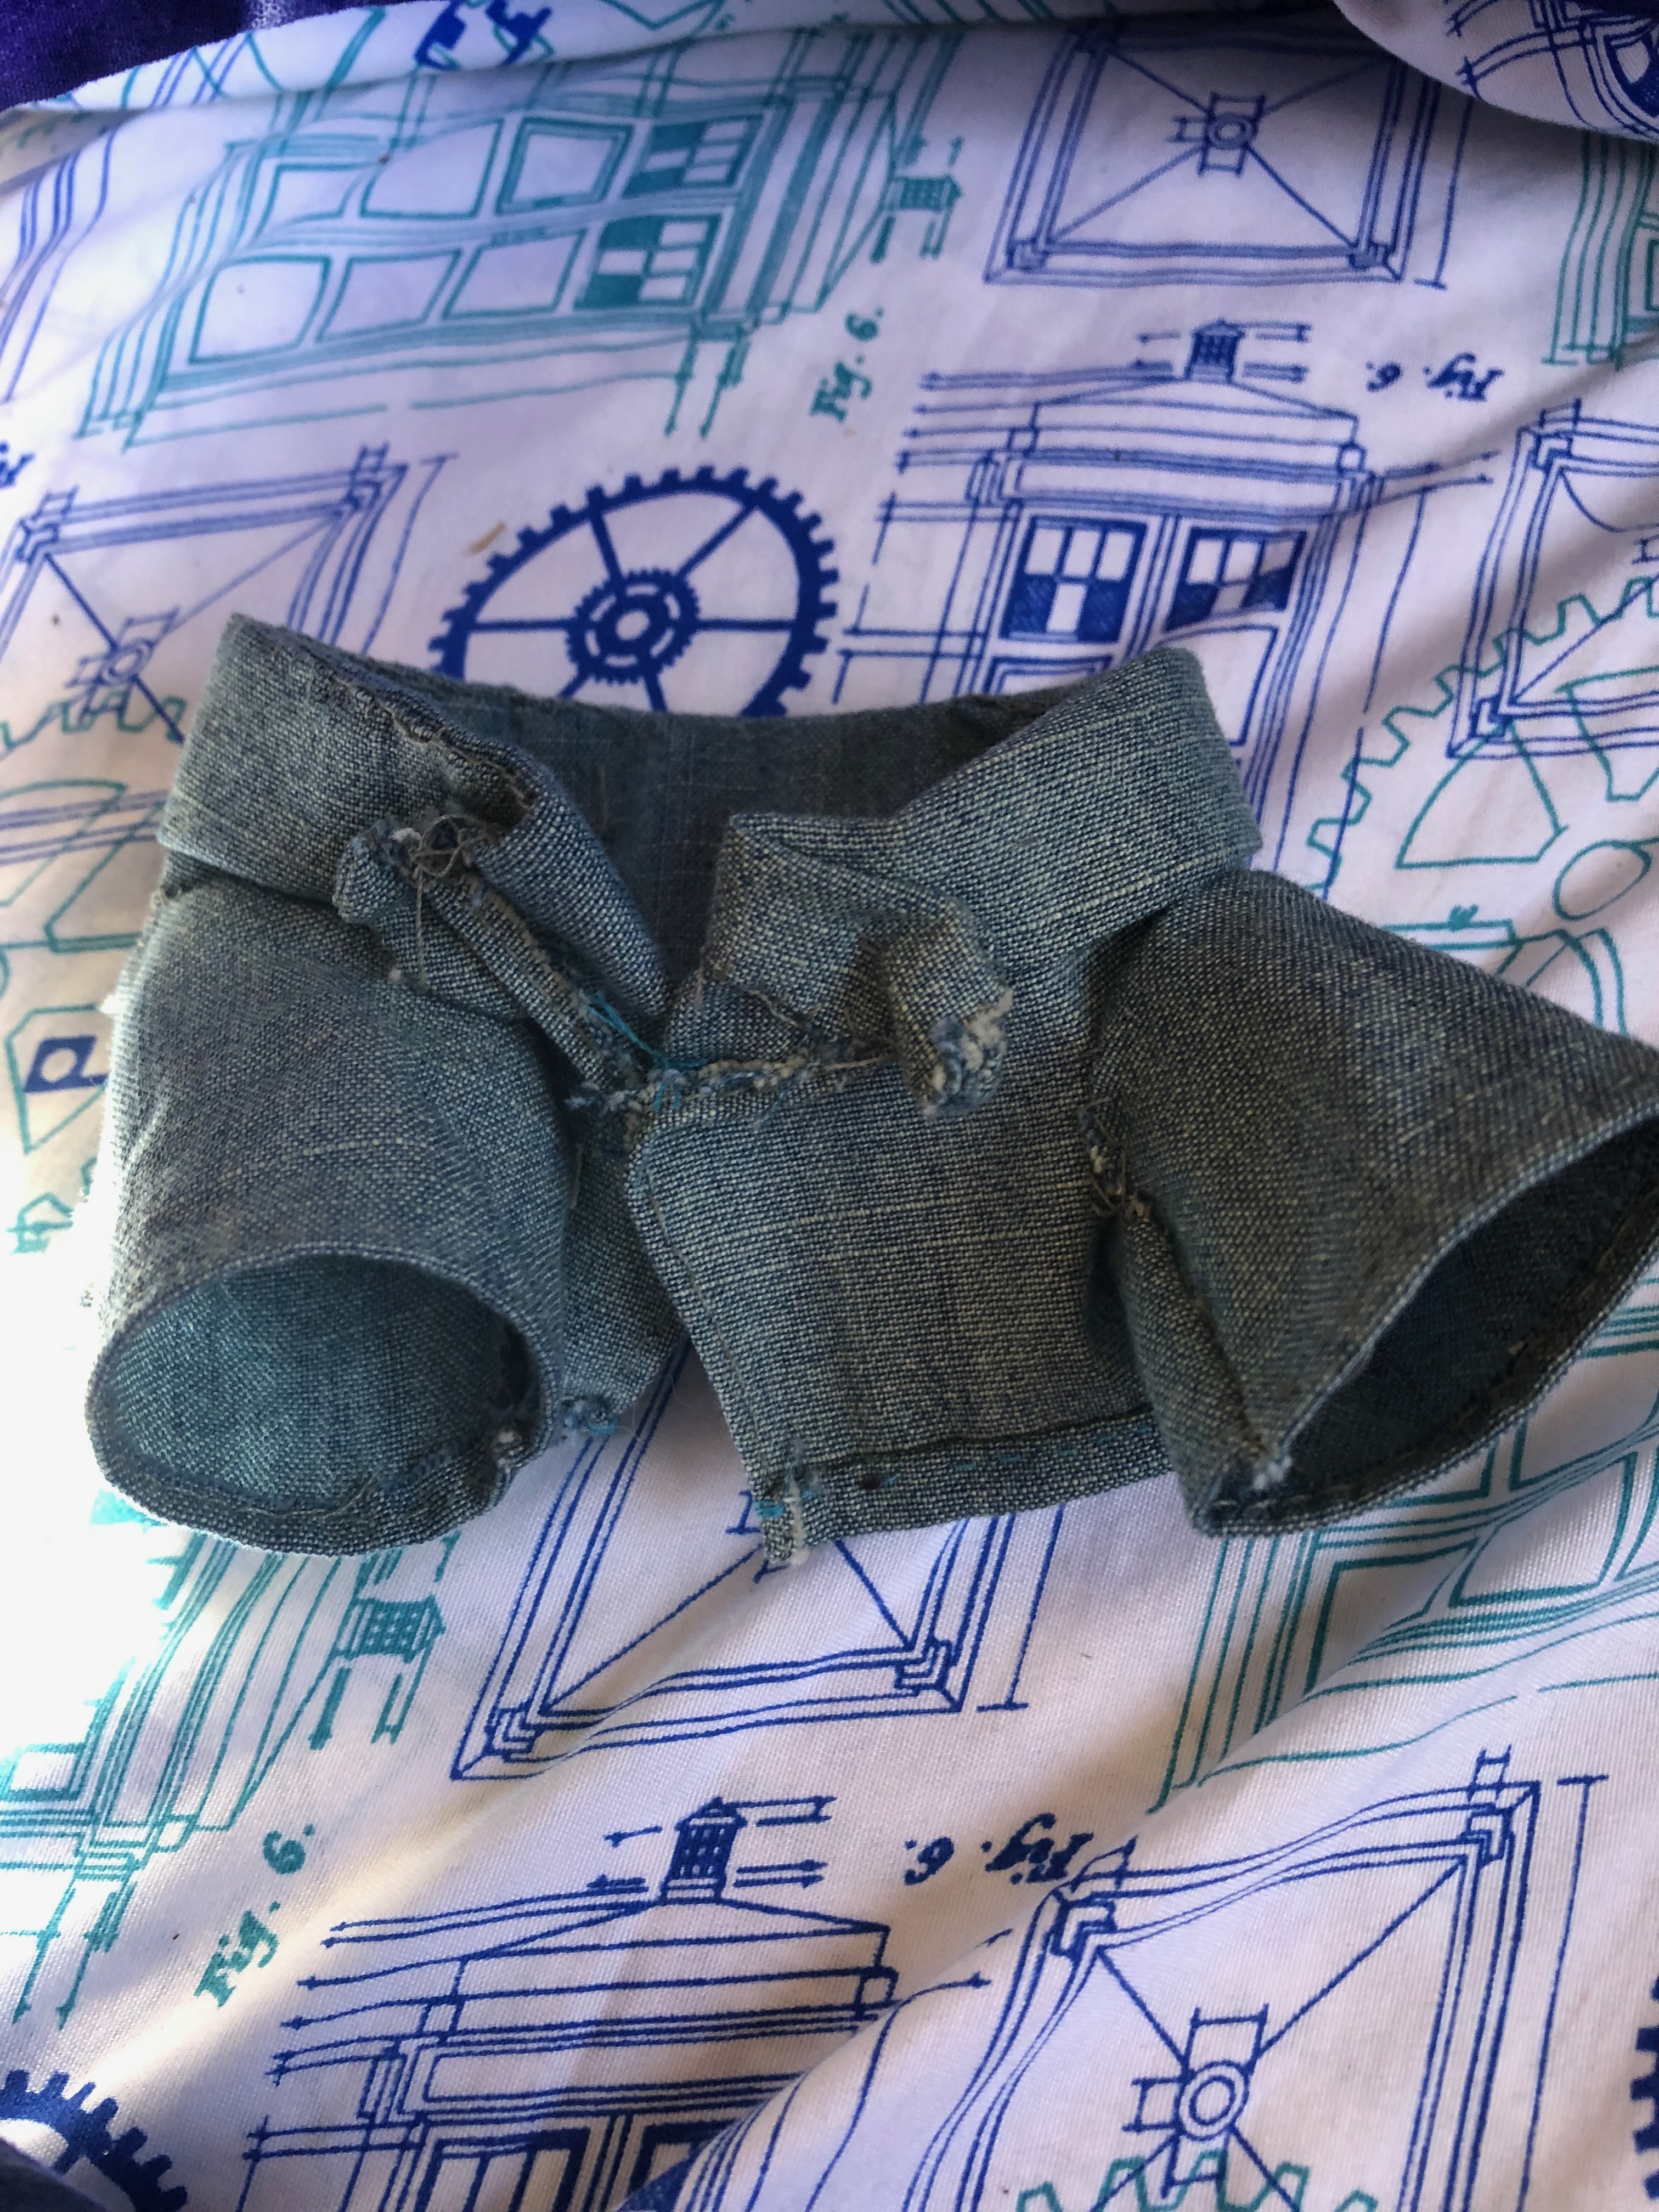
Plop that bad boy onto the plush and admire your work. Isn’t it cool? Time consuming but totally worth it in the end.
Sewing the Collar of the Doll Jacket Down
Next, do small stitches on the underside of the jacket to pin the collar down, doing an occasional small stitch and tying it on the inside of the jacket about every half an inch or so.
Sewing the Jacket Closed
On the stuffed animal, do a small couple of stitches where the two collars meet in the middle. Leave a bit of wiggle room to get the plush out of it. If you are making this for a doll, skip this step.
Attaching the Pockets
If you would like, and the pockets are still the right size, you can attach them in front using a whipstitch. Exposed stitching is acceptable at this point, and is considered decorational.
Finish

And now your doll or plushie has a new cool jacket that looks like you could have bought it online. Happy Crafting!