
Bubble tea is an aesthetically pleasing drink that is known for being bright colors and having little brown “bubbles” in the bottom. These bubbles are tapioca, and are often called Boba or pearls. These pearls have no flavor, and are a little like eating an egg or an eyeball. However, these little pearls look so cute in this drink that I decided to make my own bubble tea charm from polymer clay.
What you will need
- Translucent sculpy
- Brown sculpey
- Red sculpey
- Pliers
- Wire
- Oven
- Baking sheet
- Rolling pin
Clean Workspace
Always start with a clean workspace. Wash your hands well or put on gloves. Line a pan with tin foil to use as a workspace and to bake the sculpture.
Setting the Clay out for the Bubble Tea Charm
Start with a decent sized chunk of translucent polymer clay, red clay, and brown clay. You will not need much red or brown. Condition the clay, doing the translucent first since any pigment will change the color of the translucent drastically.
Mixing up the Clay for the Bubble Tea Charm

Using a decent chunk of translucent and mix in a very small piece of red clay. If the drink looks very pale pink, then you have nailed the color. If it seems too red, add more translucent. It will turn more red when it is baked.
Making the Boba Tea bits
Boba tea tastes fantastic… minus the little brown balls of death. To make these little slimey balls of disgusting grossness, roll out a whole bunch of little brown ball and set them aside. Ew.
First Prototype

For the first prototype, I packed all the brown balls together and tried to mash the pink clay on top. This looked really bad and I did not like it much at all. It made the Boba become one huge slimey ball of icky brown rabbit poo chunk.
What works
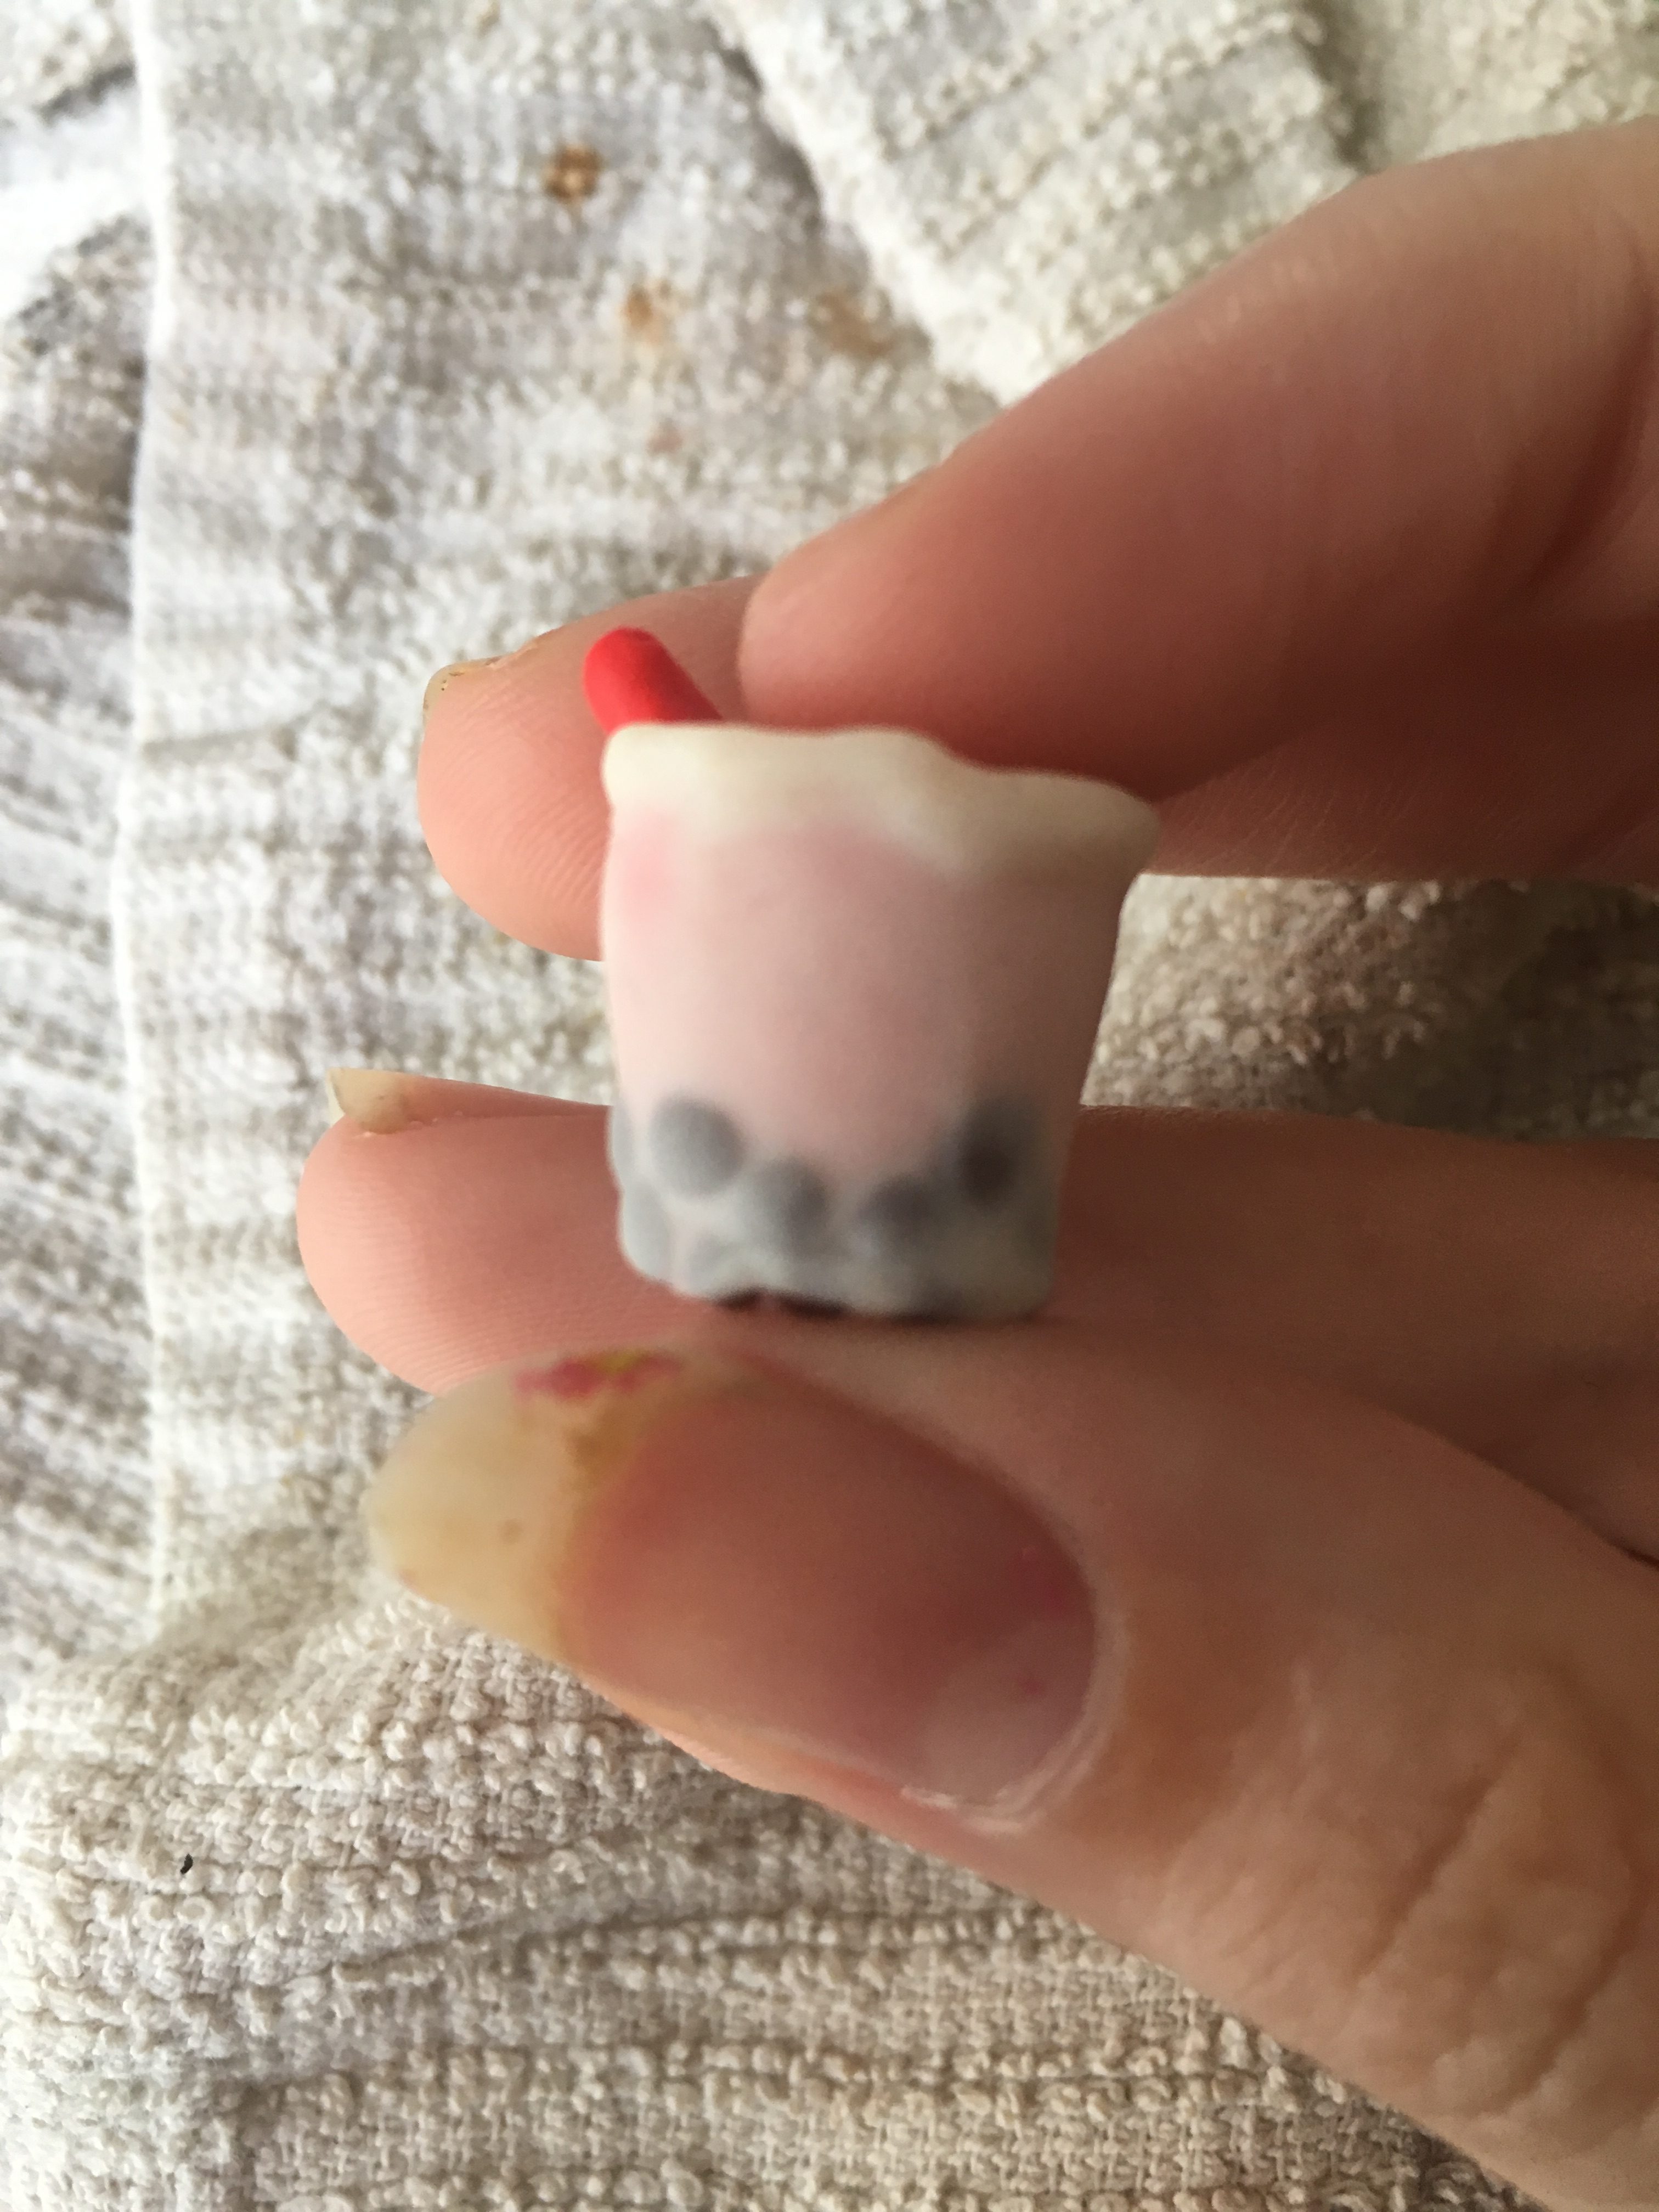
Instead of caking it all together, I rolled the pink clay into the shape of the cup. By pressing the little balls into the main piece, I was able to make it look decent.
Rolling the Main Piece of the Bubble Tea Charm
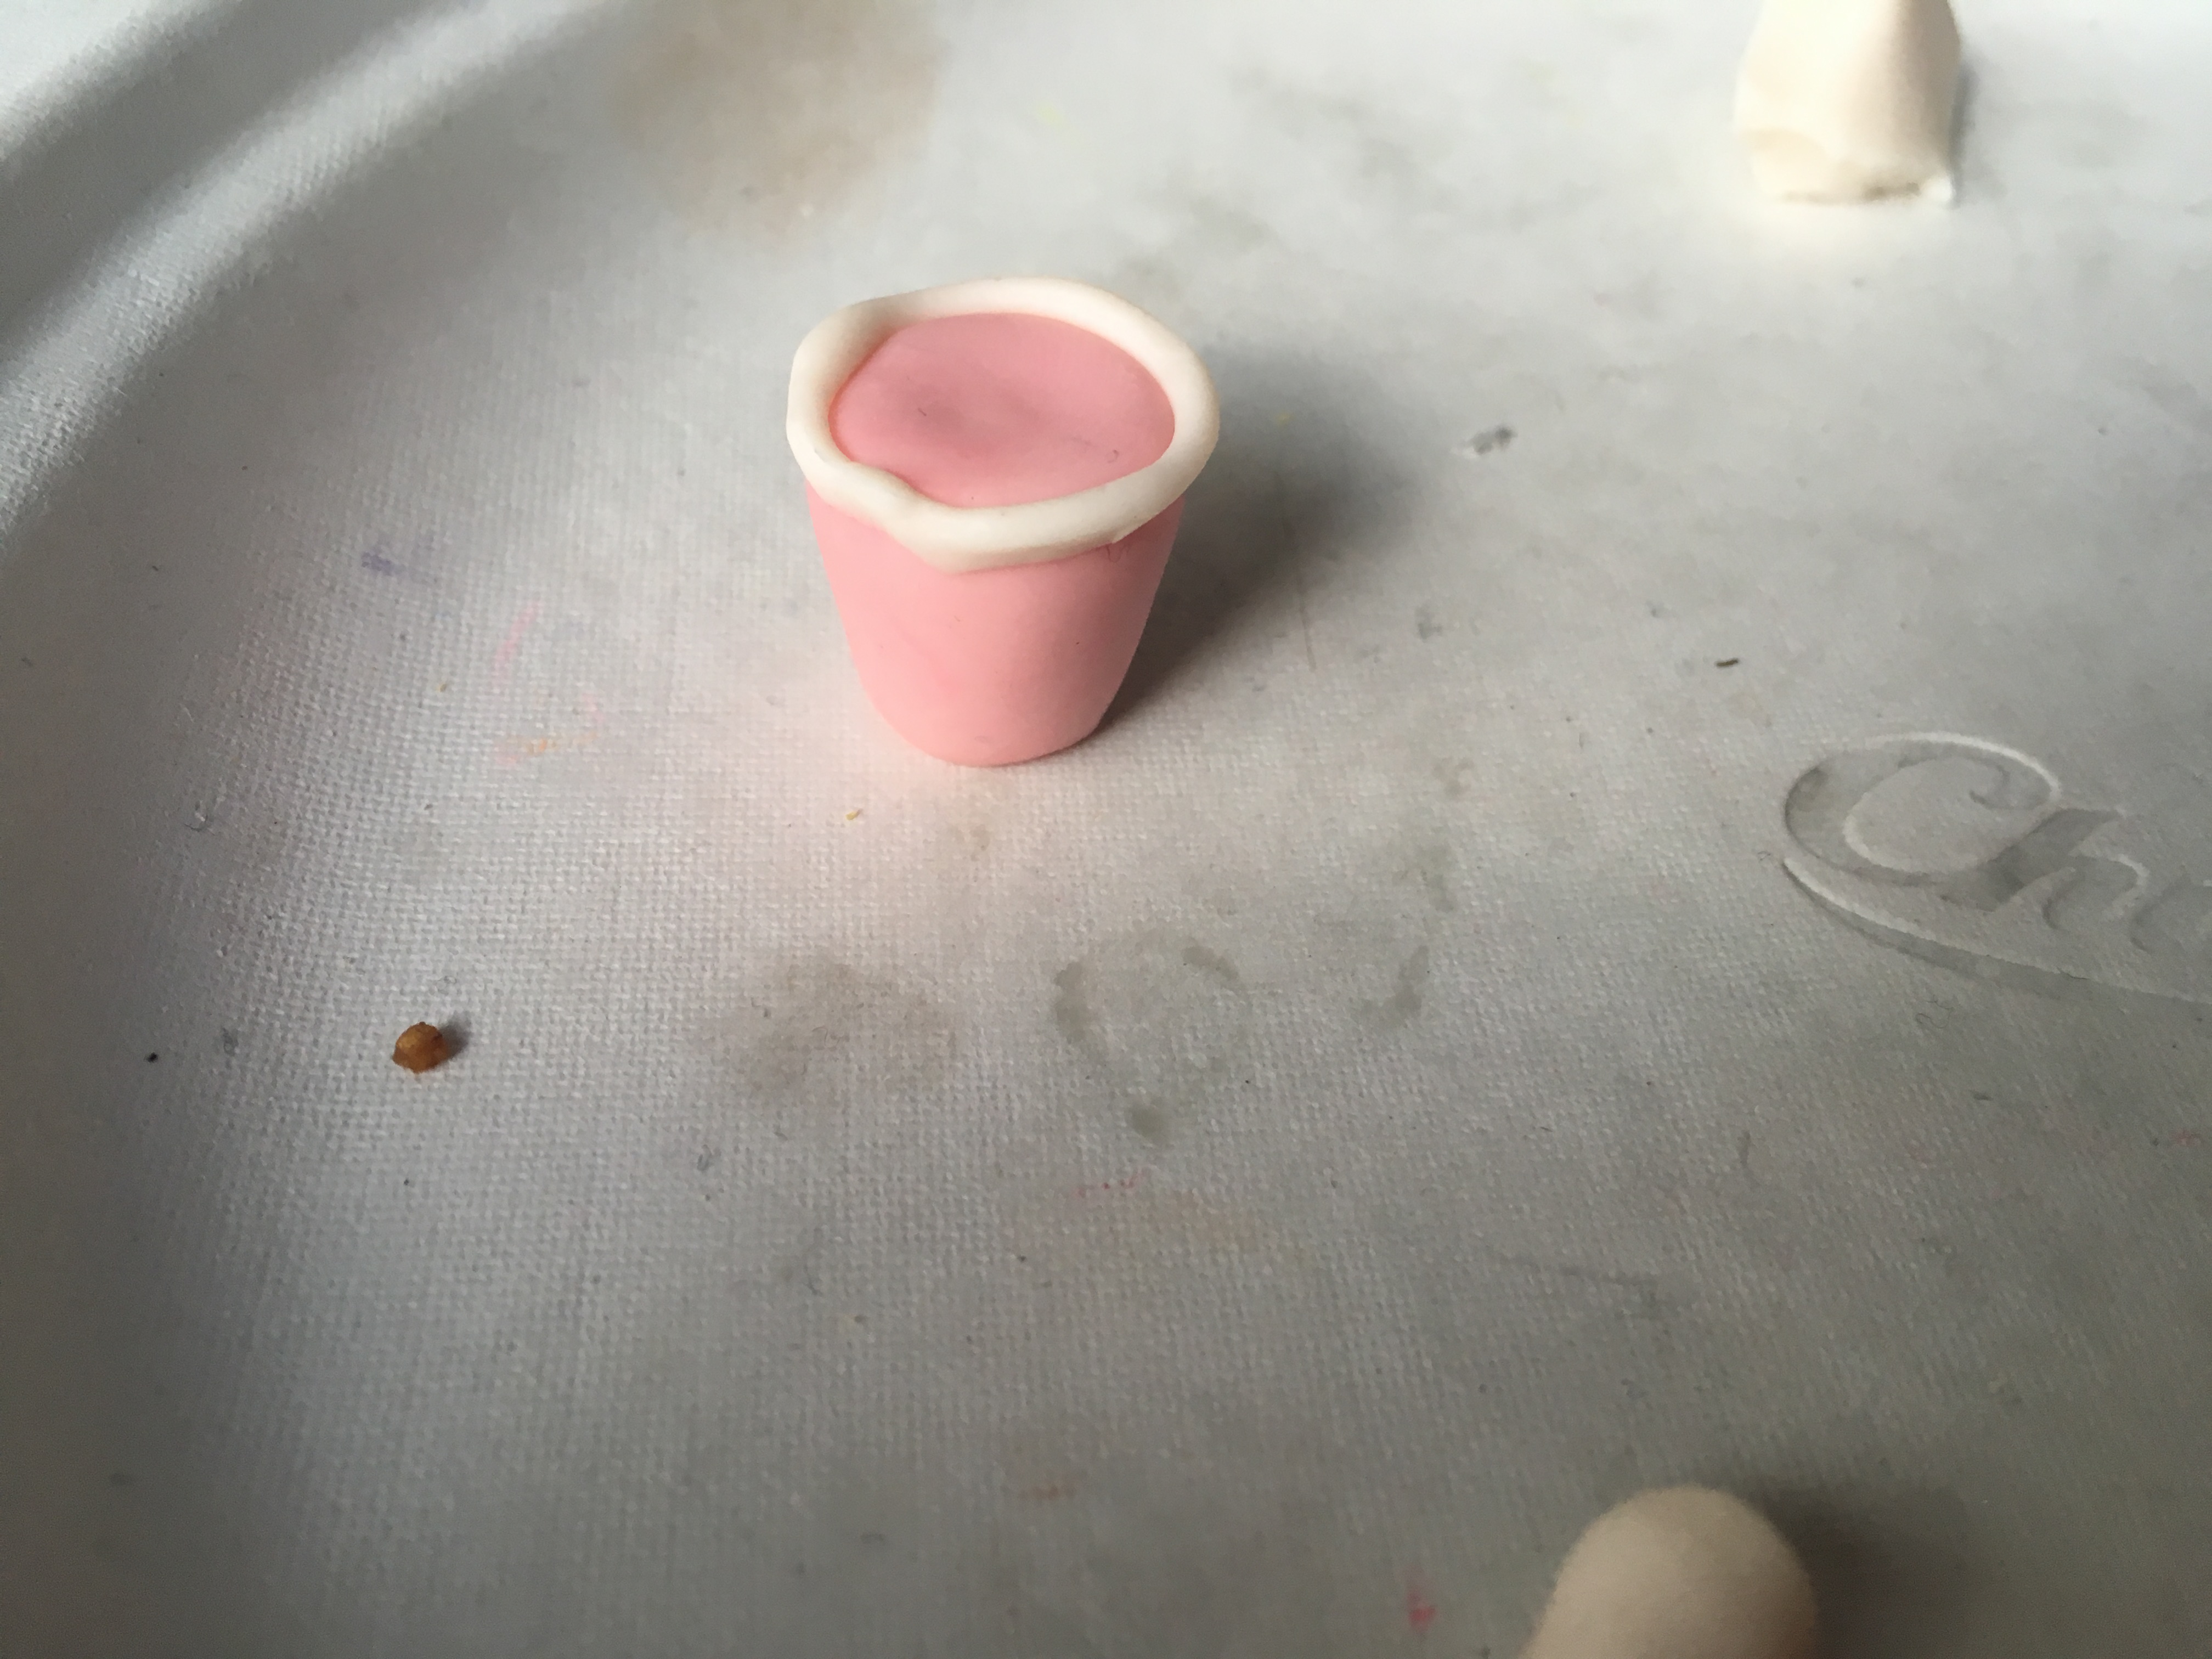
Roll the pink clay into a roundish cylindrical shape. Make sure the bottom is flat and can stand by itself.
Rolling out more Boba
Make some small pearls of Boba the way you made it before, rolling tiny pearls of brown clay and setting them aside.
Squishing the Boba on
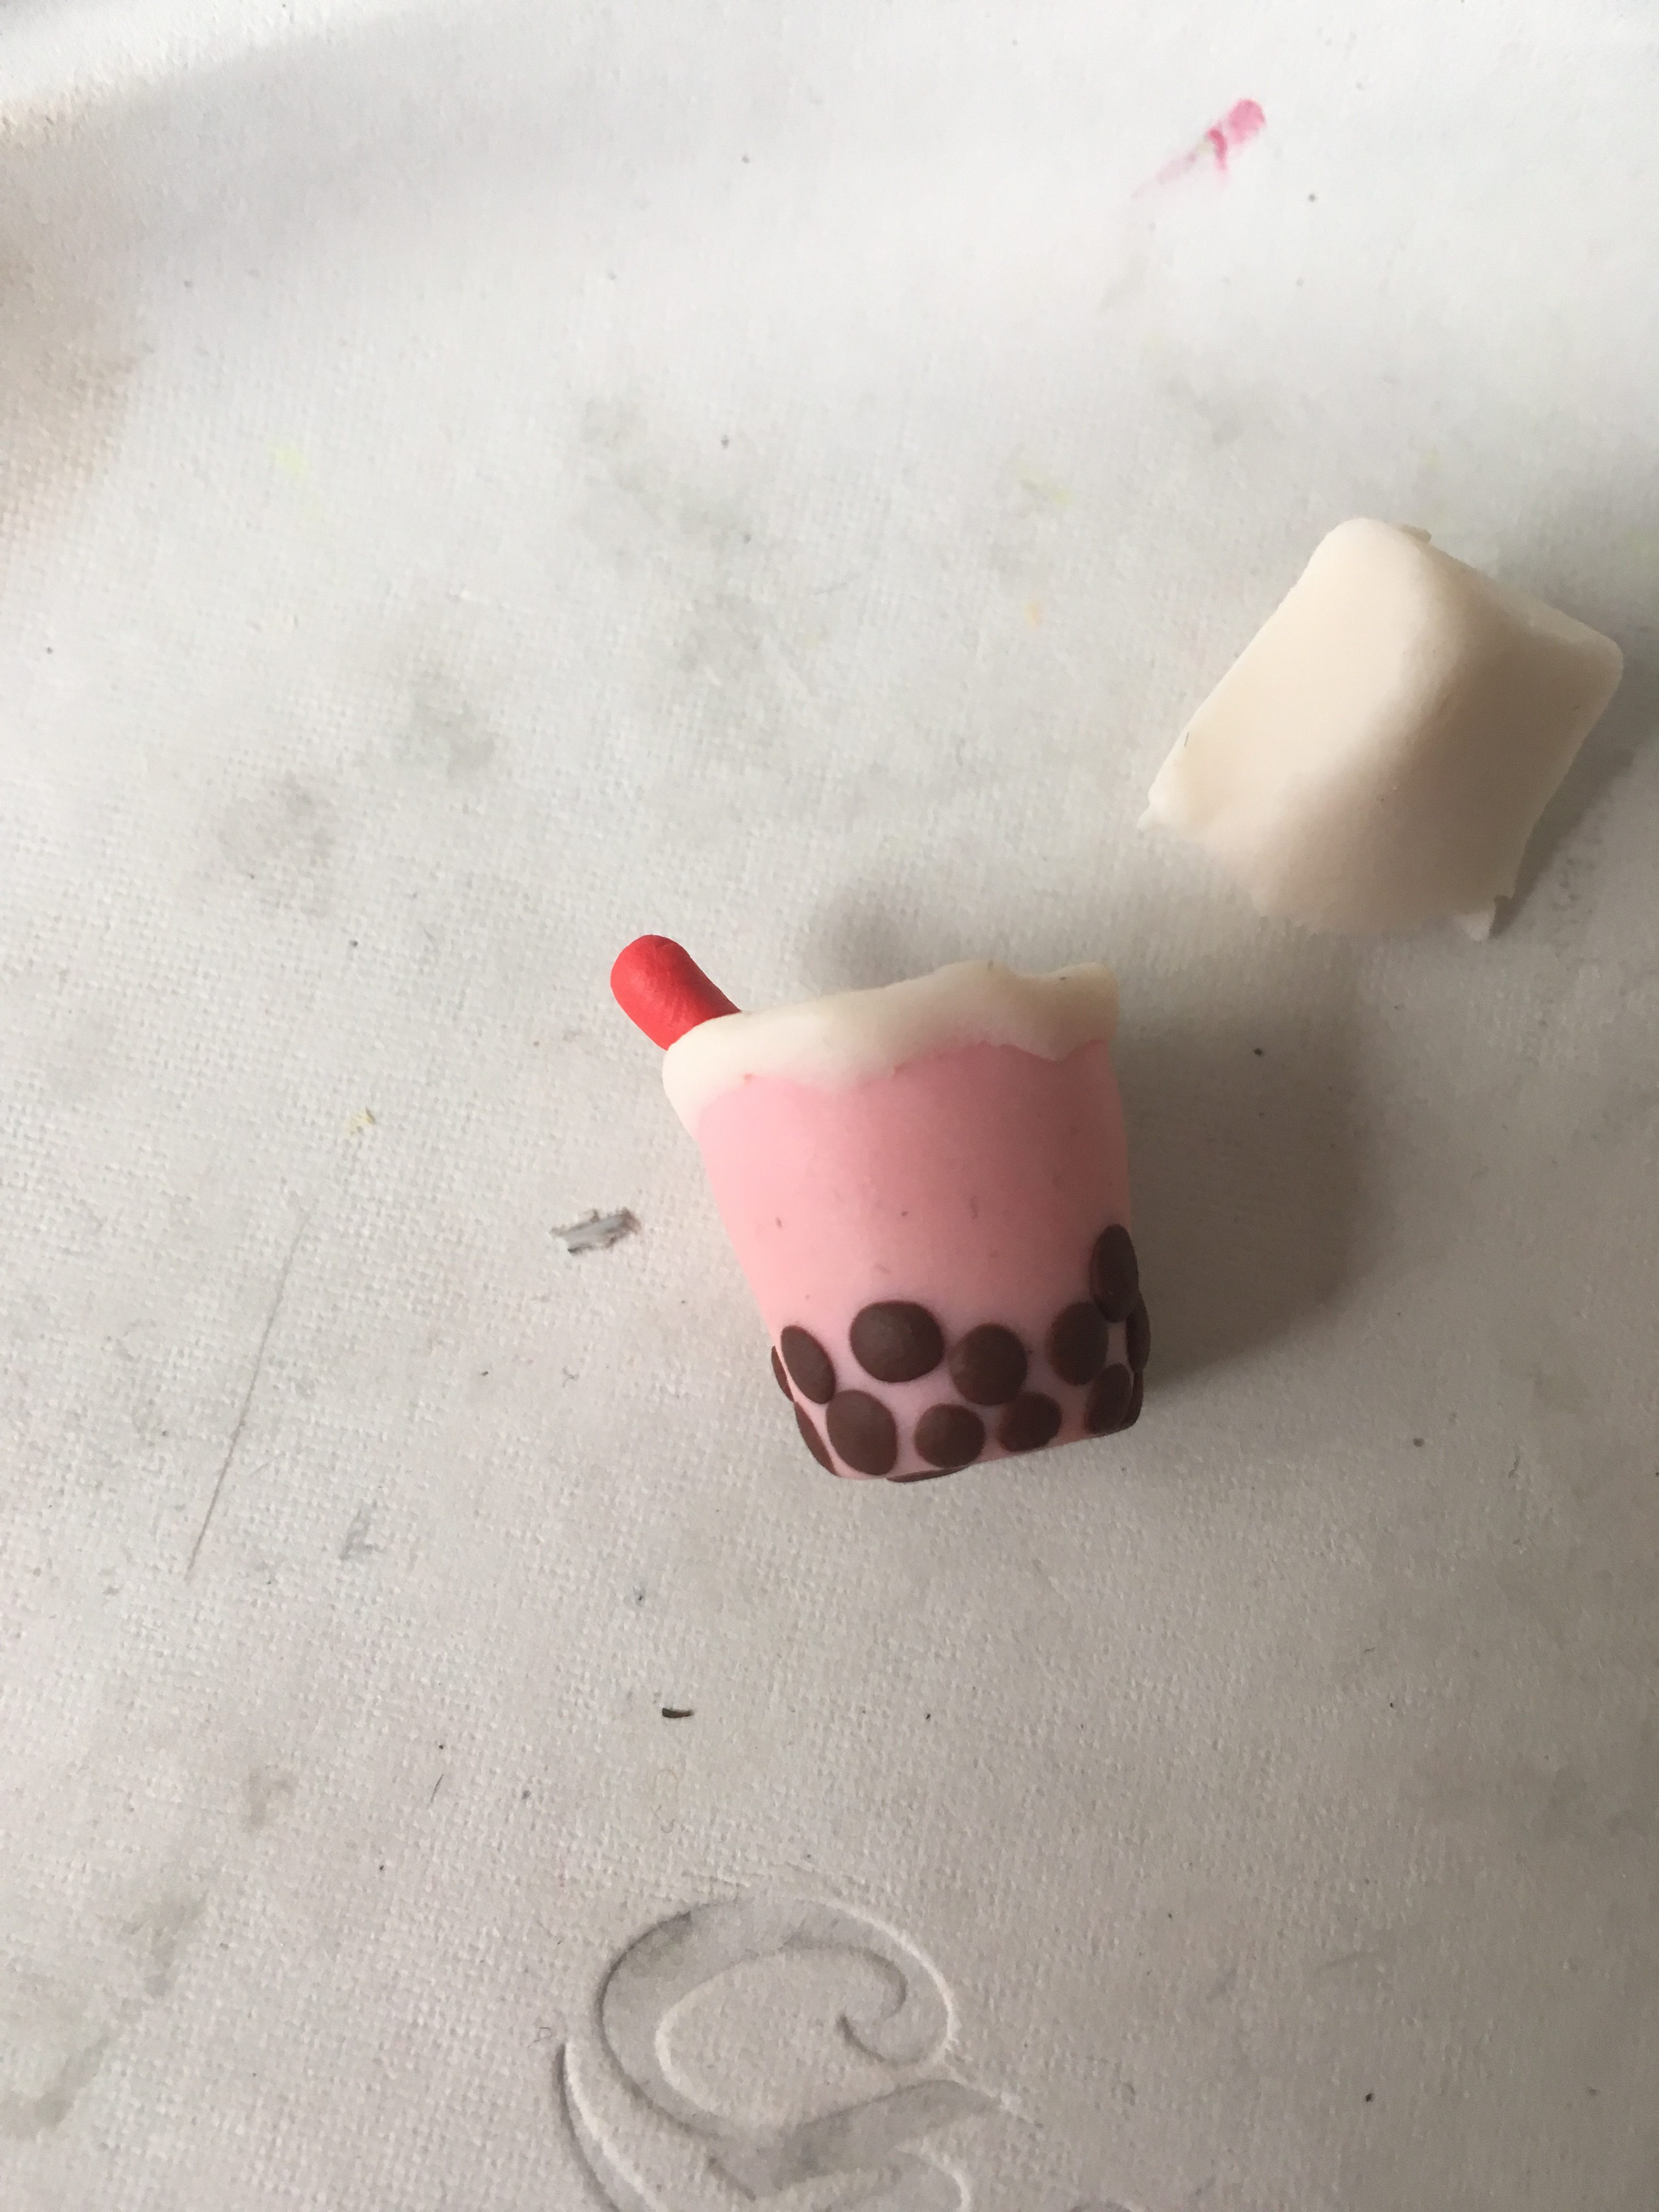
Pick up the Boba individually and press it onto the cup. Make sure they don’t bulge out of the cup because nobody wants a lumpy cup.
Rolling out the Transparent Sculpey
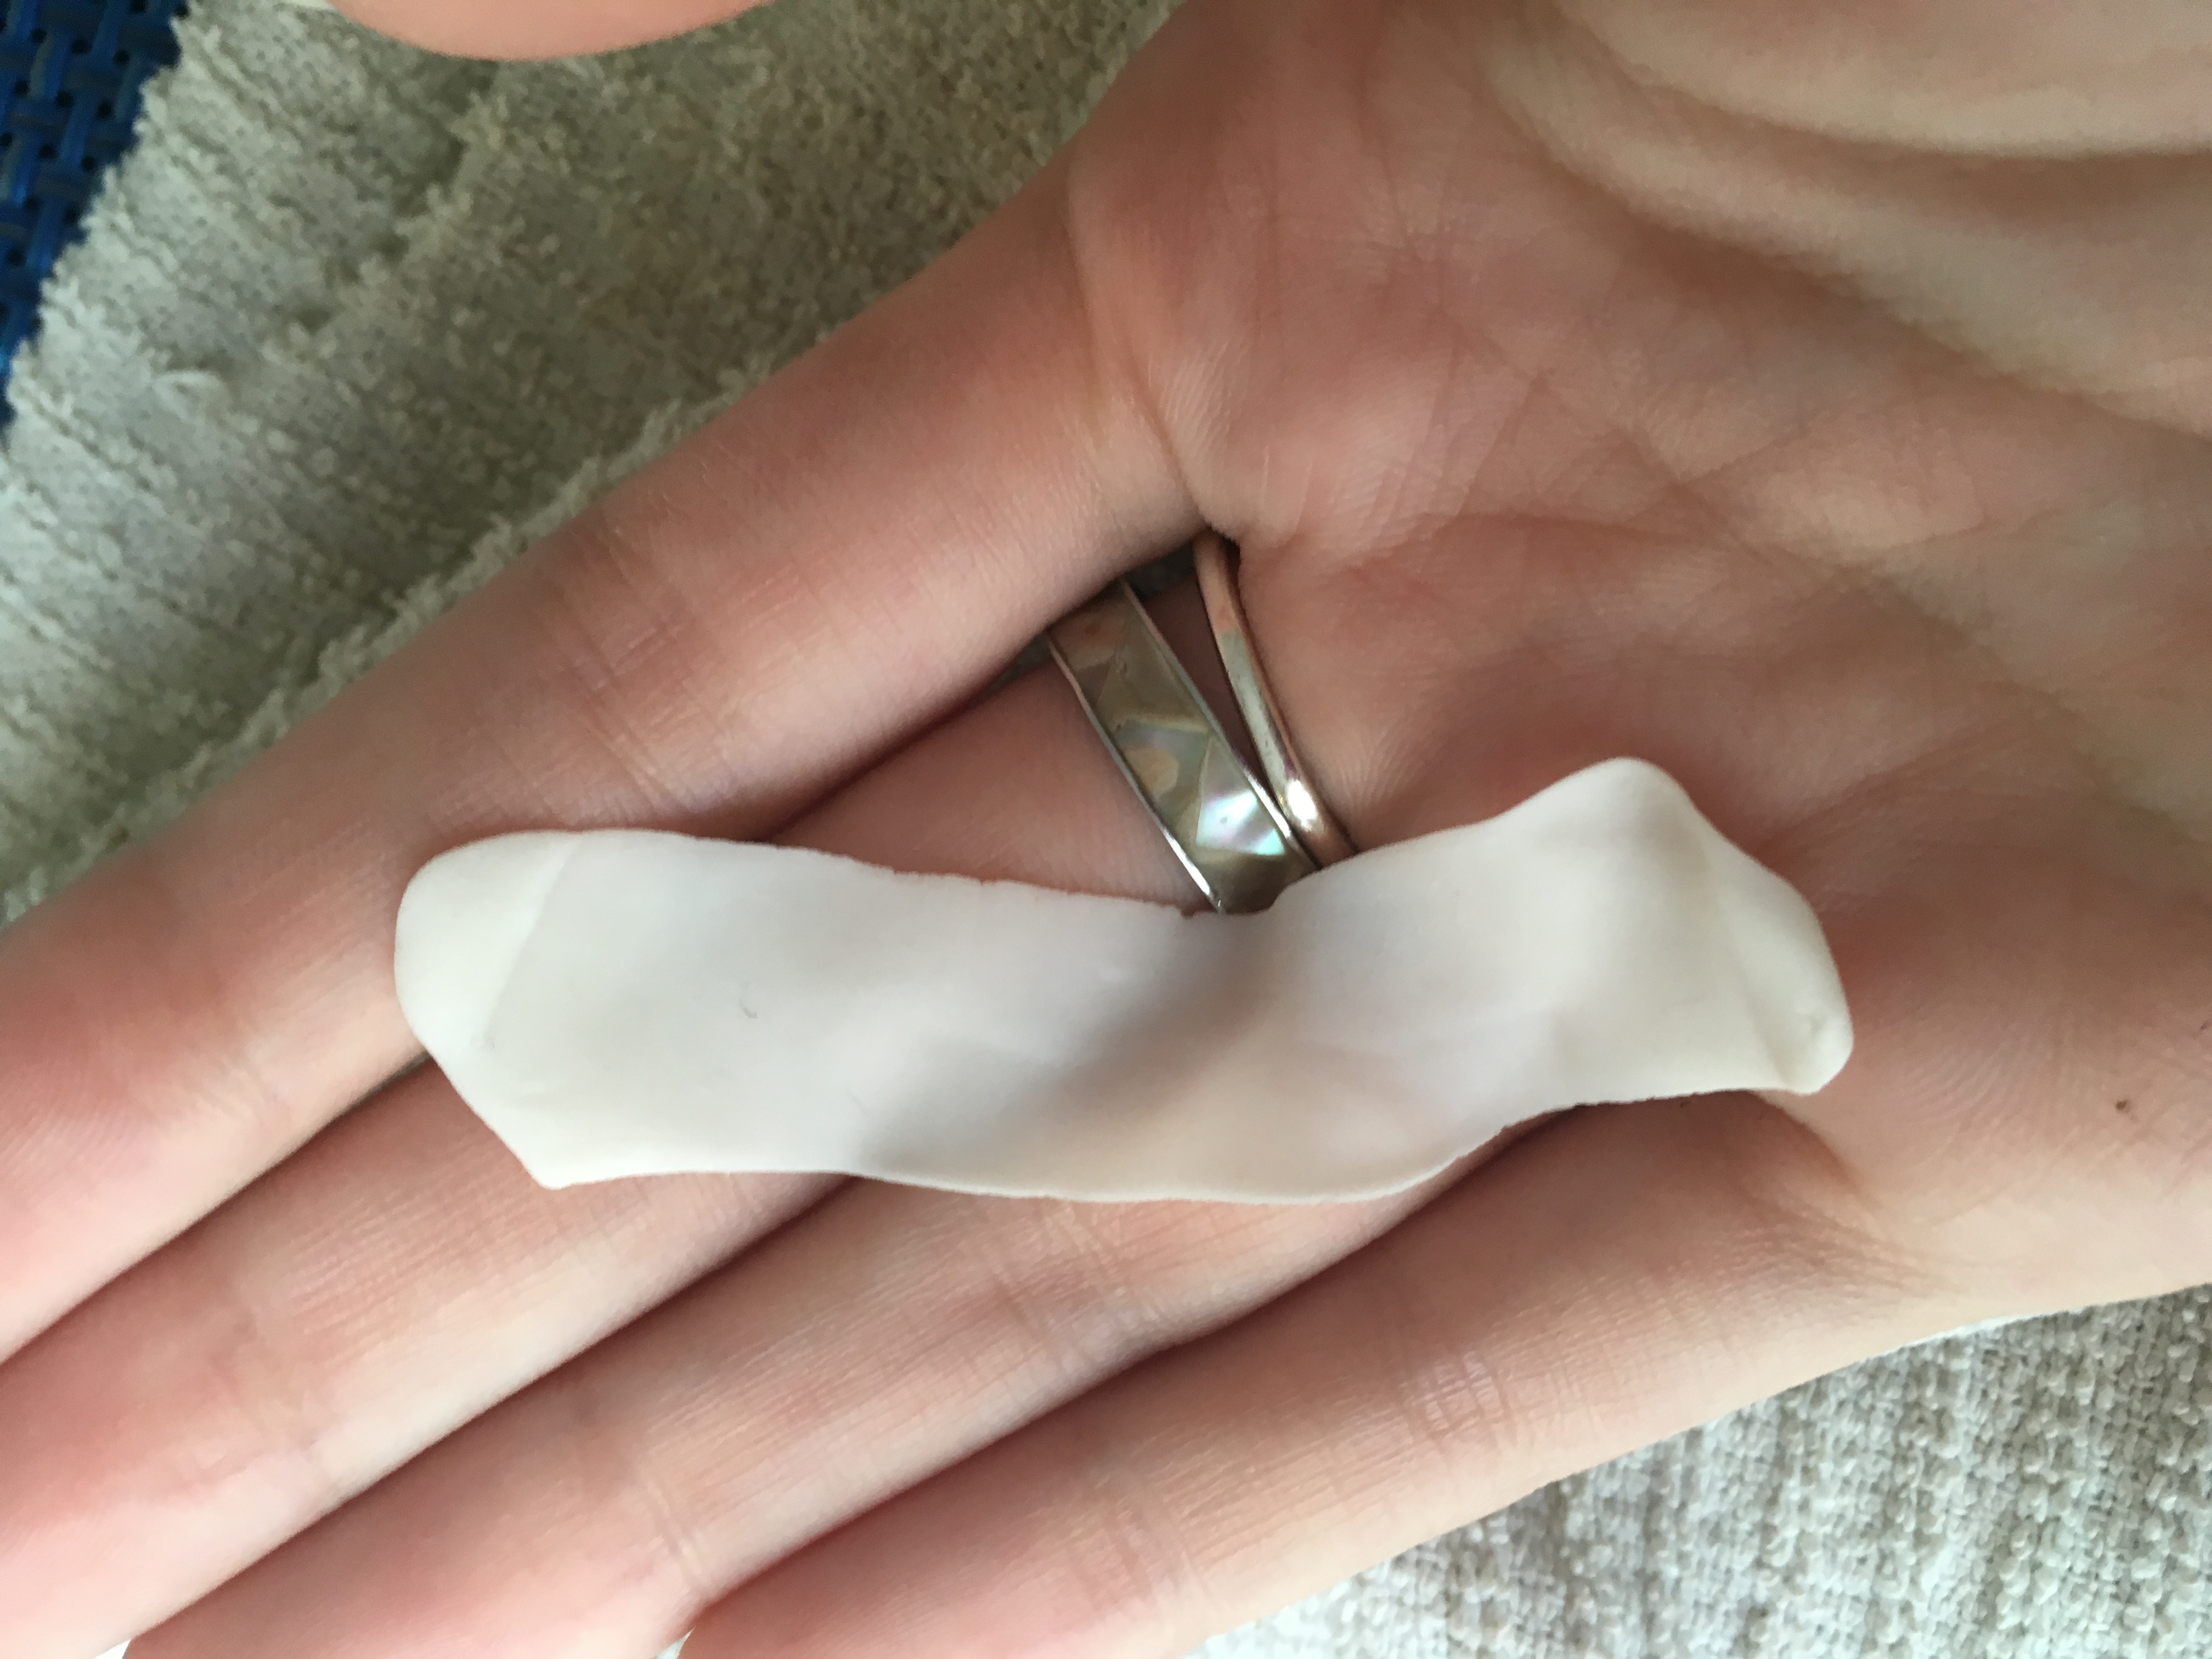
Roll some normal translucent Sculpey thinly and gently press it onto the cup. This will give the Boba a more realistic look as well as make the project overall look better.
The Straw

For the straw, roll out a little piece of red clay and attach it to the drink, nothing special. Make sure the straw is as straight as possible.
Touchups
Go over the entire piece with rubbing alcohol to get rid of fingerprints as well as smooth out any imperfections you do not like.
Optional Wire
Add a wire before baking if you would like to turn it into a charm. I explain how to make a hook in many of my charm tutorials, including this one.
Baking
Pop it in the oven for about ten minutes at 275. Allow to cool before touching.
Finish
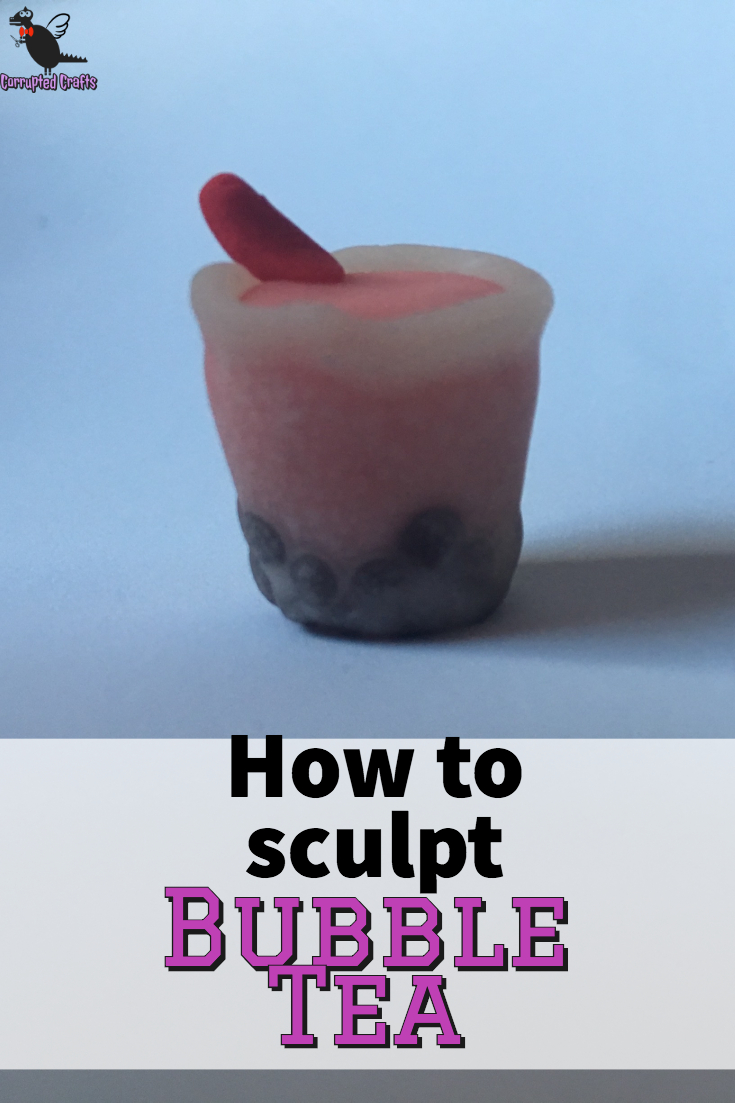
Admire your brilliance as the bubble tea continues to look better than it tastes. Happy crafting!