
Foxes are so cute, but sculpting them can be a challenge. Here is how I made this little fox base with polymer clay and a few bits of wire.
What you will need
Mixing the Clay
Start by mixing a lot of brown clay with just a touch of orange clay, to make a little brown fox base that can be painted with orange streaks later.
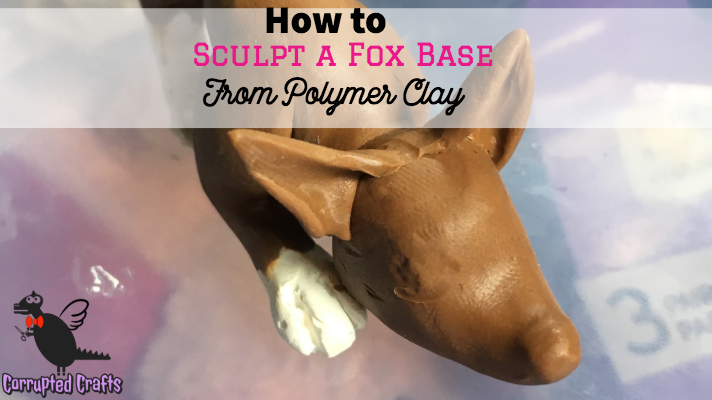
Making the Head Shape of the Clay Fox
For the head of the clay fox, make a ball and turn it into a teardrop with a flattened end. Set the ball of clay to the side.
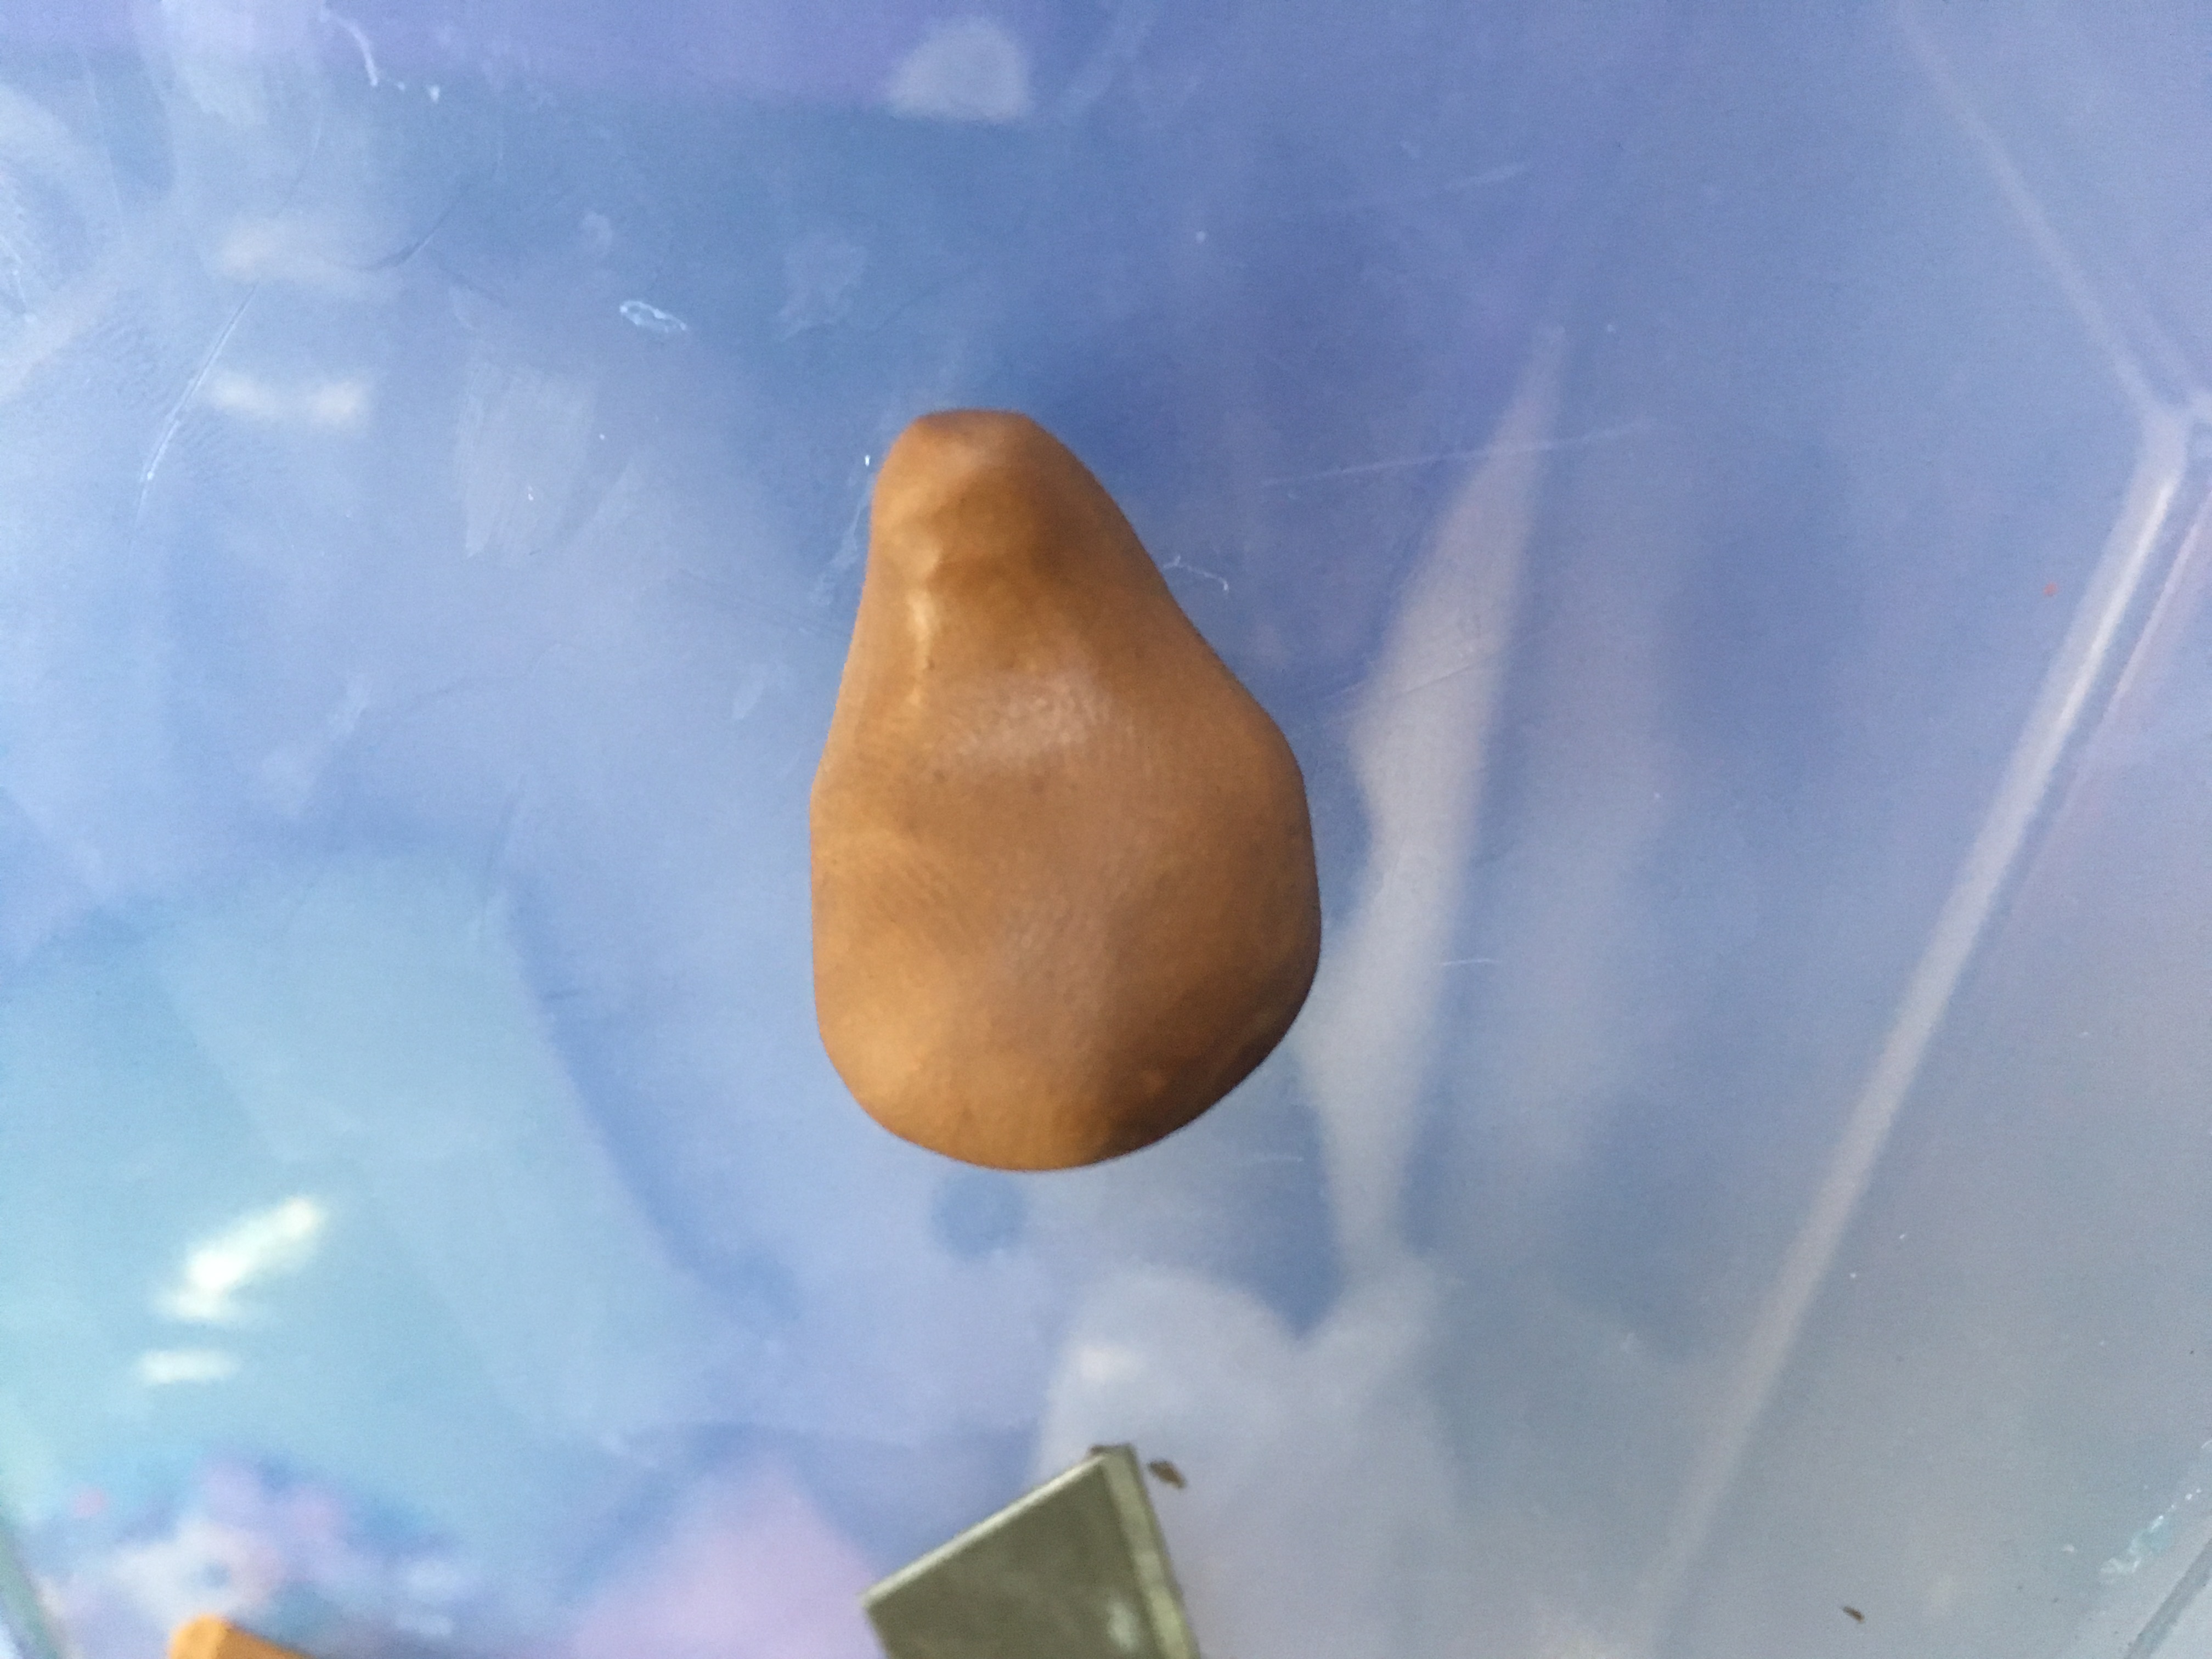
Shaping the Body of the Clay Fox
The body of the fox should be long and similar to a dog. Roll out a piece of clay and attach it to the head, and shape the ribcage and rear.
Crafting the Hind Legs of the Fox

The hind legs make up much of the rear of the fox. Make two balls of clay and shape them into teardrops with longer stems, and attach them onto the fox body. It’s okay that there are no paws and just nubs, we will fix this later.
Shaping the Front Legs

The front legs are much longer and skinnier and go from the shoulder area down to the face. Leave room for paws to be added.
Attaching the Front Legs
Blend them into the shoulders using rubbing alcohol and a dotting tool.
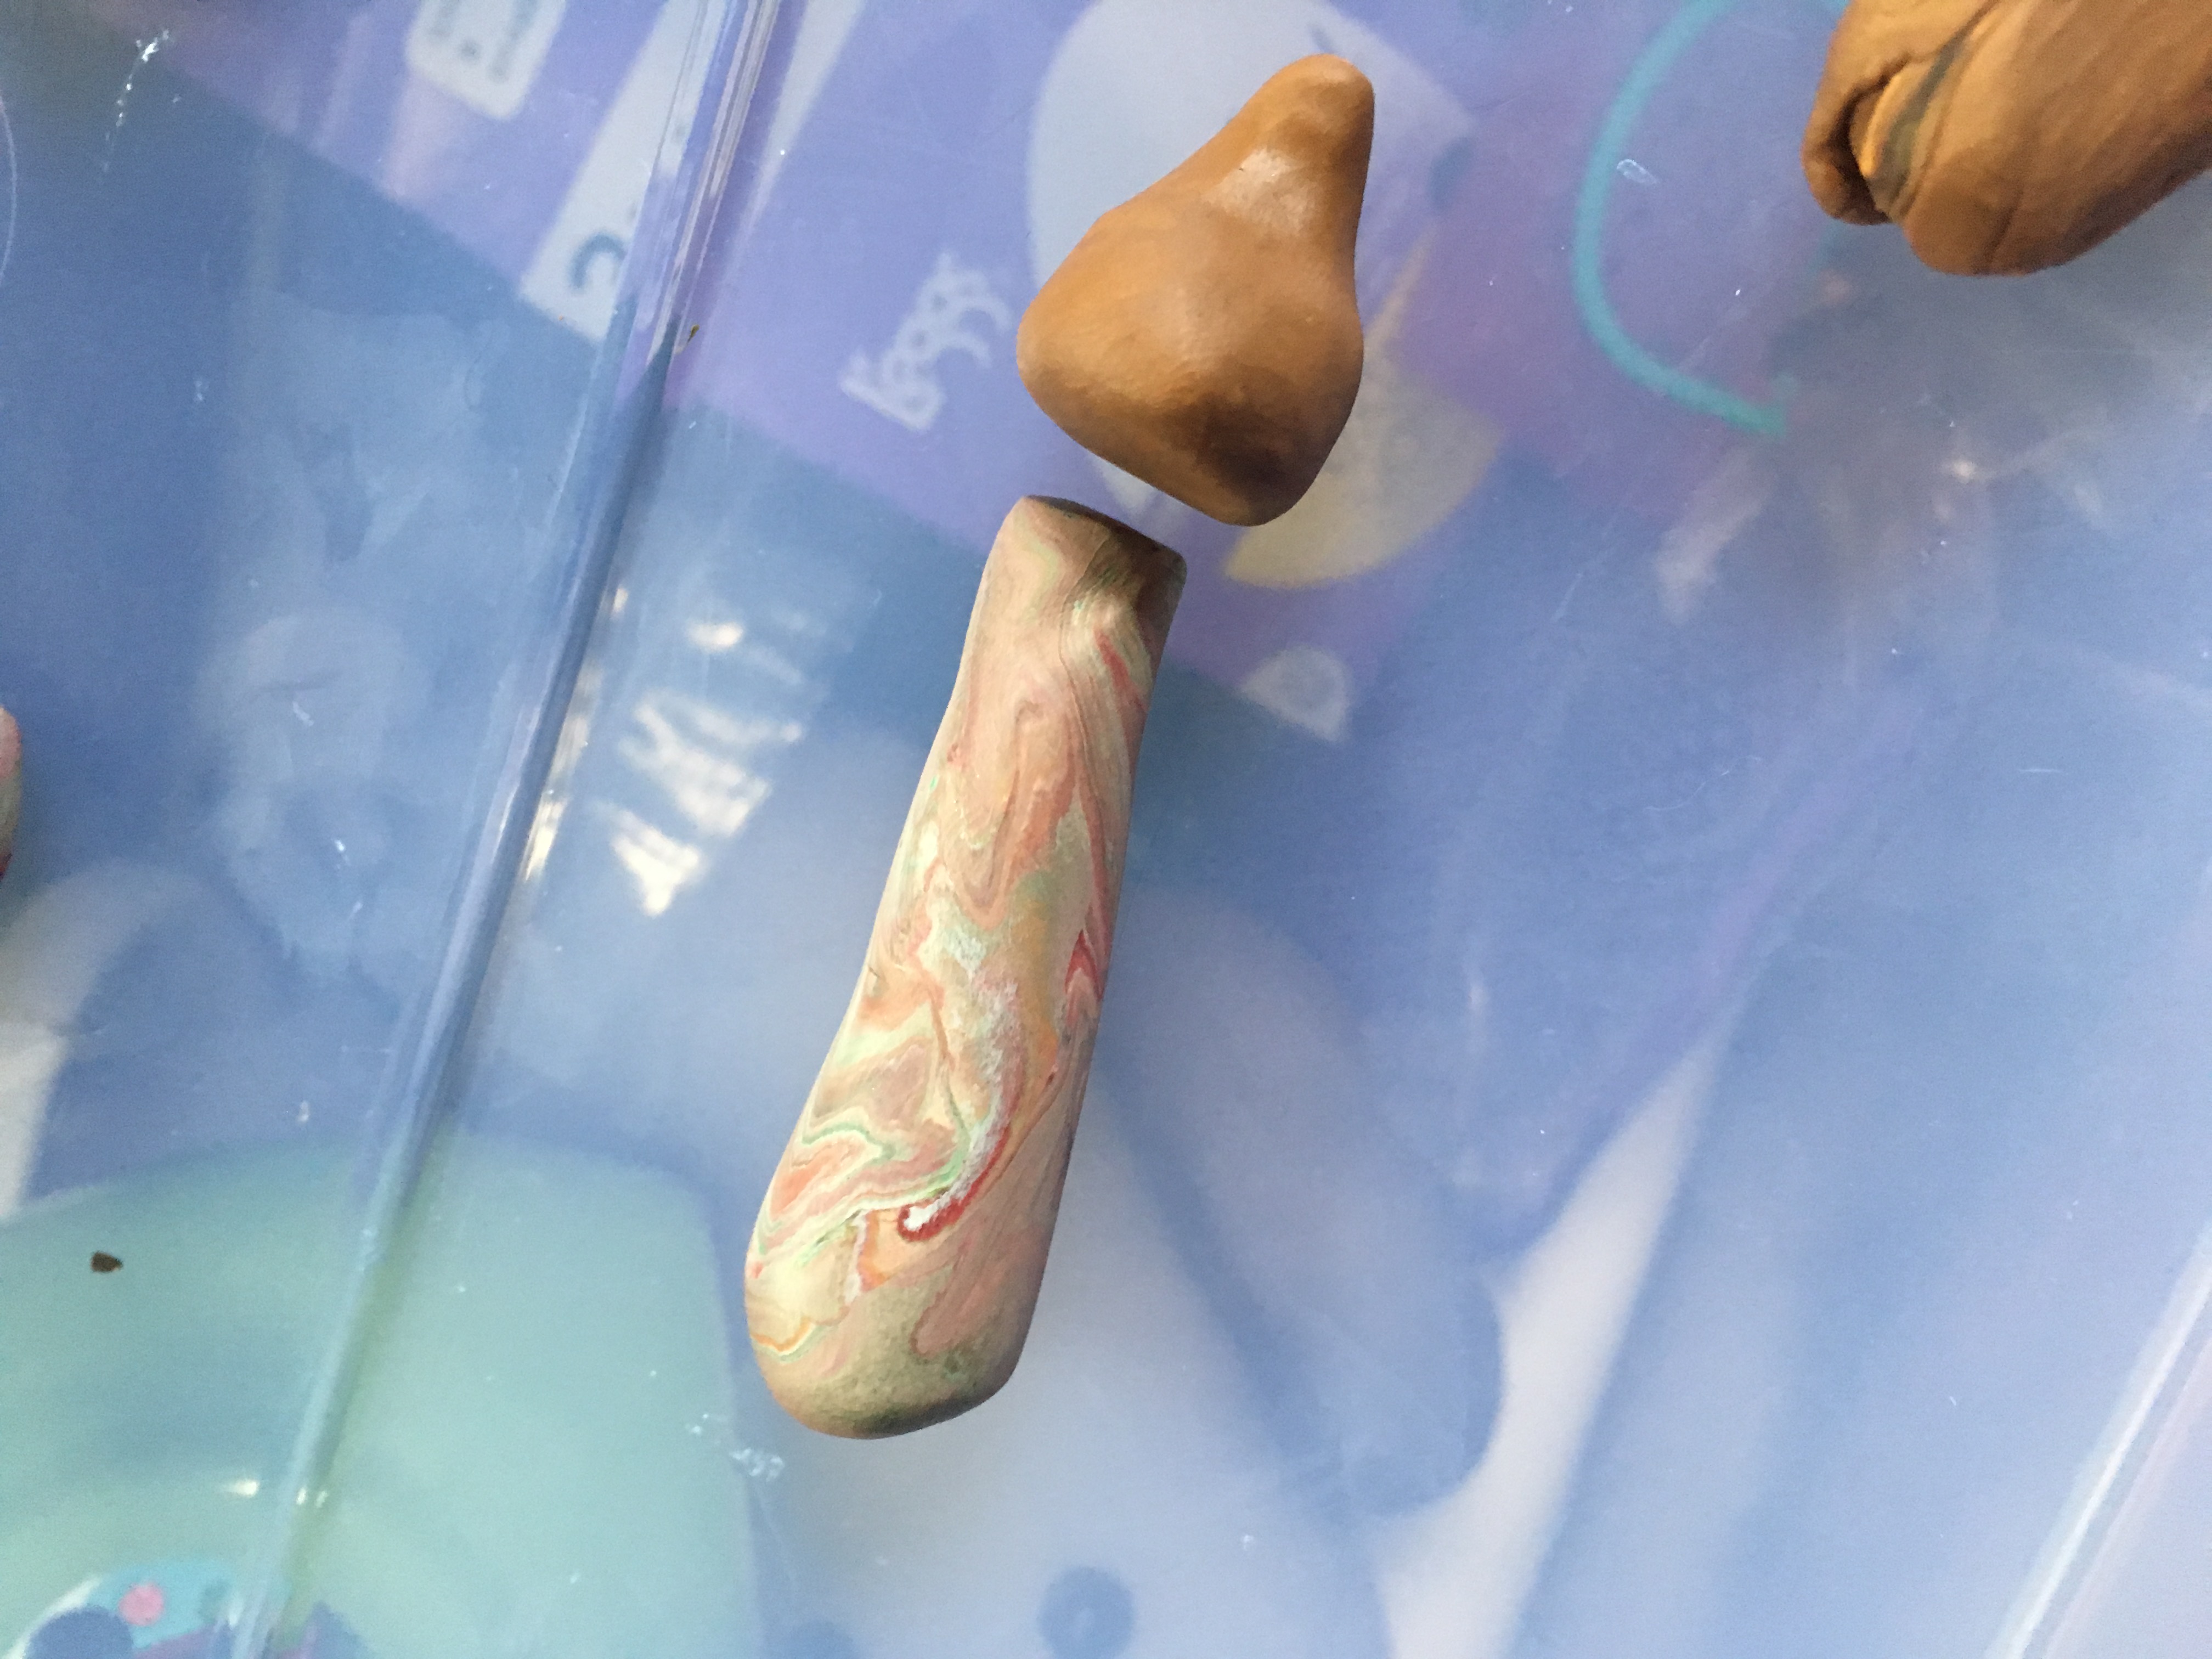
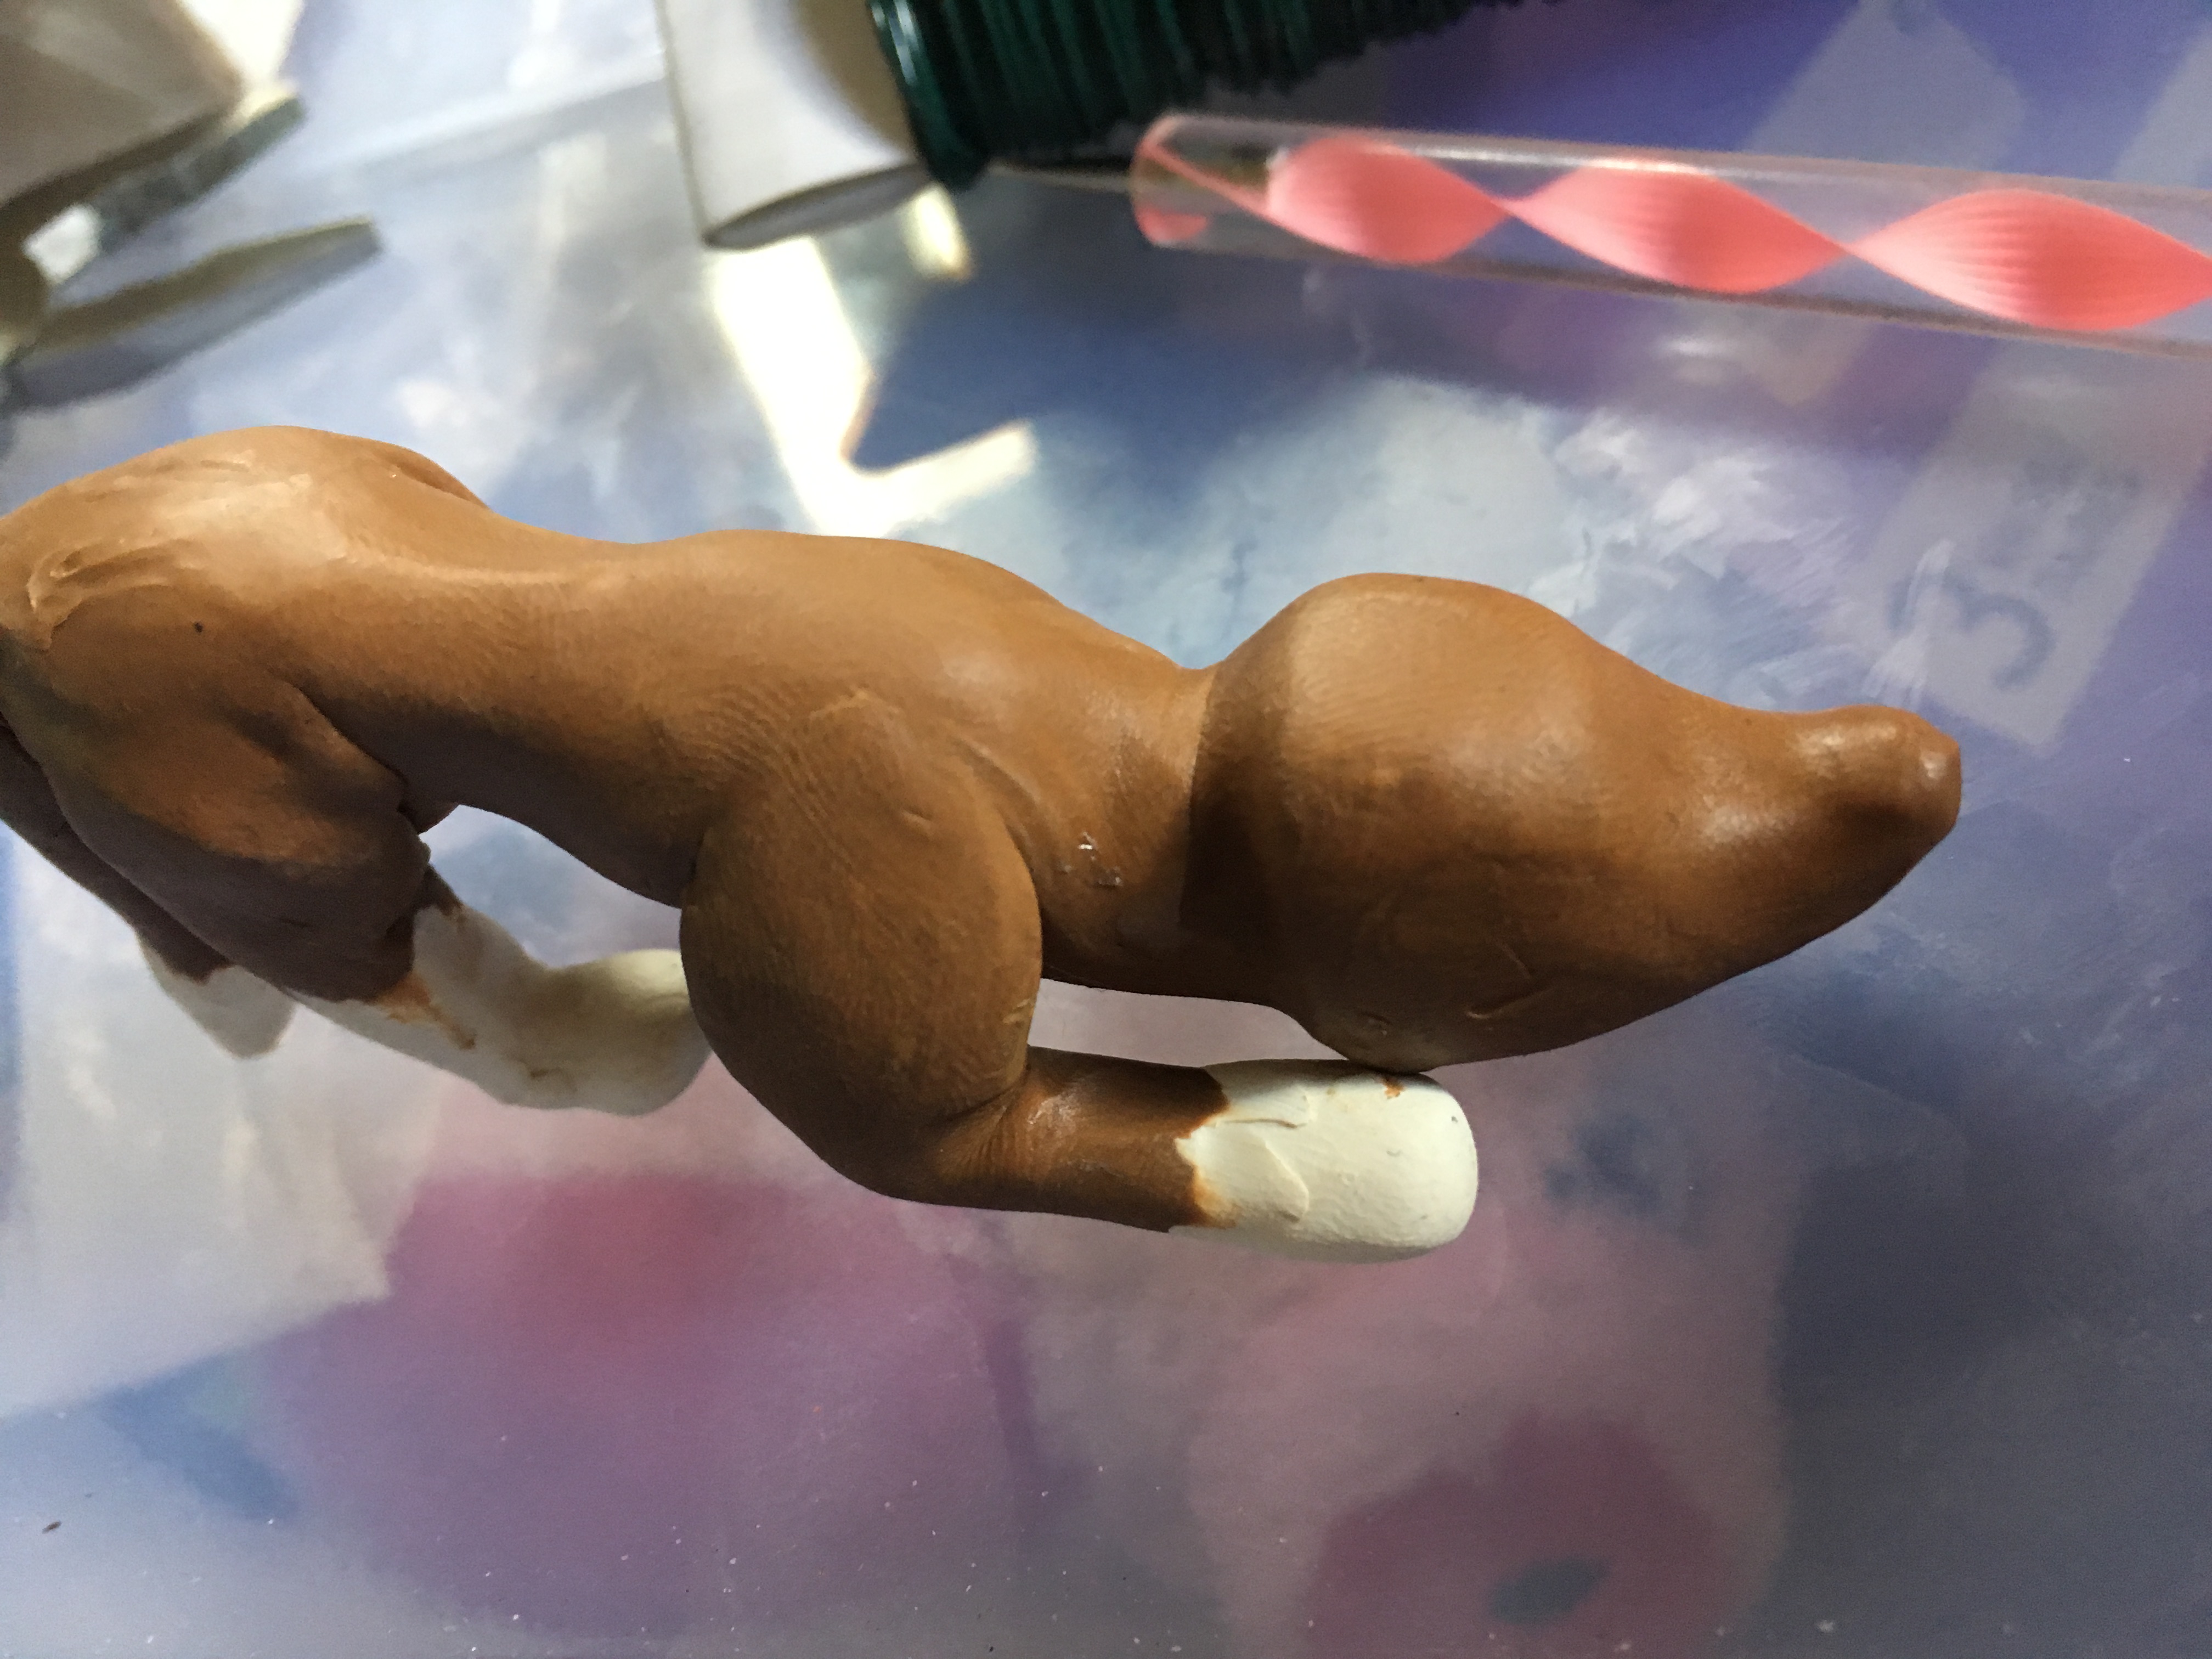
Making the back Paws
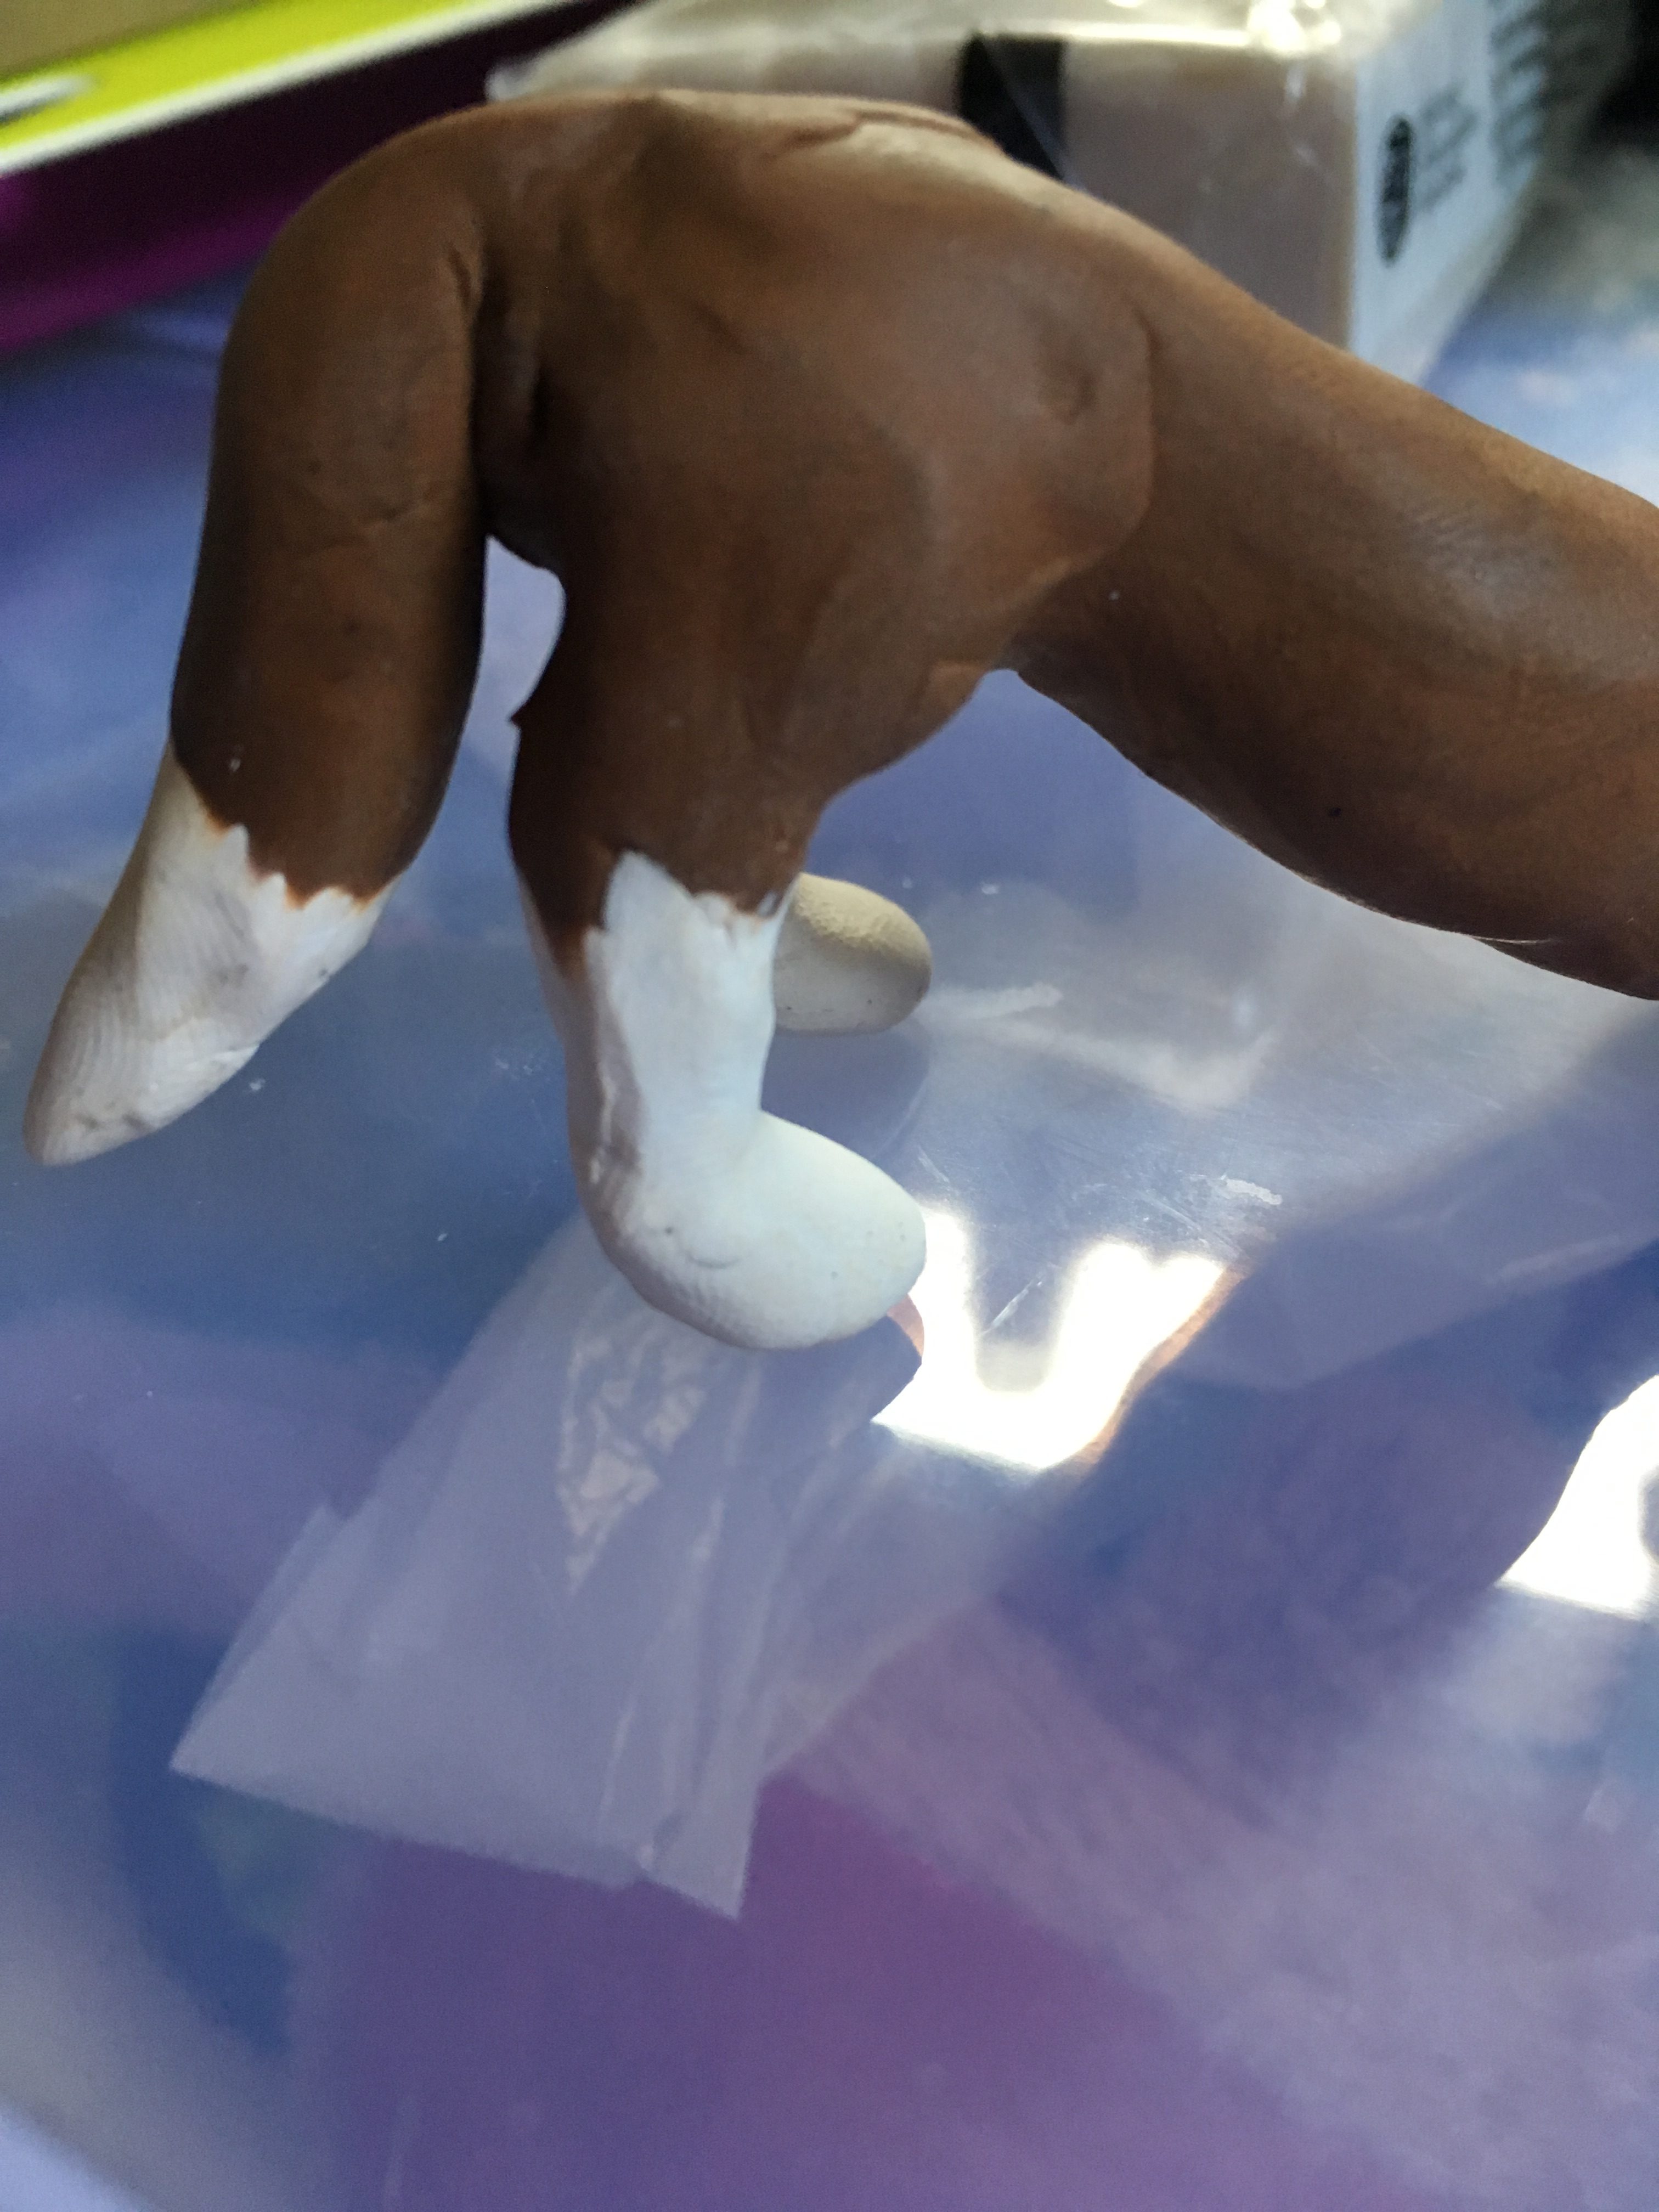
Make little white blobs with a small piece of wire. Make one for each back paw and squish the bottom so he can stand.
Attaching the Back Paws to the Clay Fox Base
Put the wire into the nubs of the back paws, and add rings of white clay where the clay does not match up to the brown clay. Blend and smooth the two colors together.
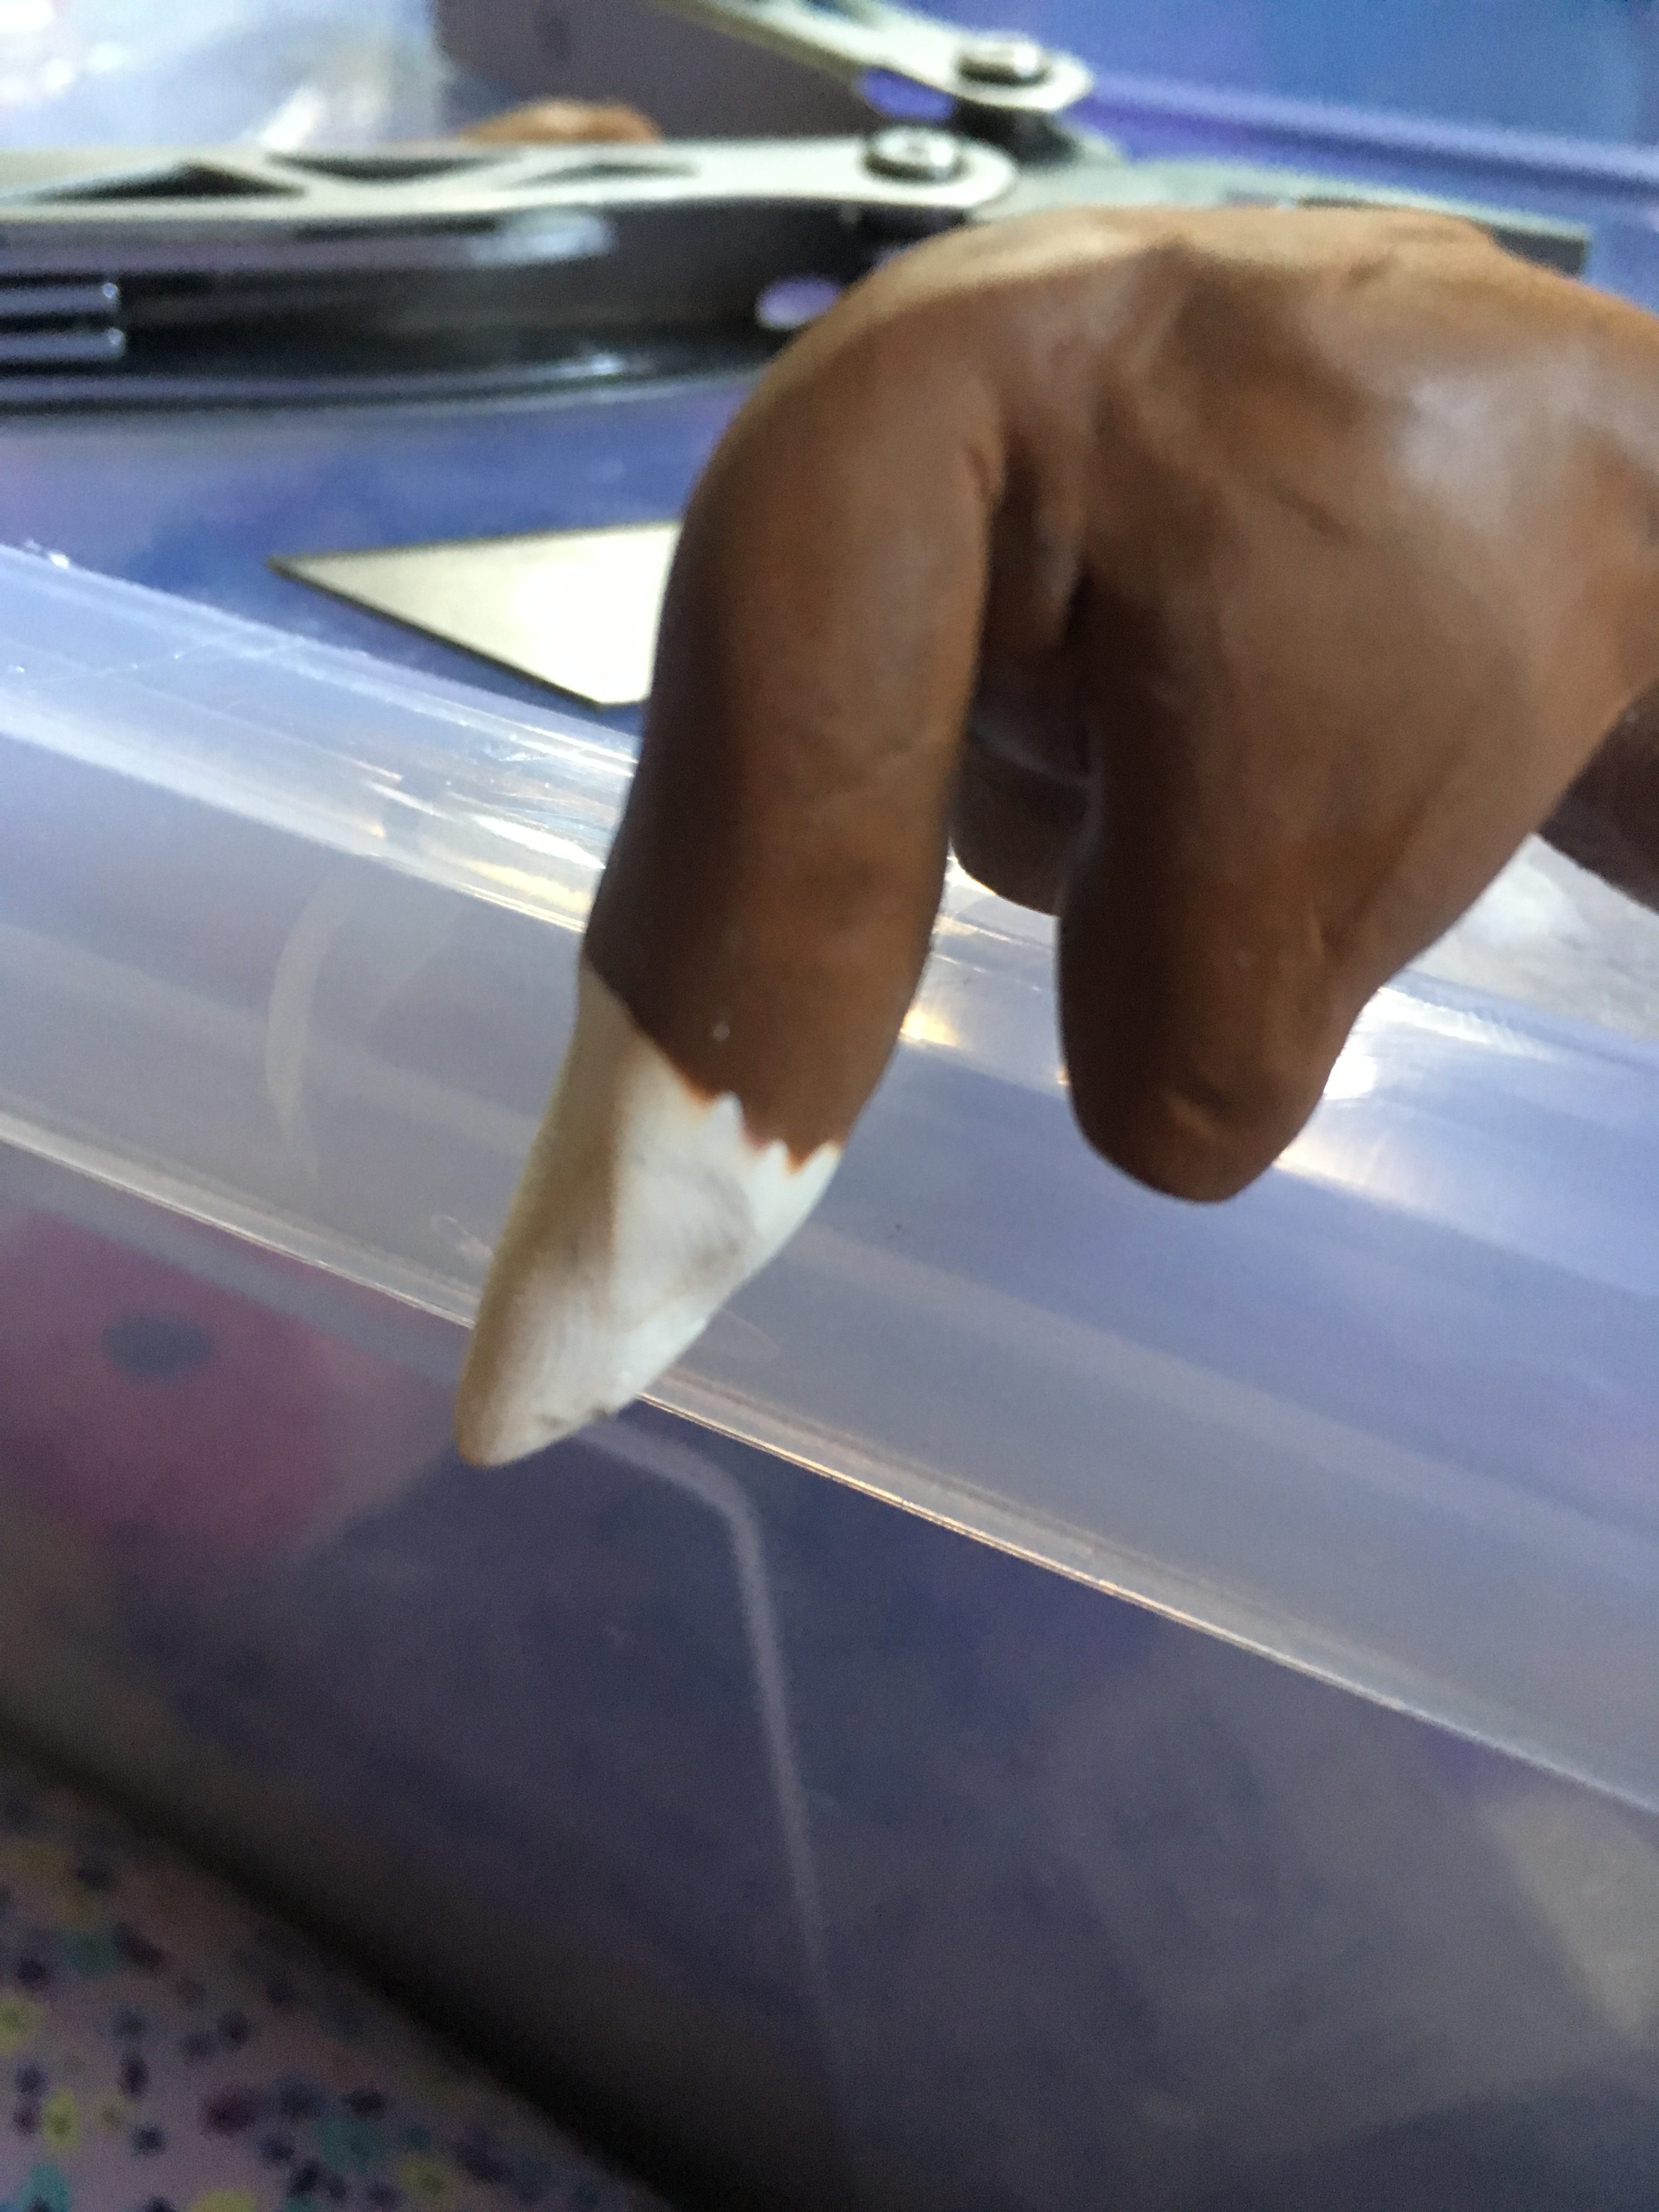
Making the front Paws
For the front paws, make the teardrops flat instead of standing up with small pieces of wire to attach to the base of each front paw. Just like the back paws, add extra white where needed and smooth the colors together.
Sculpting the Tail
The tail should be a longer teardrop shape, with a wire going all the way through it and with extra to go into the fox to secure it. Cut the end of the tail off, about ¼ inch from the tip.
Adding White
Add white clay where the end was cut off, and blend them together where the colors meet.
Attaching the Tail
Put the wire into the end of the fox and blend the clay from the tail and rear together to make it look like the tail has always been there. If needed, use rubbing alcohol to blend.
Sculpting the Ears
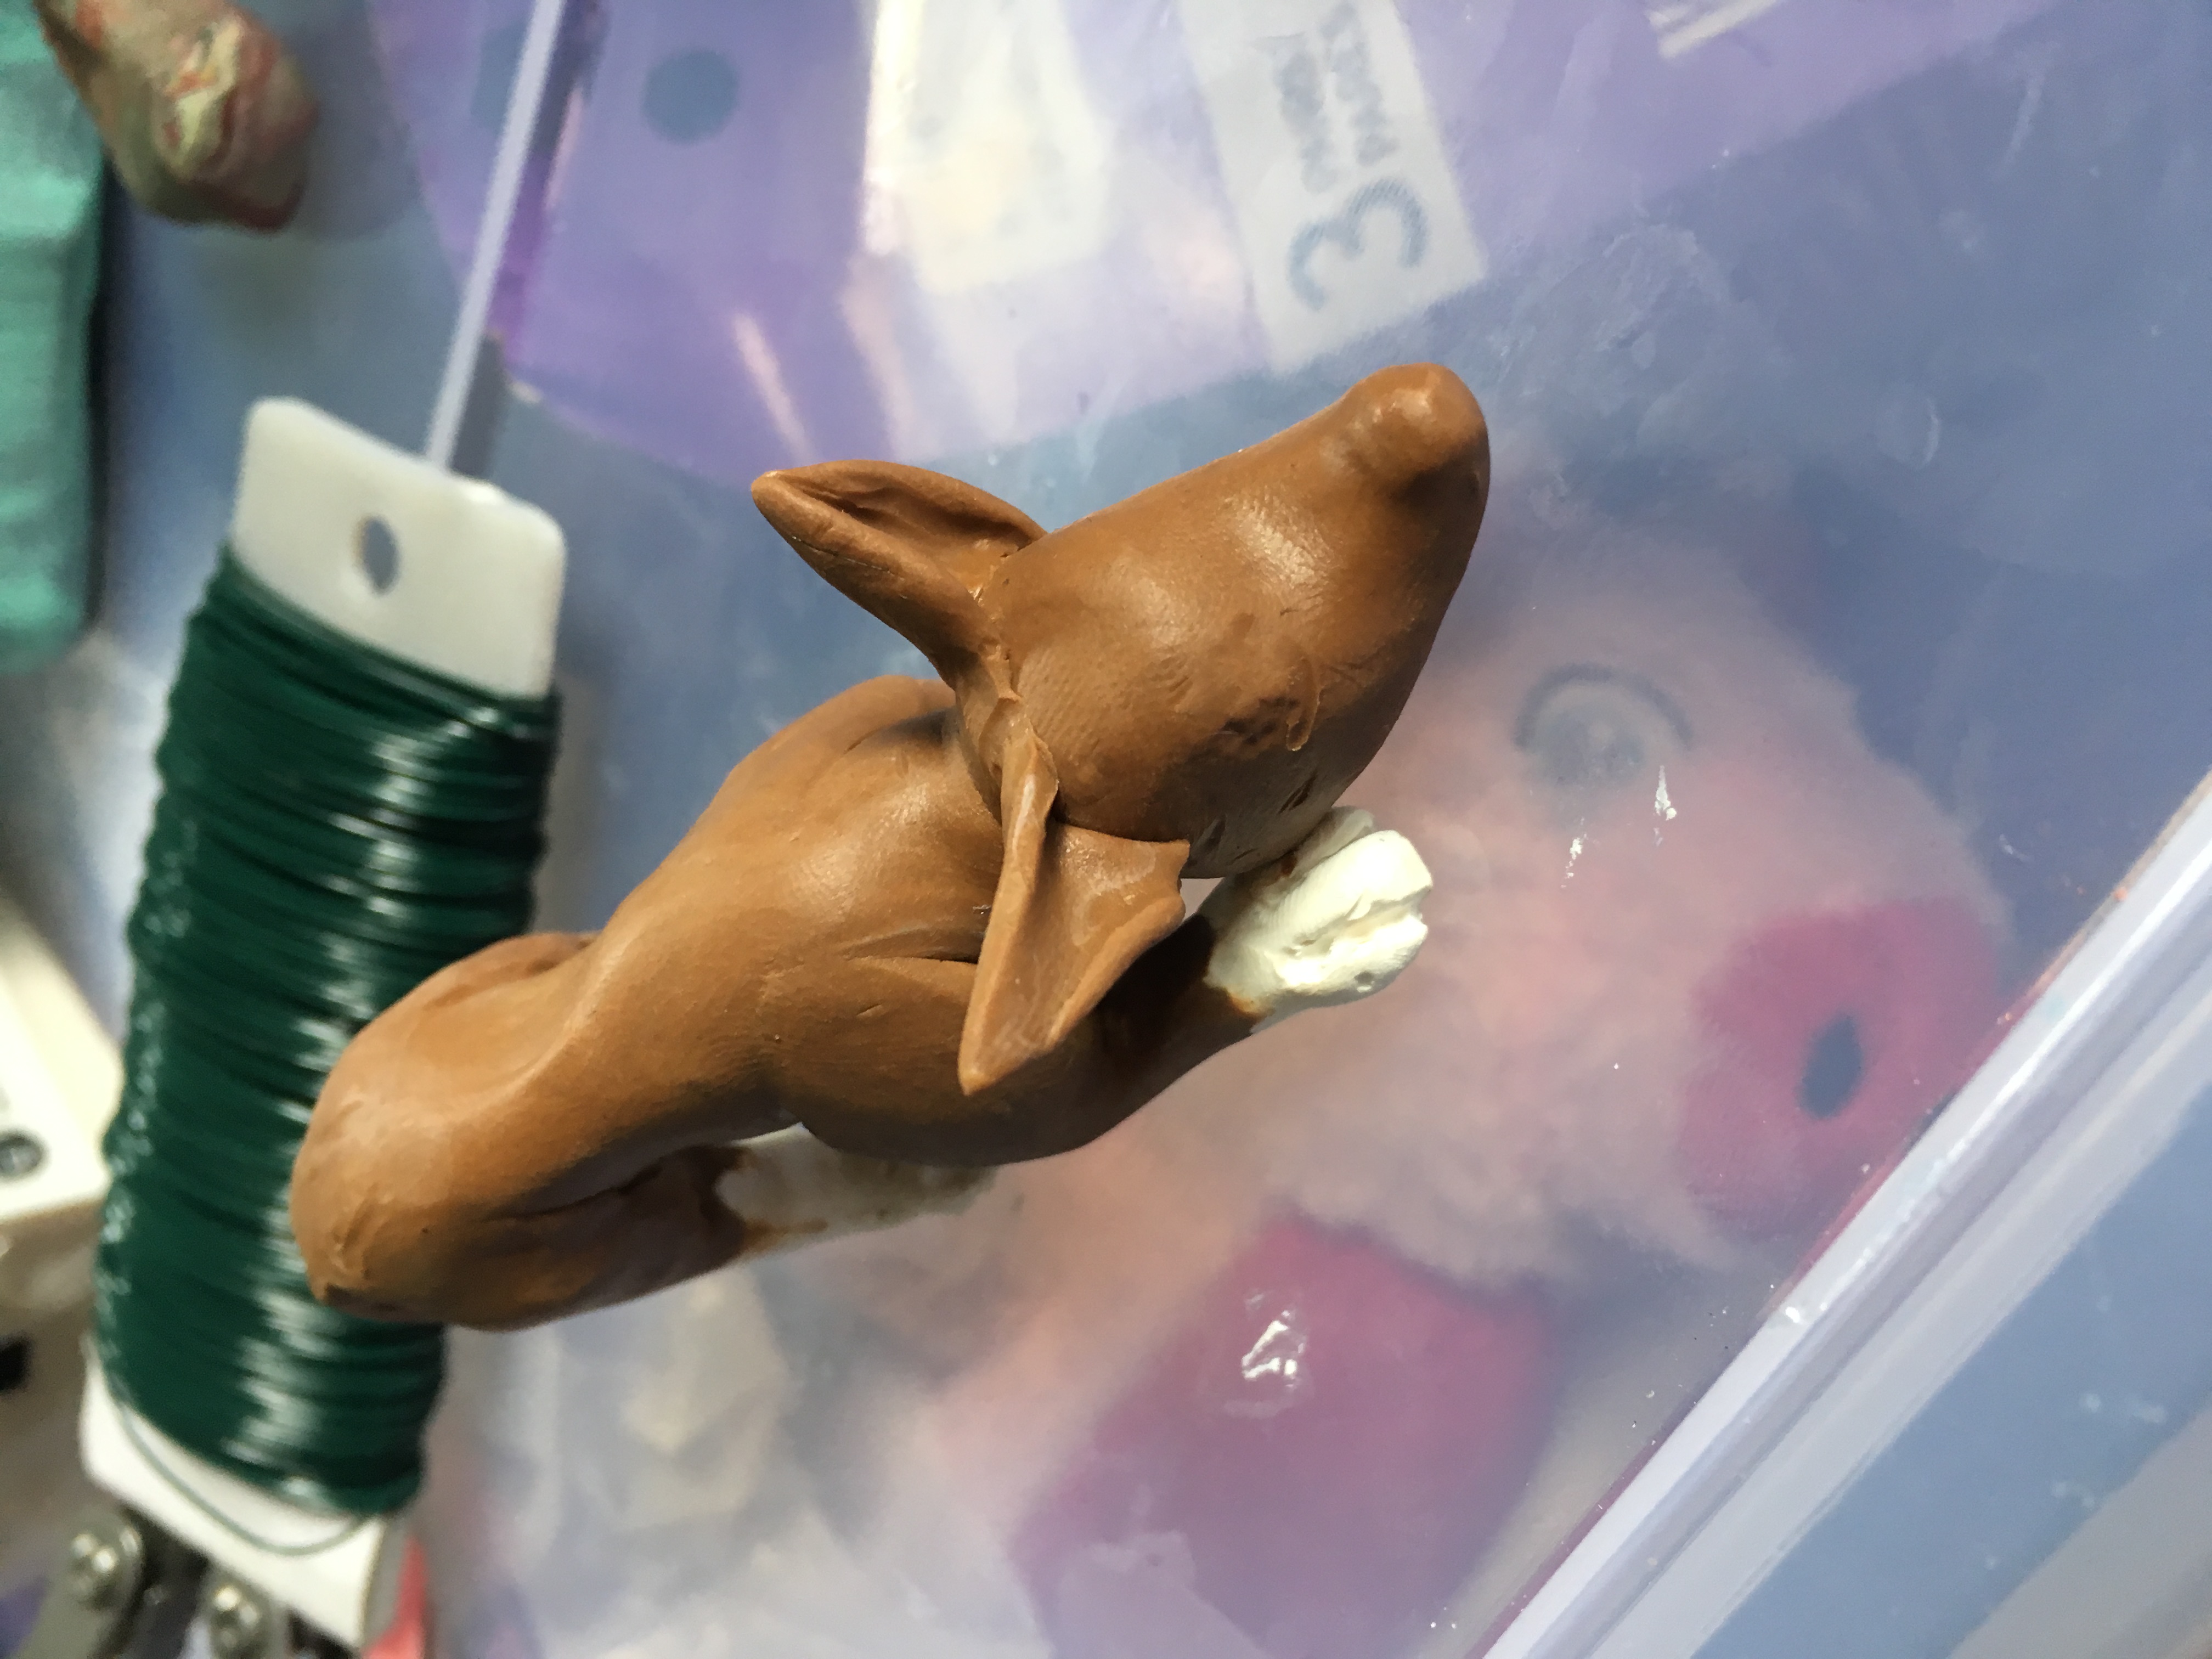
Start by taking two small blobs of clay. Shape them into triangles and gently blend into the head with a dotting tool.
Baking

Put the fox into the oven for about 20 minutes at 275. Allow it to fully cool before touching.
Finish
Once your clay fox base is cooled, you can paint it however you want. Happy Crafting!