
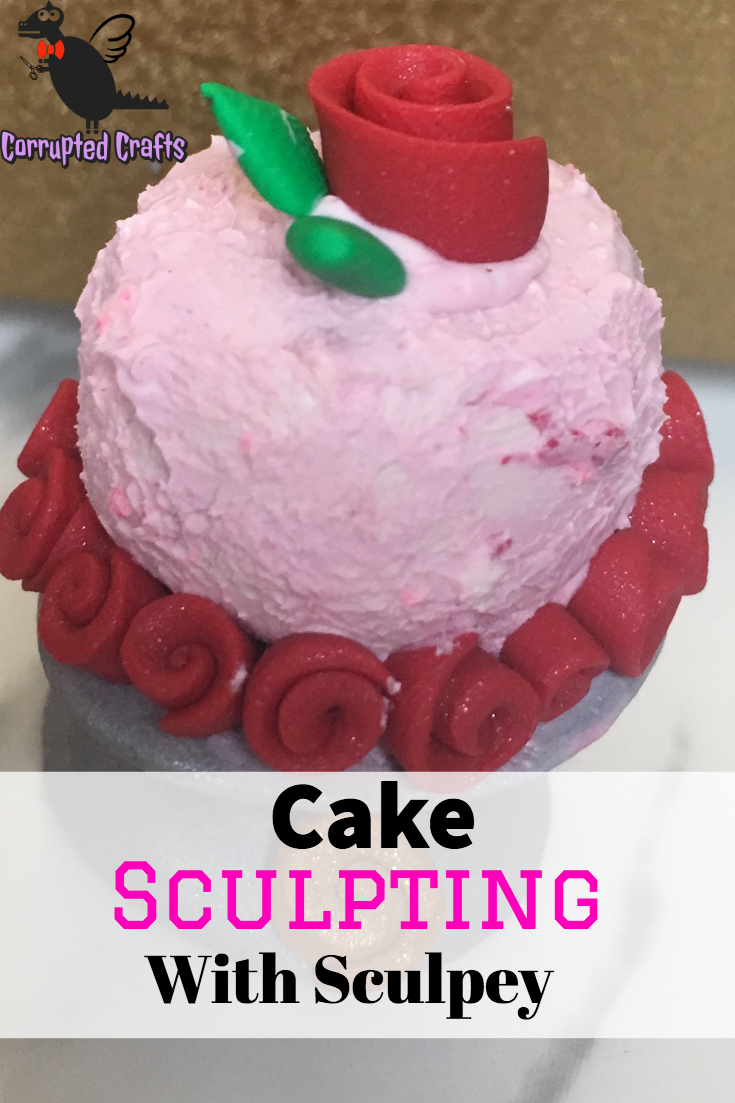
This tiny polymer clay cake looks good enough to eat. With pretty strawberry icing and roses galore, this simple yet elegant cake is the perfect addition to any dollhouse. In this tutorial I will show you how I learned to liquify polymer clay in order to make a batter-like consistency. This process can be easy to make a mistake on, so please follow carefully.
What you will need
- Polymer Clay in white, red, gold, and silver
- Glass bowl
- Rubbing alcohol
- Toothpick
- Pliers
- Wire
- Tin foil
- Oven
- Small makeup brush
How to Make a Polymer Clay Cake Base
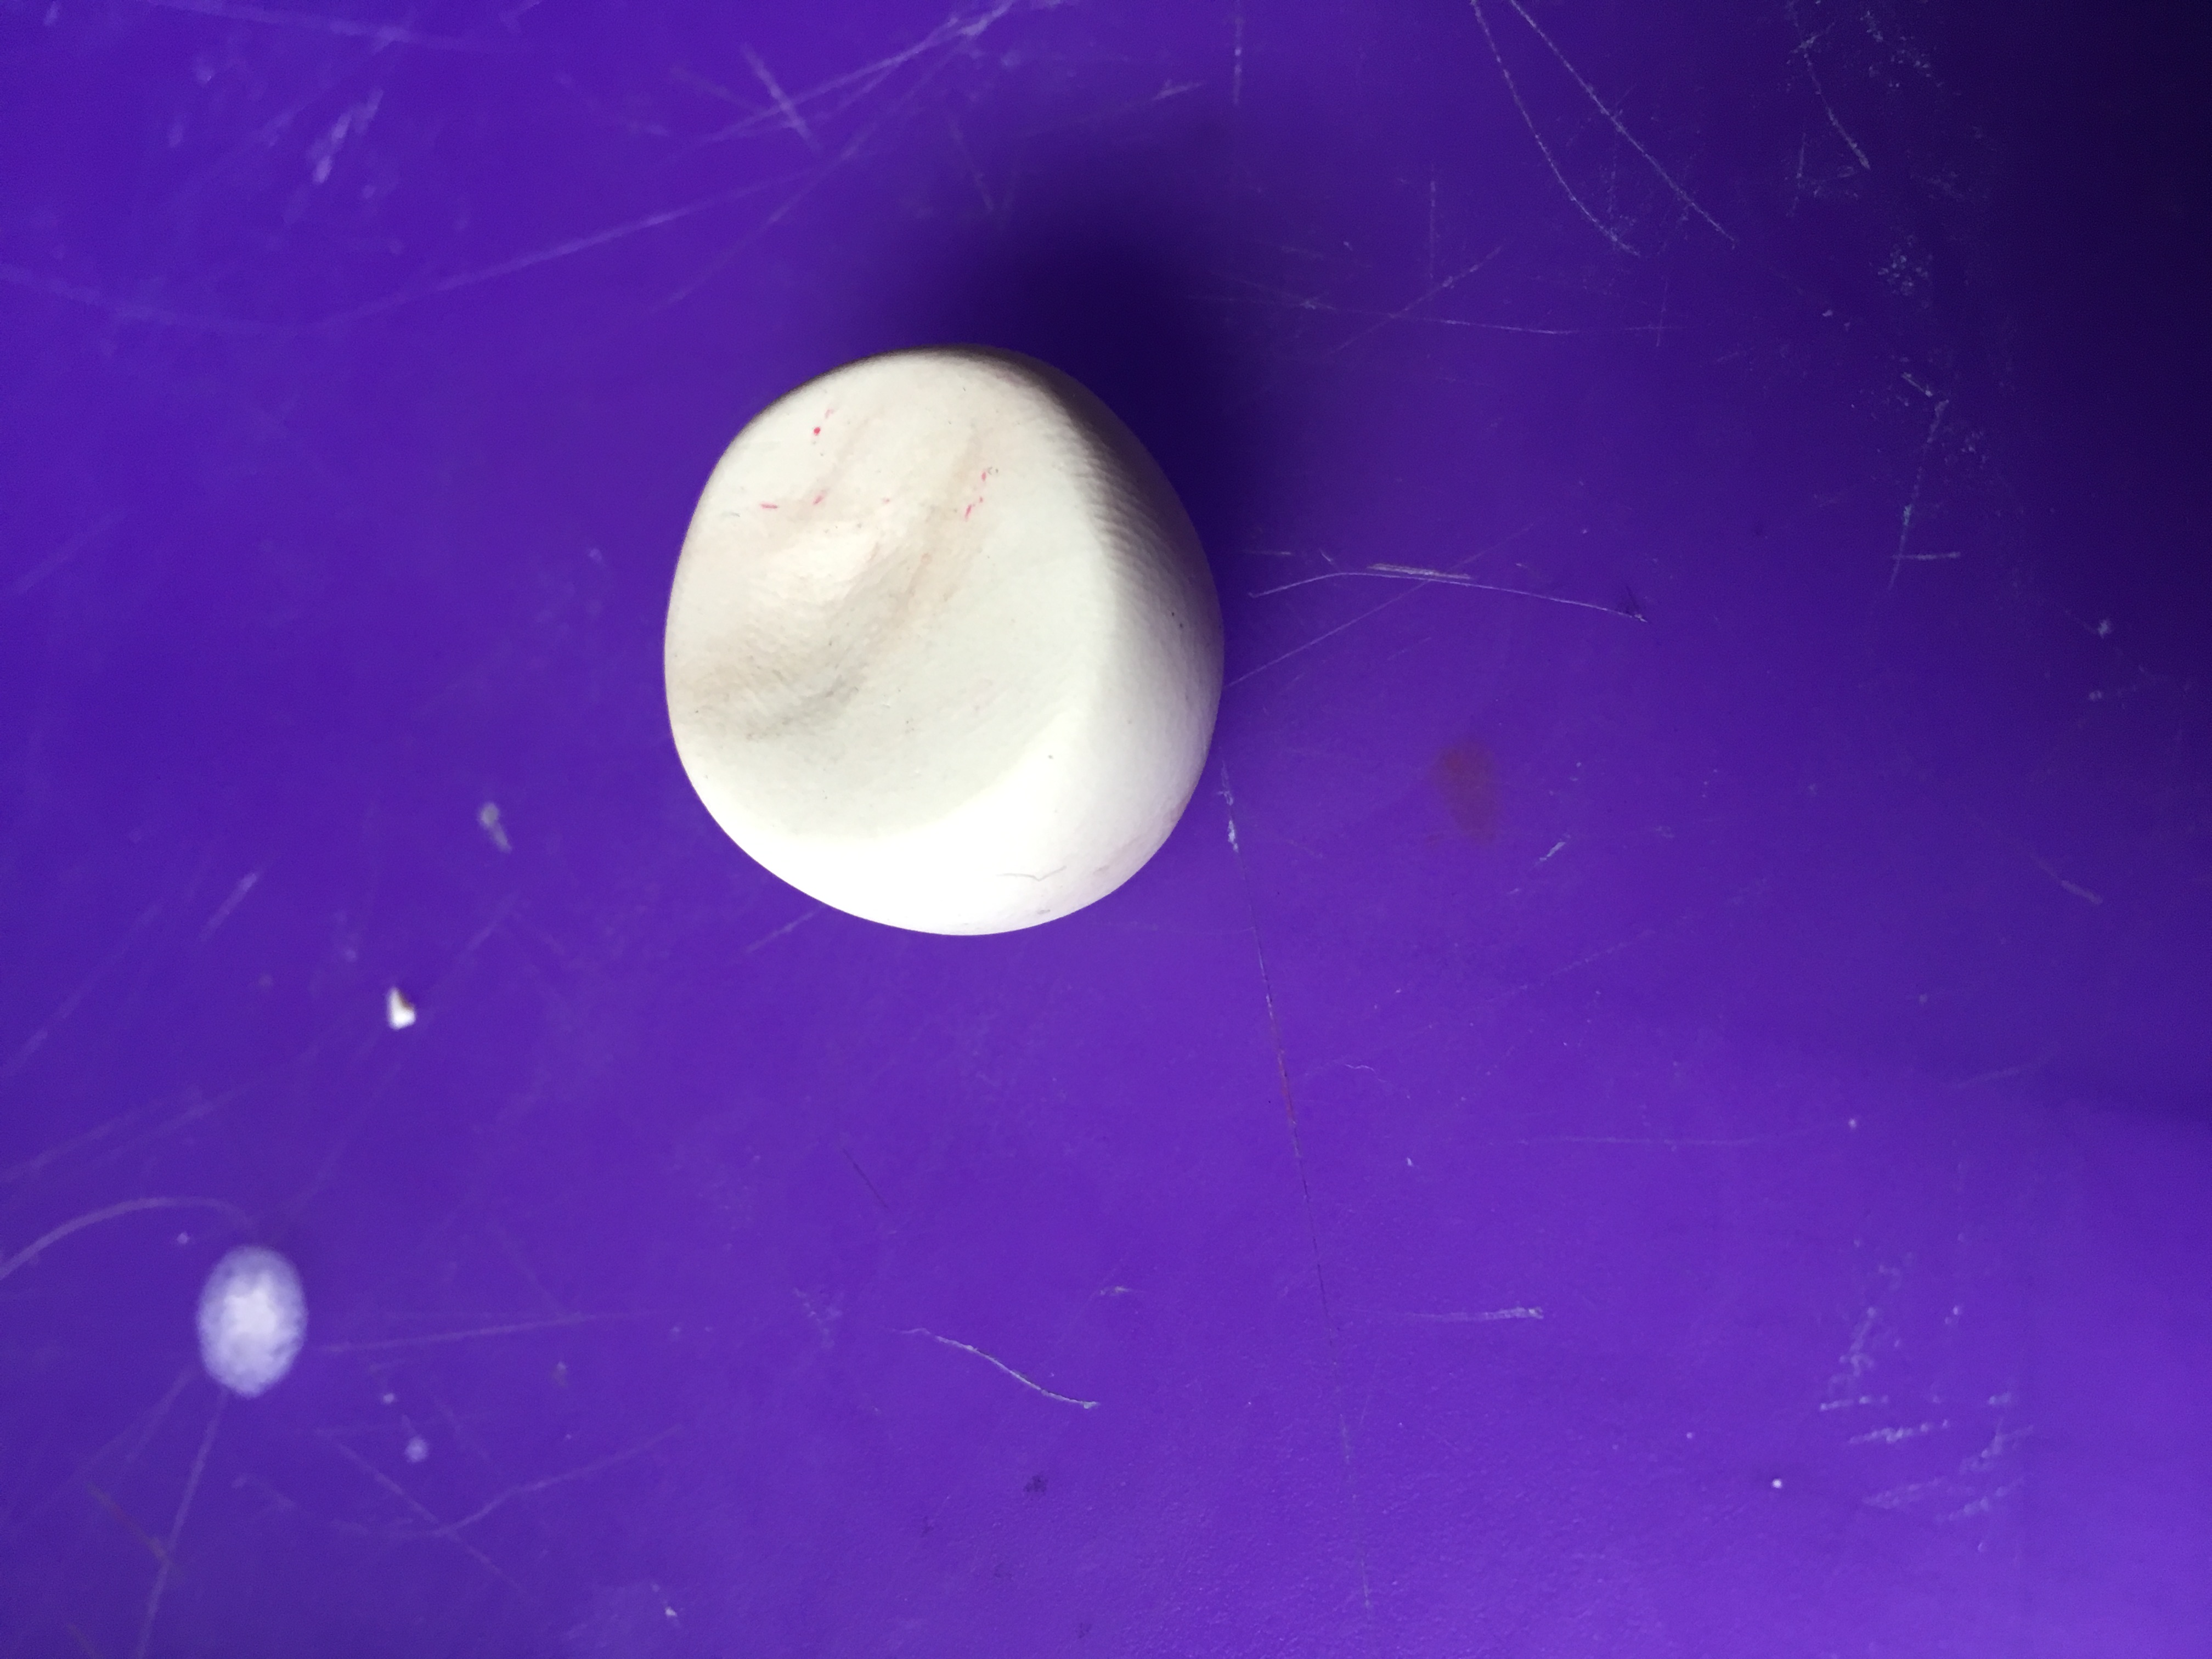
To start, roll a normal ball of scrap clay into a ball. Squish it down on two sides to make it into a cylinder. Wipe off fingerprints and set the tiny cake aside.
The Reaction of Alcohol and Polymer Clay
Alcohol seems to be the main wet ingredient in polymer clay. Similar to acetone against nail polish, It works an ingredient in the mixture to melt it down.
Melting the White Polymer Clay
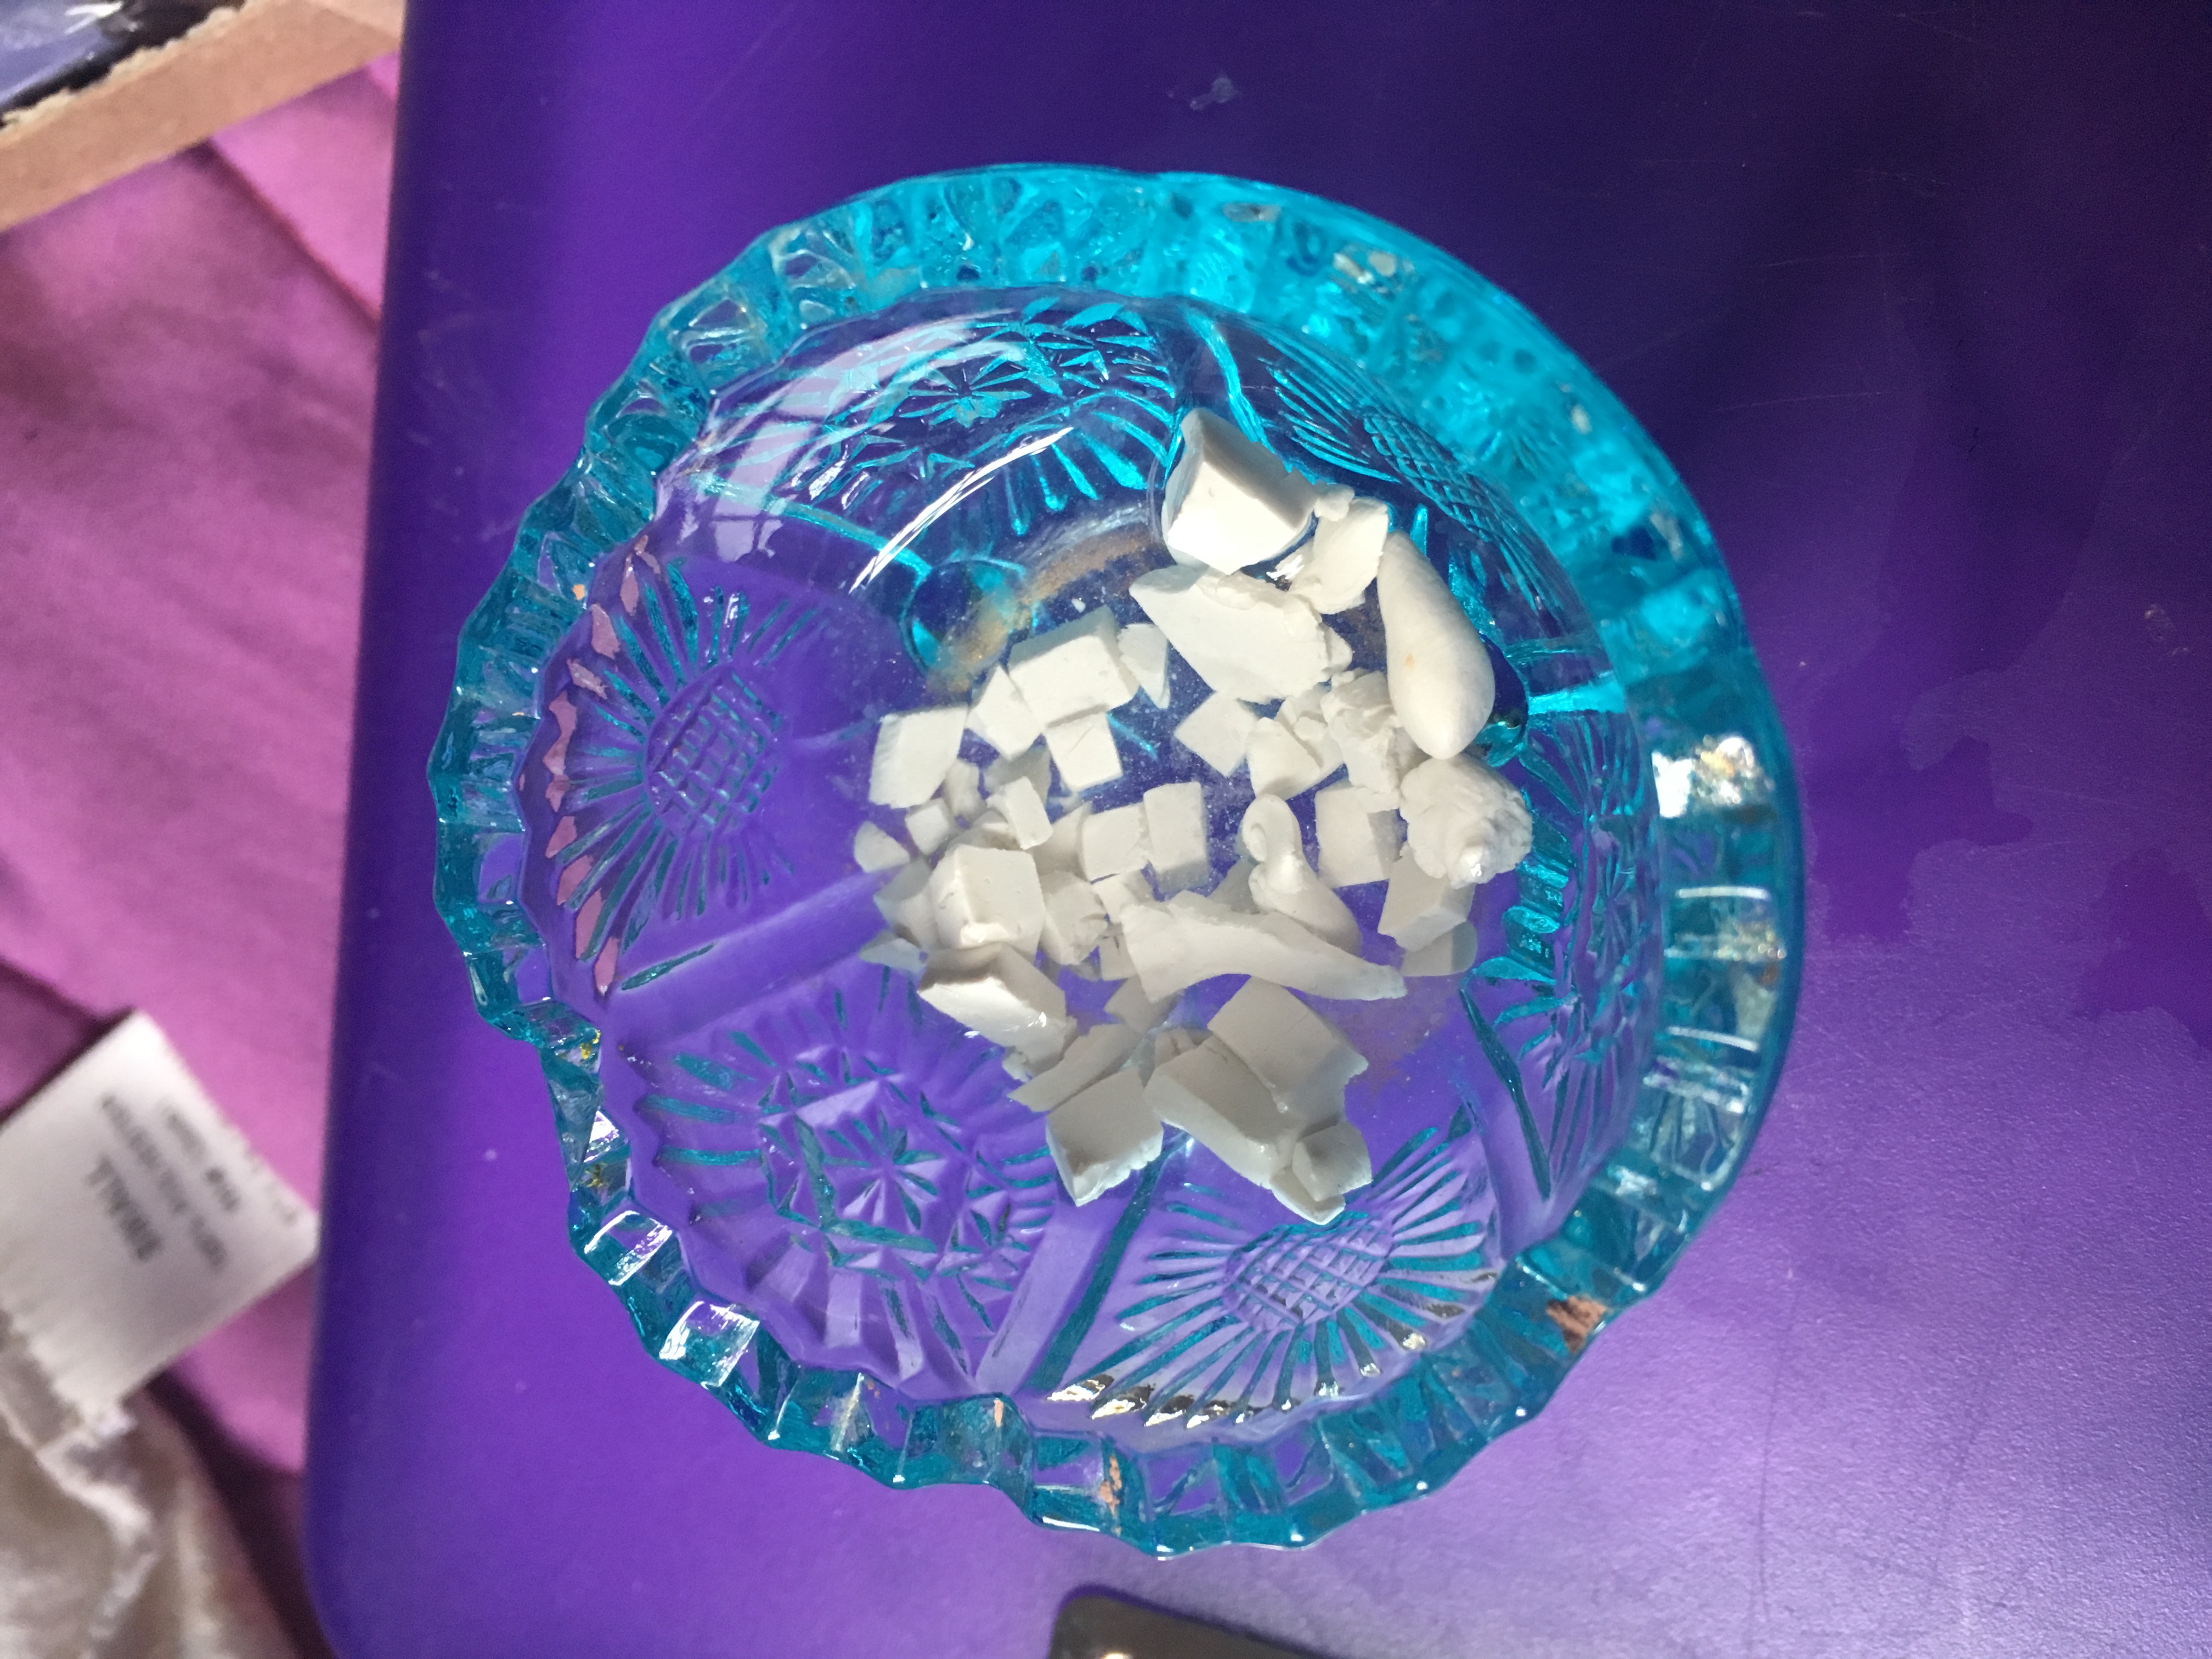
Add some small chunks of white clay to the bowl and add rubbing alcohol to the clay. Let it soak for about five minutes to disintegrate.
Mixing the Polymer Clay Cake Frosting
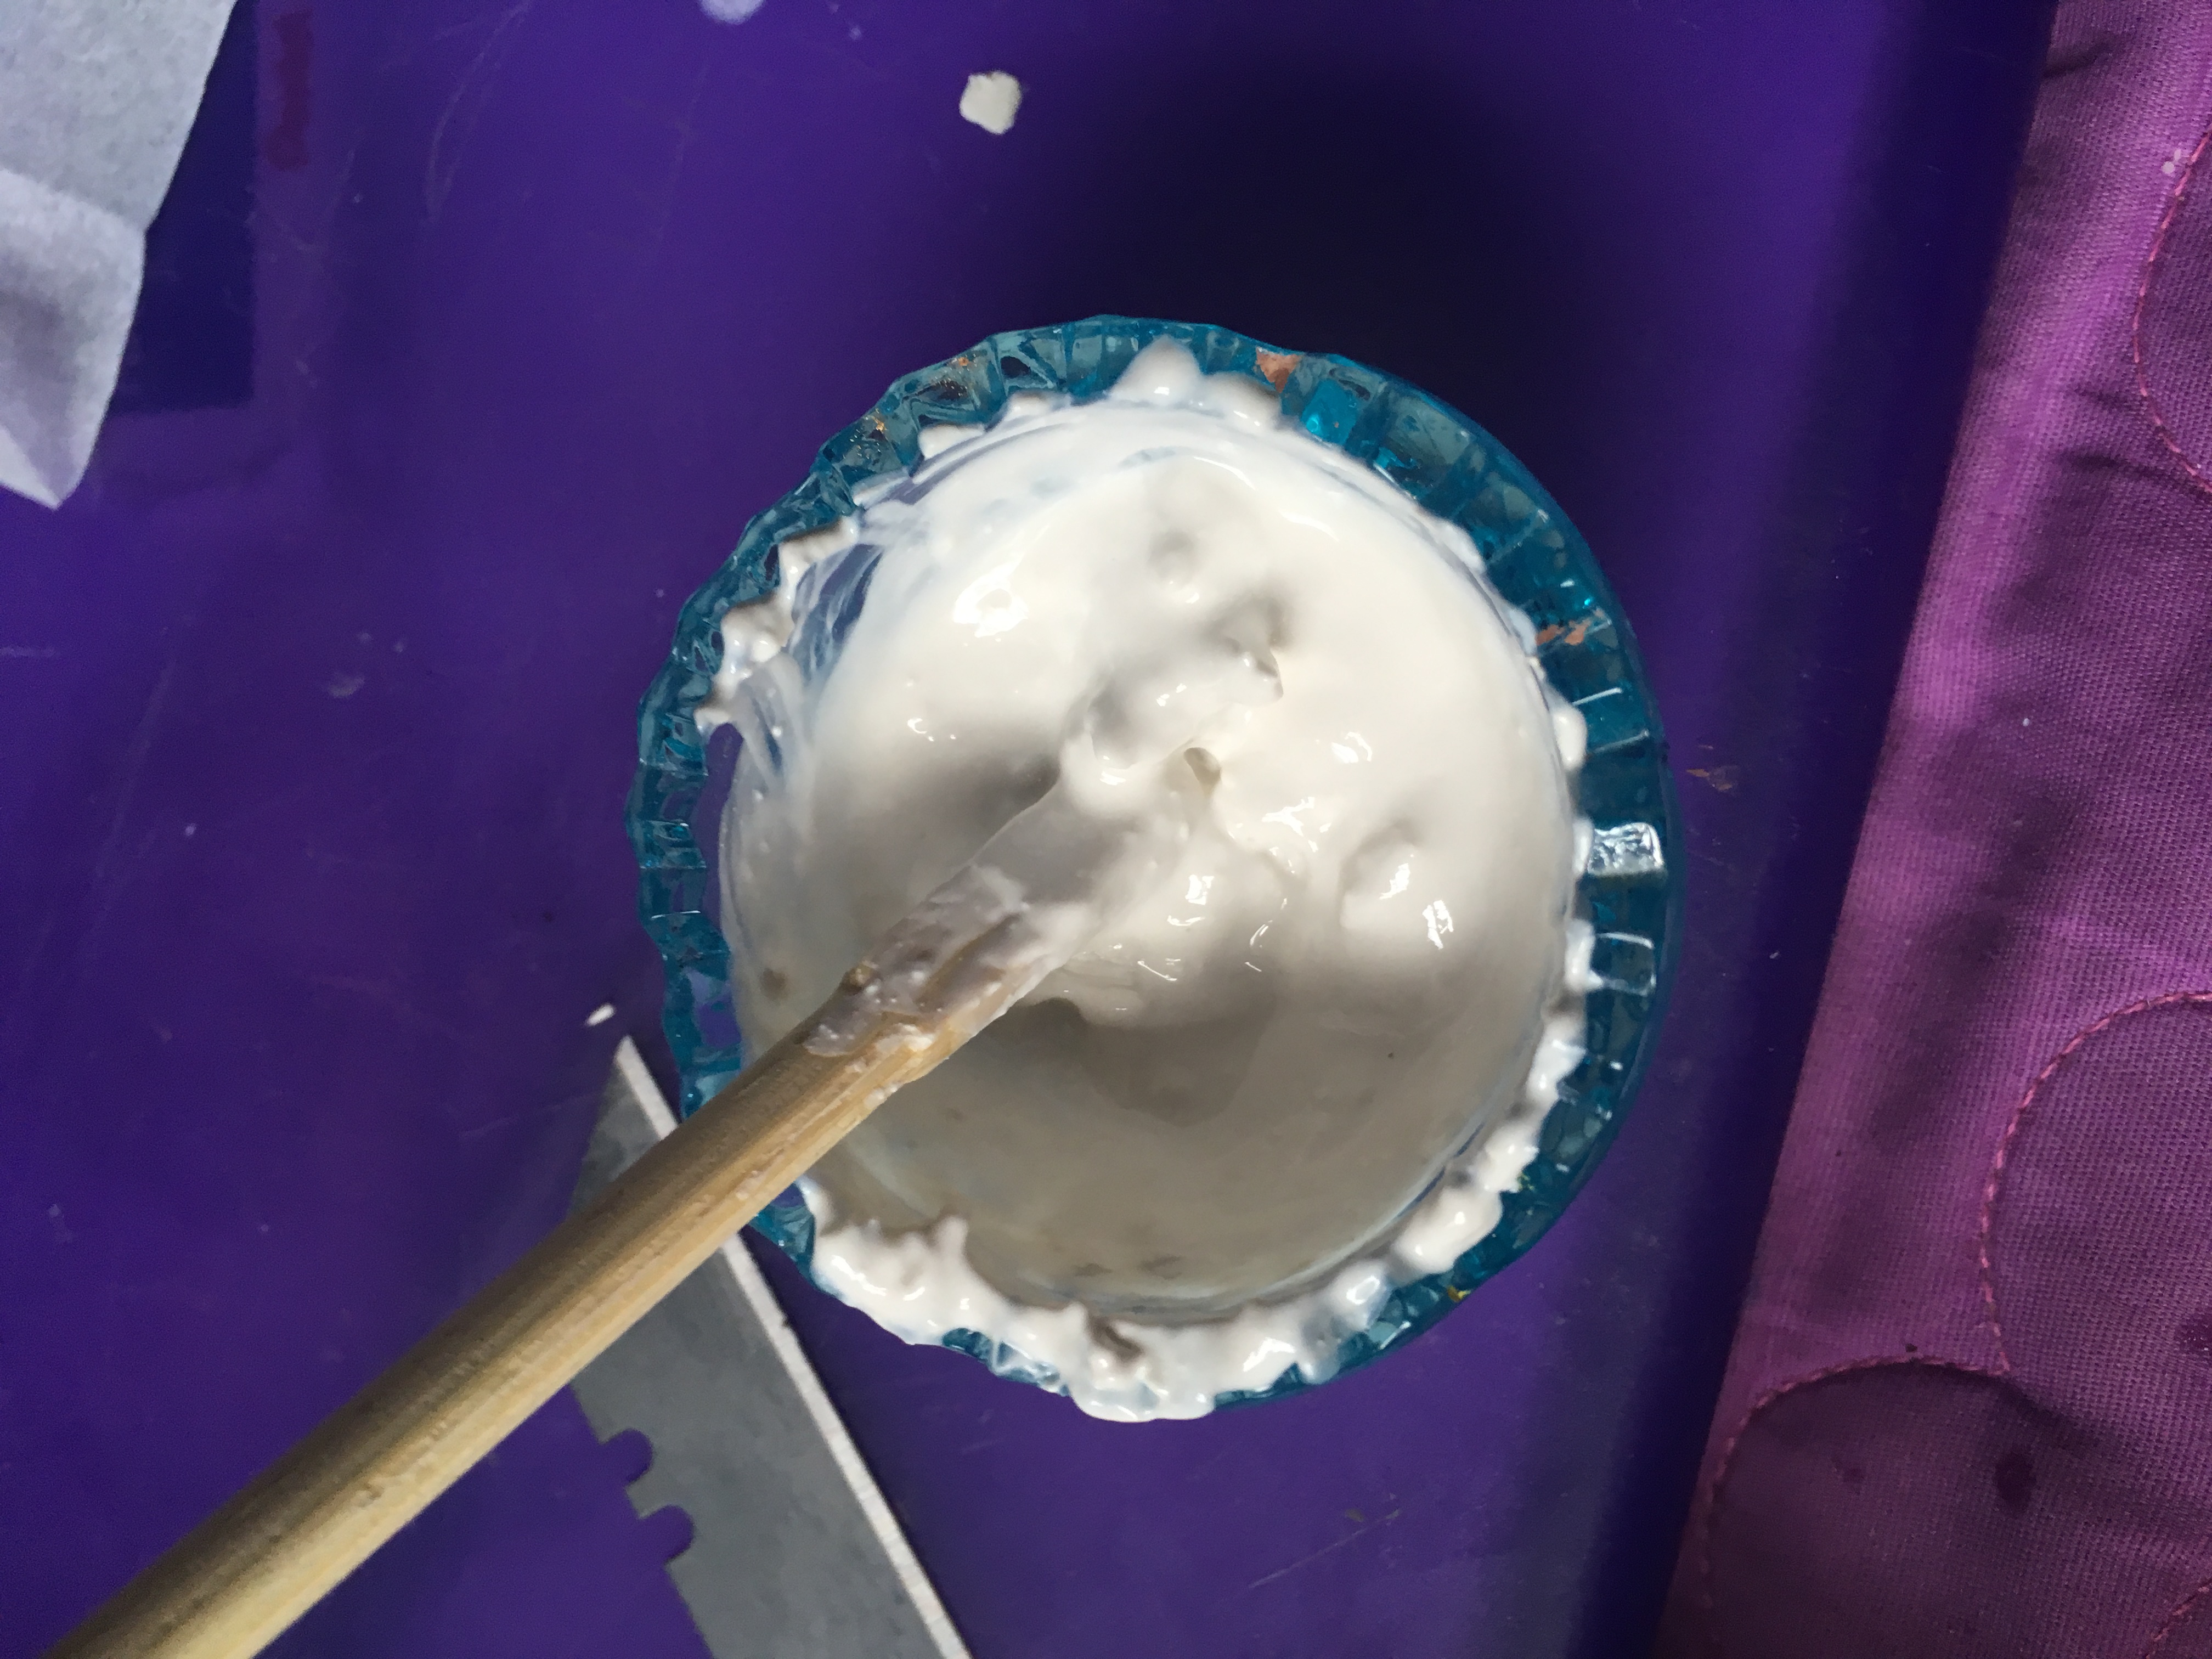
Use a toothpick to stir and dissolve the clay into the alcohol. It should make a thick paste. Make sure to avoid chunks, chunky icing is not good eats.
Adding red to the Sculpey Frosting Mix
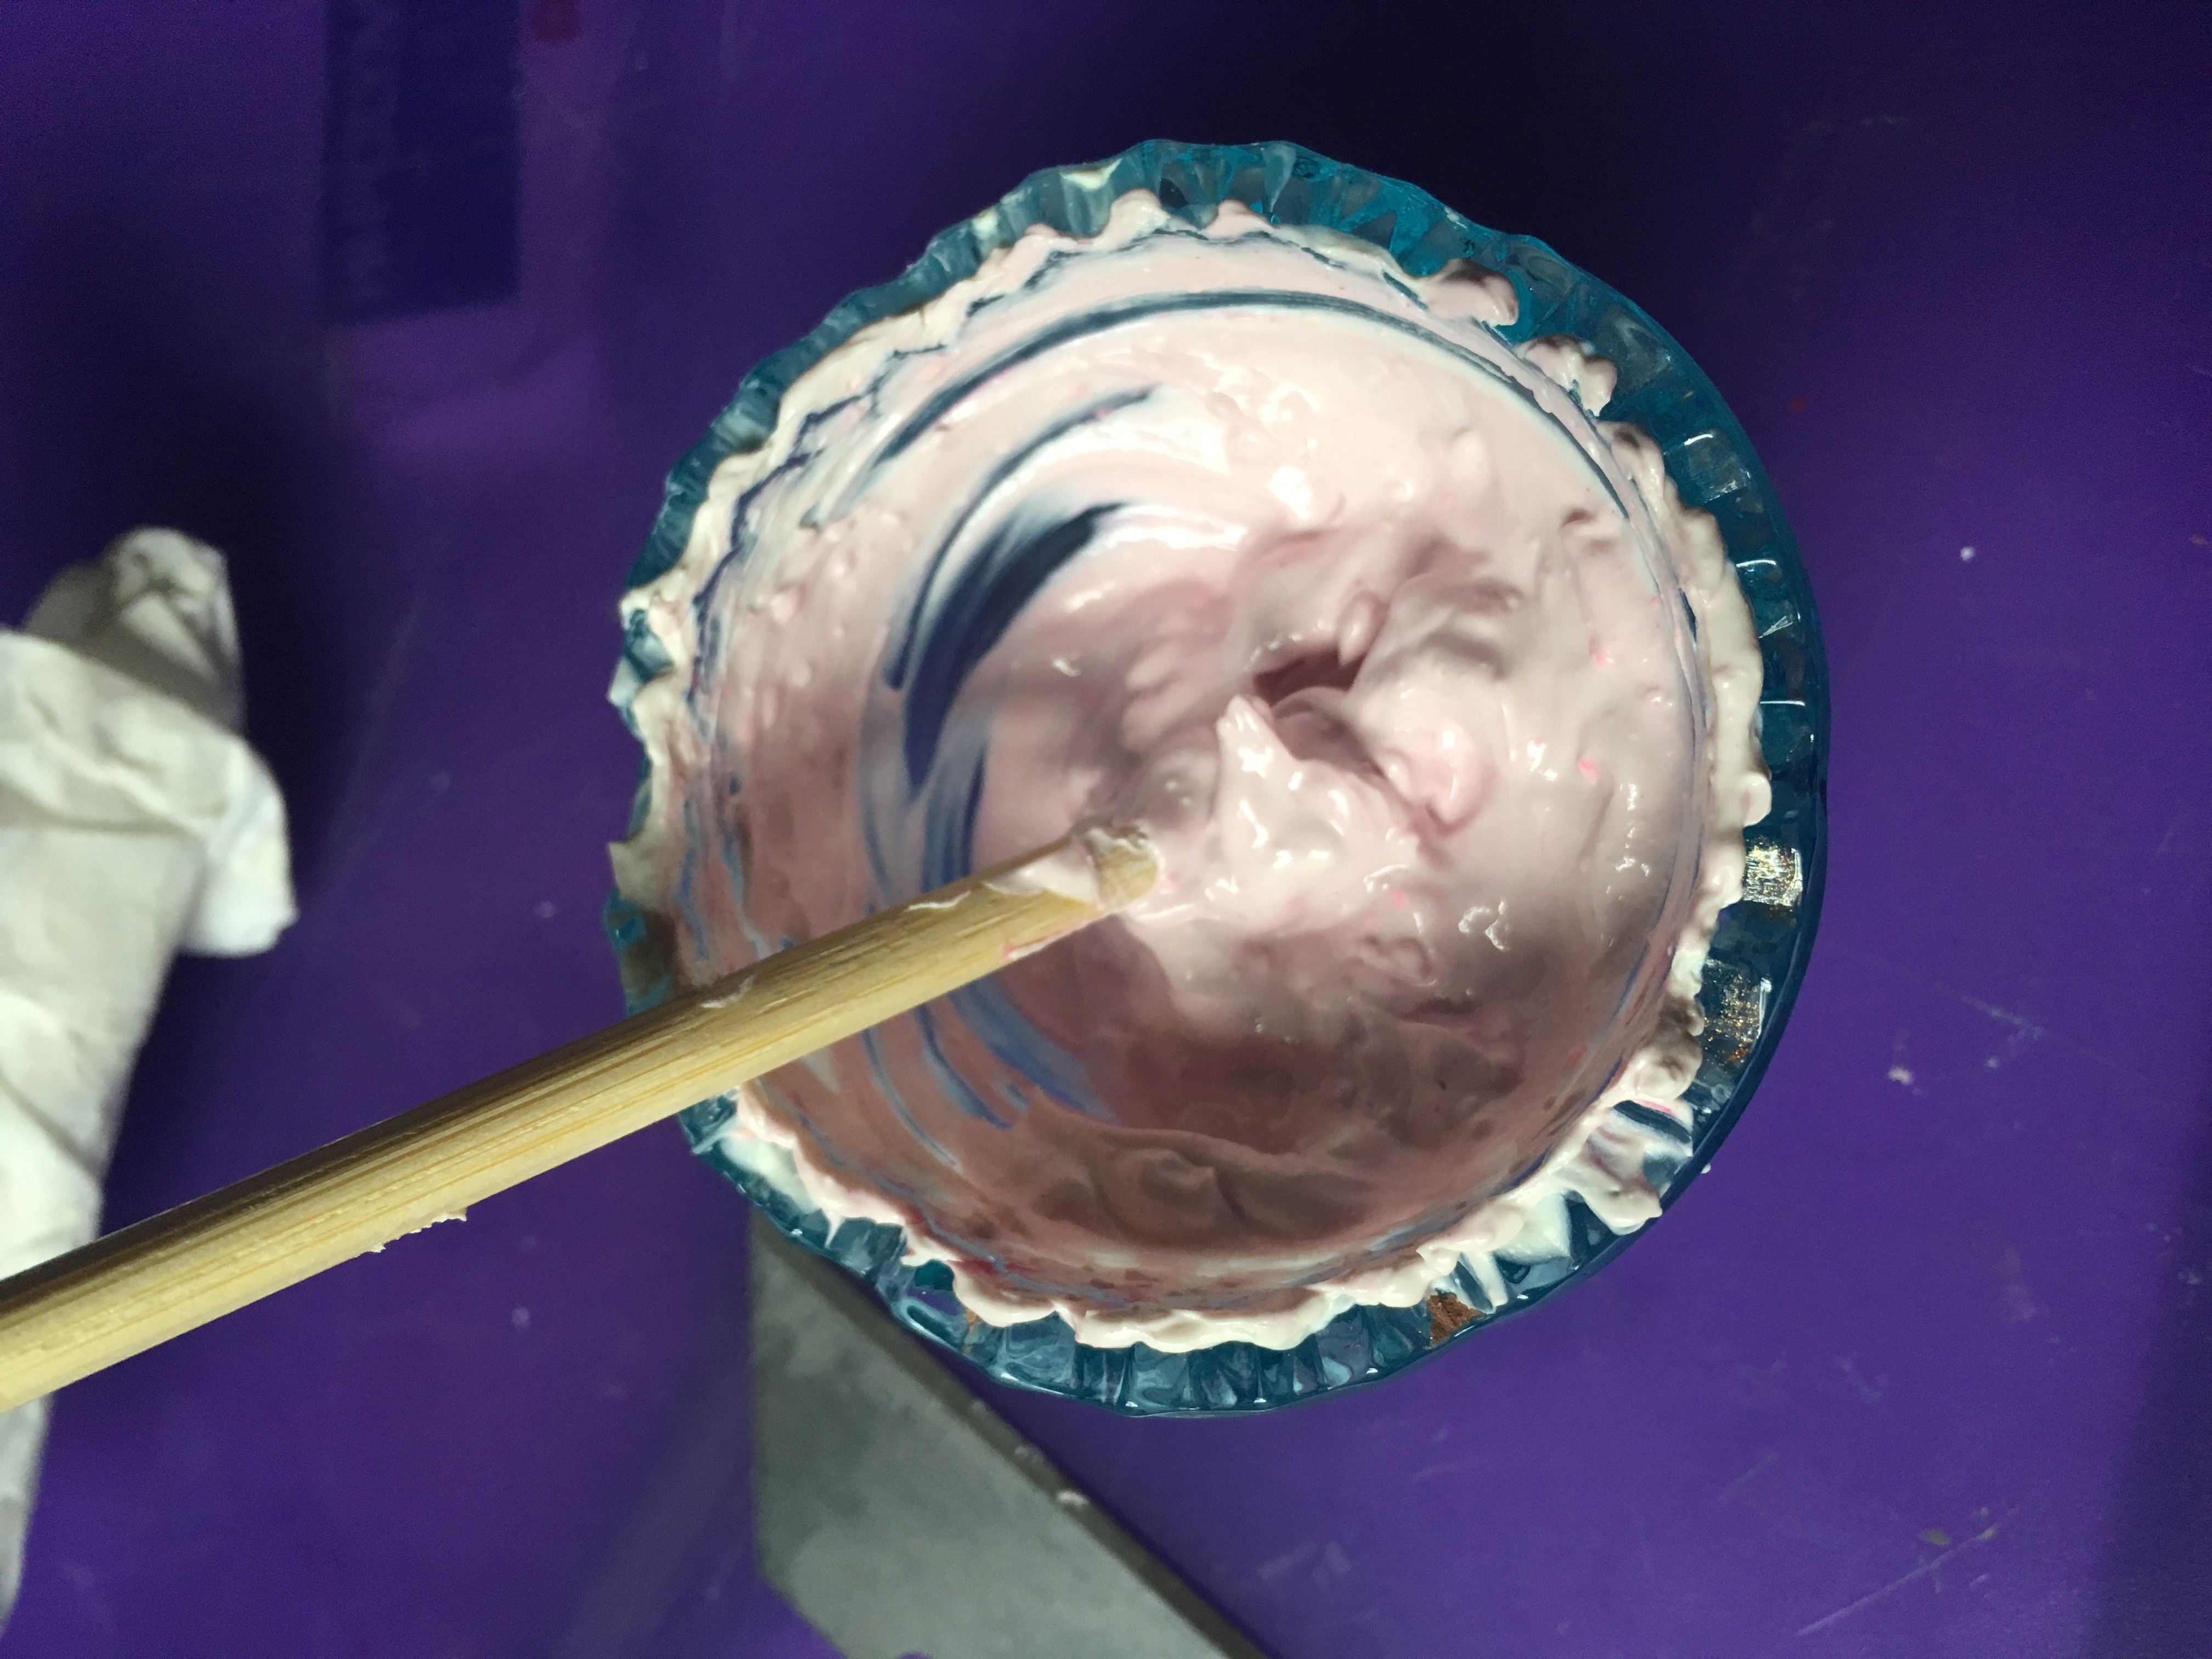
Add a few small chunks of red polymer clay to the icing and mash it into the paste until smooth again. This will give it a pretty pink color that is almost like strawberries.
Making the Clay Cake Stand Pieces
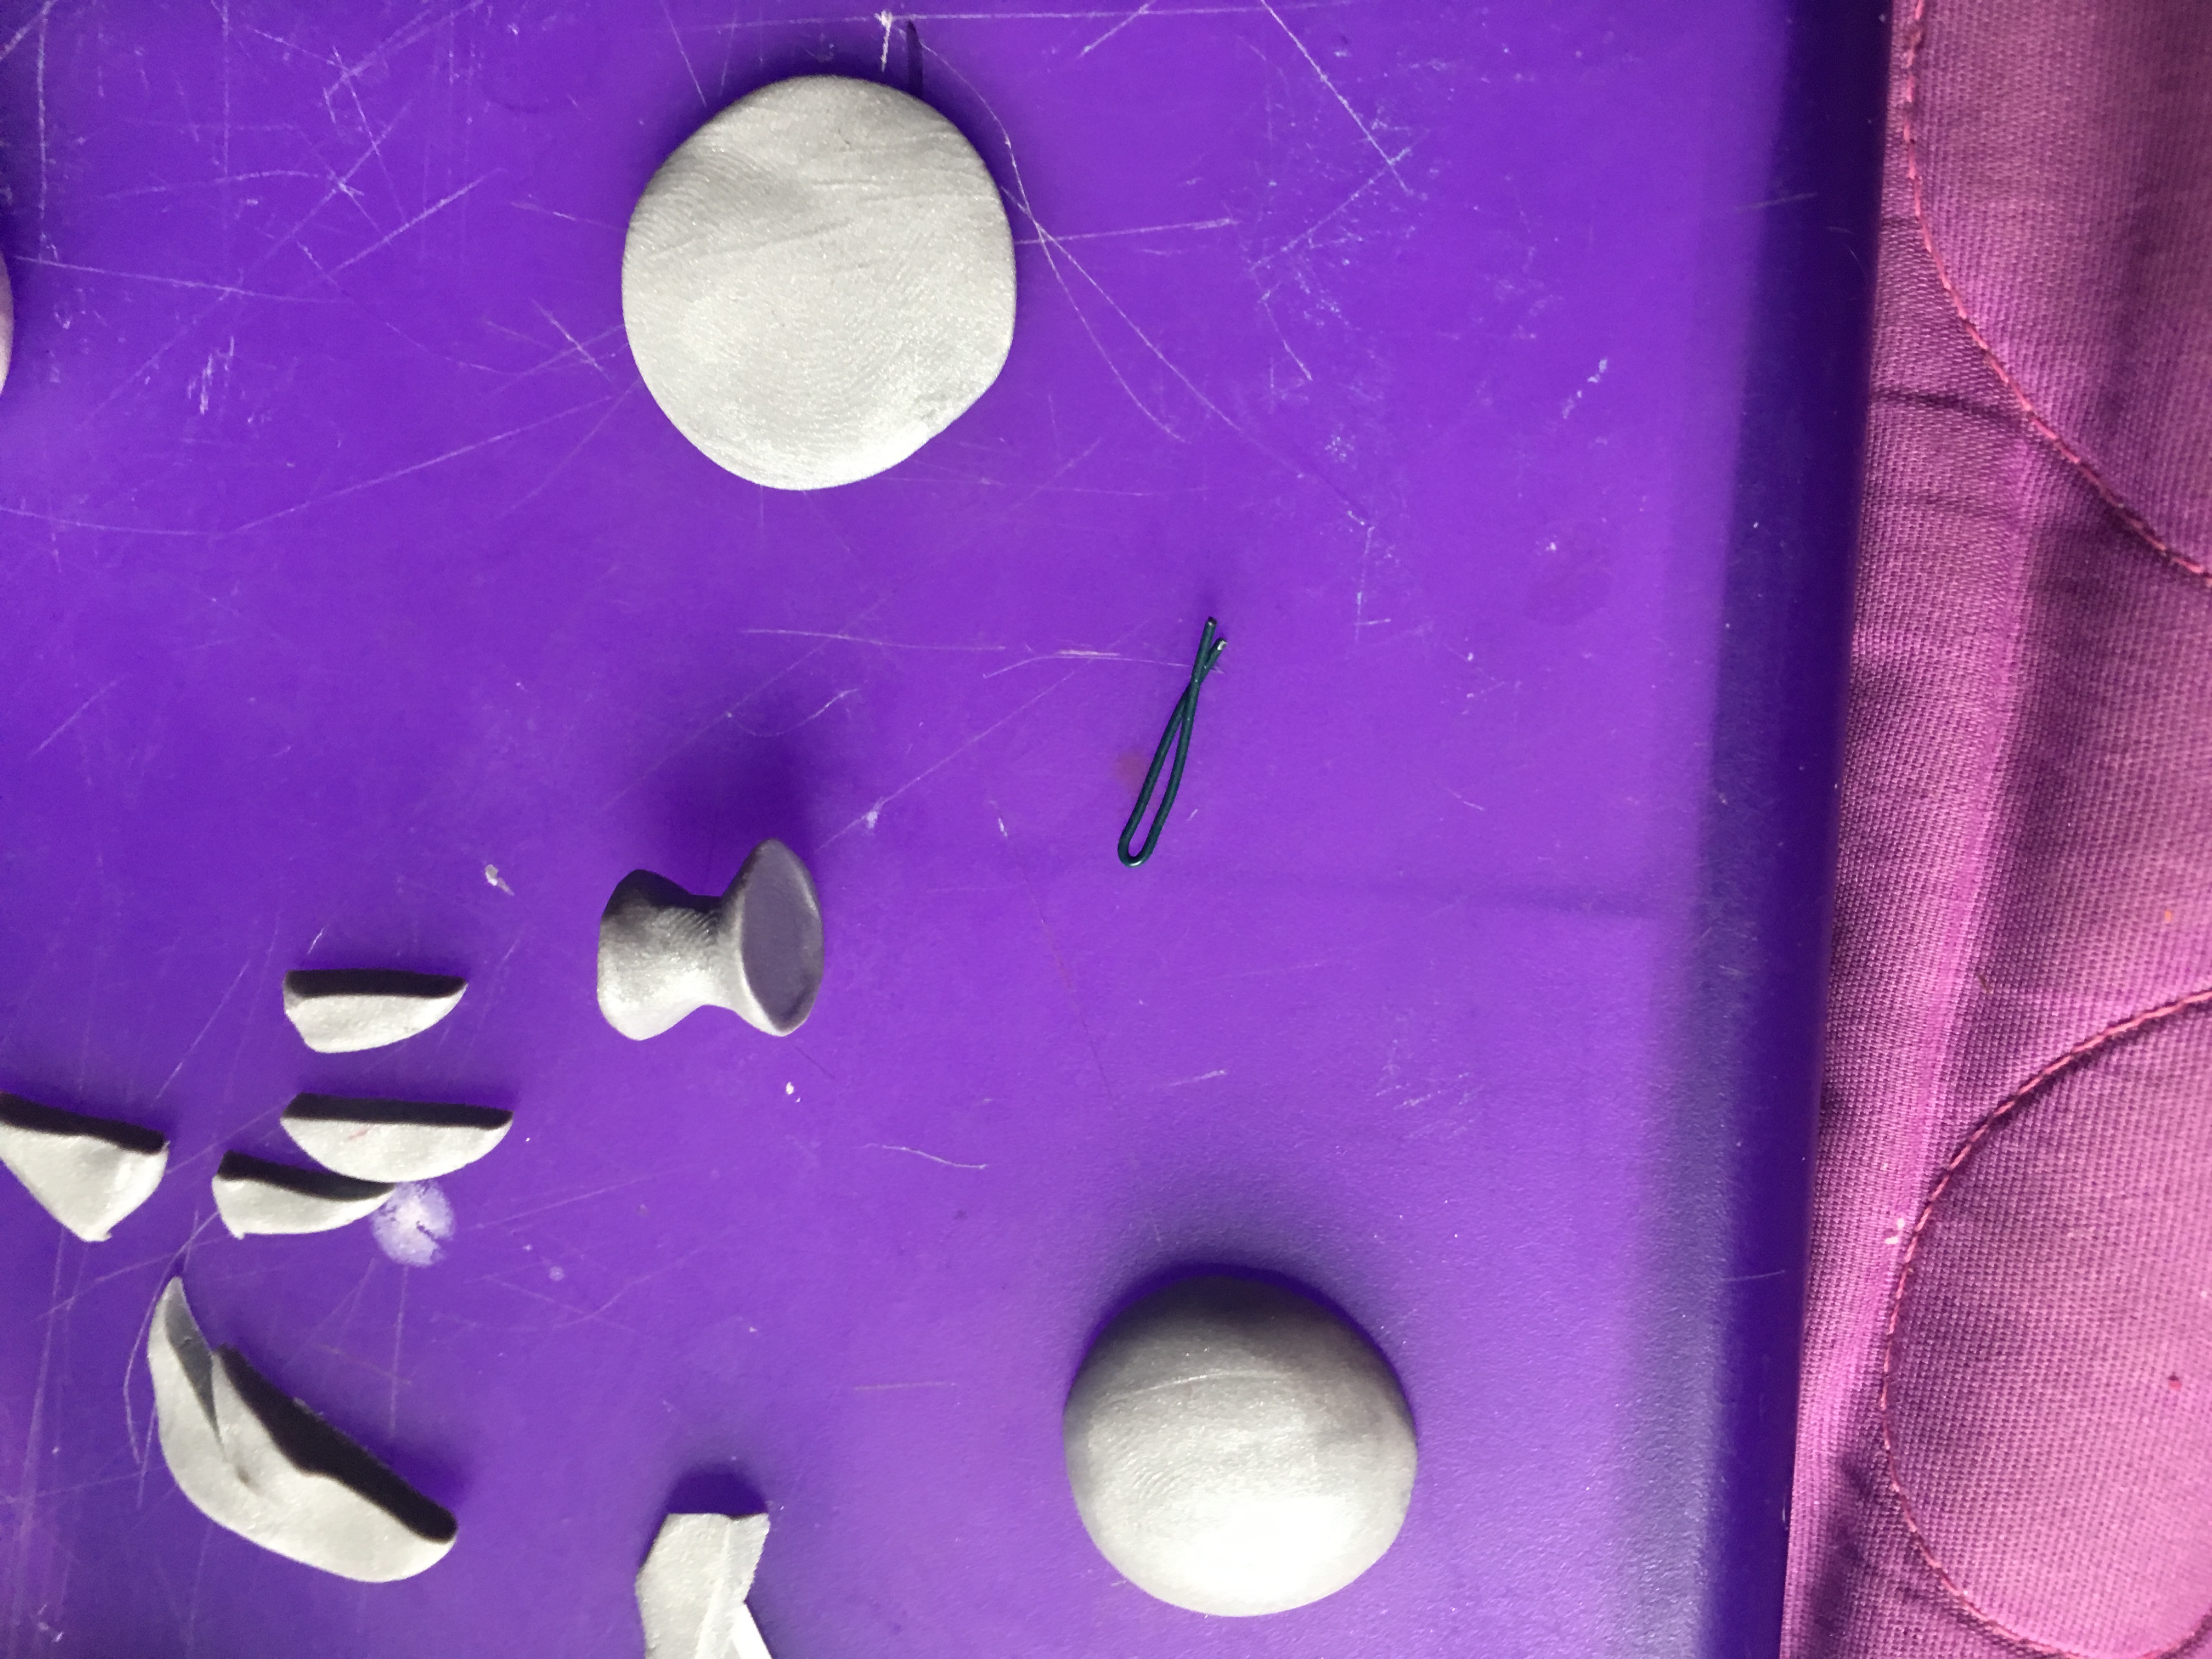
For the cake stand, you will need three balls of silver Sculpey clay and a tiny bit of gold clay. Flatten and roll the gold bit into a little roselike shape. Use one ball of silver clay for the middle piece, one for the base piece, and one for the main top dish.
Wiring
Use pliers to cut and shape a small piece of wire to go into in the middle piece and to hold the three pieces securely together. Assemble the cake stand with the cake on the top plate for stability and to cover any extra wire. Make sure the cake is pressed on securely.
Stirring the Frosting
Always stir the frosting to make sure nothing is settled. It should be a battery consistency. If it dries out, add a drop of rubbing alcohol to make it usable again.
Adding the Frosting to the Cake
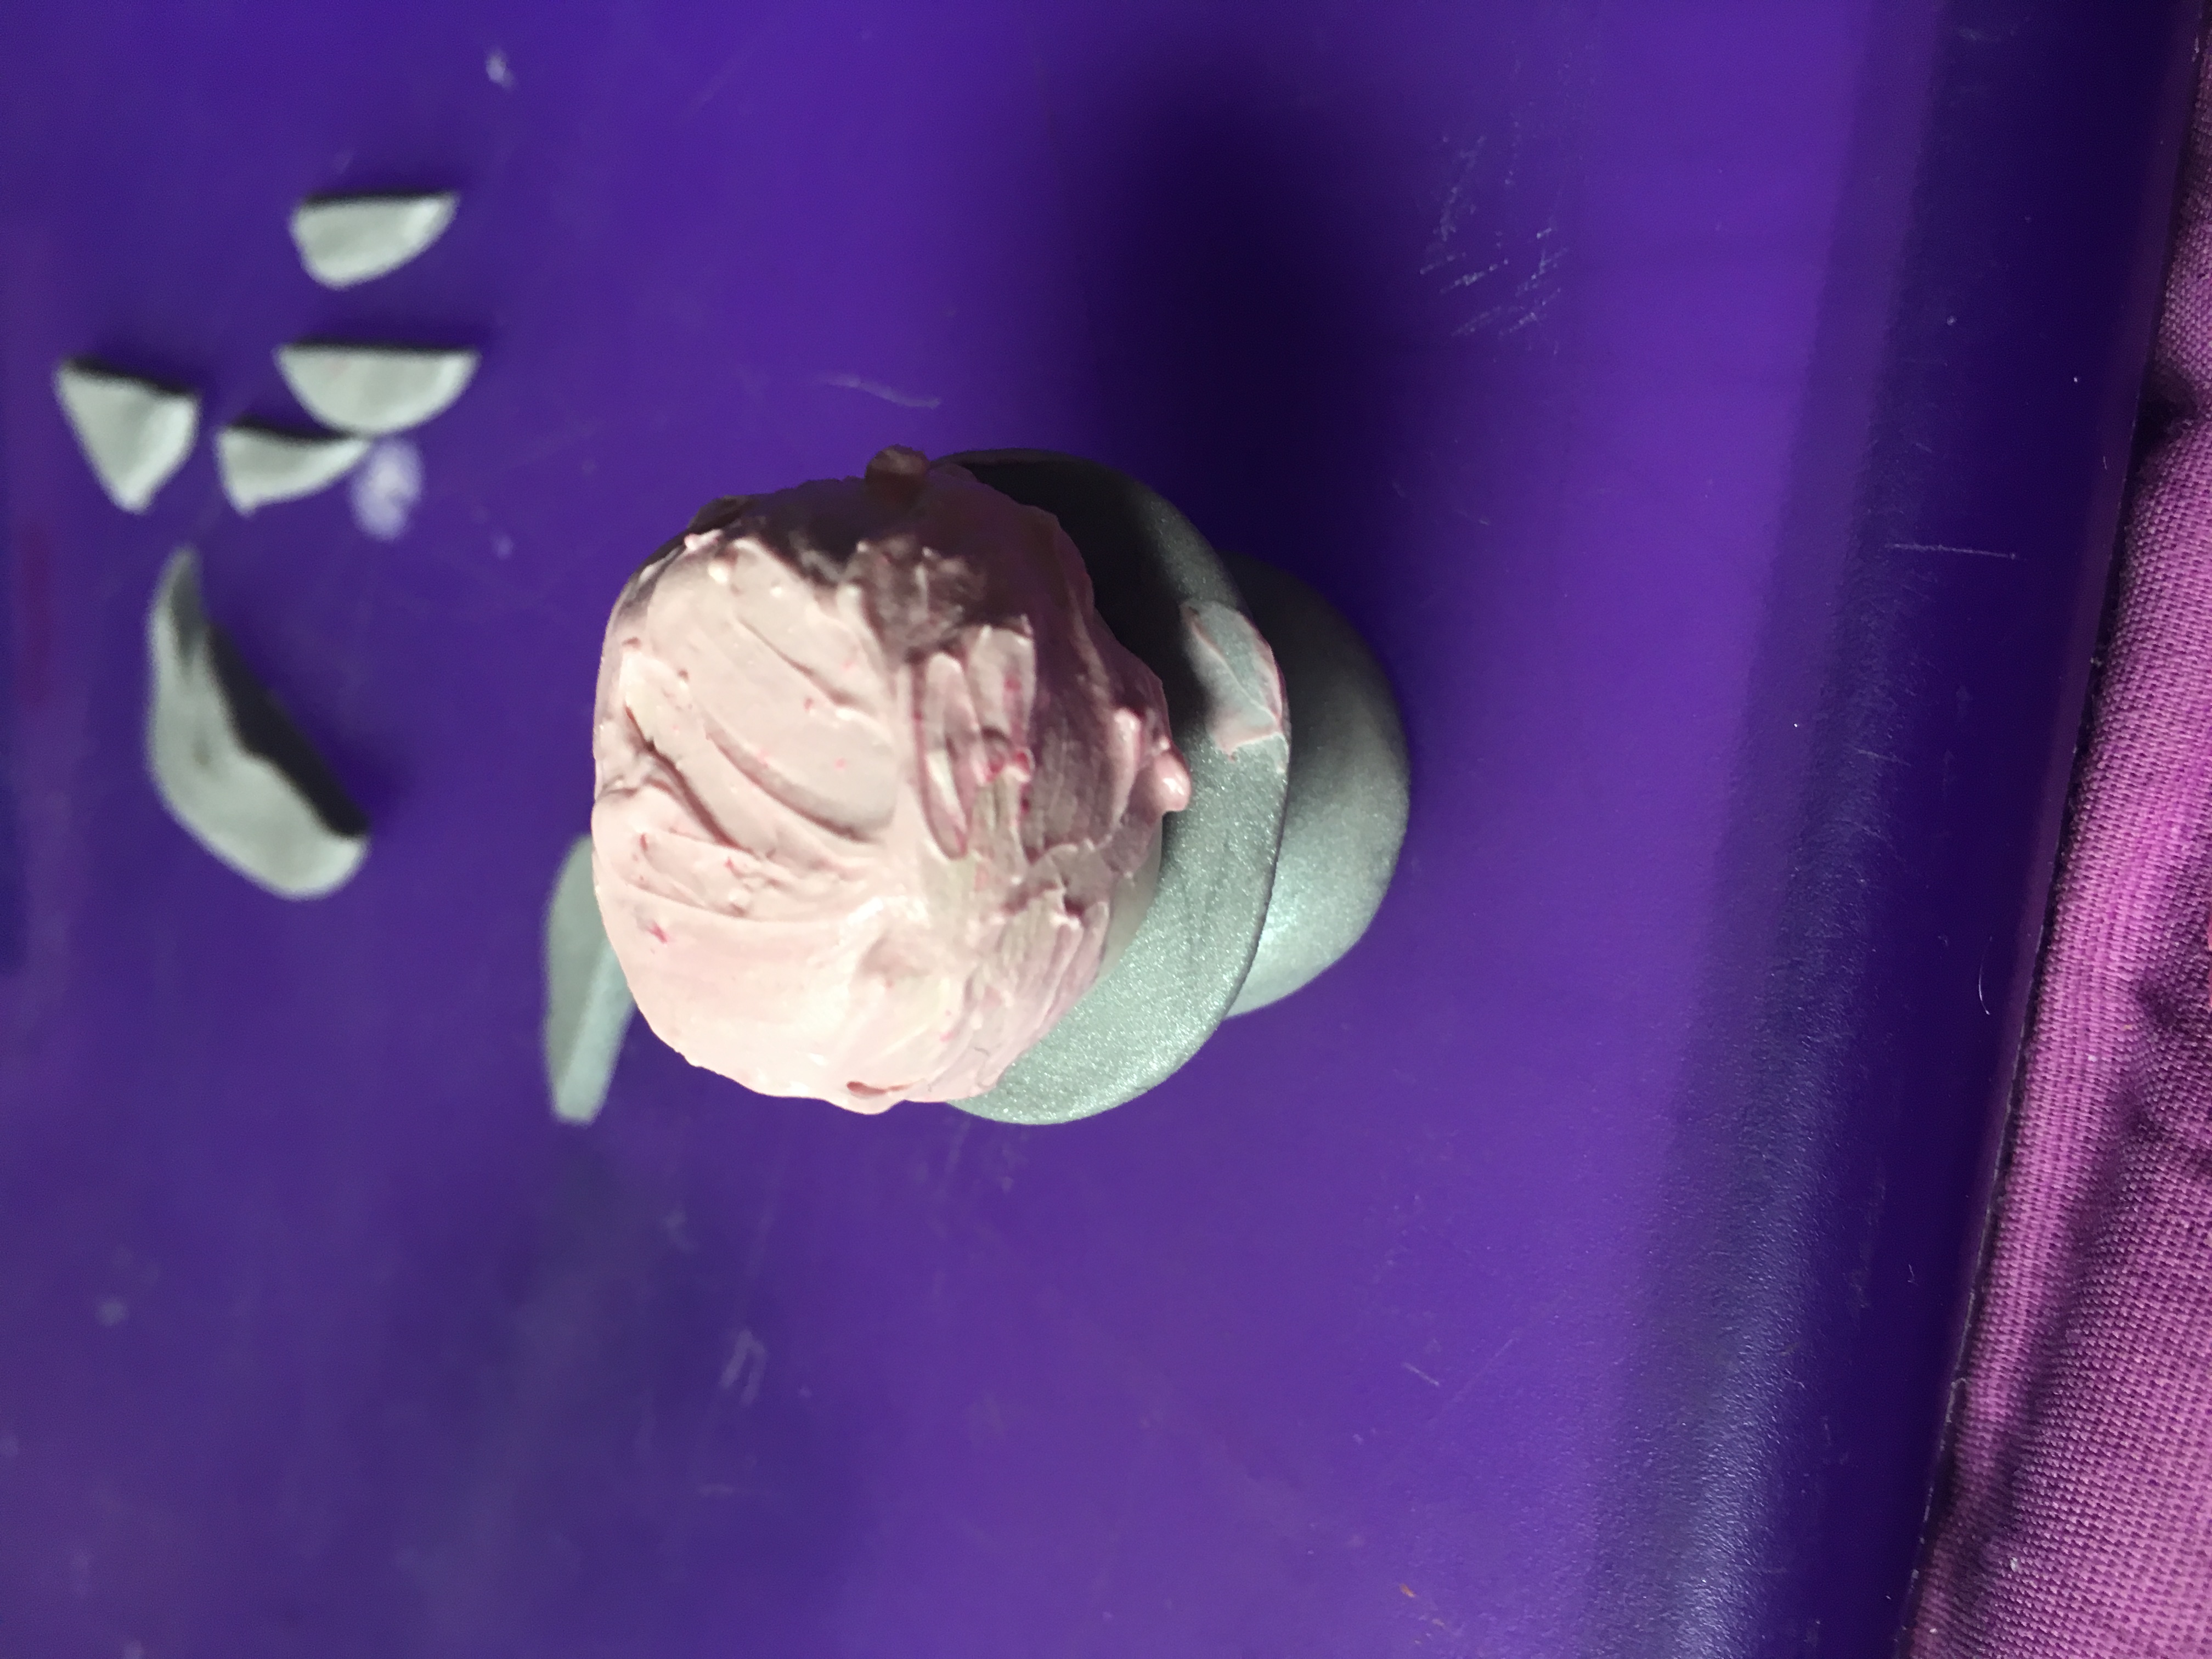
Using the toothpick, glob little bits of frosting and put it all over the cake. Use the makeup brush to add texture to the clay. Lightly pat the bristles of the brush on the cake to make it look messy but still pretty.
Fixing and Patching with Polymer Clay Icing
Poke little bits of frosting in the gaps to make the cake look its best. Cake it on as much as you dare, but be careful not to add too much. Too much will make the cake gooey and not dry out in a reasonable amount of time.
Making the big Rose on the Polymer Clay Cake
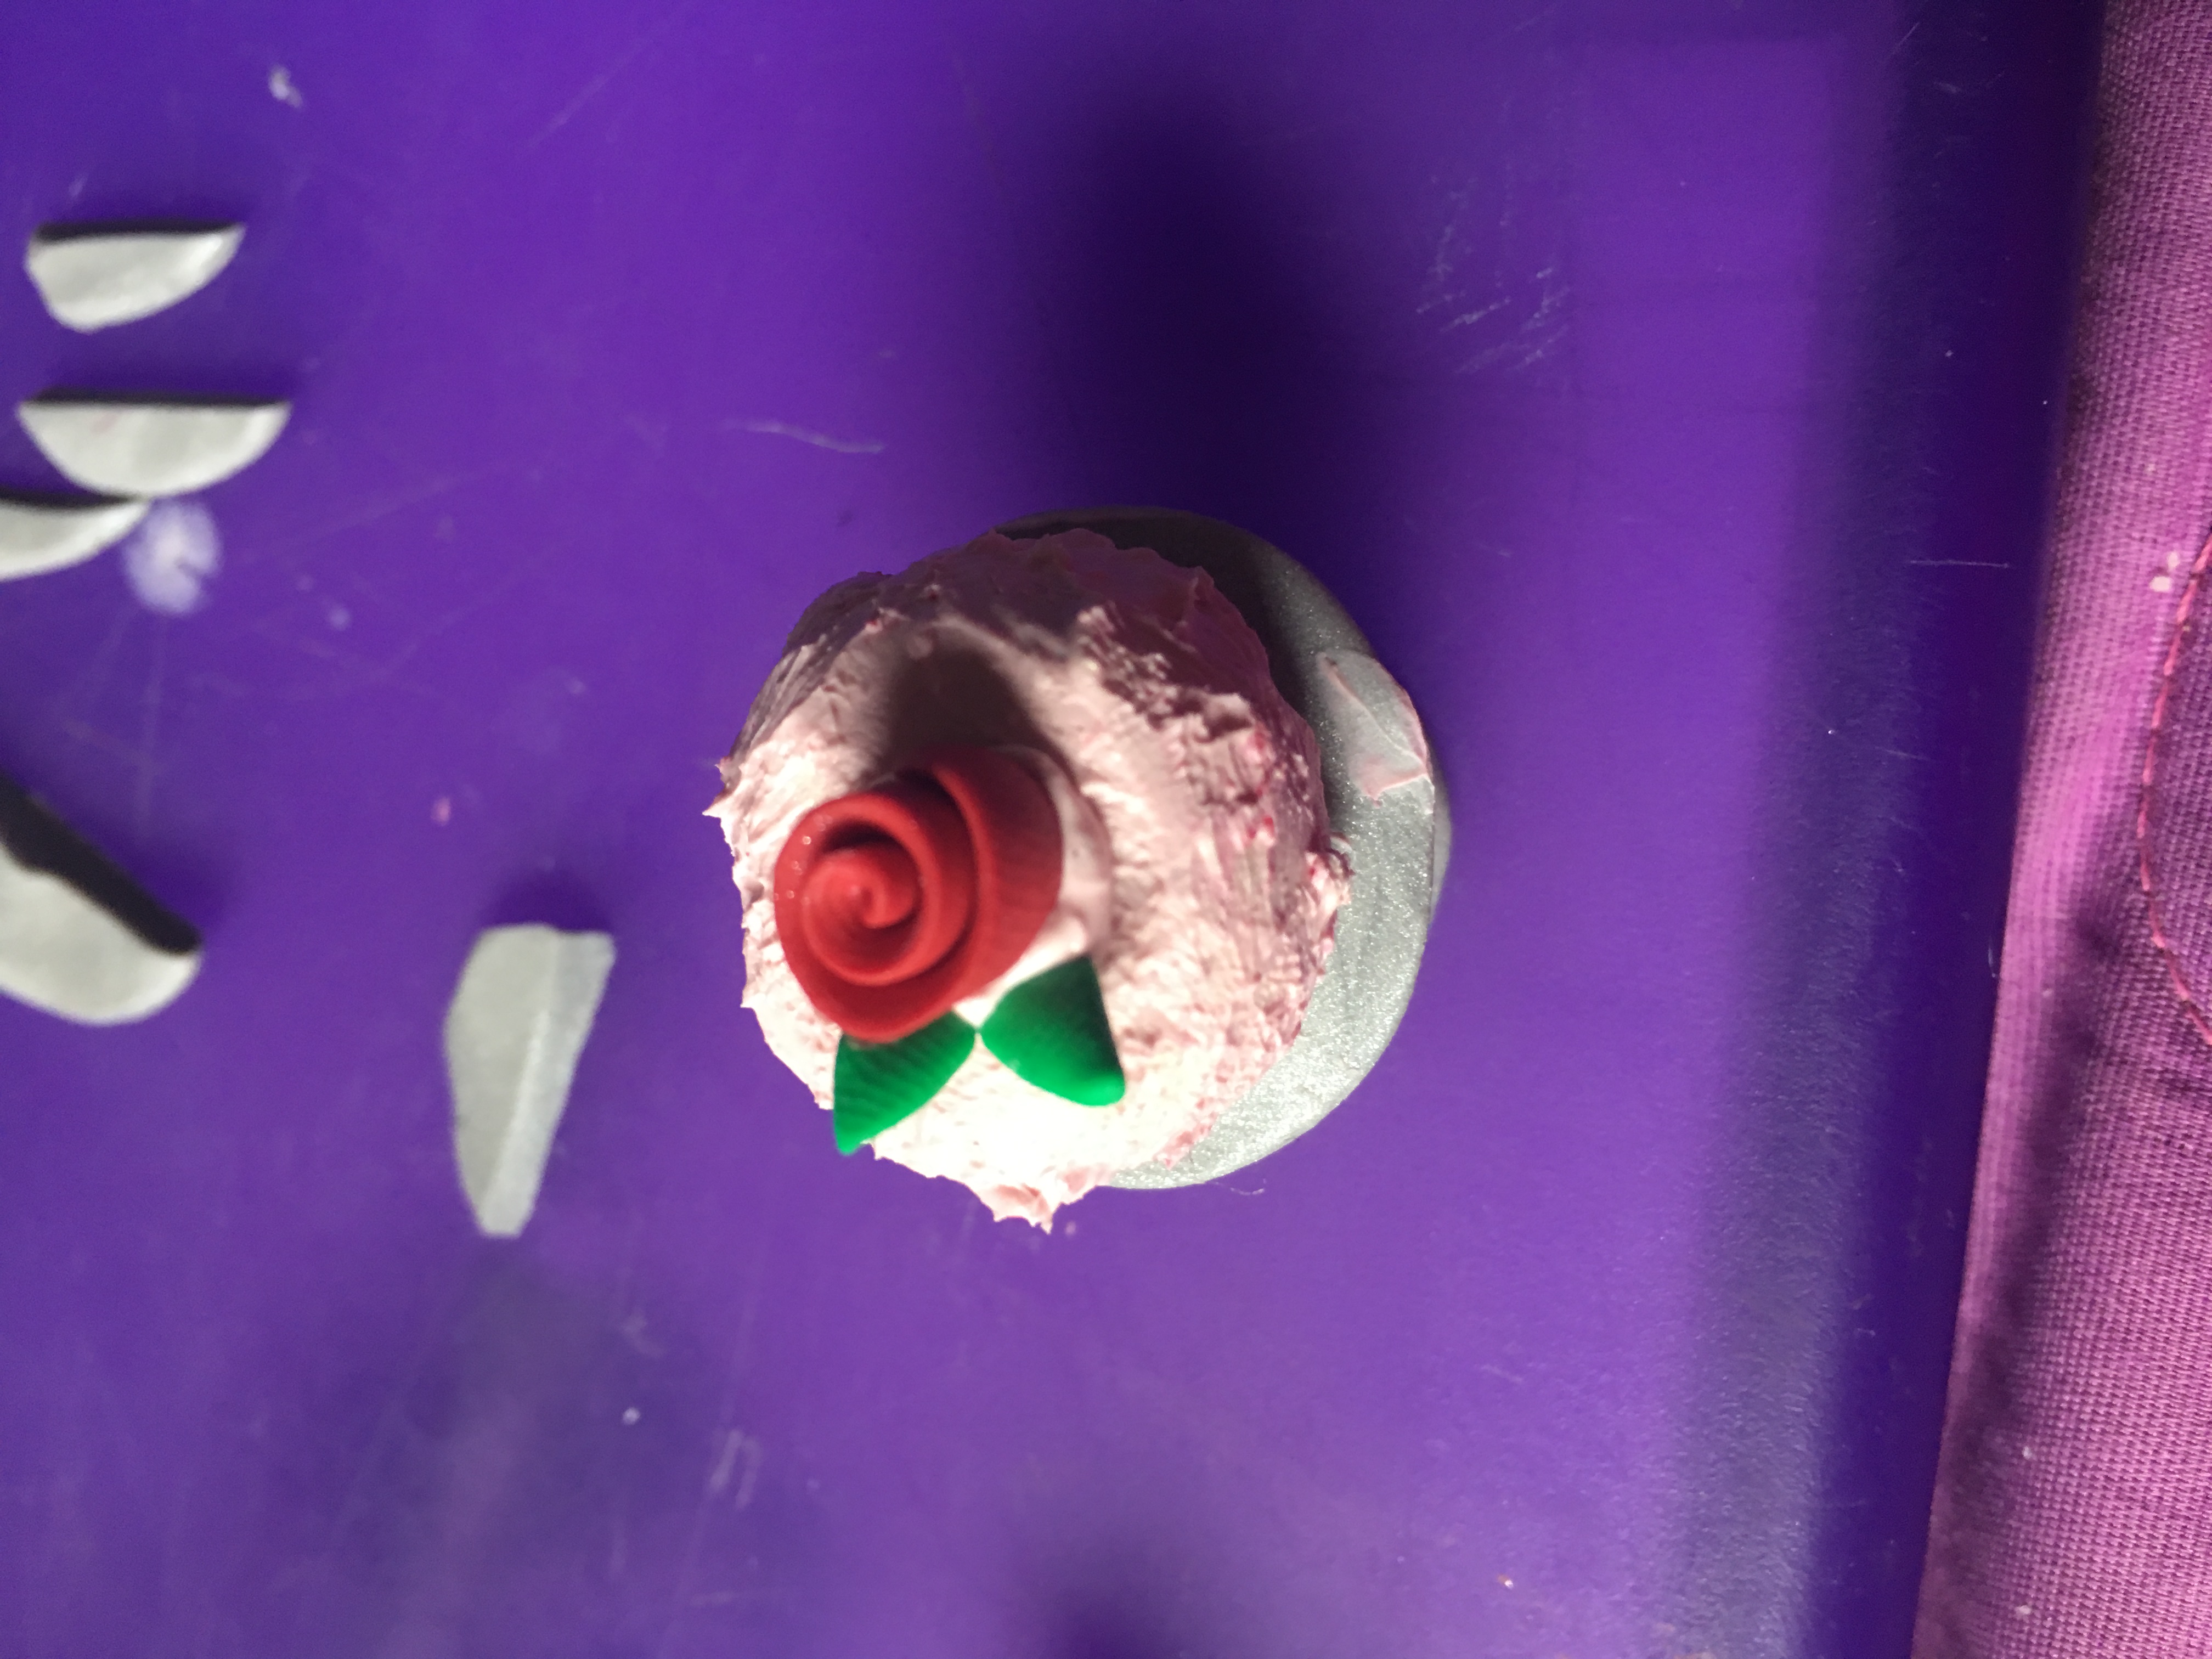
The big rose is made the same way as the little gold rose on the base, but big and red. Roll out red clay, flatten it between your fingers, and roll it into a rose shape. Use some polymer clay cake frosting to attach It to the top of the cake.
Sculpting the Tiny Roses from Polymer Clay
The tiny roses are made like the big rose, only small. Make a ring of little red roses and attach them to the base of the cake with the frosting to hide all the little mistakes you made. Life is good and so is your cake.
Drying Time
To keep your house from burning down, allow the alcohol dry for a full 24 hours or longer. Never put alcohol in the oven. Always play It safe. Do not burn houses.
Baking Polymer Clay
To bake the clay, use a cookie sheet and a piece of tinfoil. Cover the cookie sheet in foil and set the polymer cake on it. Set in the oven for about 15 minutes at 275 degrees.
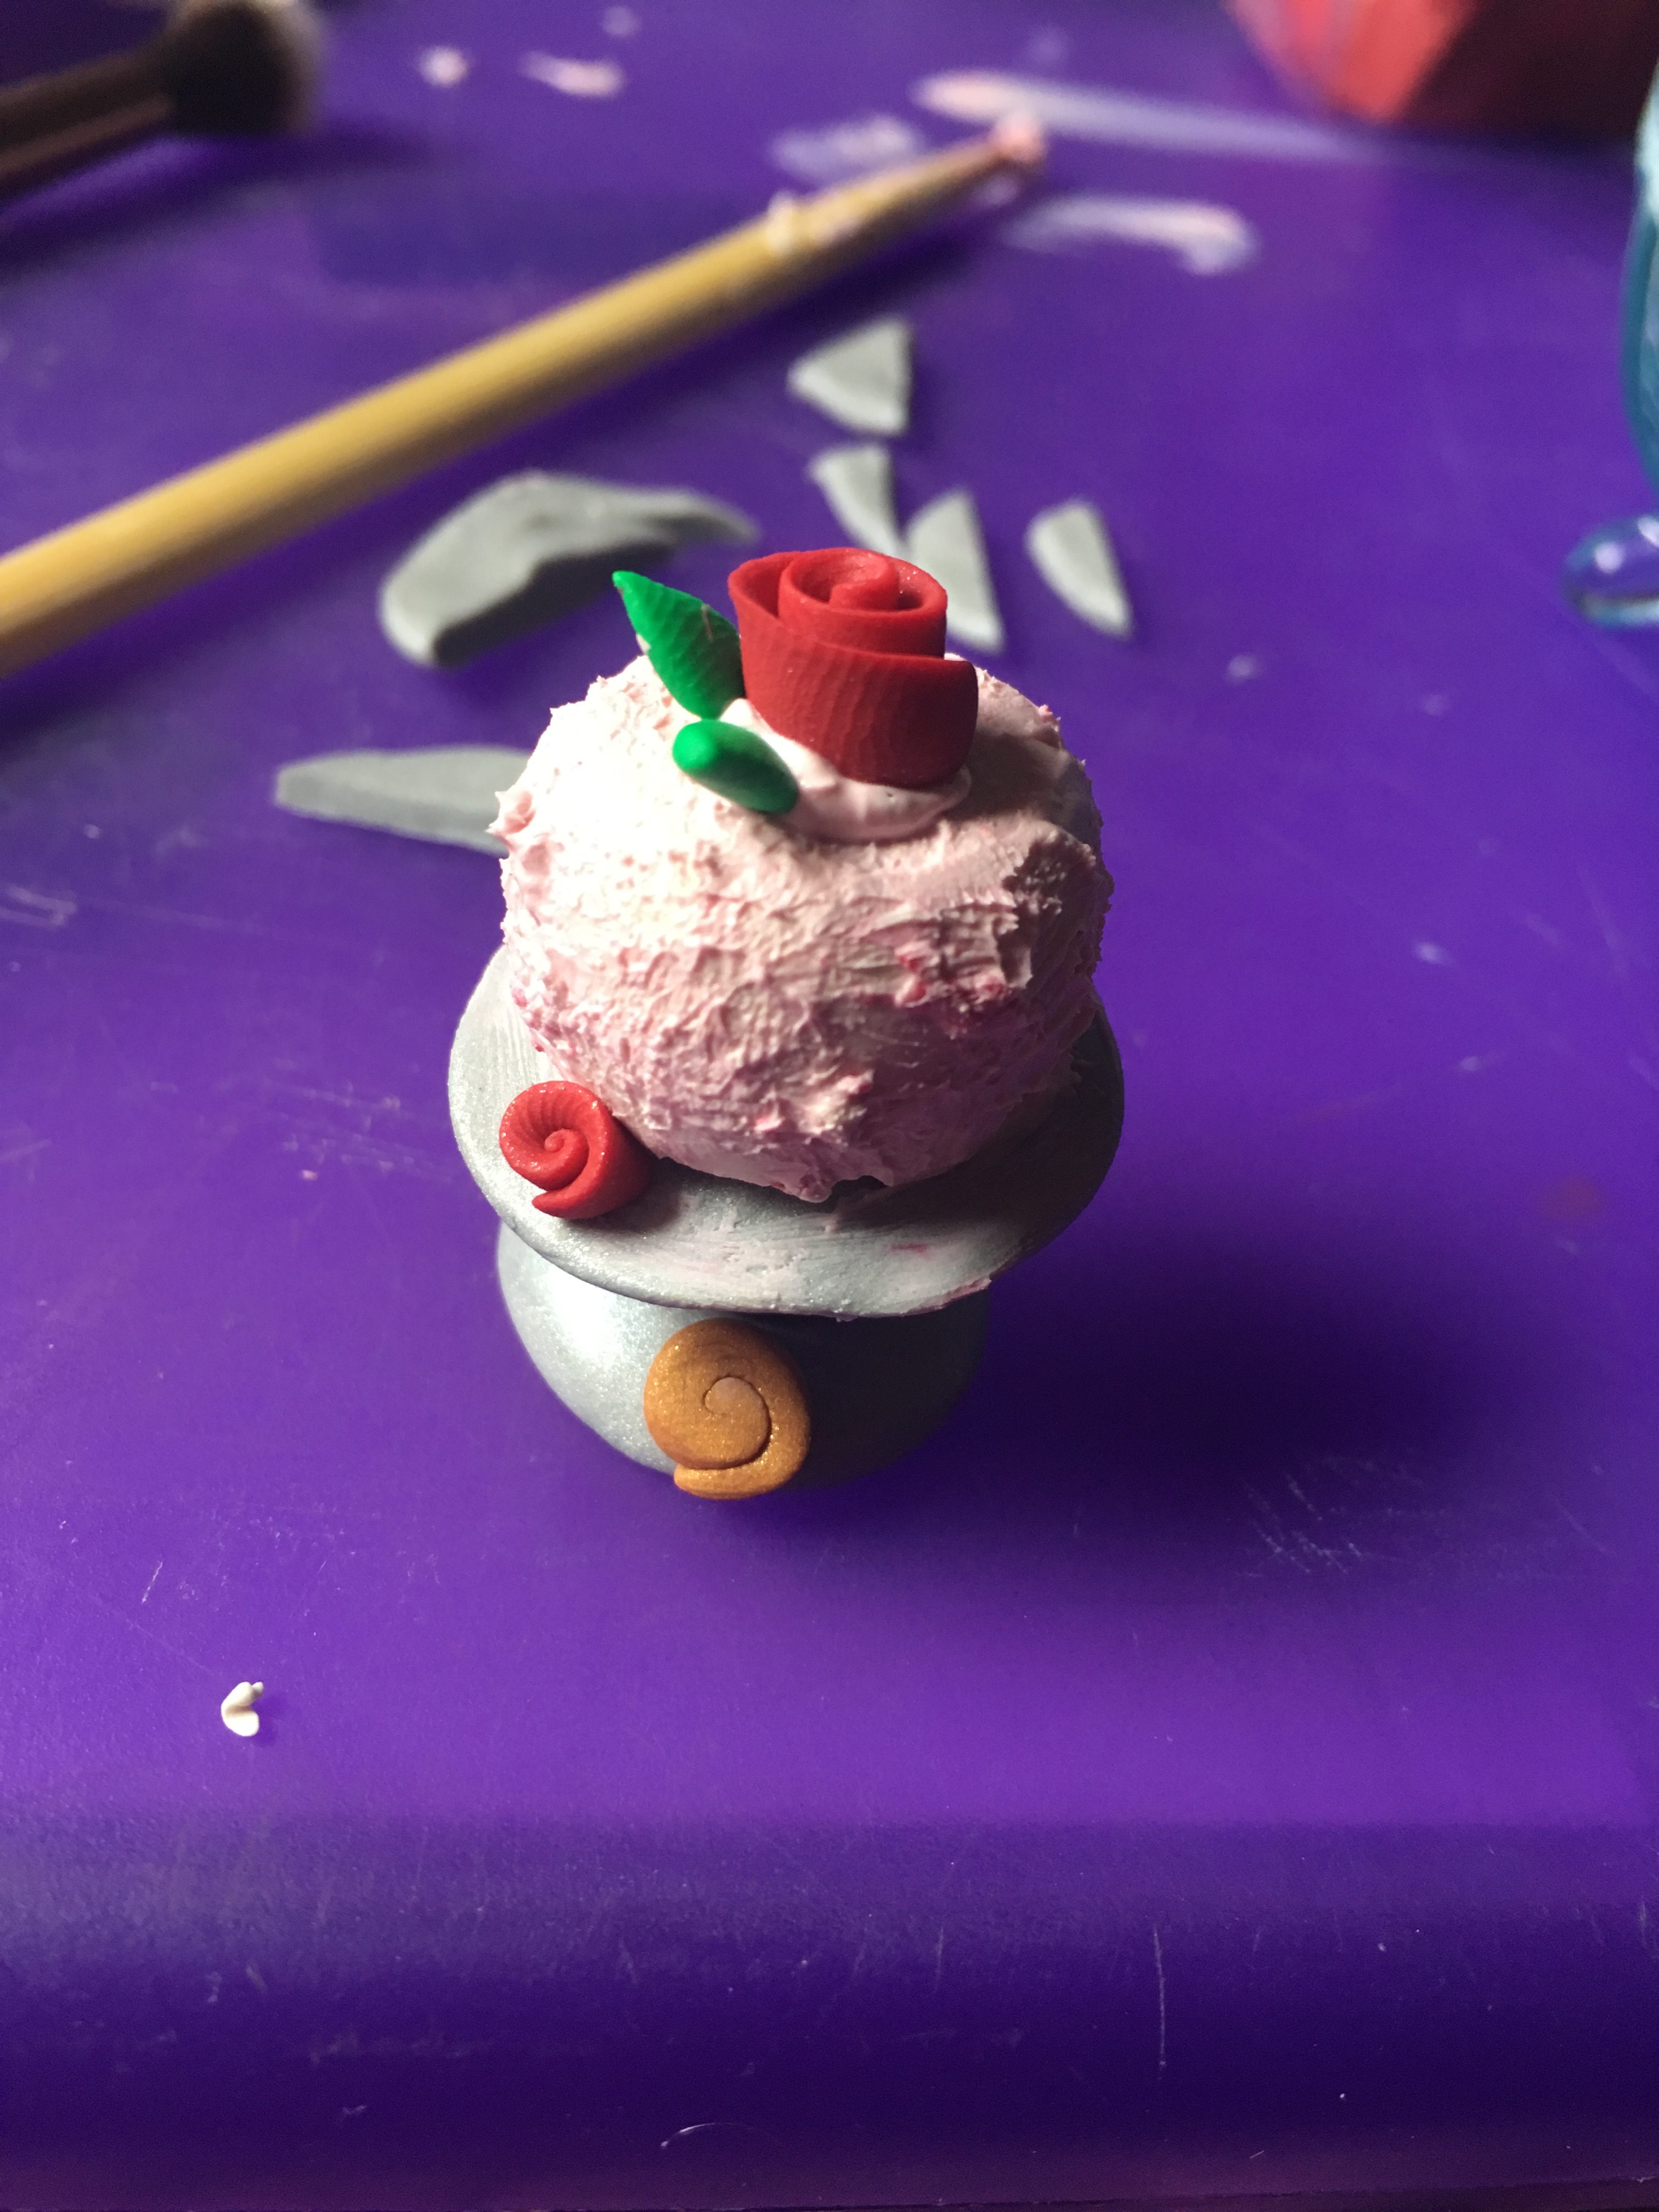
Finish
And now your cake is all pretty and baked. Varnish the clay cake or use as is. Perfect for dollhouses and to trick guests into thinking you like them. Happy crafting!