
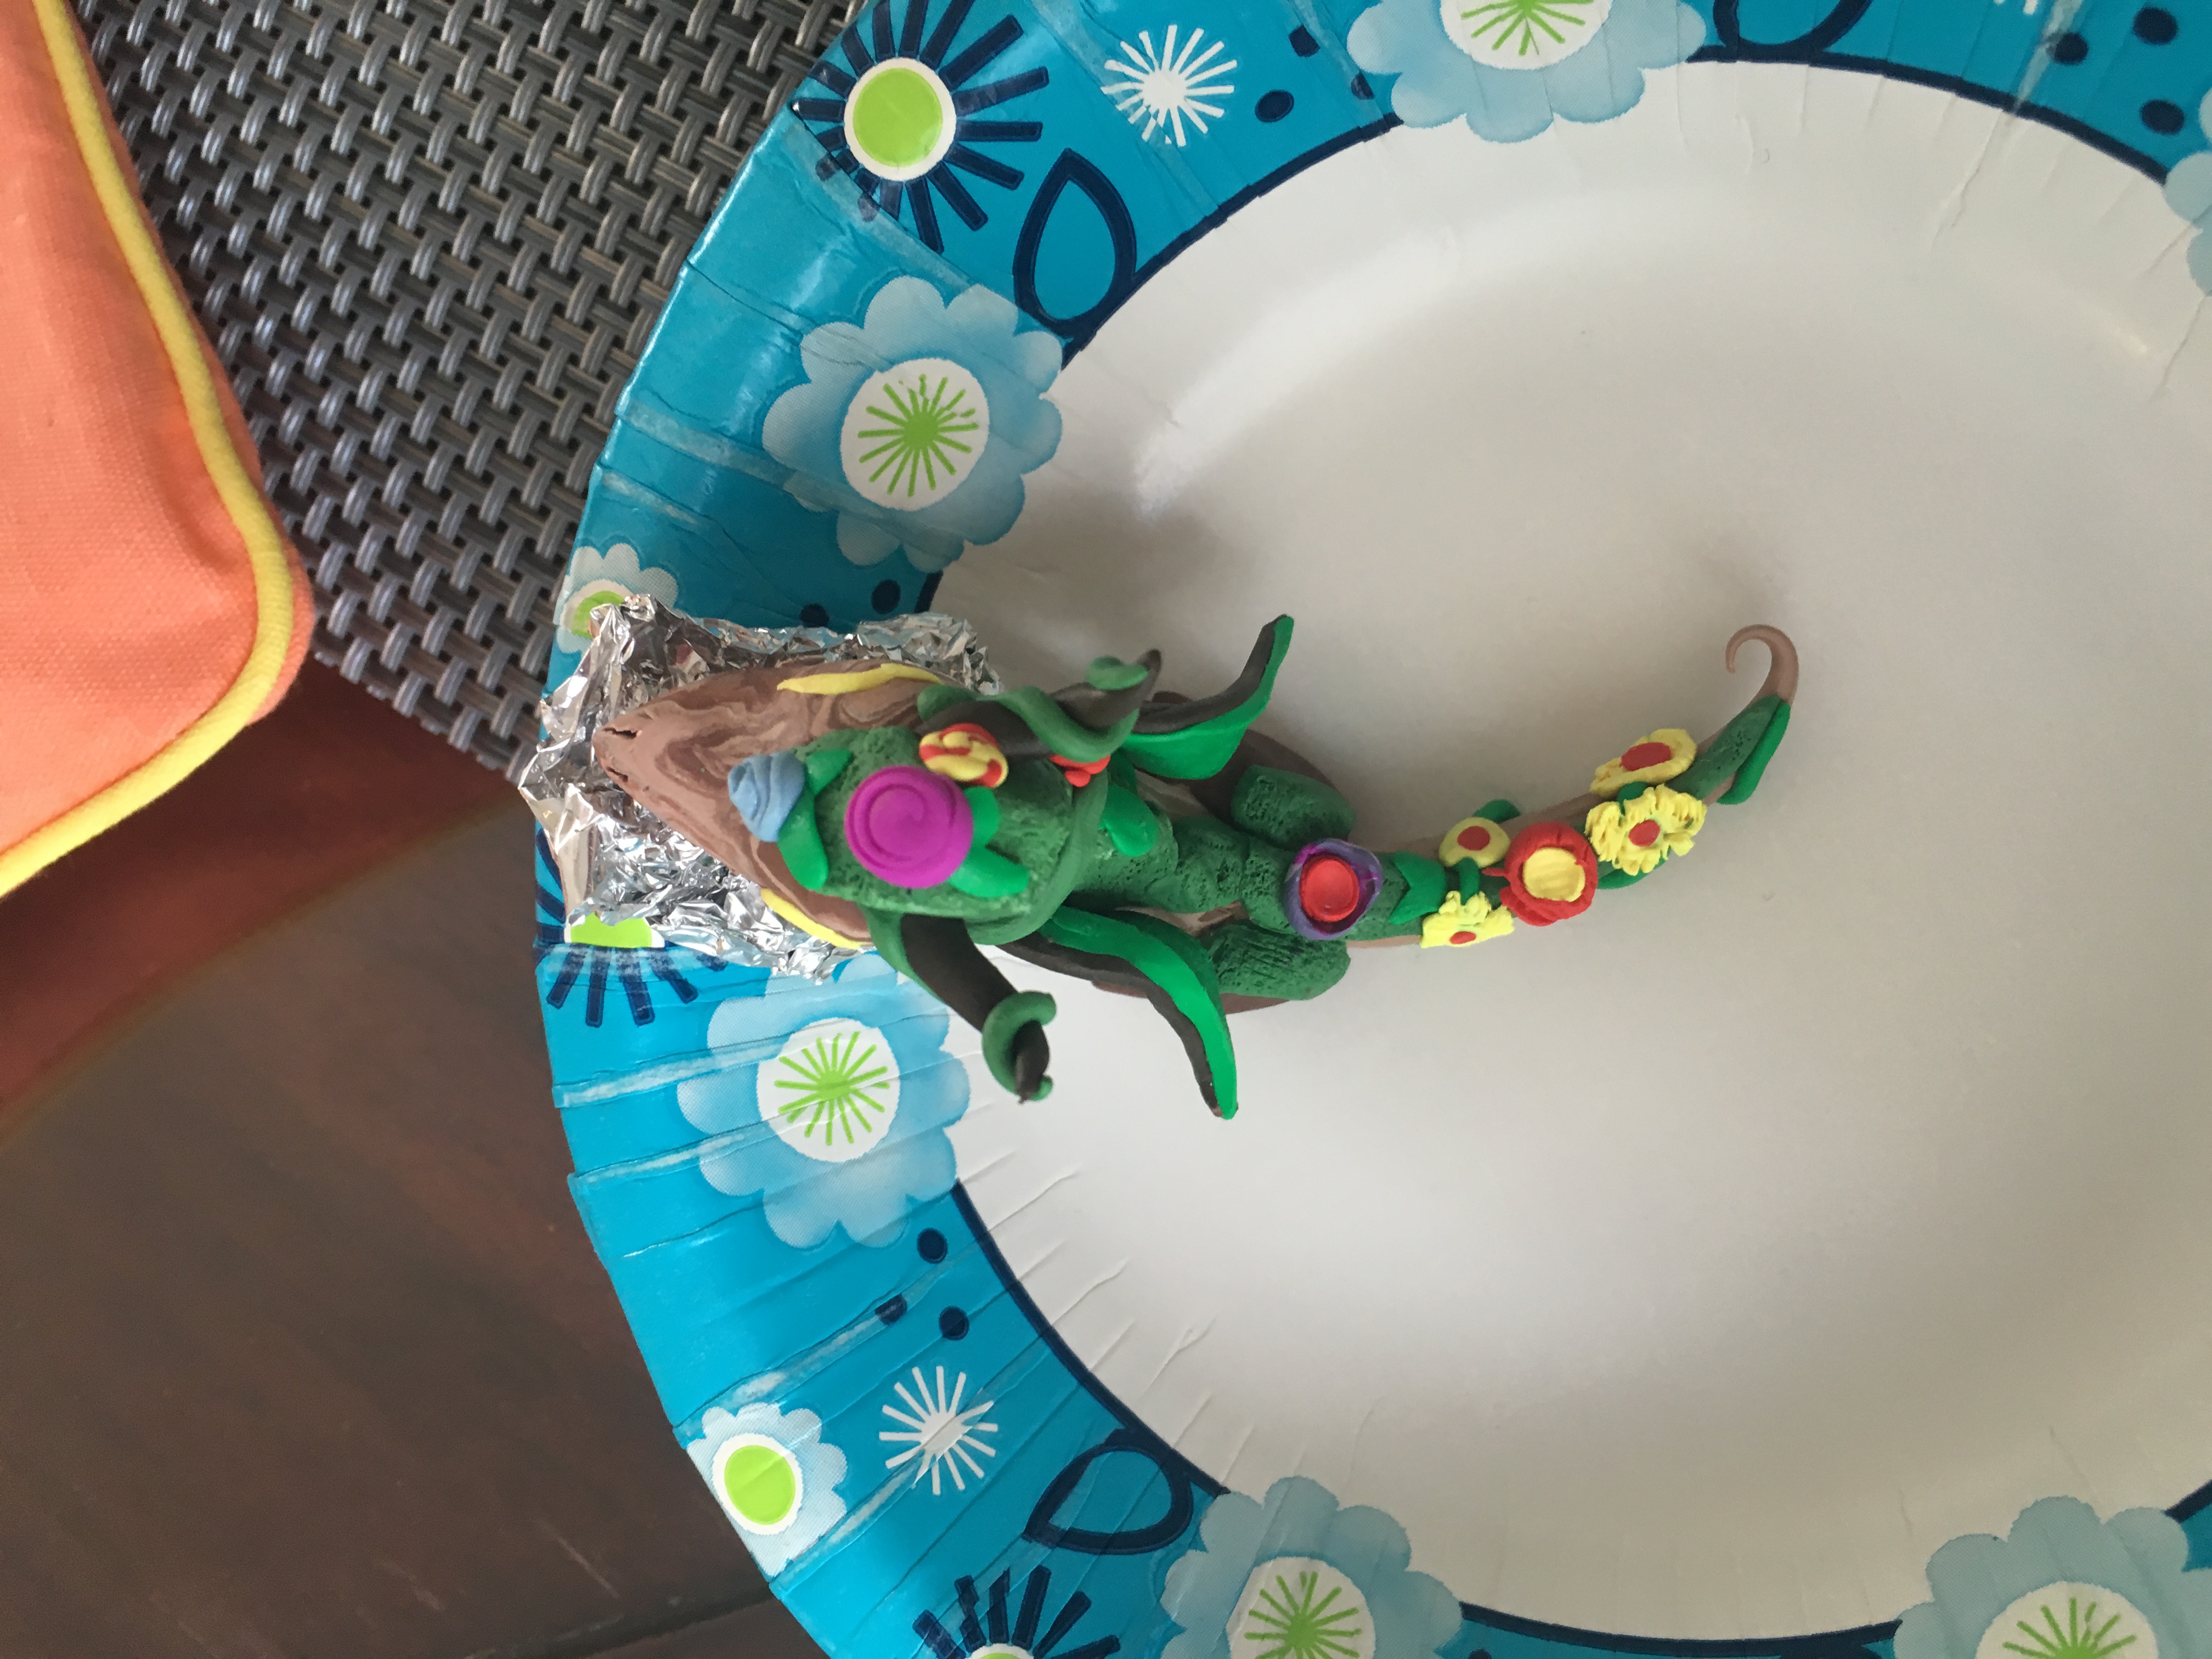
I was messing around and accidentally made a weird shade of brown. It occurred to me this brown was the perfect color of dirt. I remembered the forest has dirt. Therefore, this little dragon was made. Science at its finest.
What you will need
- Knowledge of a Wyvern VS Dragon
- Sculpey Kit
- Patience
- Rubbing alcohol
- Paper plate
- Pan
- Tin foil
Clean Workspace
When working with polymer clay, the first thing you should always do is clean your work area. At the very least, work on your pan covered in tin foil if you feel lazy and not up to cleaning.
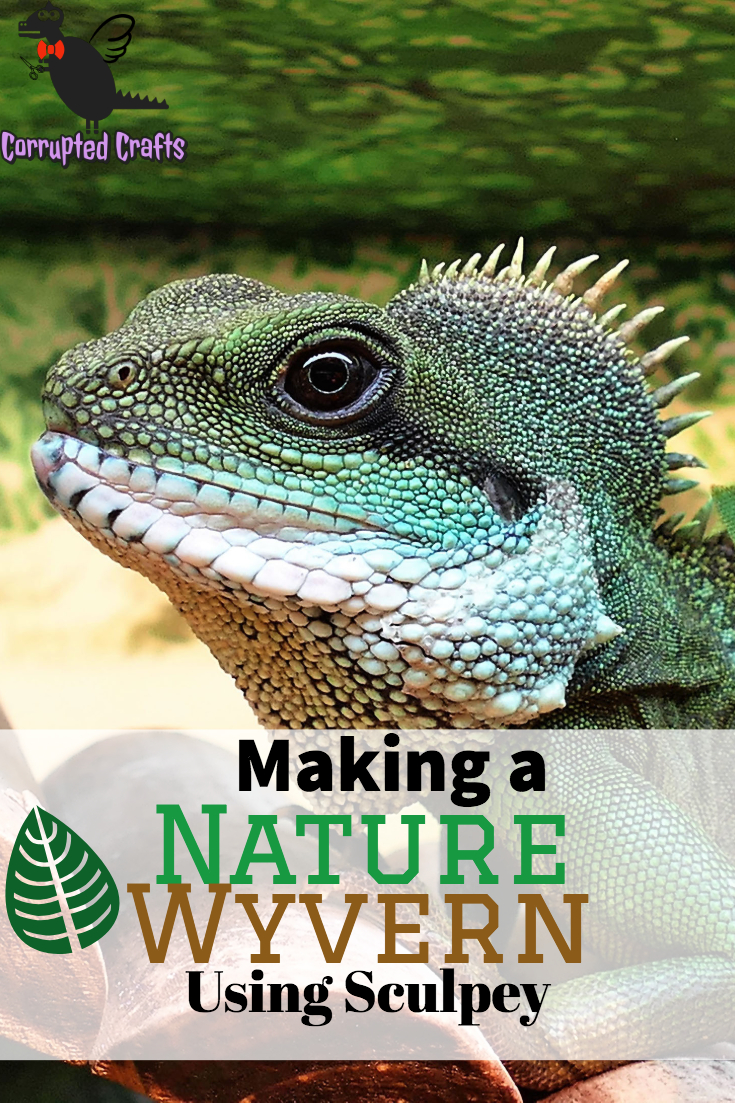
Studying Wyverns
The main reason this is a Wyvern and not a dragon is because wyverns have no front legs. This is… pretty much the only difference. The front legs simply did not have a place on my Wyvern.
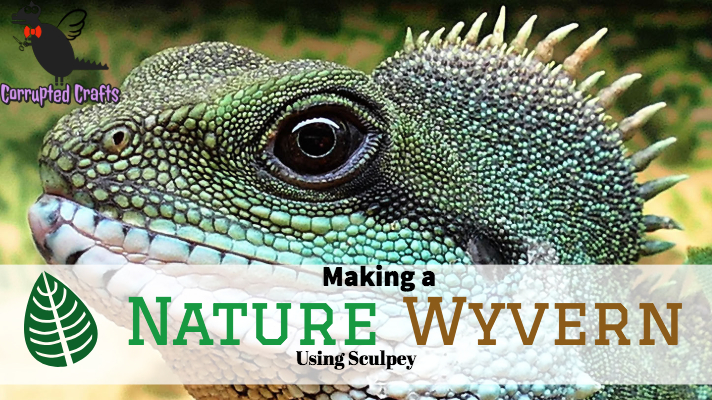
Making the Base Brown
Start by mixng some white, light brown, and dark brown together until it is almost mixed but still has that slight woodlike texture. Separate this clay into a medium ball, a smaller ball, and a large ball. The small ball will be for the head, the medium for the feet, and the large for the body and tail.
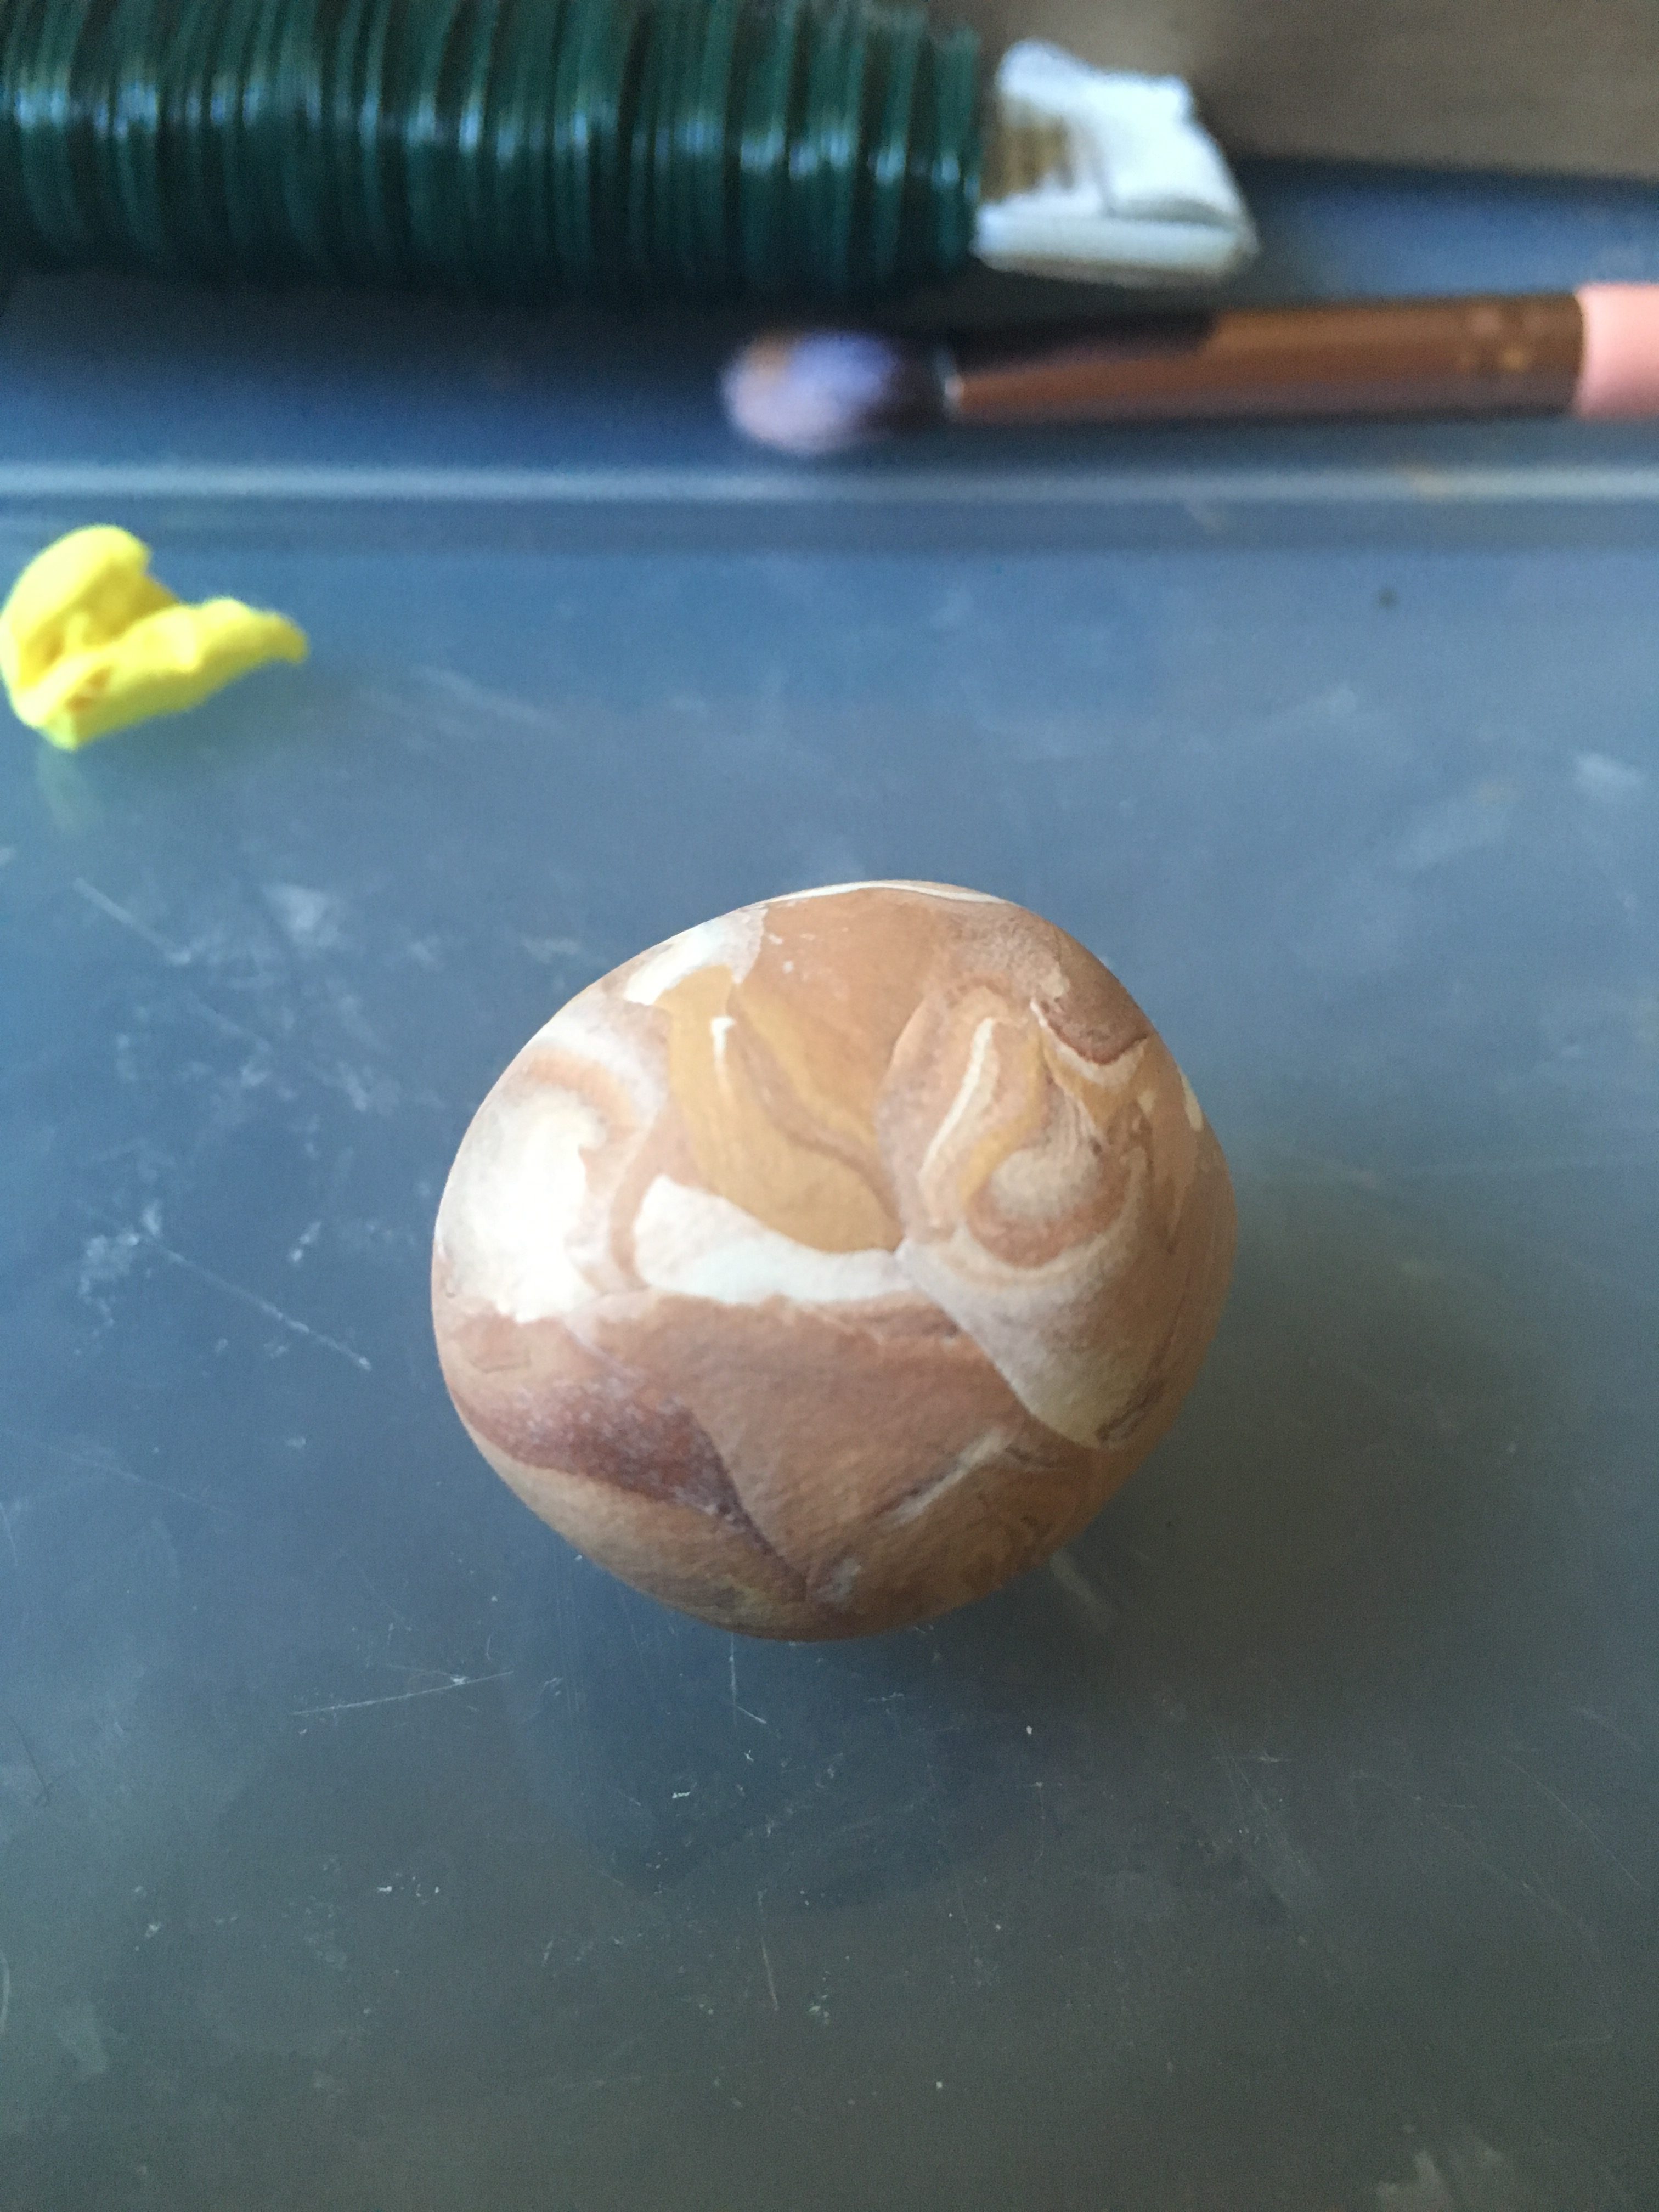
Sculpting the Base Body of the Wyvern
Roll out the largest ball of clay into a long snakelike string. Narrow it to a point on one end and leave the other end kind of chunky. Curve the snake upright so that it sits up with the tail curving behind it for stability.
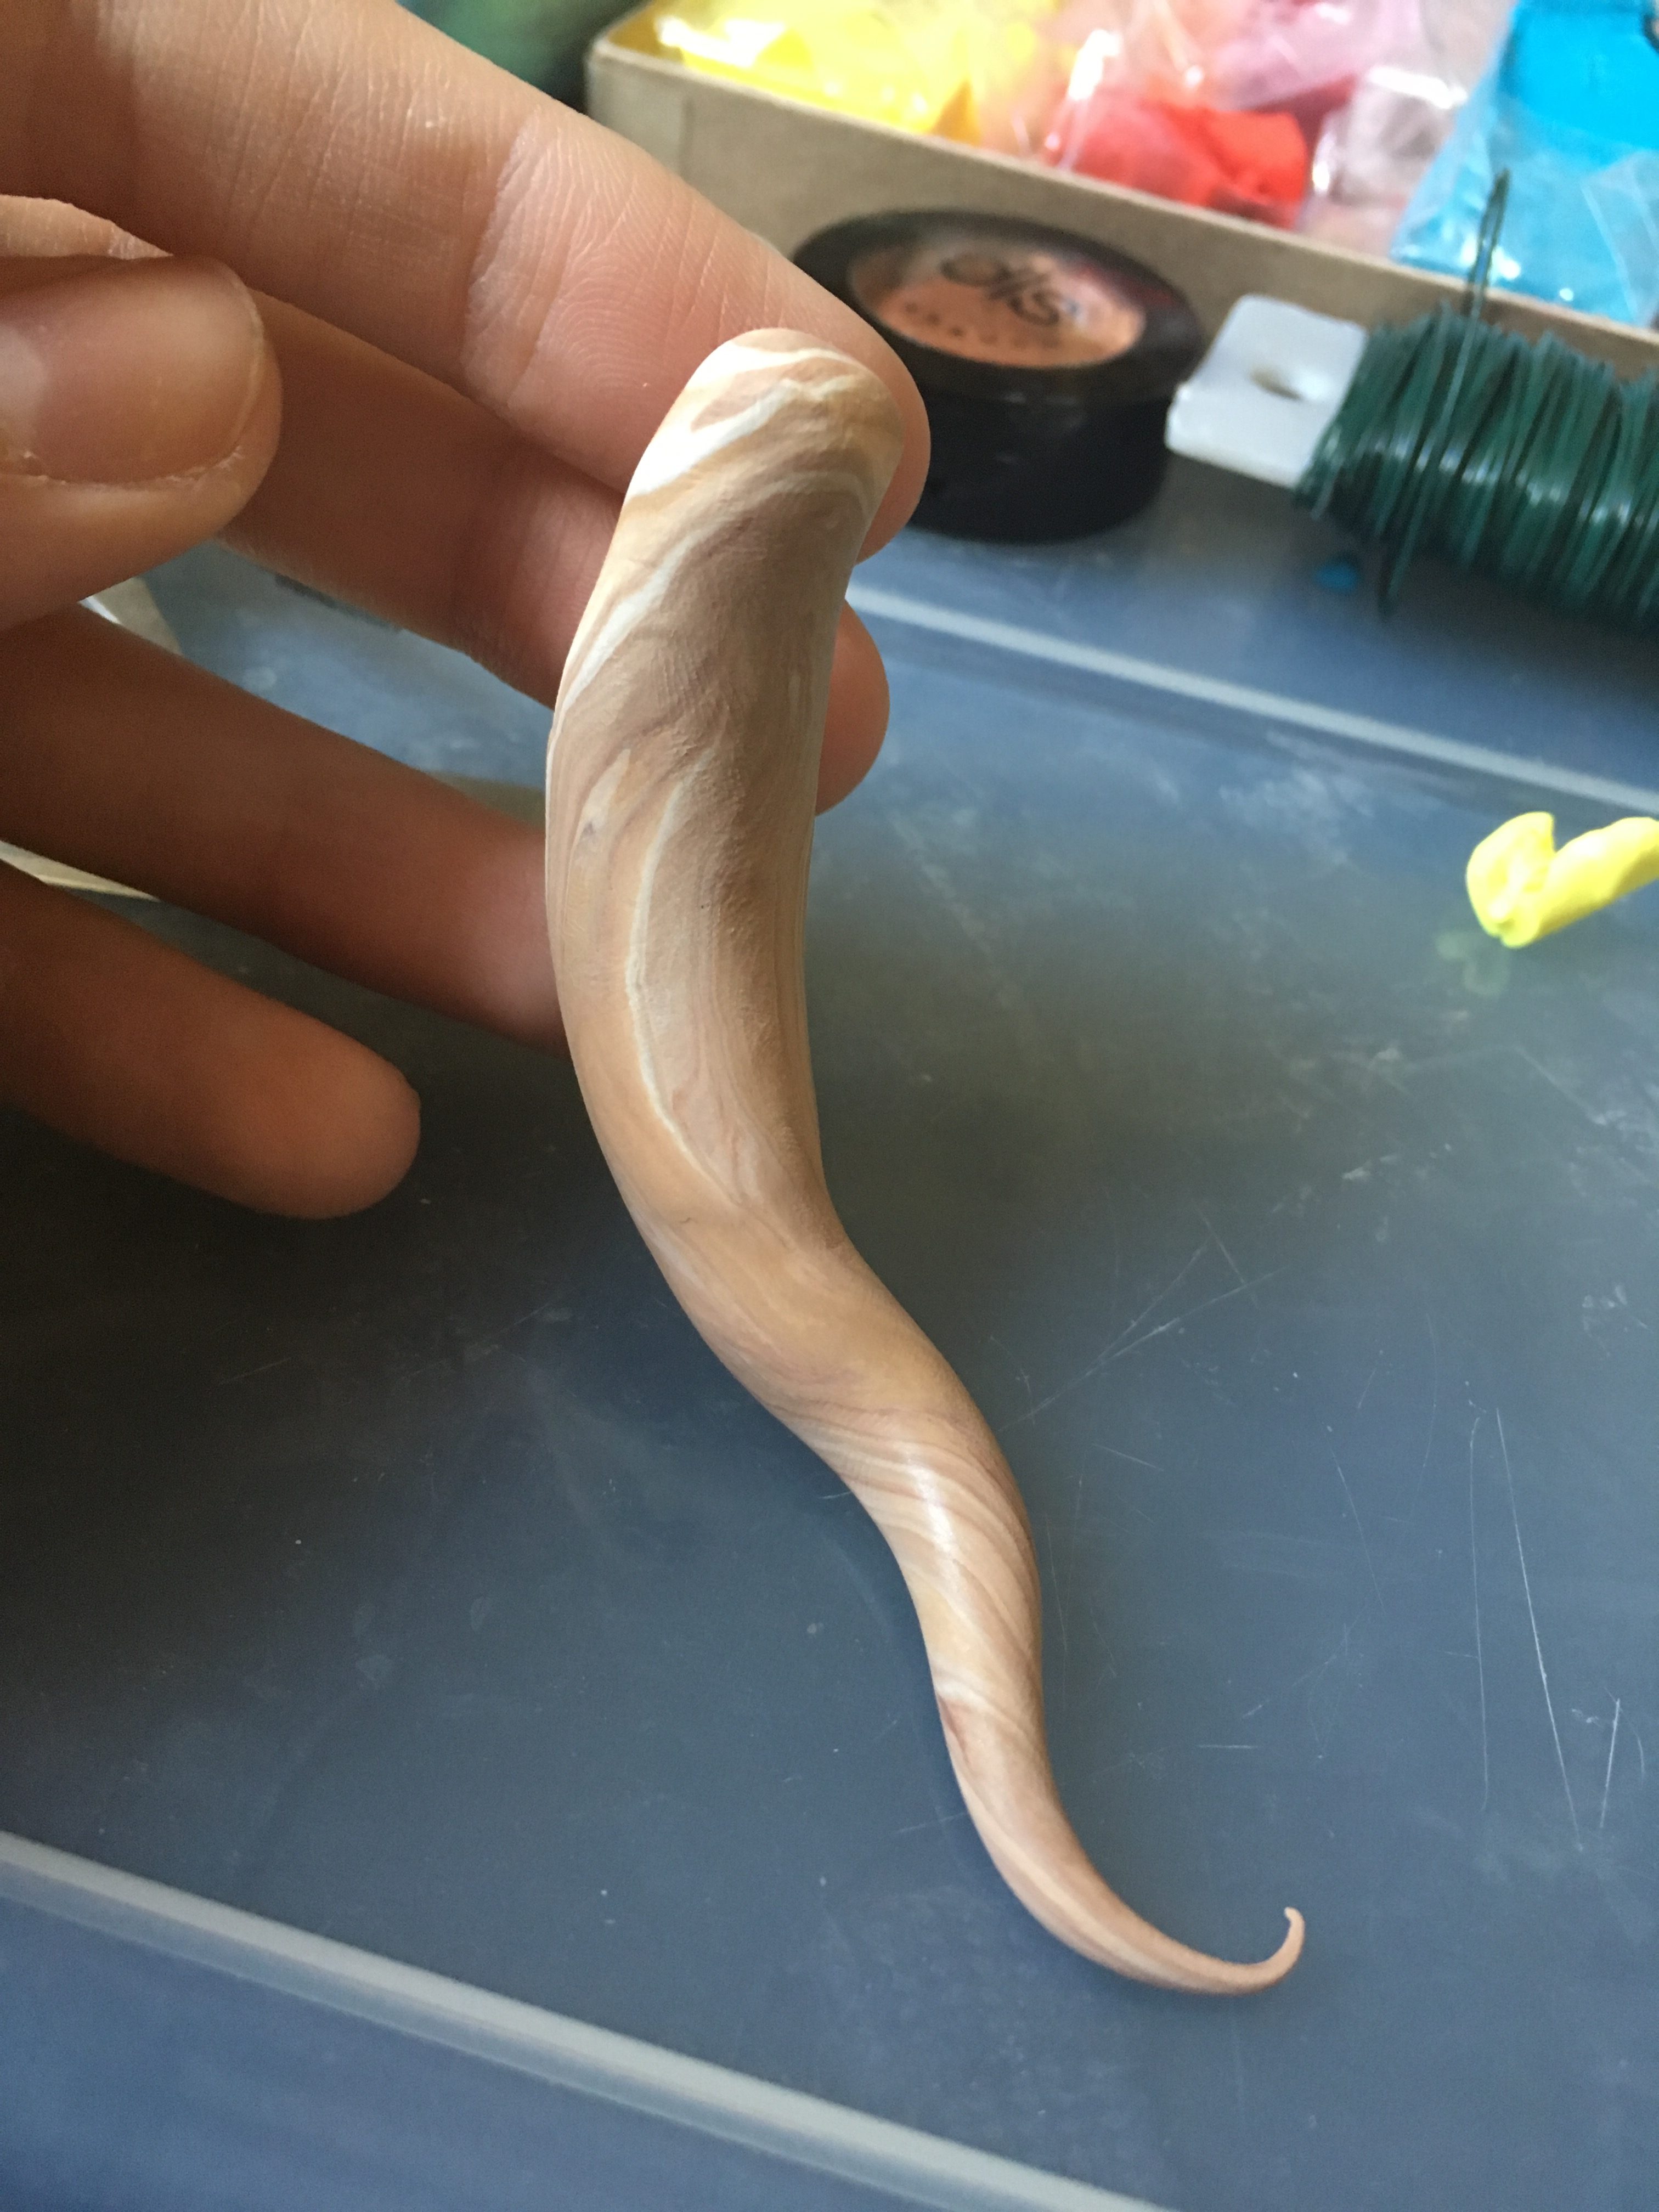
Making Feet
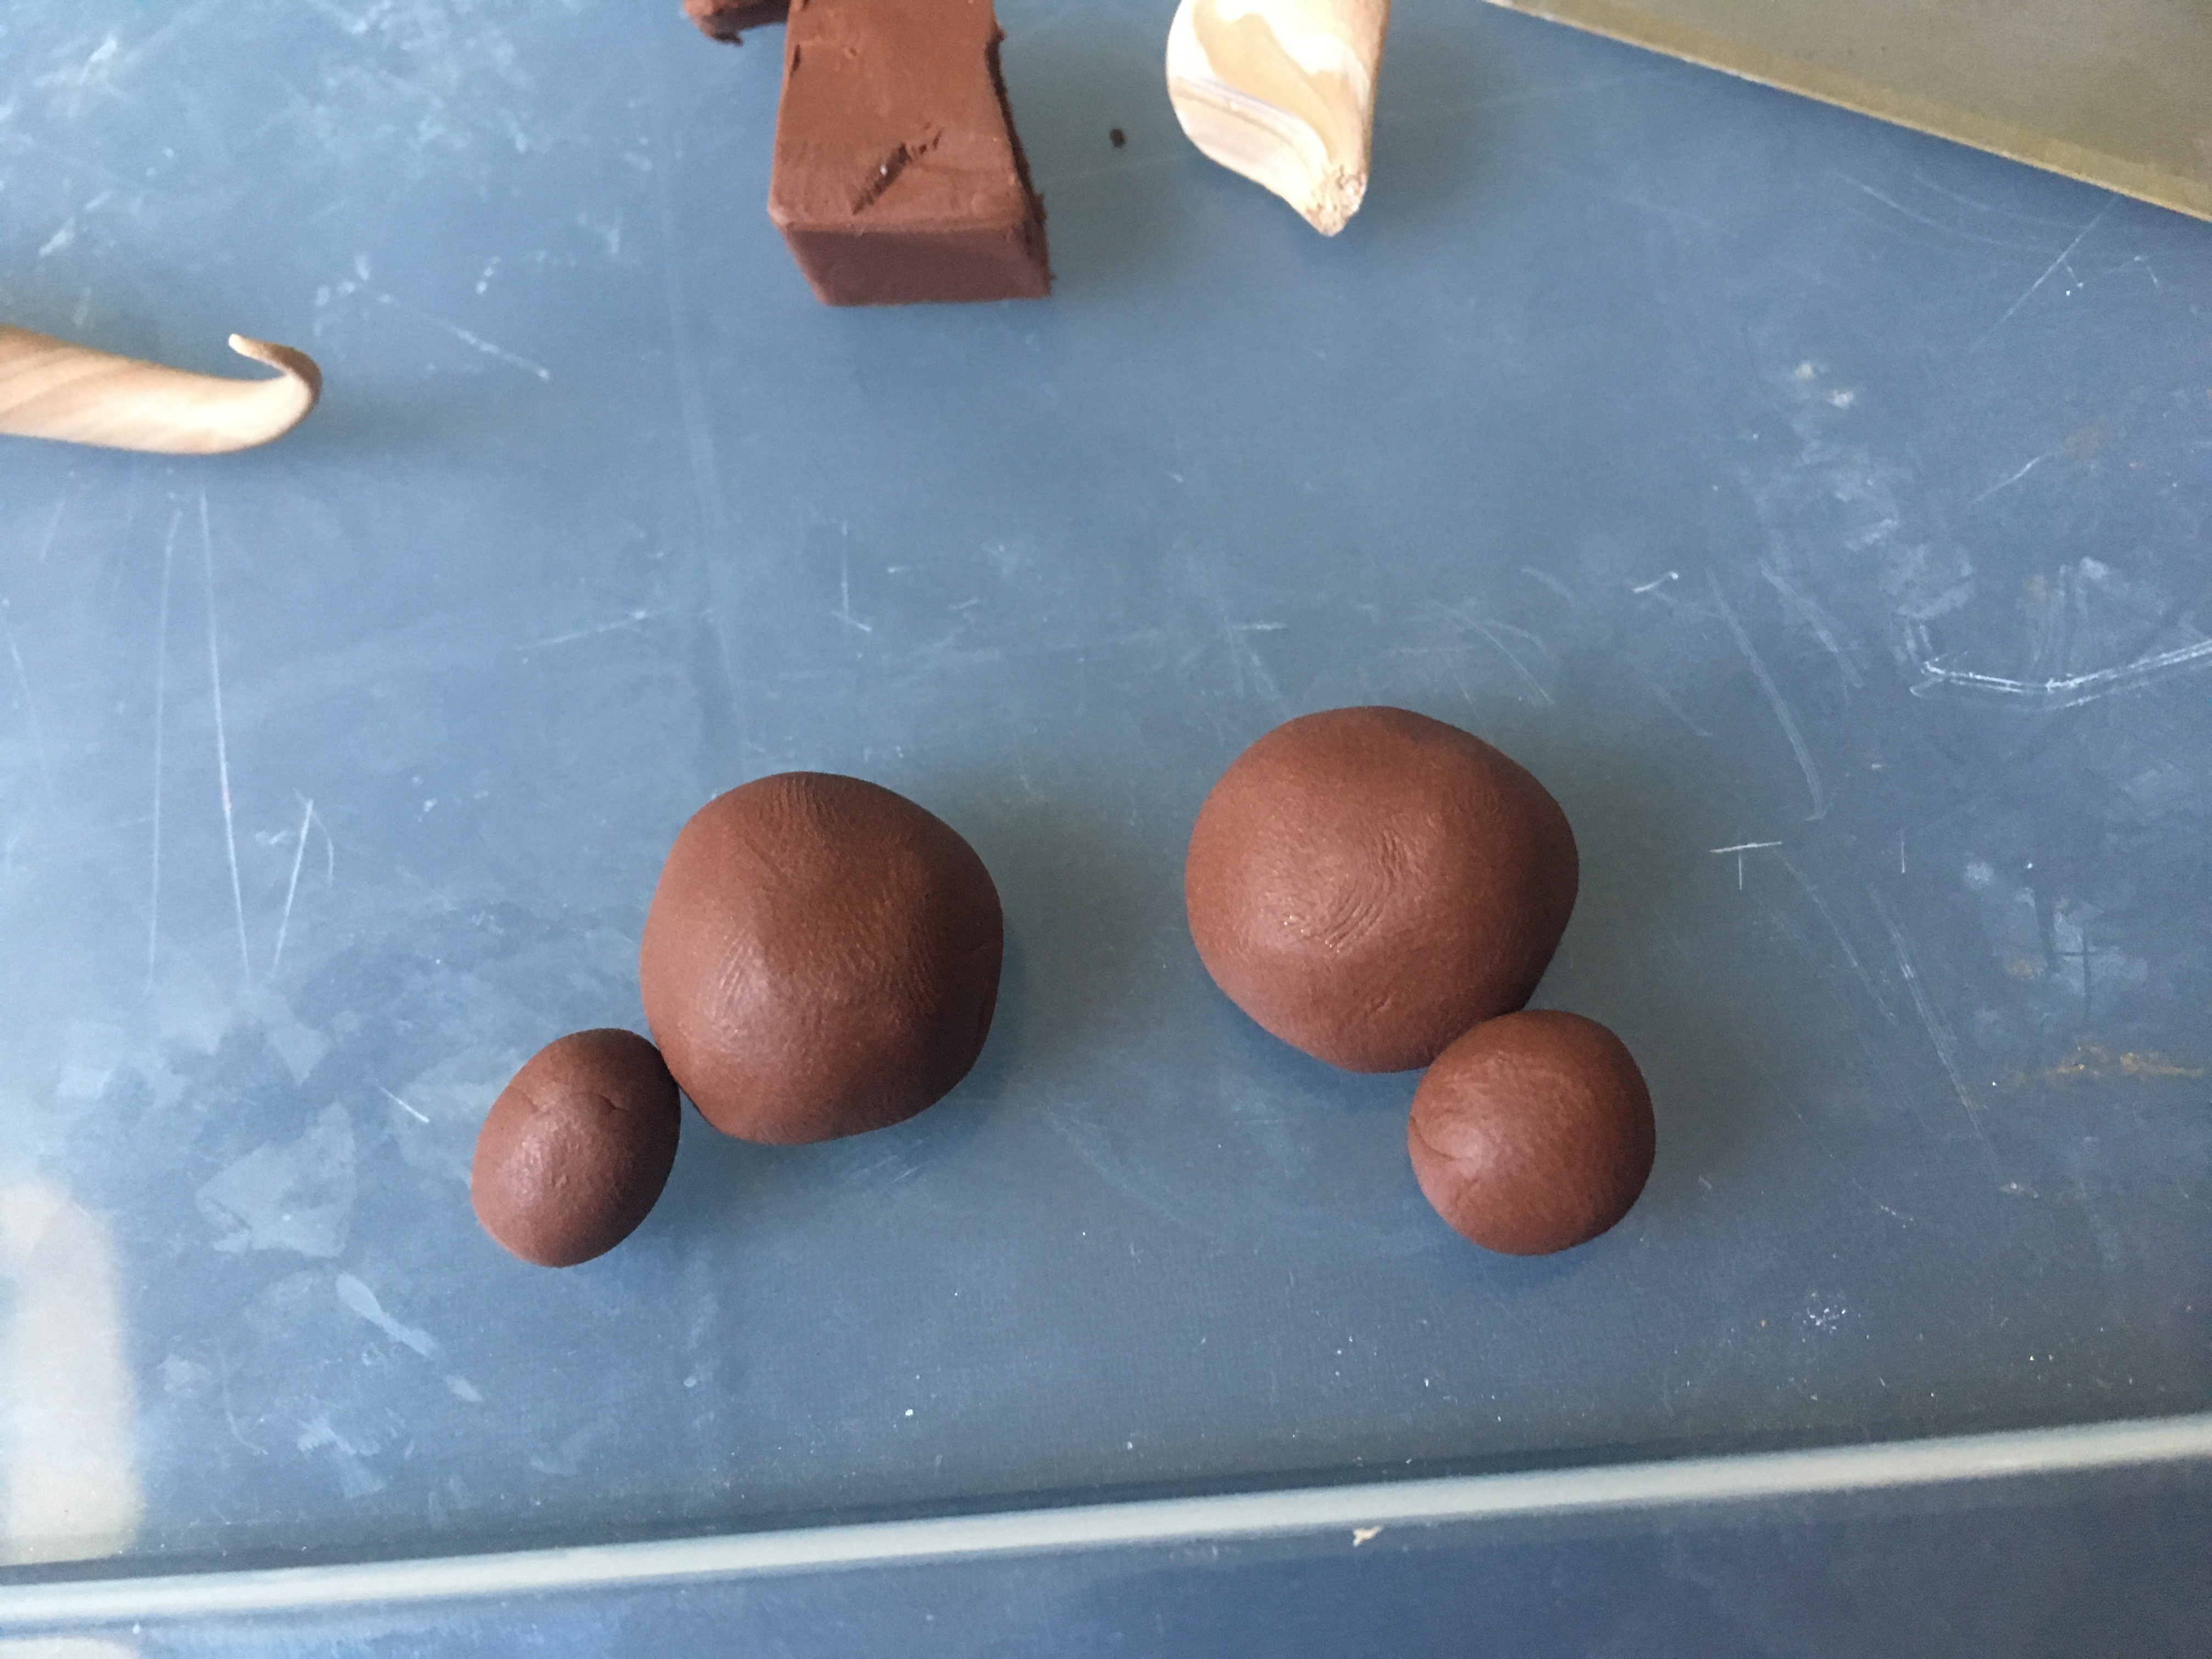
For the feet, separate the medium ball into four parts, two small balls and two slightly larger. Cover them all in dark brown clay and secure to the body to keep the snakelike body upright.
Smoothing the Clay Wyvern Body
After rolling the clay out, there will be a lot of fingerprints. Use a drop of rubbing alcohol on your finger to rub out the finger prints and smooth the clay.
Shaping the Head of the Wyvern
The head of the wyvern should be just a triangular shape with a upward facing nose. Keep playing with the clay until you are happy with the results.
Underbelly Scales
For the underbelly, I used a greenish dark brown and rolled it flat. Cut it to fit the dragon’s belly and add lines once added to the wyvern. Smooth fingerprints out while you can.
How to Make the Bushes on the Wyvern’s Back
Use a mixture of light and dark green clay to make a bushy or mossy green color. Add lumps to the back of the dragon except for where the wings go, we will add them next.
Wyvern Wings
Roll out some light green clay into two thin triangles. Use dark brown to make the branchlike wing holder outer things and scrape a toothbrush against the brown to make them look like wood. Make sure to only do this on the front and to leave the back part of the wing blank green.
Texturing and Hiding Things
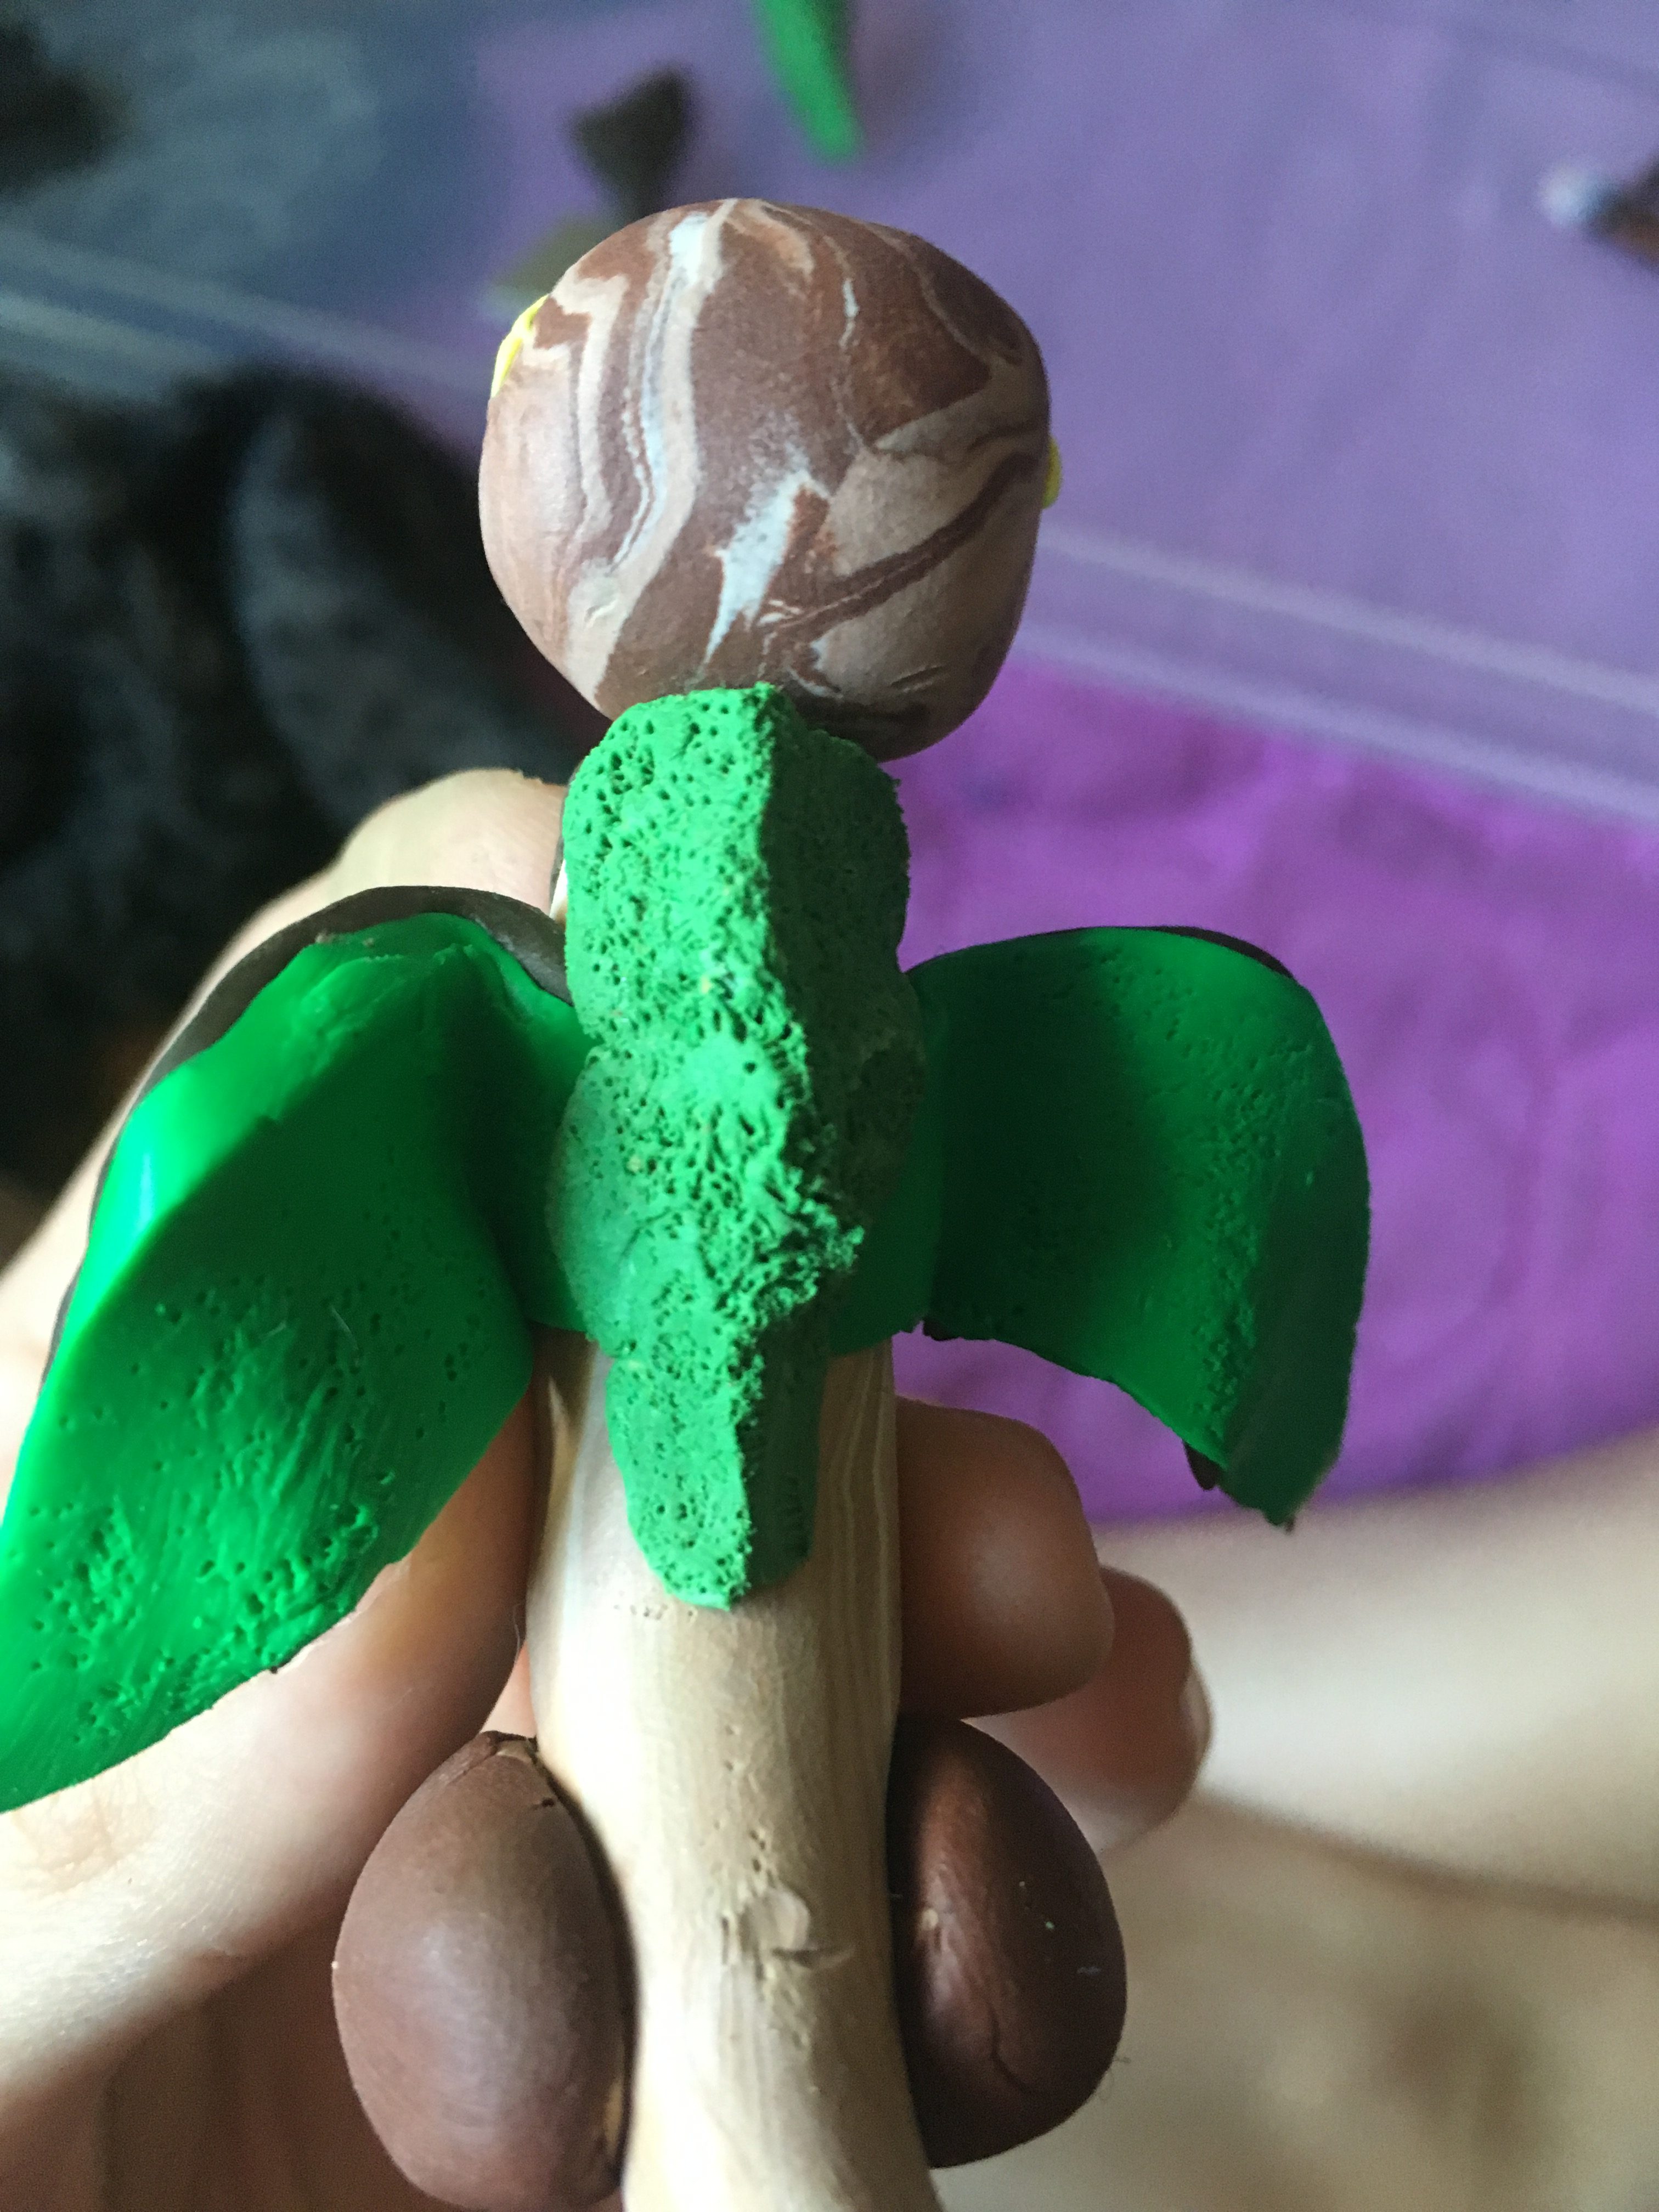
Put the green clay over the back of the wings and press it down to cover where the wings connect to the back. Beat the mossy green clay with a toothbrush to make it look textured. Don’t forget to add some green clay on the legs to look like moss piles.
How to Make a Tiny Rose
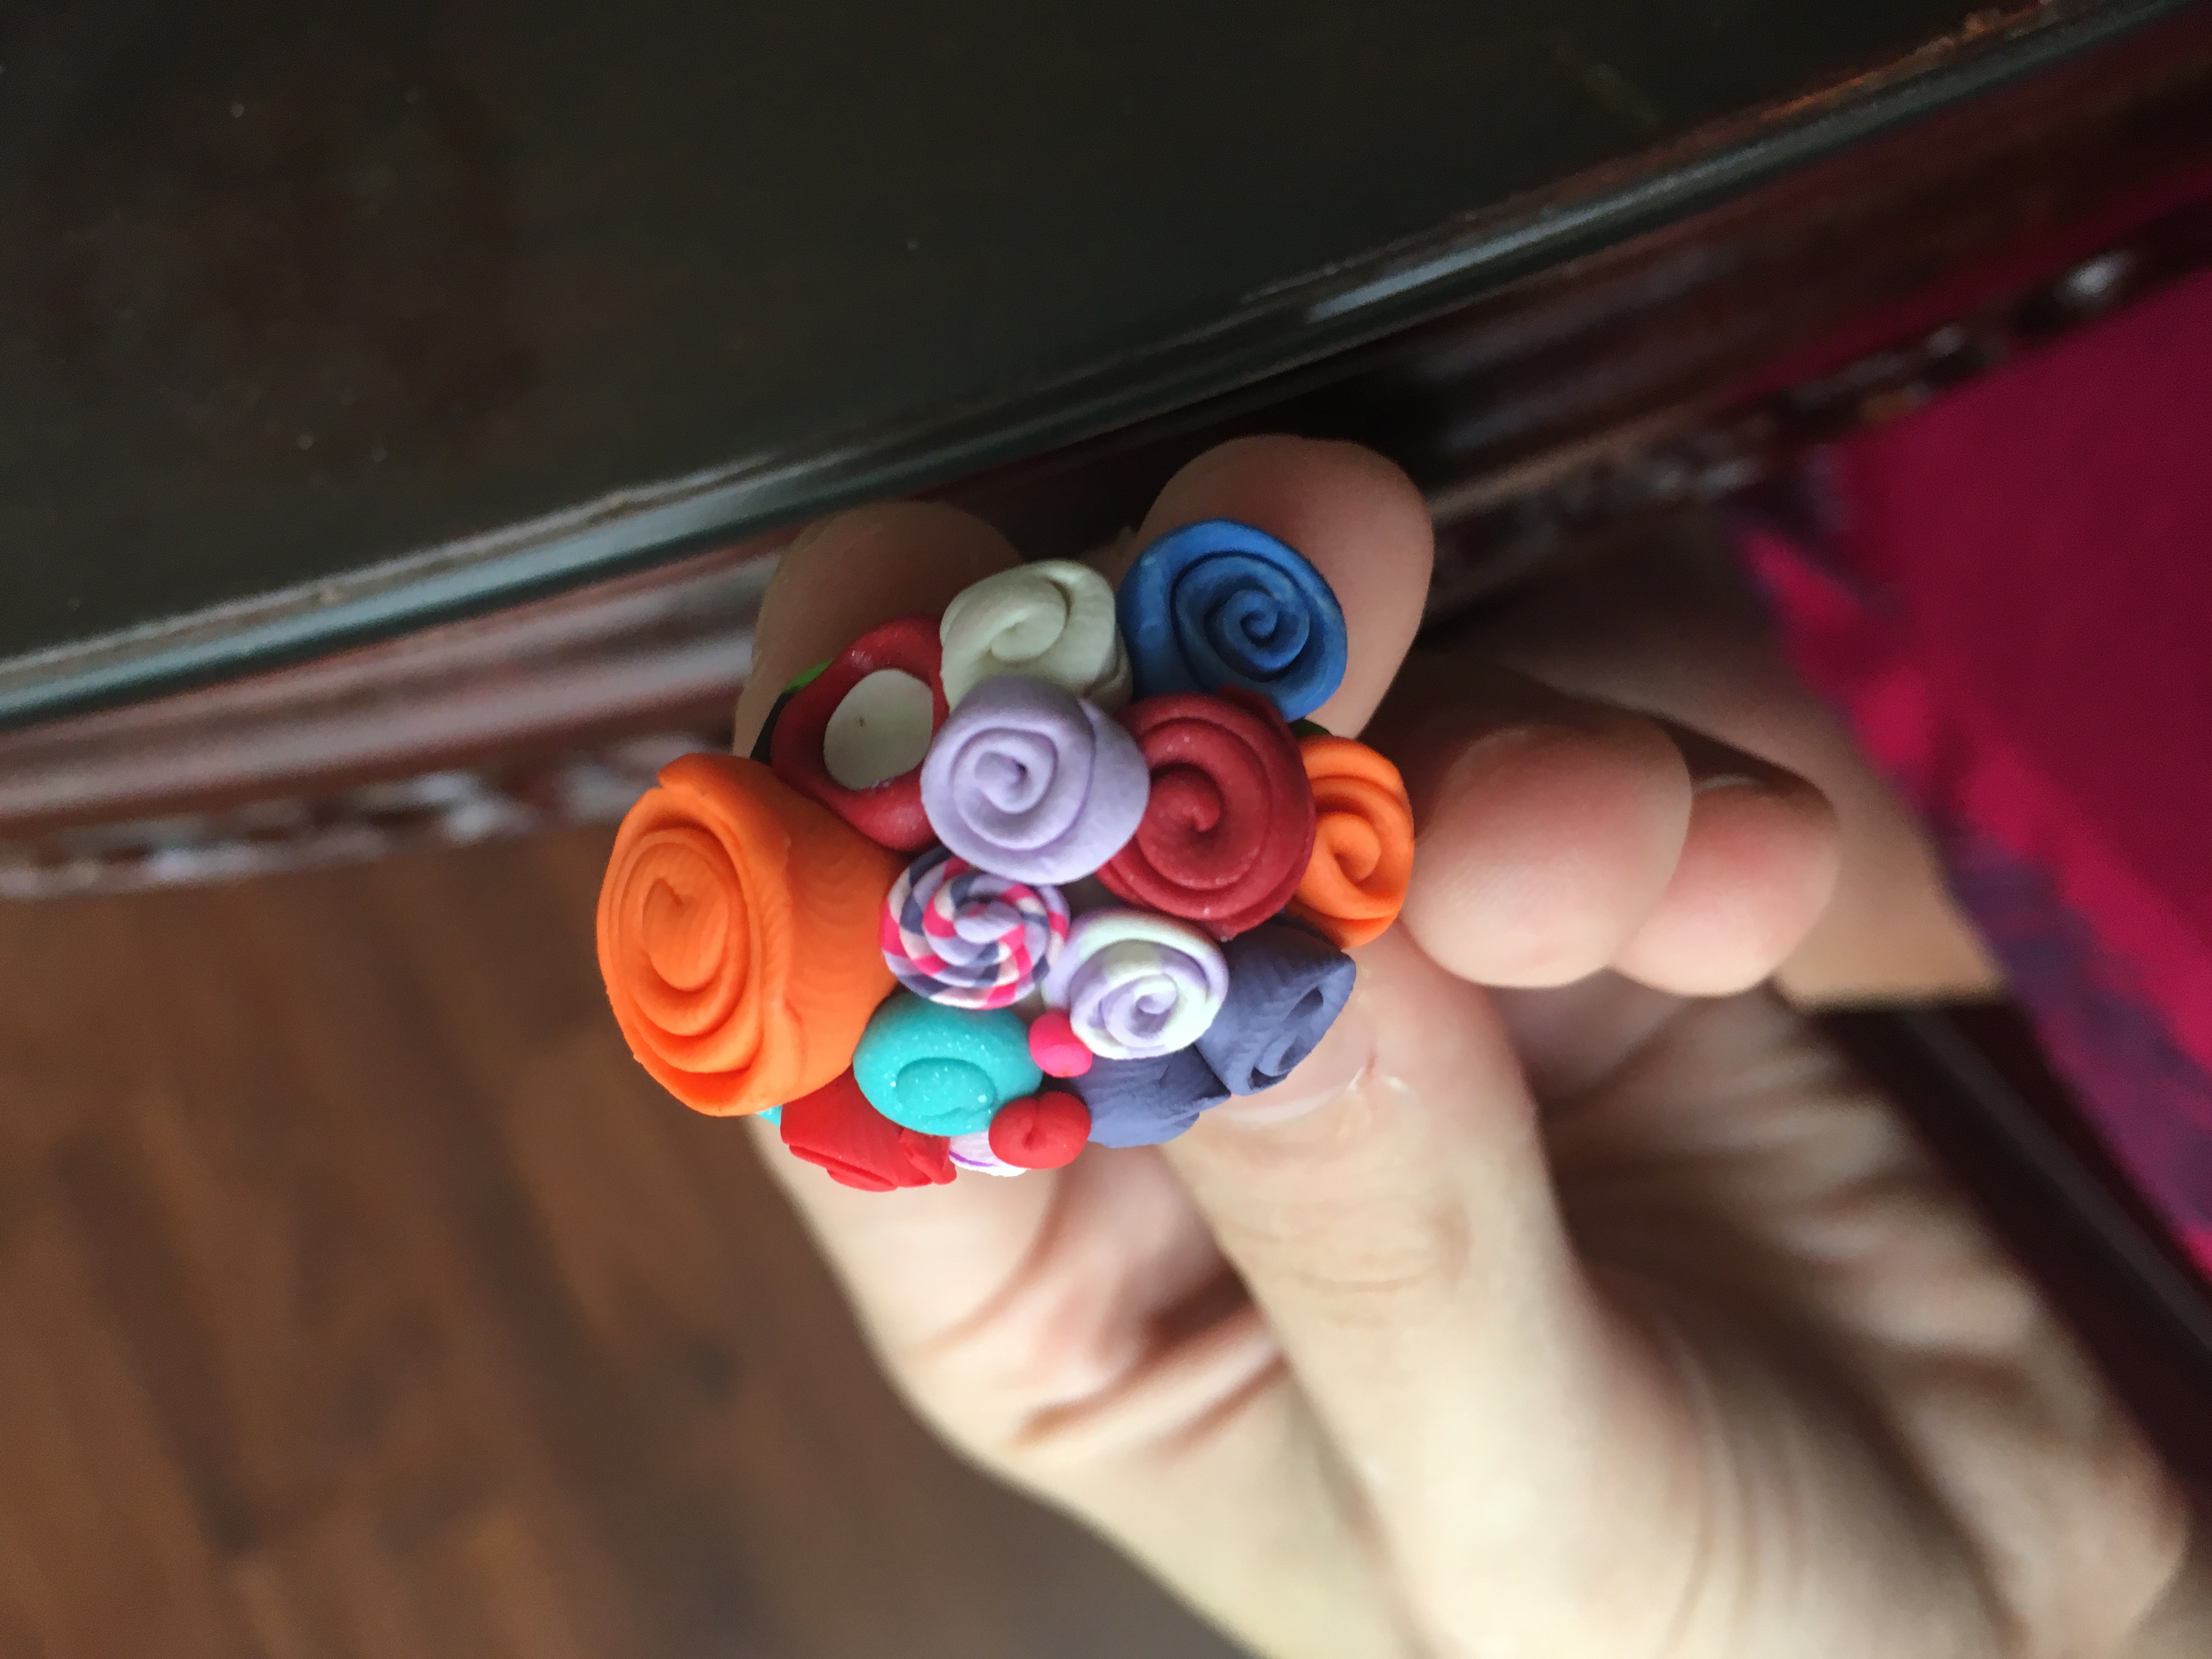
Roll out two colors of clay and twist them together. Flatten the clay and roll it into a little rose. Try yellow and red for a vibrant and oddly satisfying look.
How I did the Tail Vine

For the tail vine, I just wrapped green clay in a thin roll around the tail and pressed it on gently.
Tiny Vine flowers
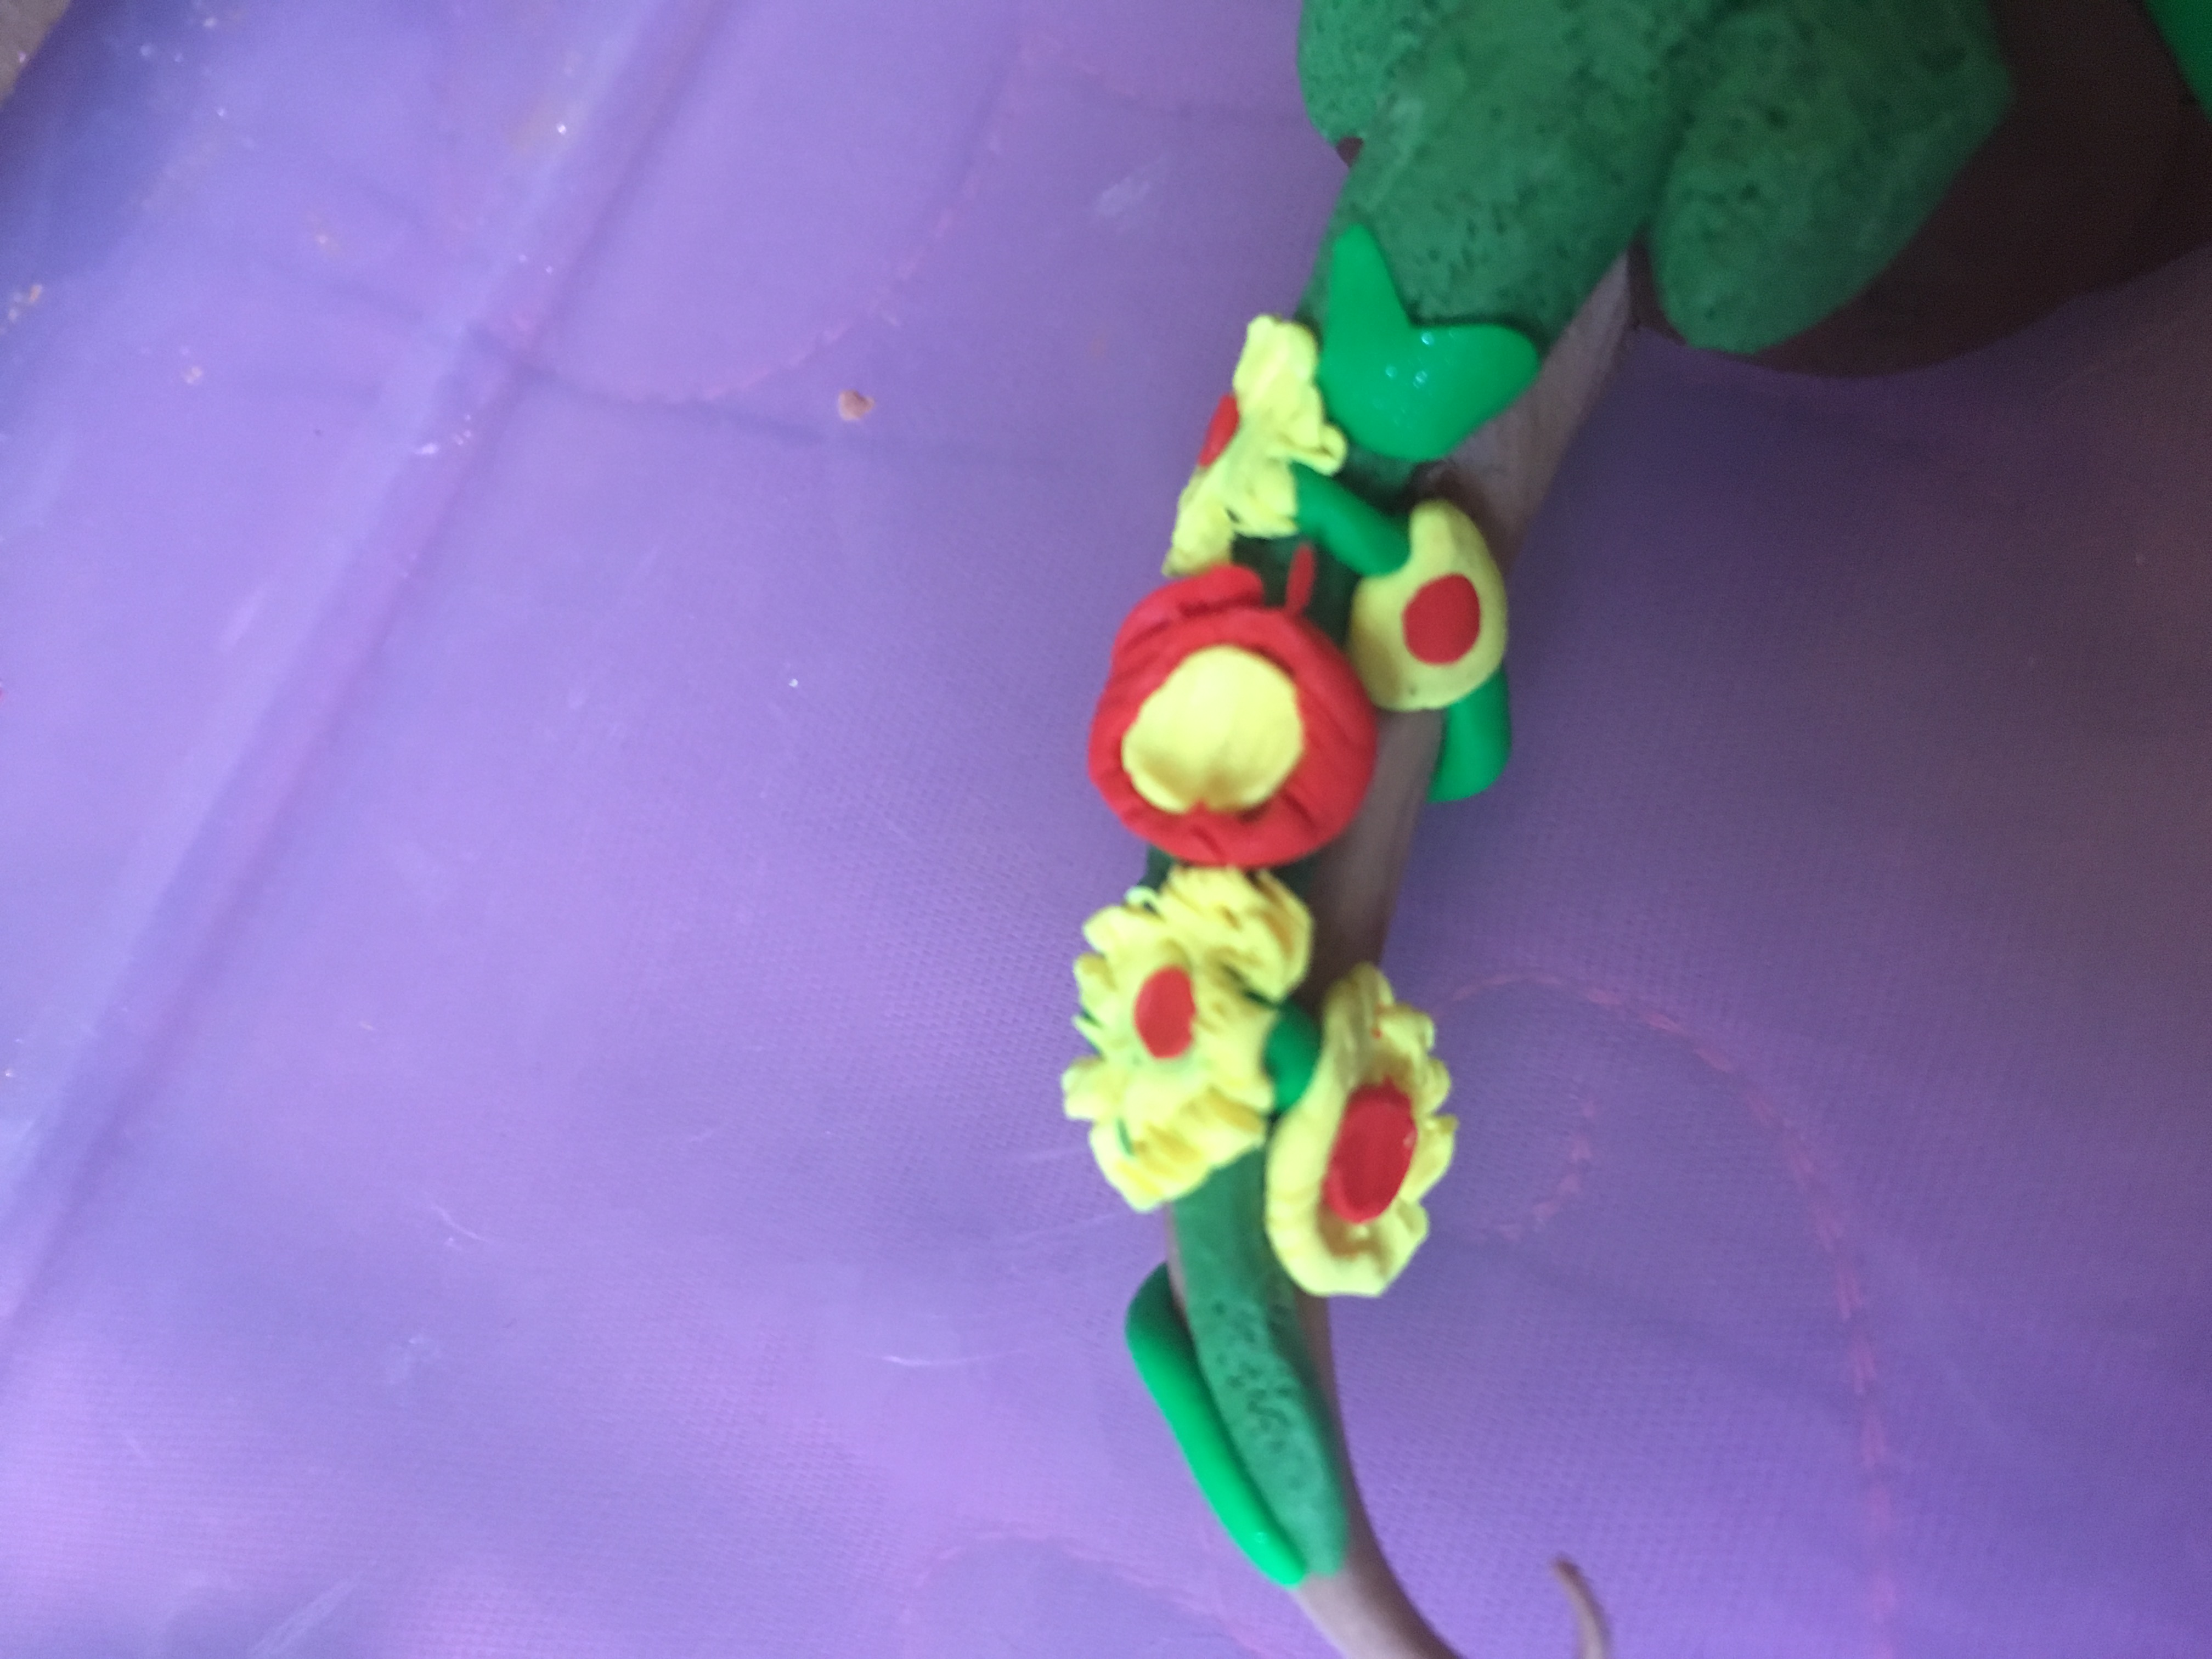
For the flowers, I used a dotting tool to press on balls of clay and used a sharp tool to cut the petals separately from the main center. I also pressed a little dot of color into the middle of the flowers for an extra pop of color.
Tiny back Flowers
Make a whole bunch of roses to apply all over the Wyvern. Do not go light on flowers. Cover the Wyvern’s back and then continue to pile them on until it’s stacked up to your preference.
More Flowers
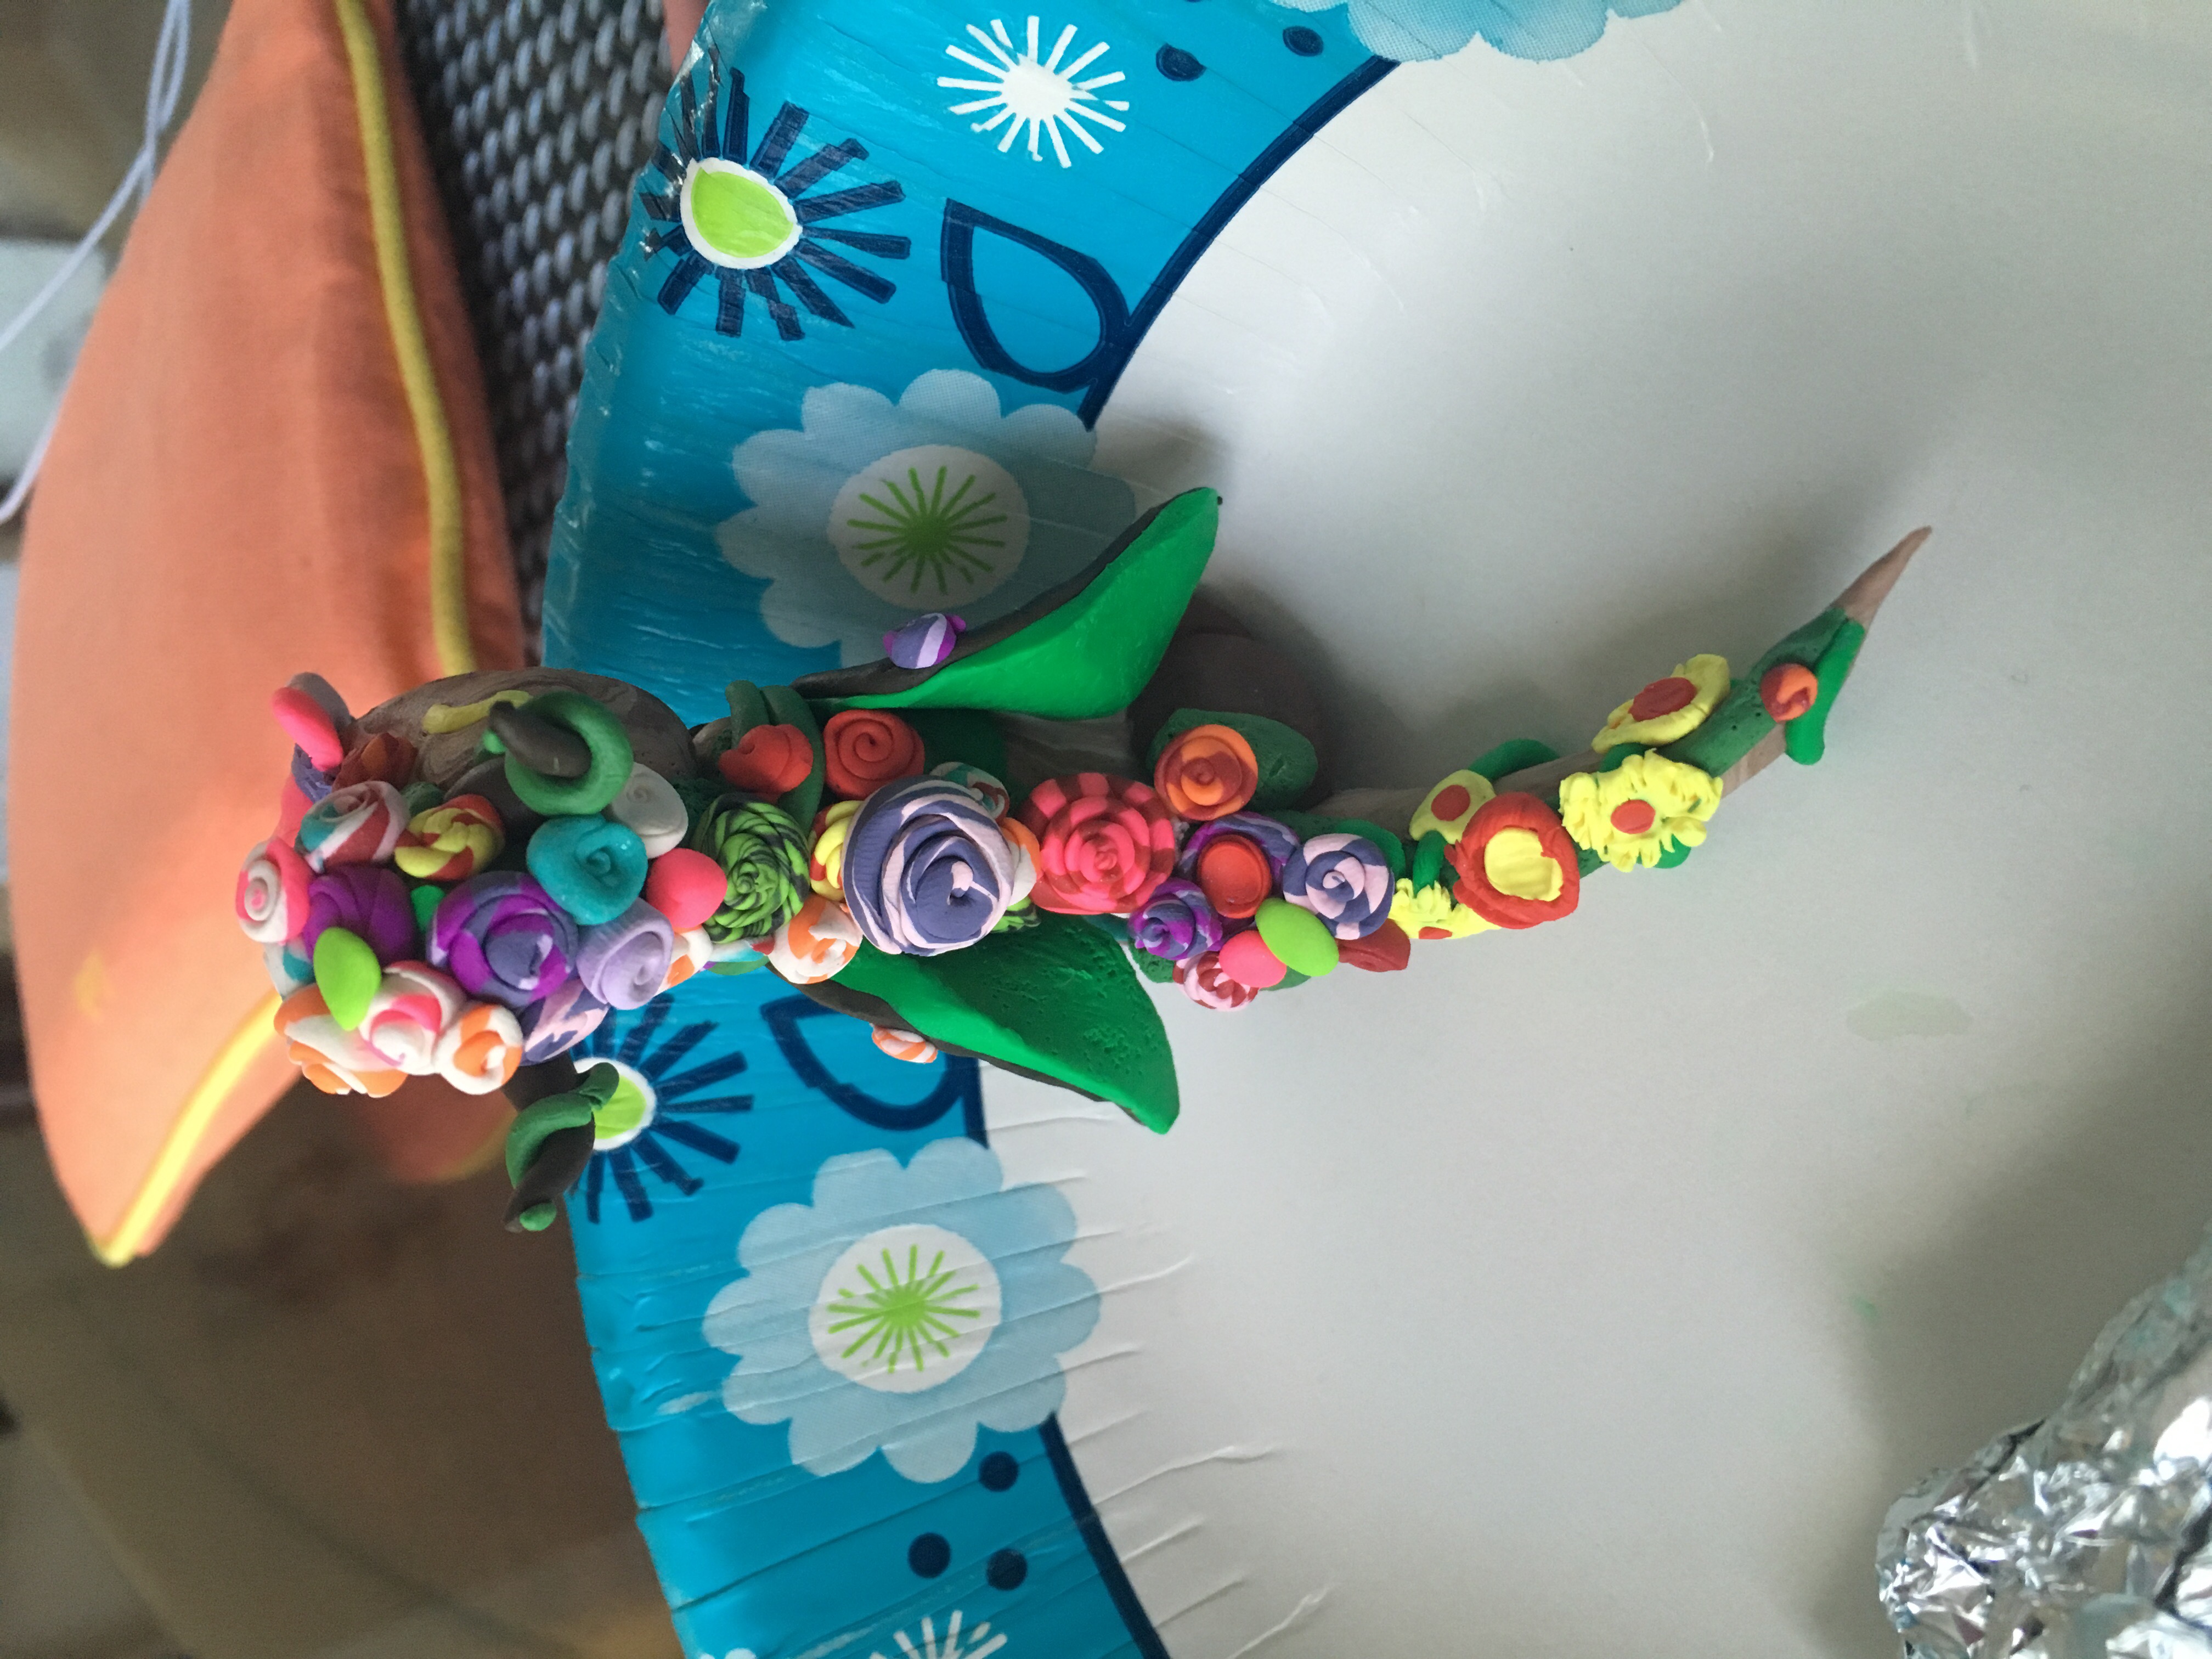
Did you think you had enough flowers? You need at least 20 more. Keep going, I believe in you.
Retexturing
Go over any left over exposed moss and retexture with the brush where needed.
Butterfly
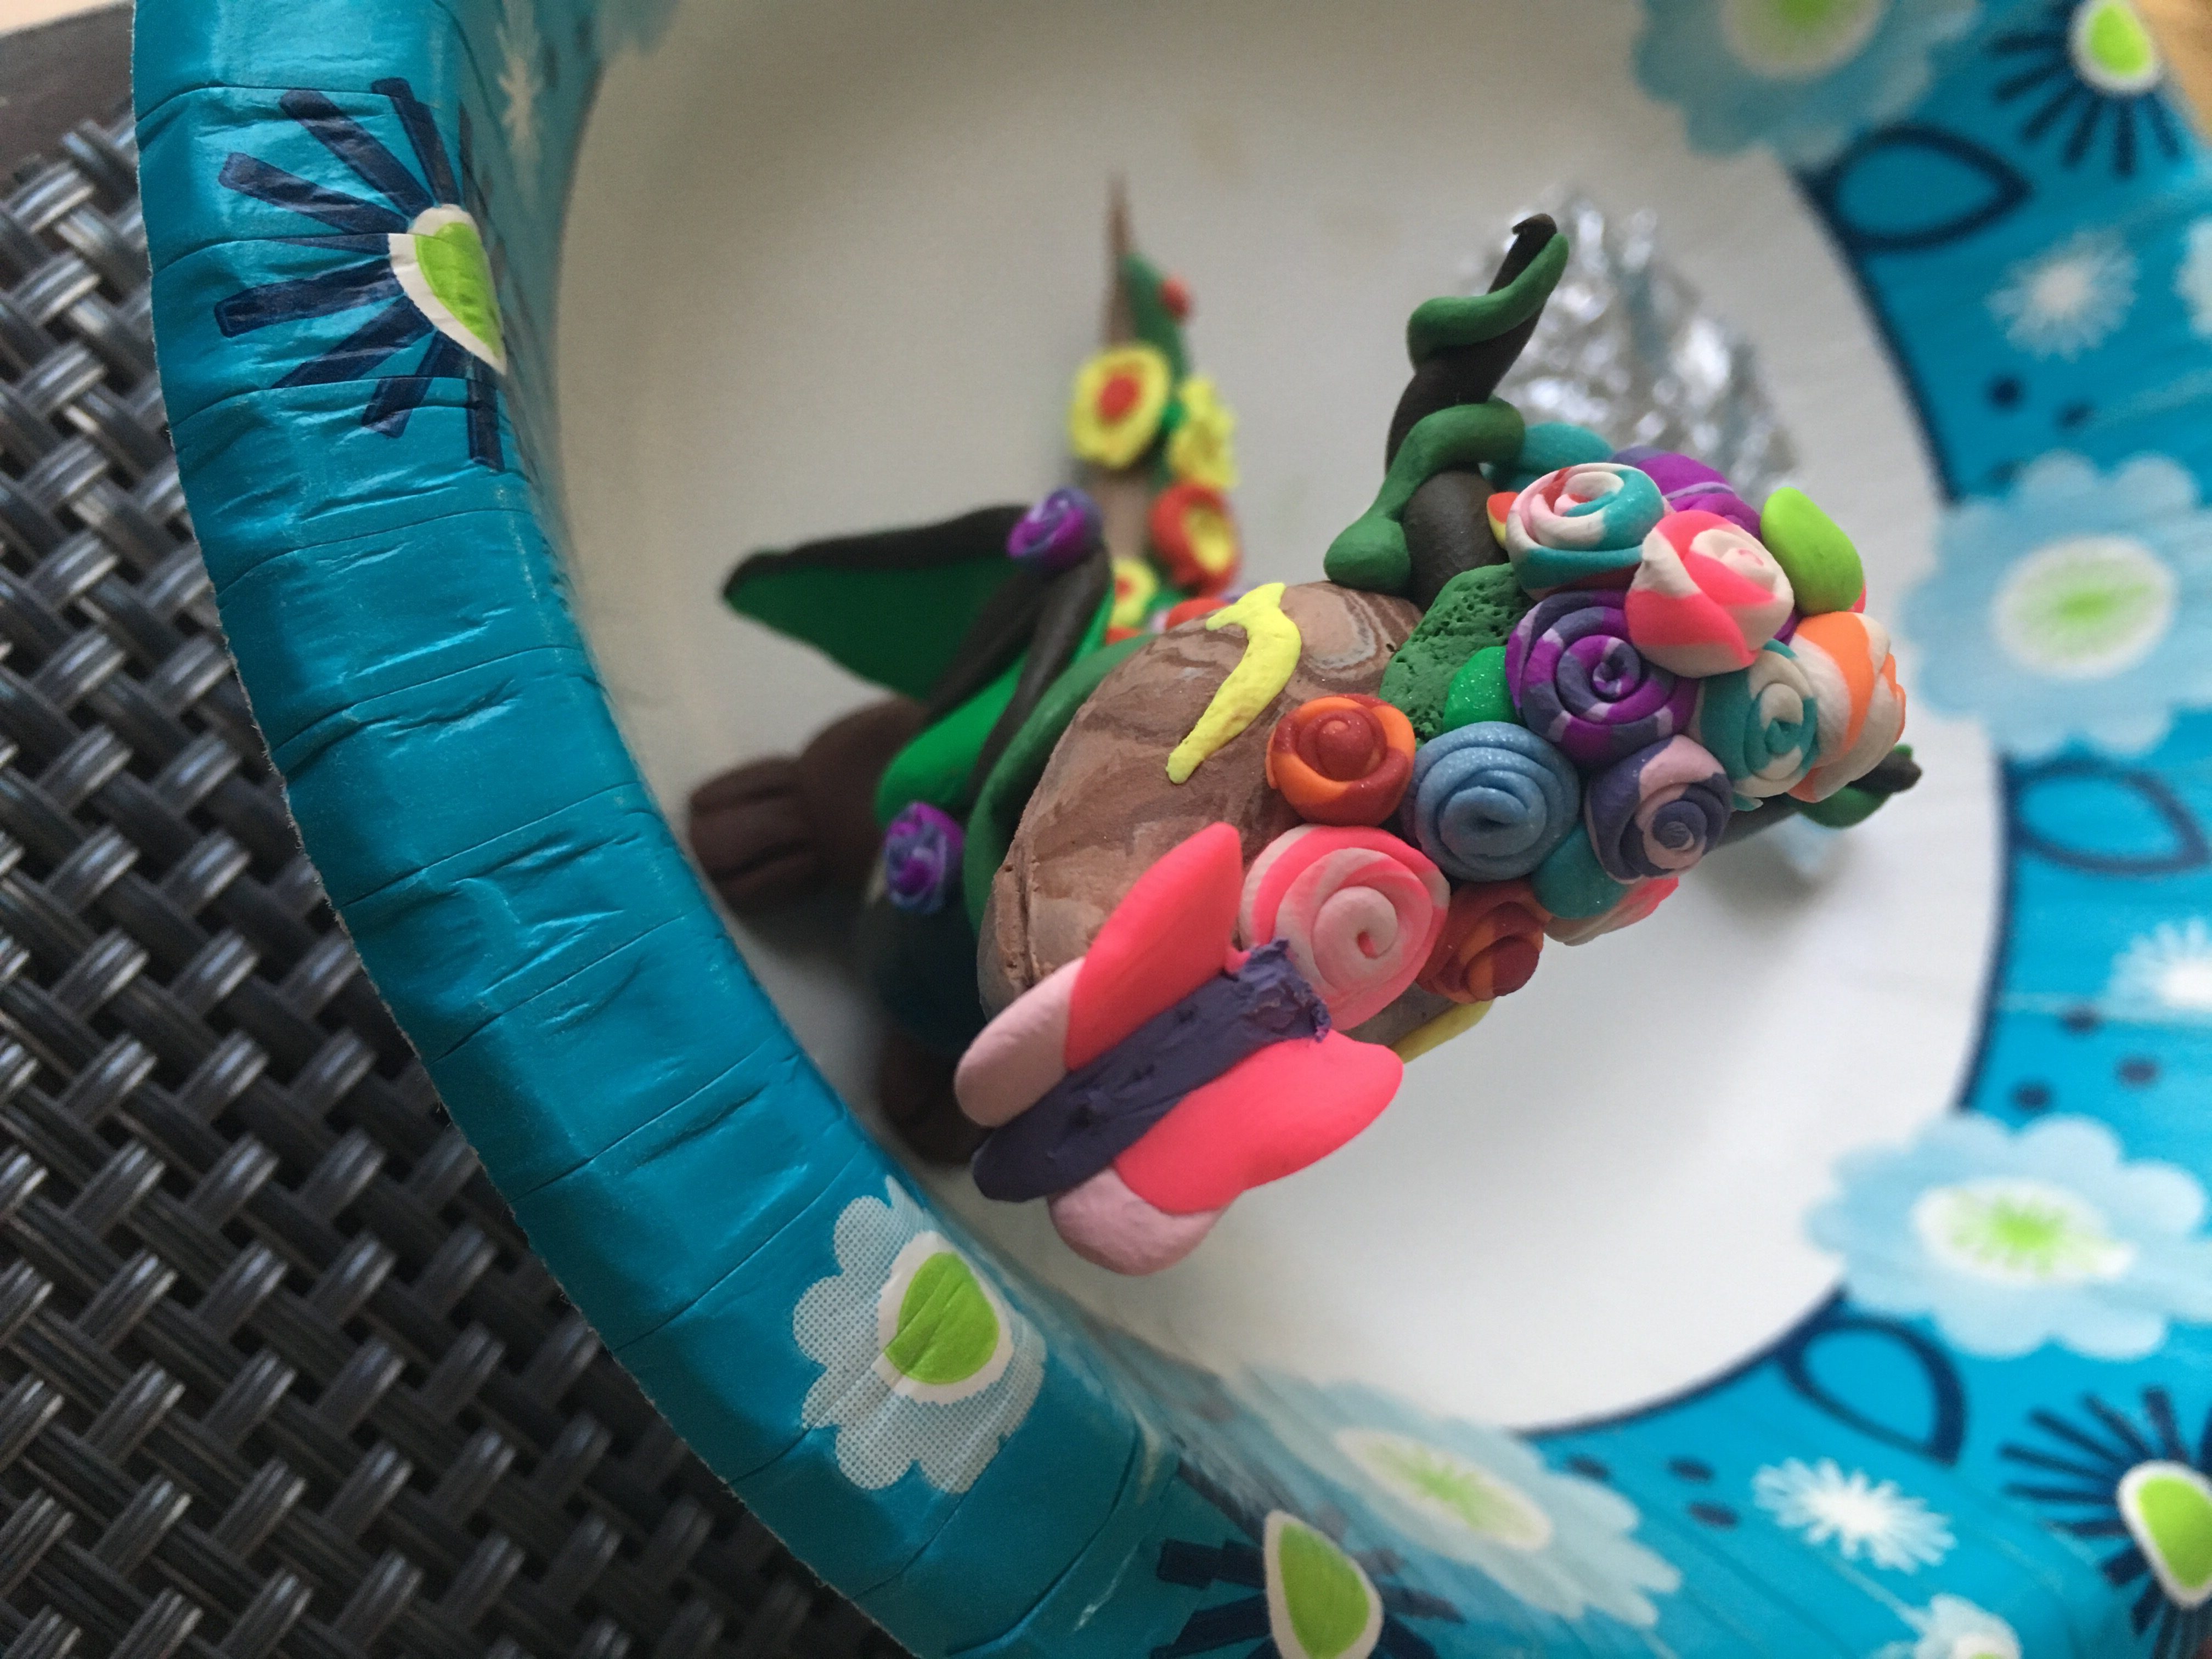
For the butterfly, use four dots of clay put together into two wings and put them together and plop it on the face of the wyvern.
Baking
Pop the wyvern into the oven for 15 minutes at 275. Make sure she doesn’t fall over in the oven.
Finish
And now she is ready to flap away. Happy crafting!