
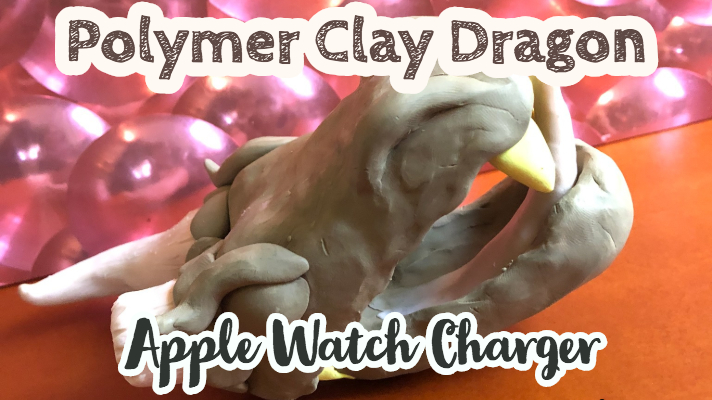
So recently I got a cool new apple watch with a really interesting charger- it’s magnetic and just sticks to the back of the watch. Two hours later, your watch is ready to go. But the charger doesn’t like to stay up on whatever surface you put it on. Obviously the only solution to this problem is to spend all afternoon sculpting something to hold your charger instead of finishing your homework, and a dragon will protect your watch while it charges too.
What you will need
- Dotting tools
- Hands
- Sculpey in bland colors
- Too much time
- Aluminum foil
- An oven
- Superglue
- Parchment paper
Making the Tinfoil base of the Polymer Clay Dragon Head
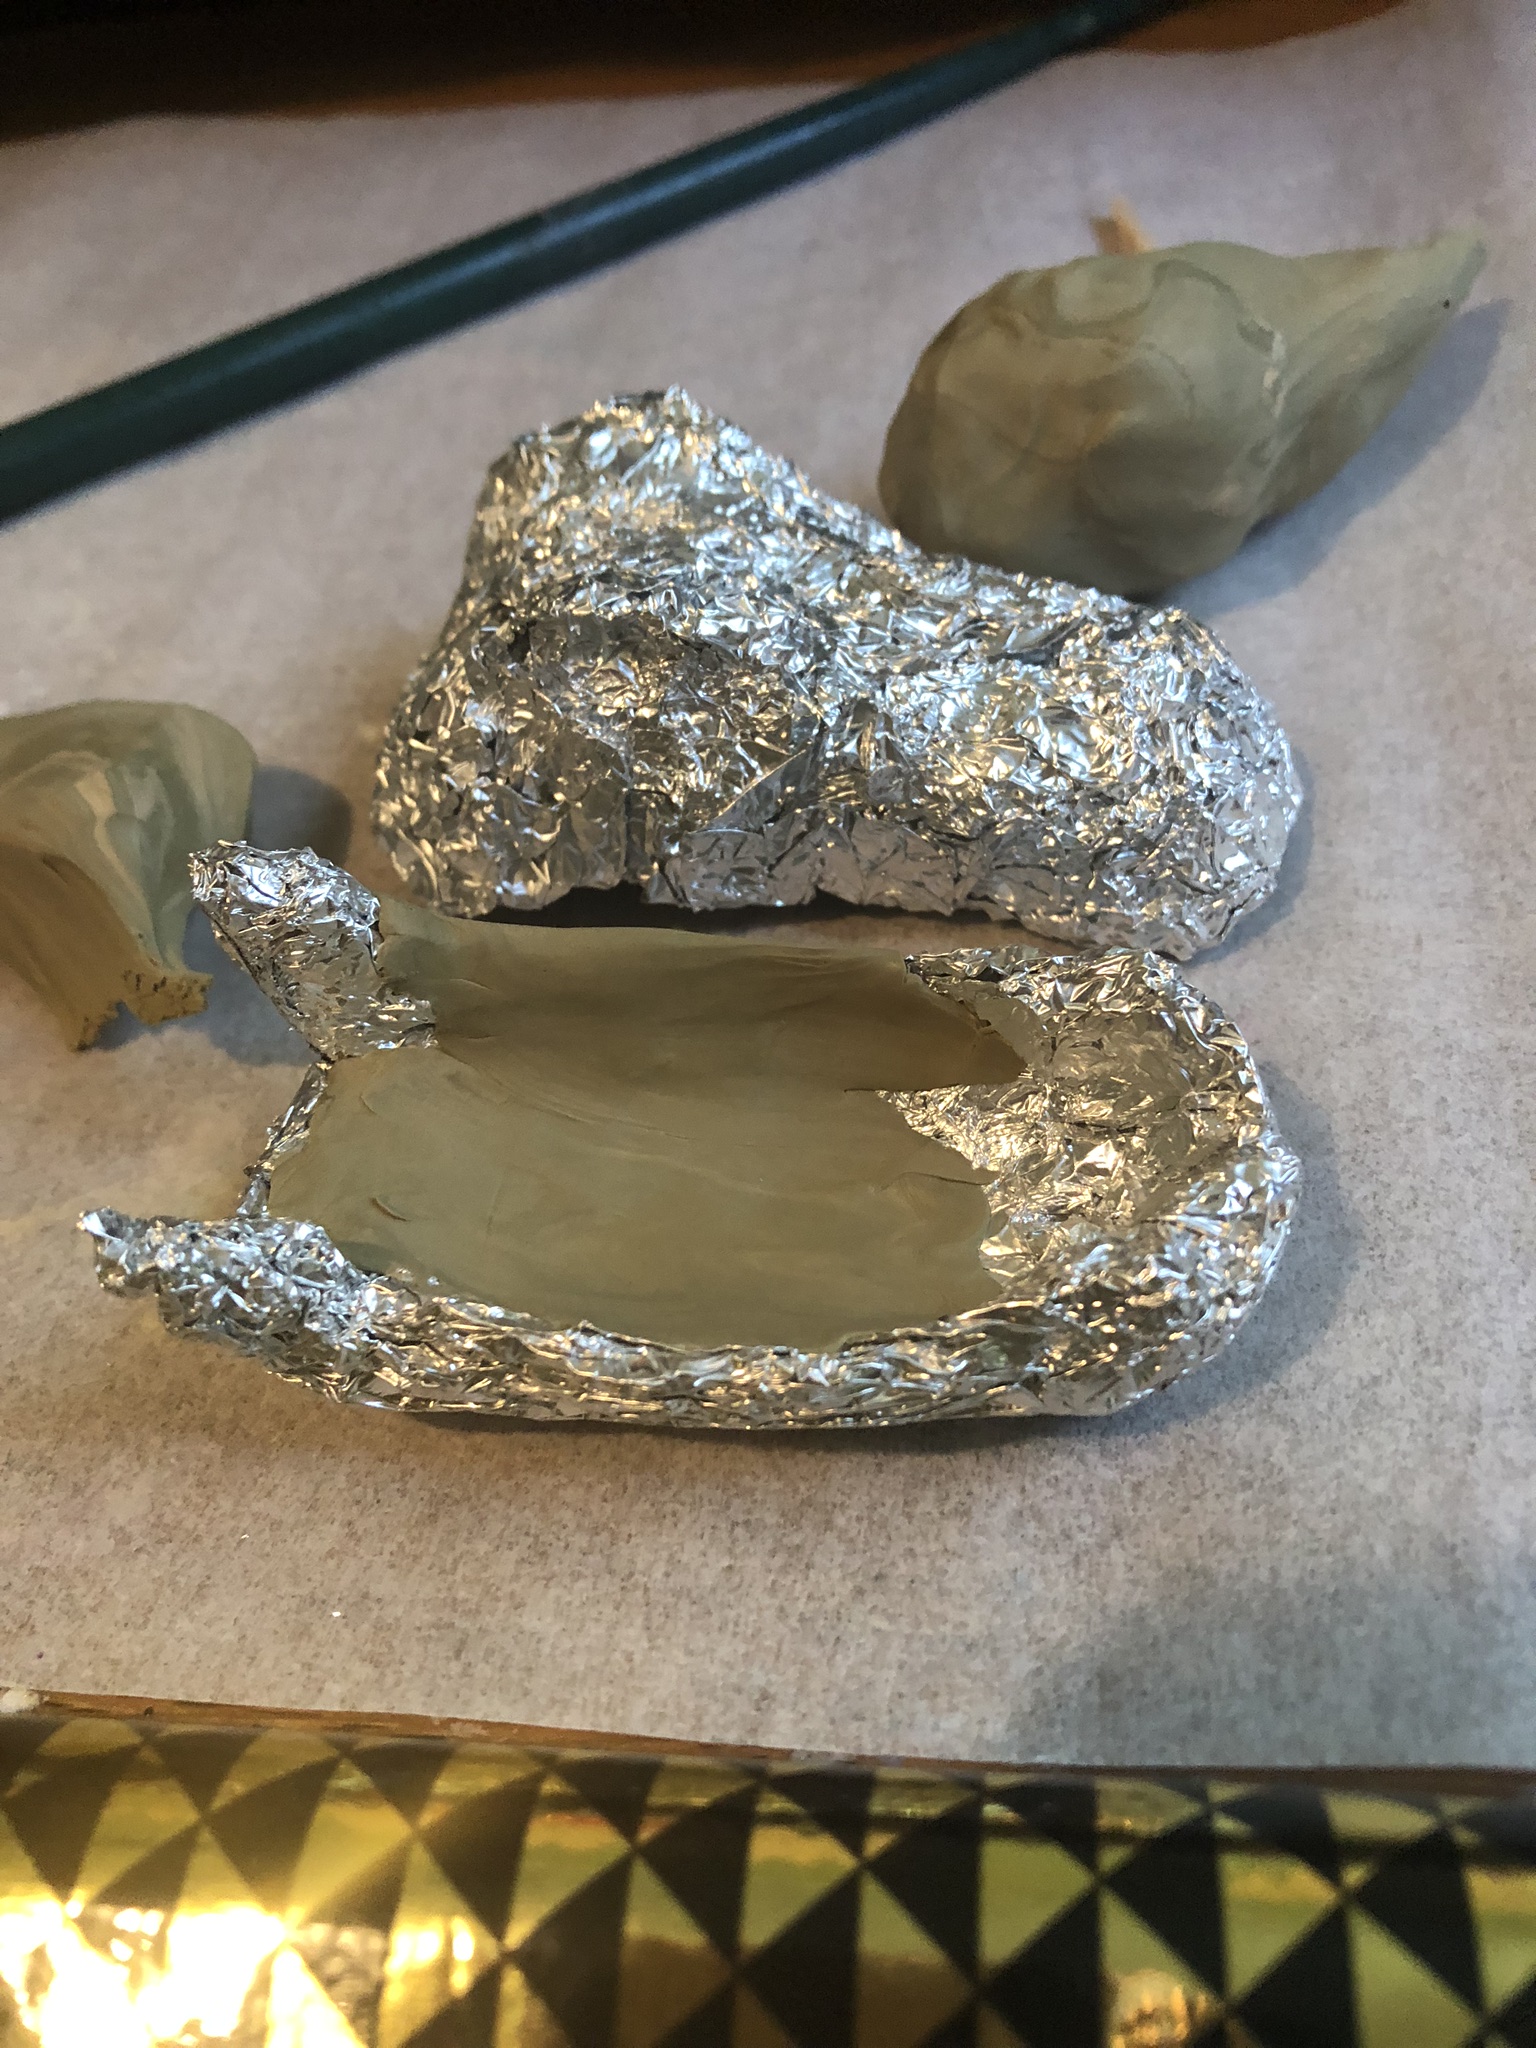
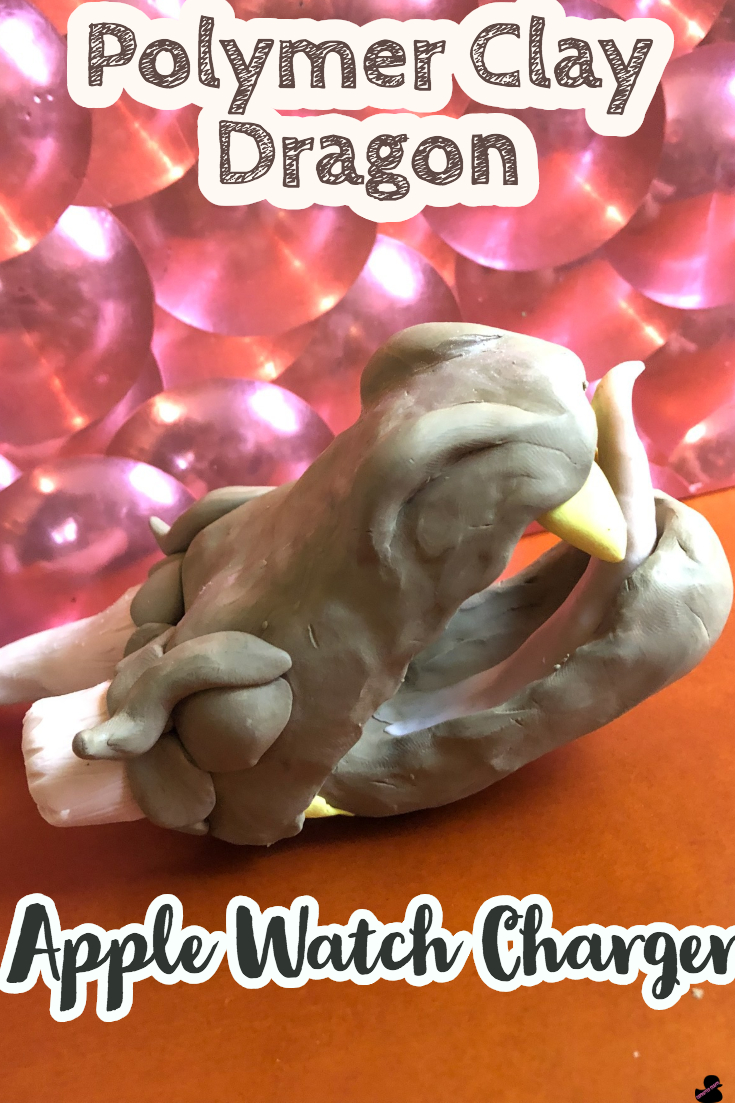
Start with two wads of tinfoil and gently crush them both down to the shape of the skull you want, with the lower jaw going up in the back, down in the front, and smaller than the top part which should be able to rest on top easily. Use something to help press the foil in on the inside of the mouth, and on the lower jaw press it in enough for the apple watch charger to fit with some extra room for clay. Cut a piece of foil out from the back of the lower jaw for the USB part of the cord to fit through, since the cord cannot go in the oven.
Coating the Base in Polymer Clay
Roll out the clay fairly thin and press it all over the two pieces of tin foil securely. You may have to rip off extra pieces to patch up spots, and smooth the clay out with your hands as much as possible.
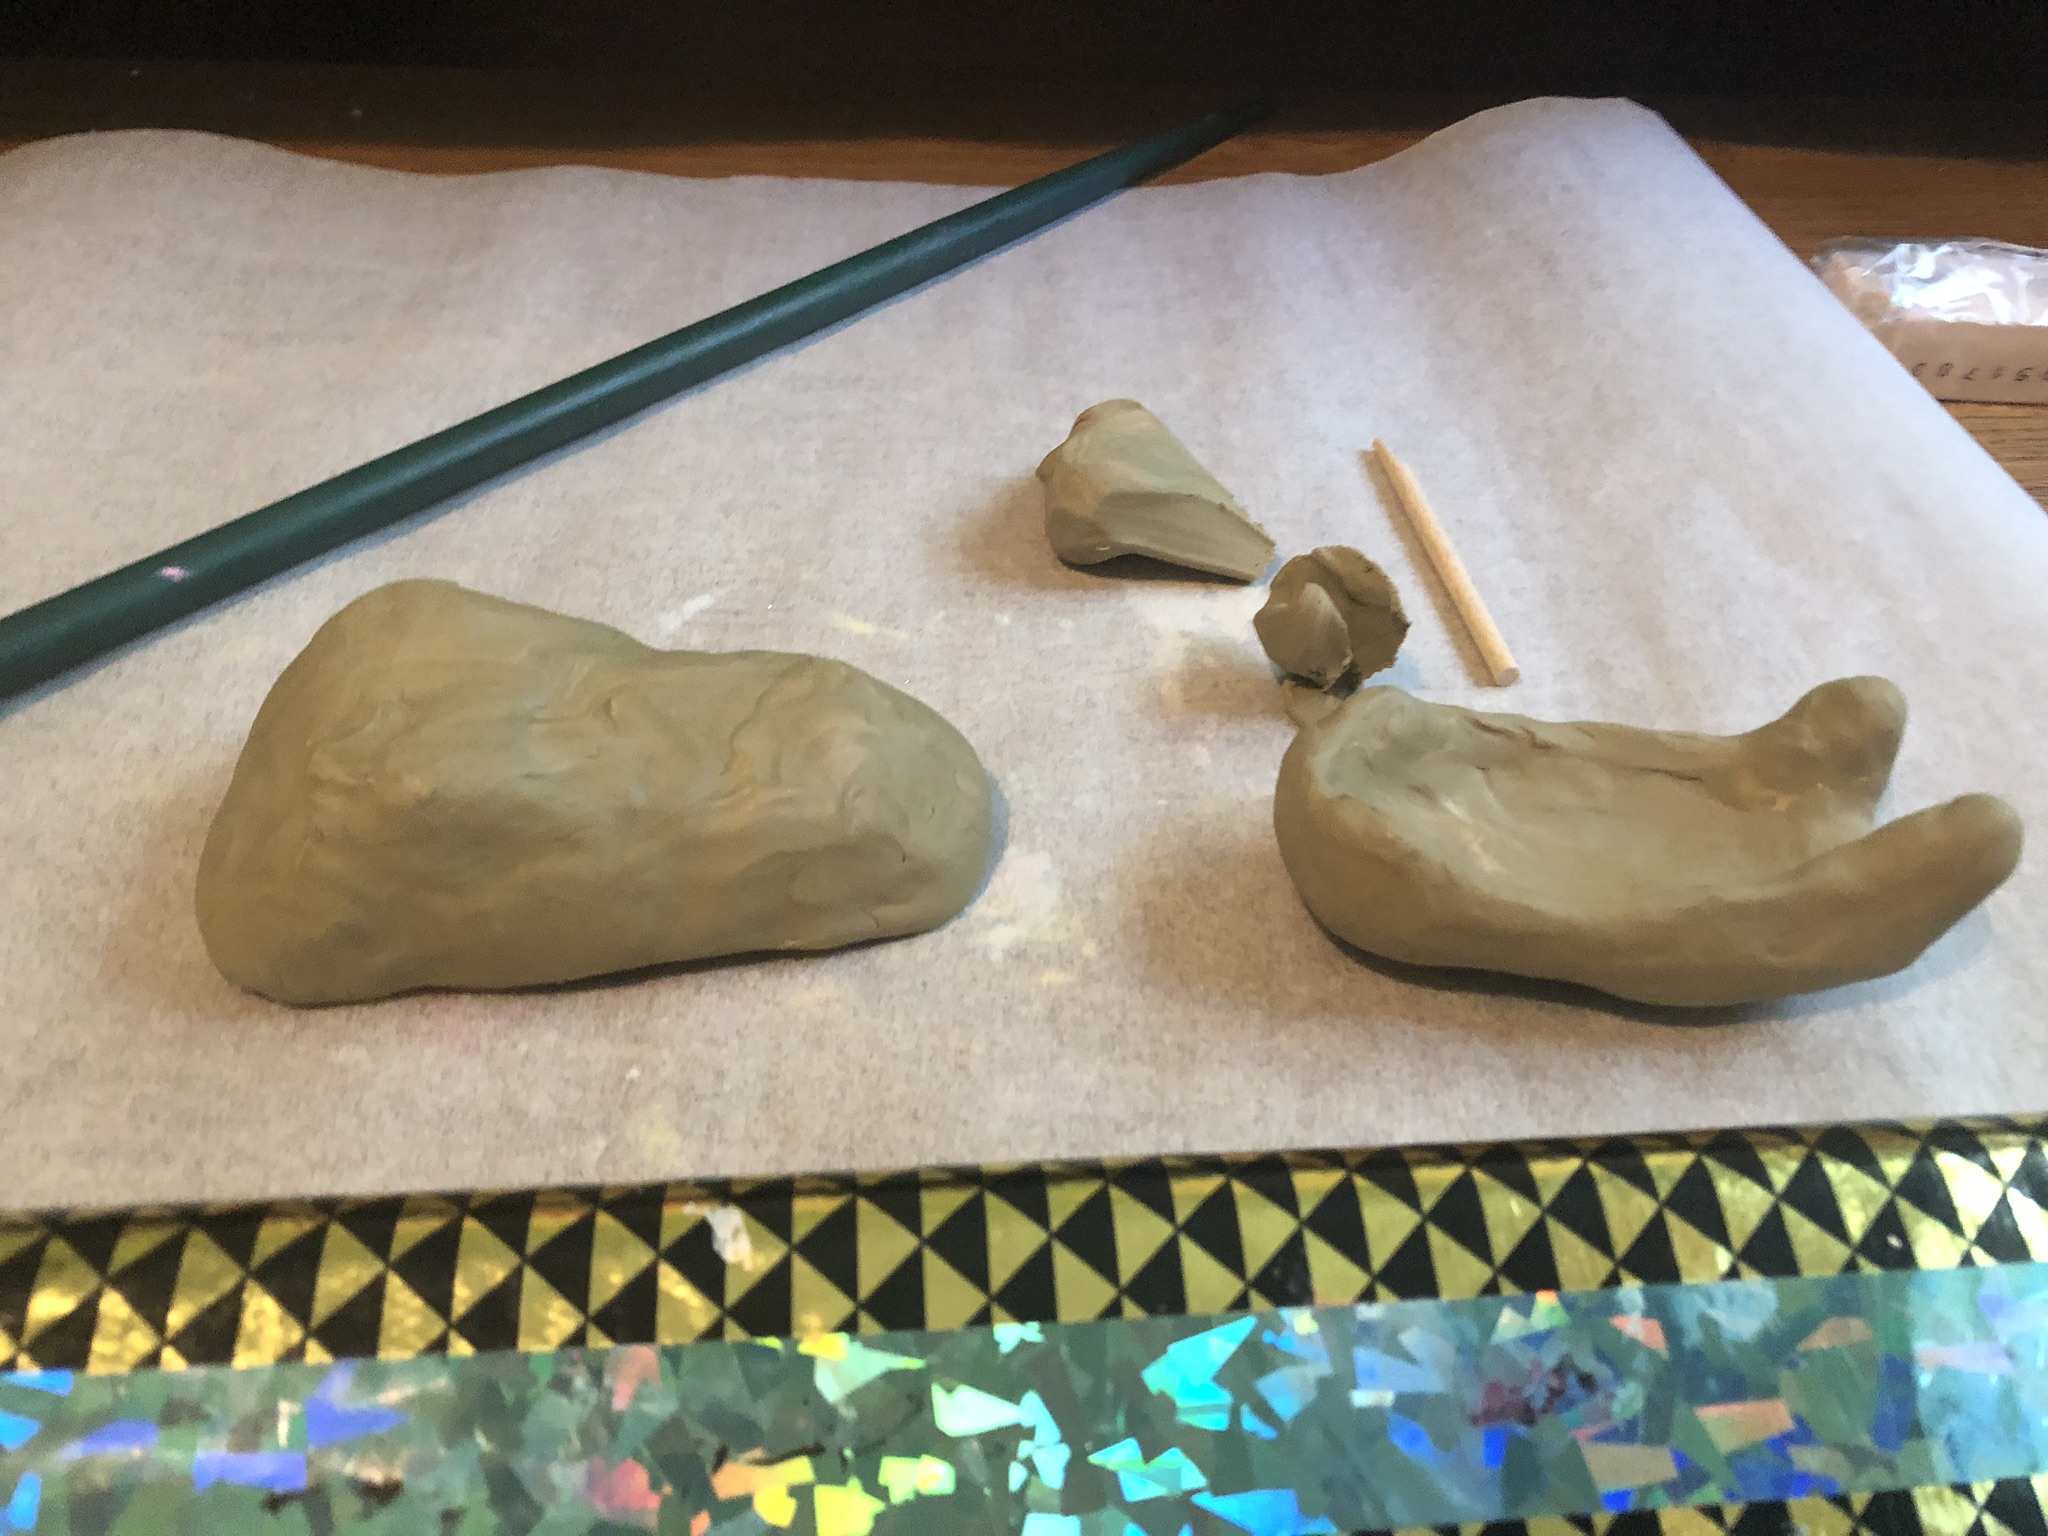
Smoothing out Rough Spots on the Polymer Clay Dragon Head
The head pieces will look a bit lumpy and gross at first. Don’t worry about that, just use some clay and press and blend it on until it looks smoother and less weird.
Adding the Eyes to the Polymer Clay Dragon Head
The eyes are two roundish blobs lightly pressed on either side of the head, about where eyes go. You can shape them more once they are attached to the dragon by pinching the corners.
Making the Nostrils
For the nostrils, roll out two small pieces of clay into tear drop shapes, and point the other end. Roll them out to about half an inch long.
Smoothing on the Nostrils of the Polymer Clay Dragon Head
Put the clay pieces onto either side of the nose and smooth the tips out with your fingers. Use a dotting tool to blend the clay on seamlessly, so the clay stays up and separate but connected to the head.
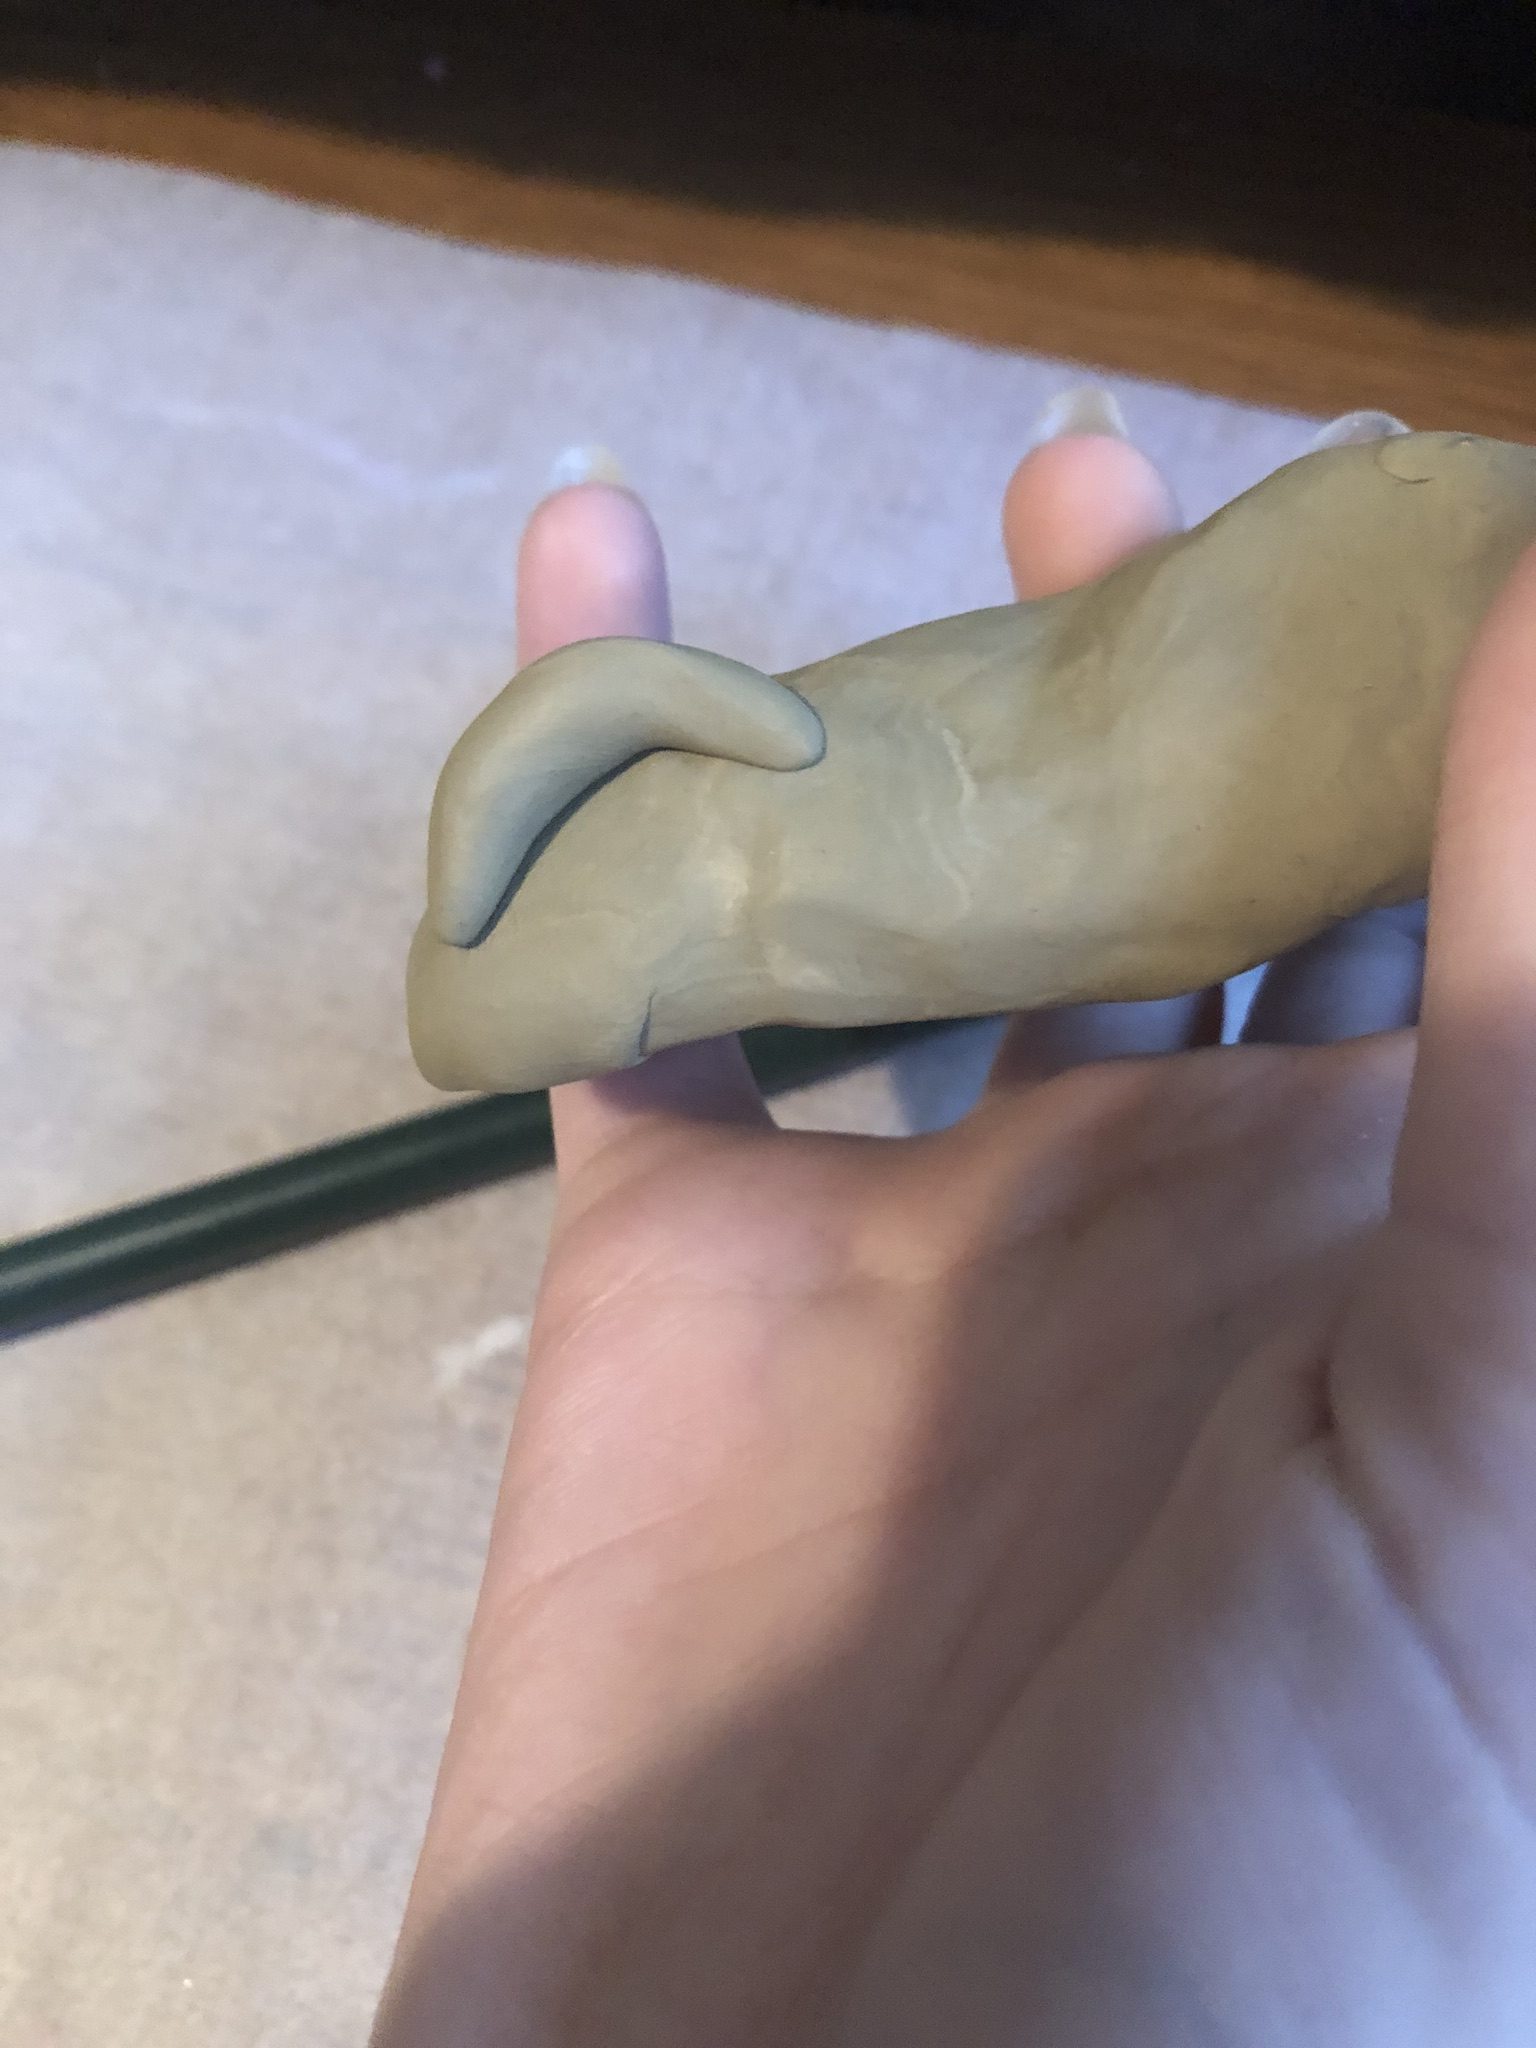
Making the Horn

Roll out a thick chunk of clay into a teardrop shape and flatten the rounded part. Set the head of the dragon onto the lower jaw, and adjust the horn as needed to hold the mouth open and provide support. Make sure the USB cord can still fit through the gap. Secure the horn to the back of the head.
Sculping the Broken Horn on the Polymer Clay Dragon Head
For the broken horn, make a cylinder shape and make one end slightly thicker than the other. Use dotting tools to press into the top of the horn to make indents for a broken look. Use a toothpick to make lines on the side of the horn on the nub and the unbroken horn.
Adding Scales
Add little balls of clay around the base of each horn, smushing them on to flatten them like scales. This will help the horns make more sense on the dragon, with a cleaner transition.
Adding Eyebrows
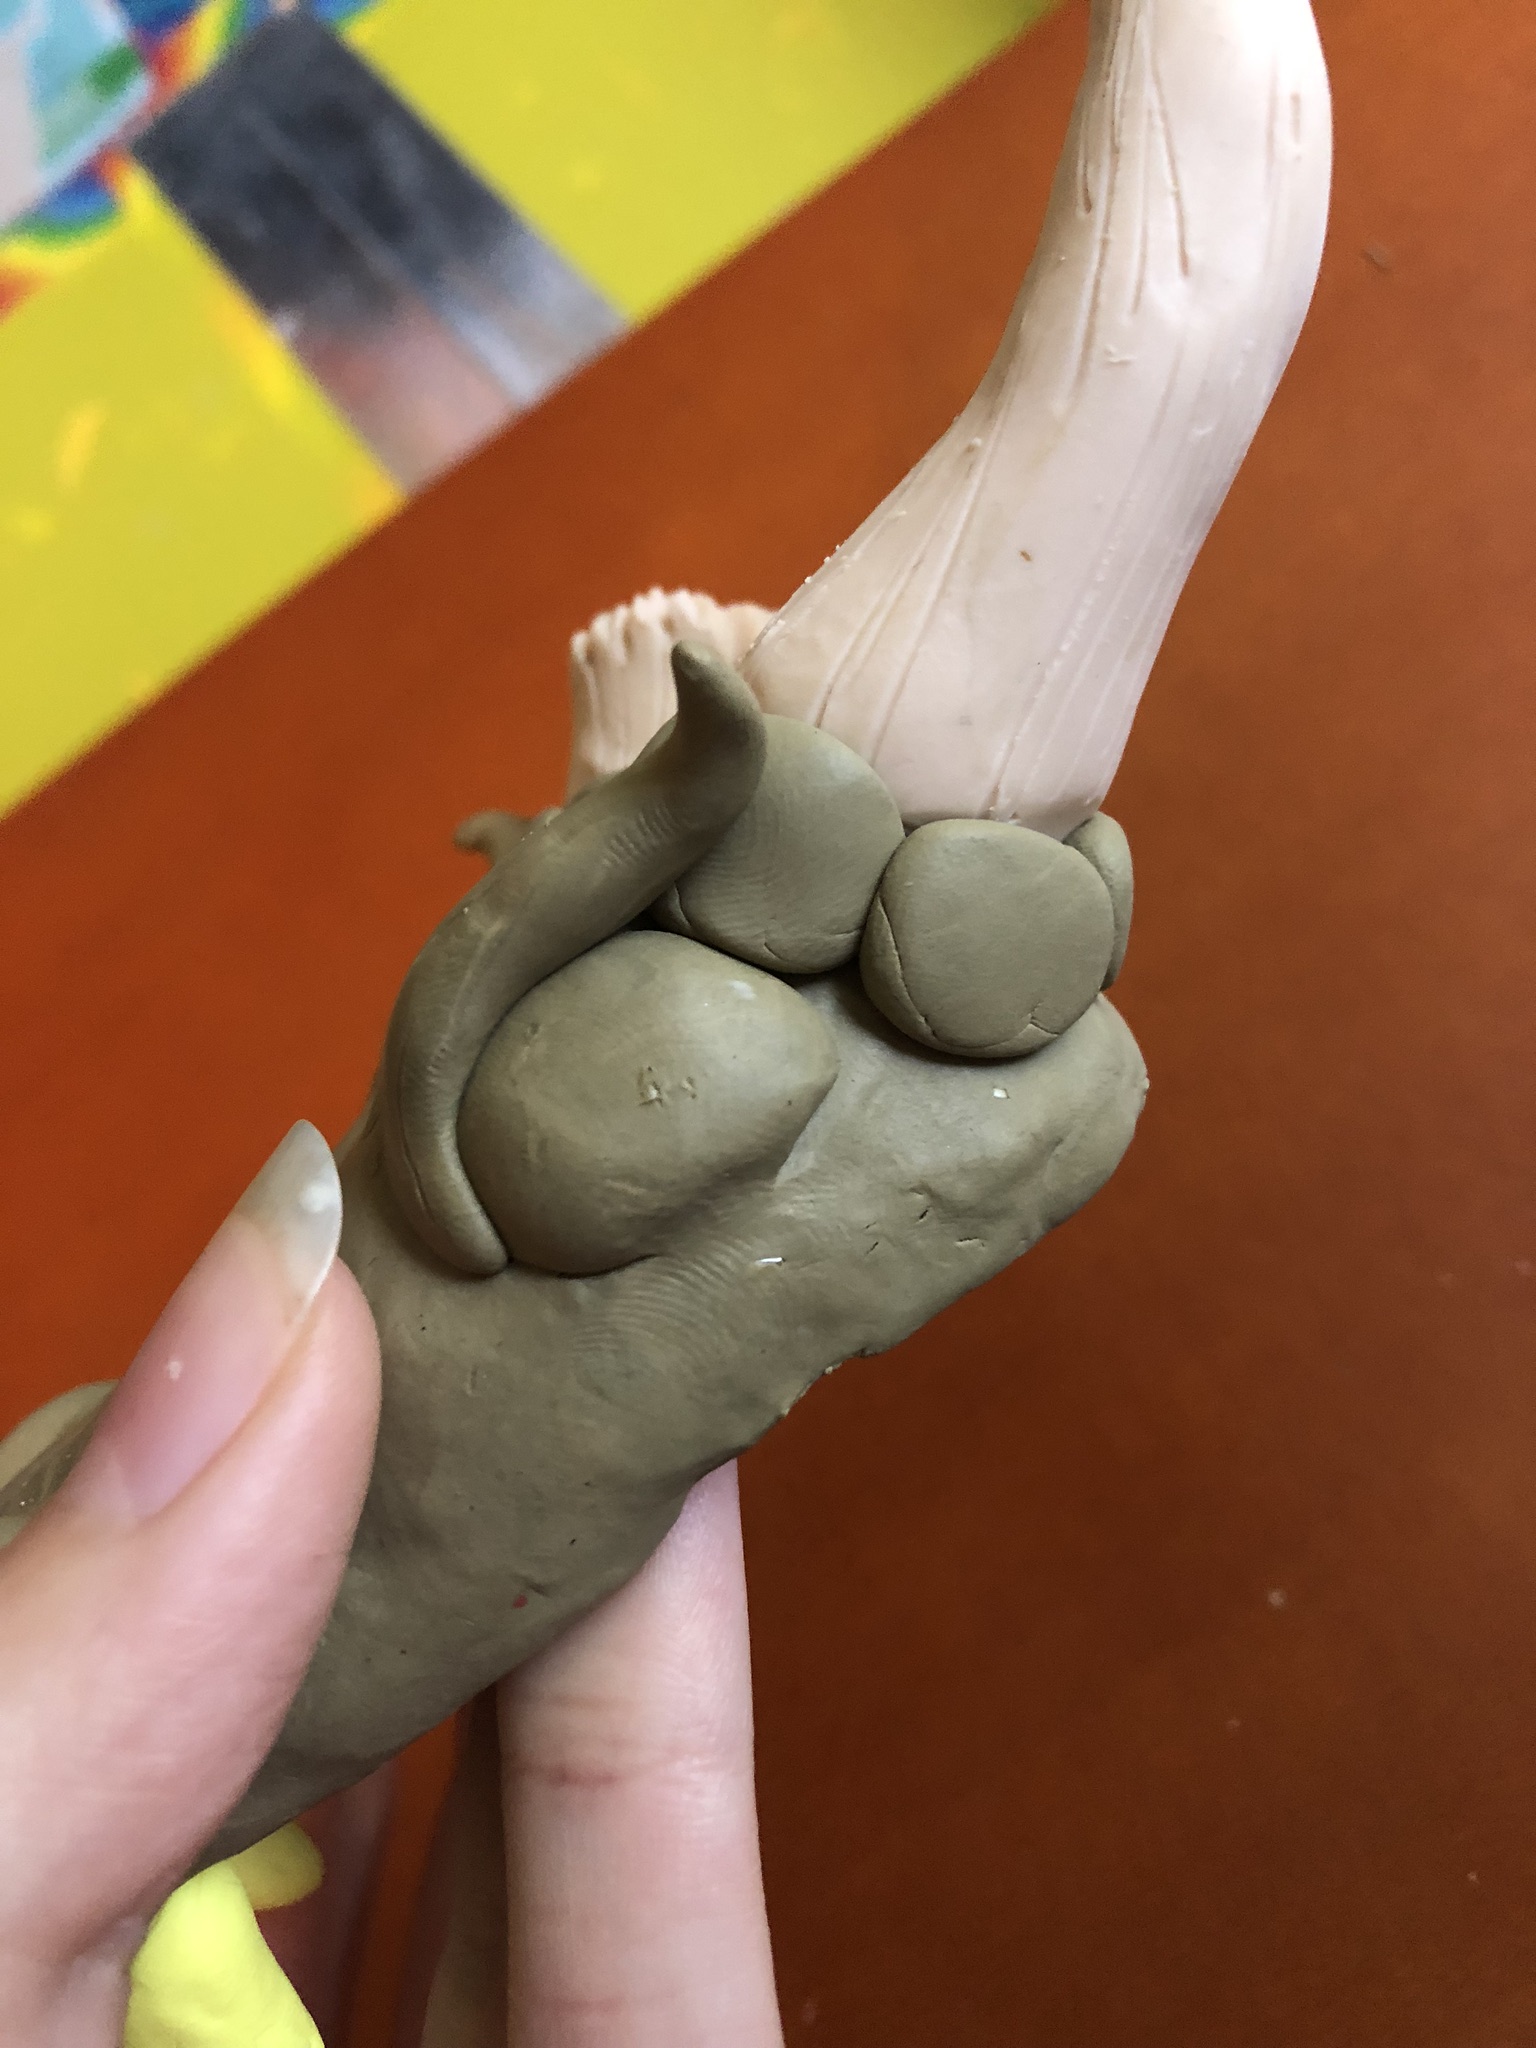
This dragon still seems pretty lifeless. Let’s add some life by adding some clay rolled just like the nostrils above each eye, bringing the ends back to the horns.
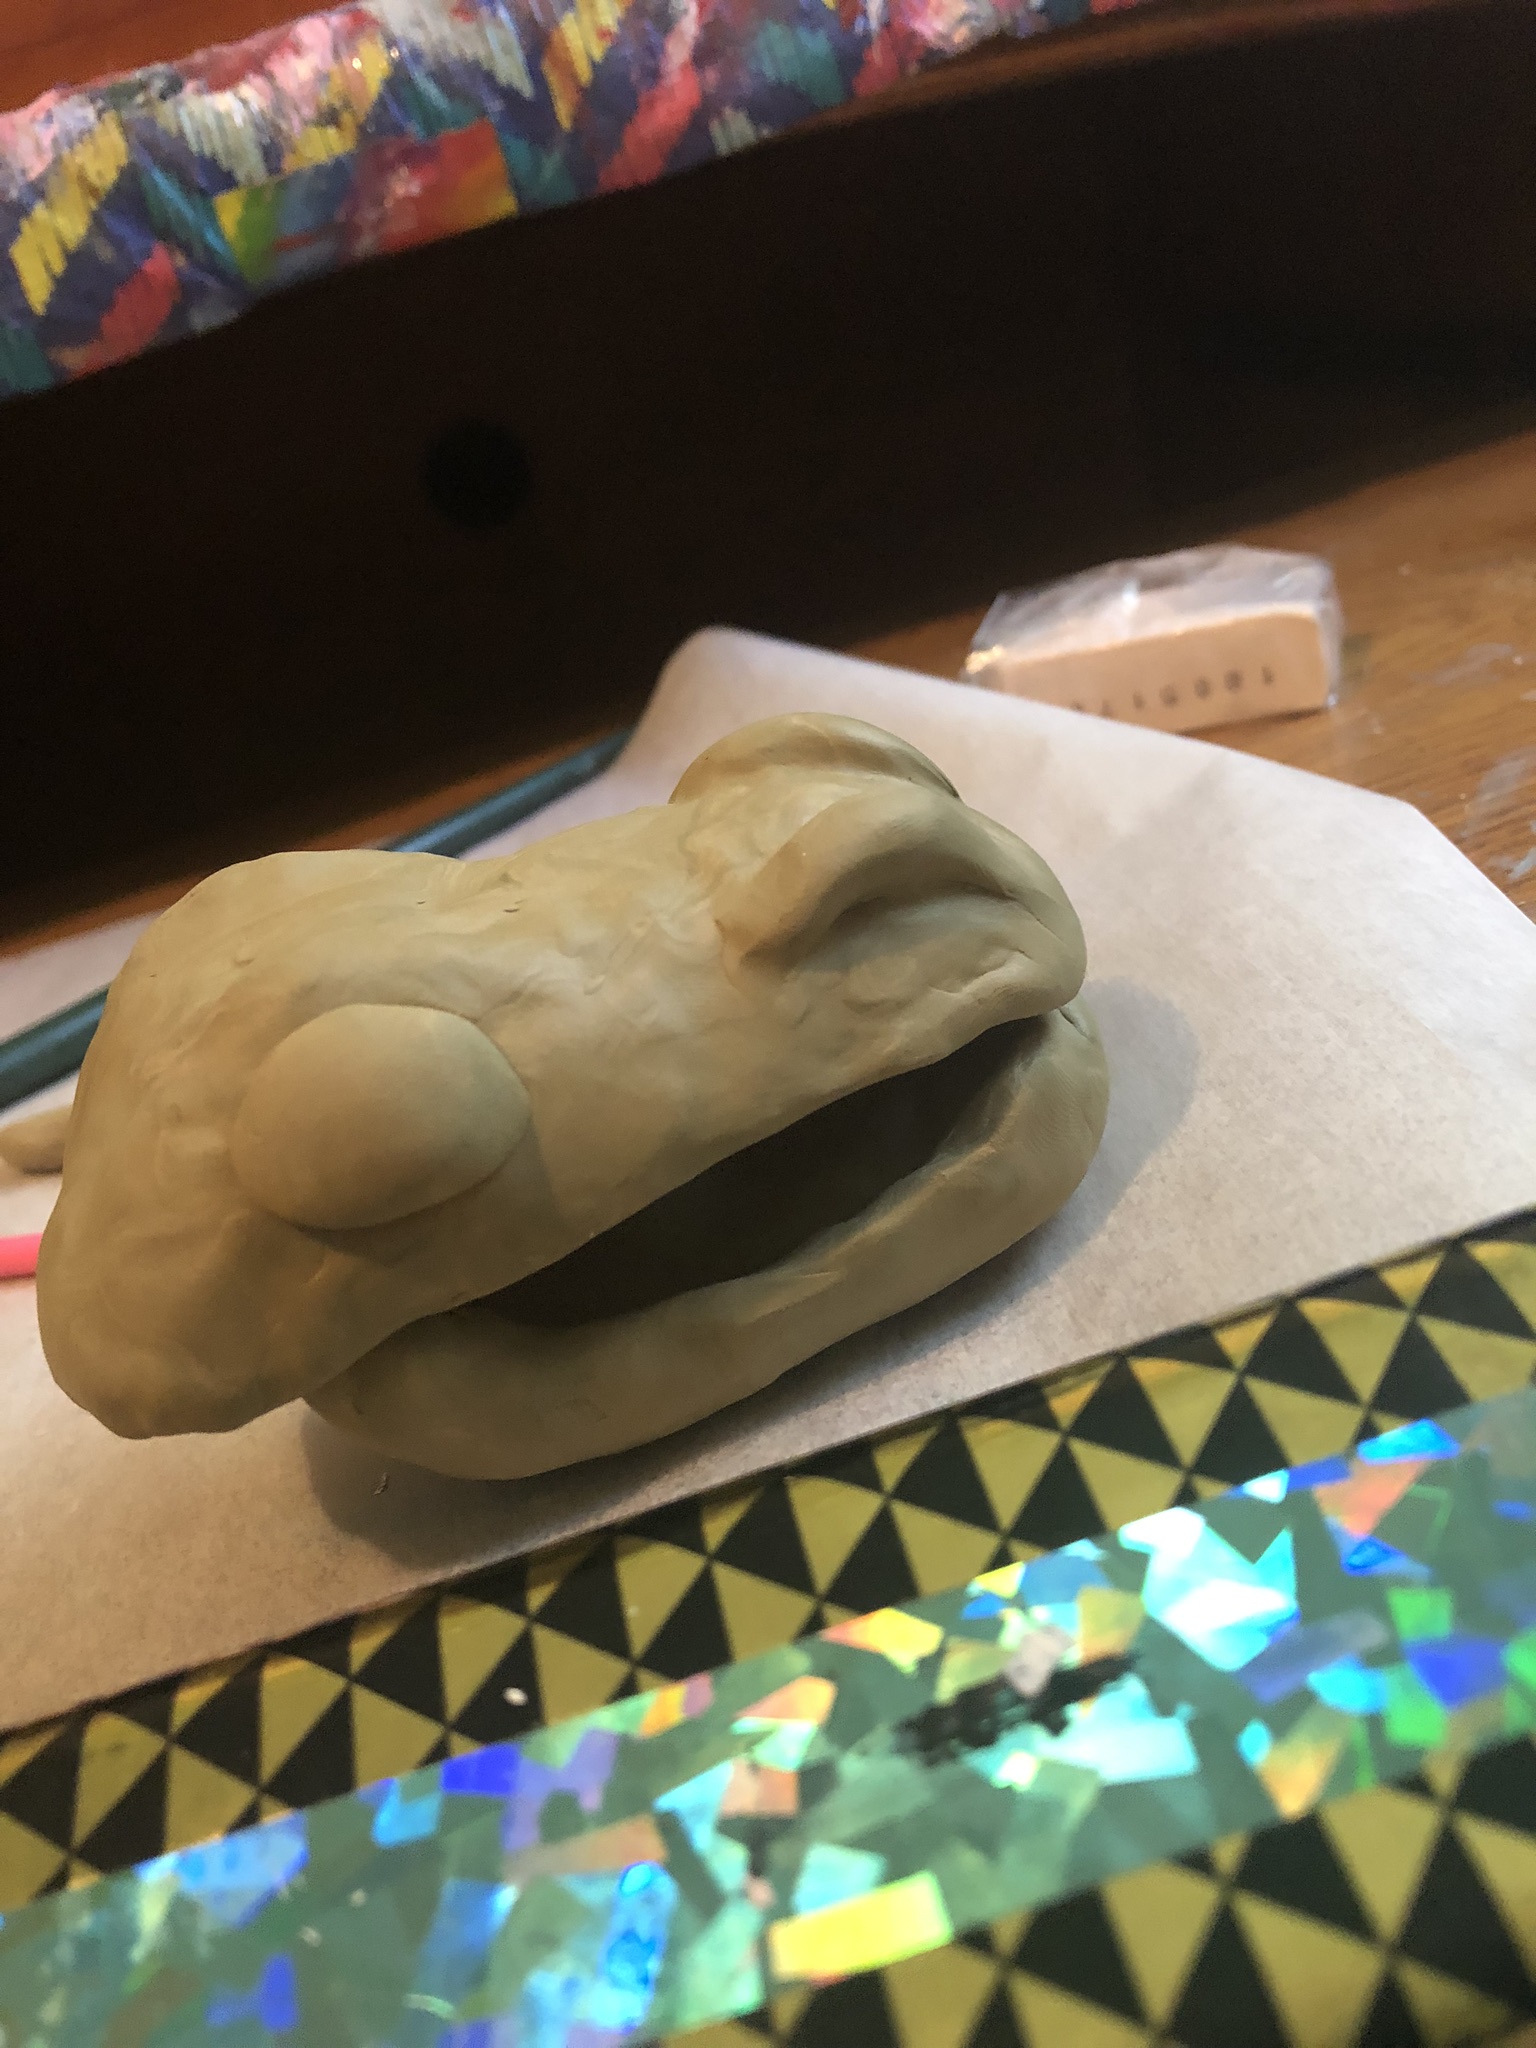
Sculpting the Tongue and Teeth
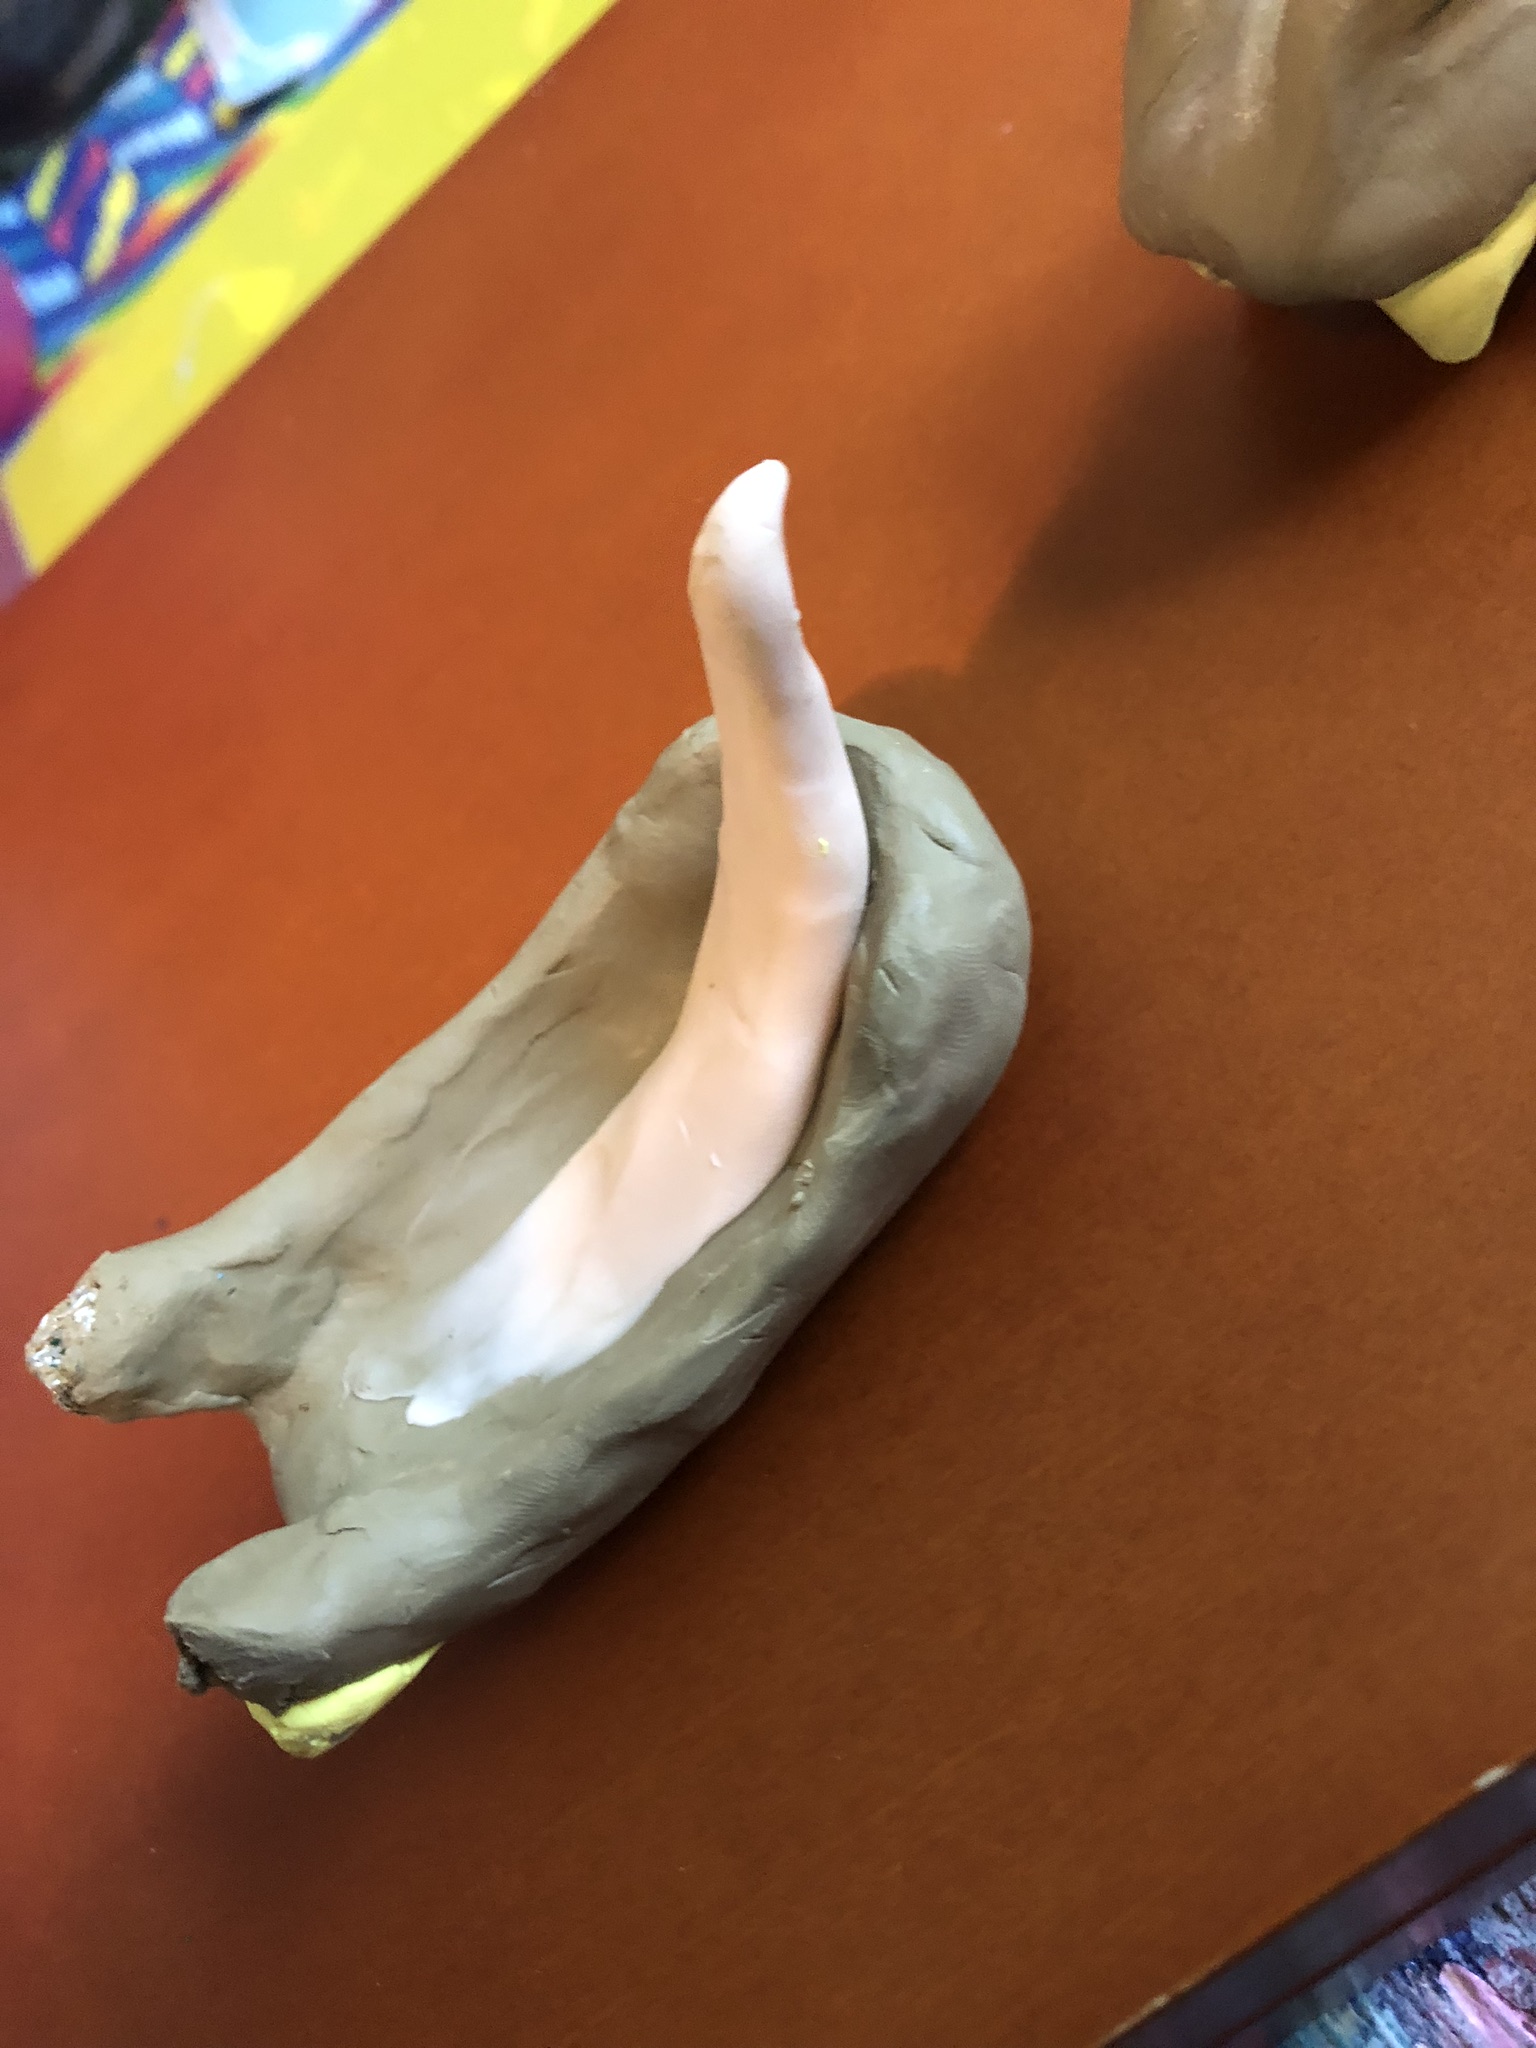
Make two little triangles and attach them to the inside of the upper jaw. Roll out a tongue the same way as the brows, but much bigger. Blend the end of the tongue into the mouth and let the other part of the tongue poke out of the mouth. Make sure your charger still has room to fit in the mouth.
Attaching the Two Parts
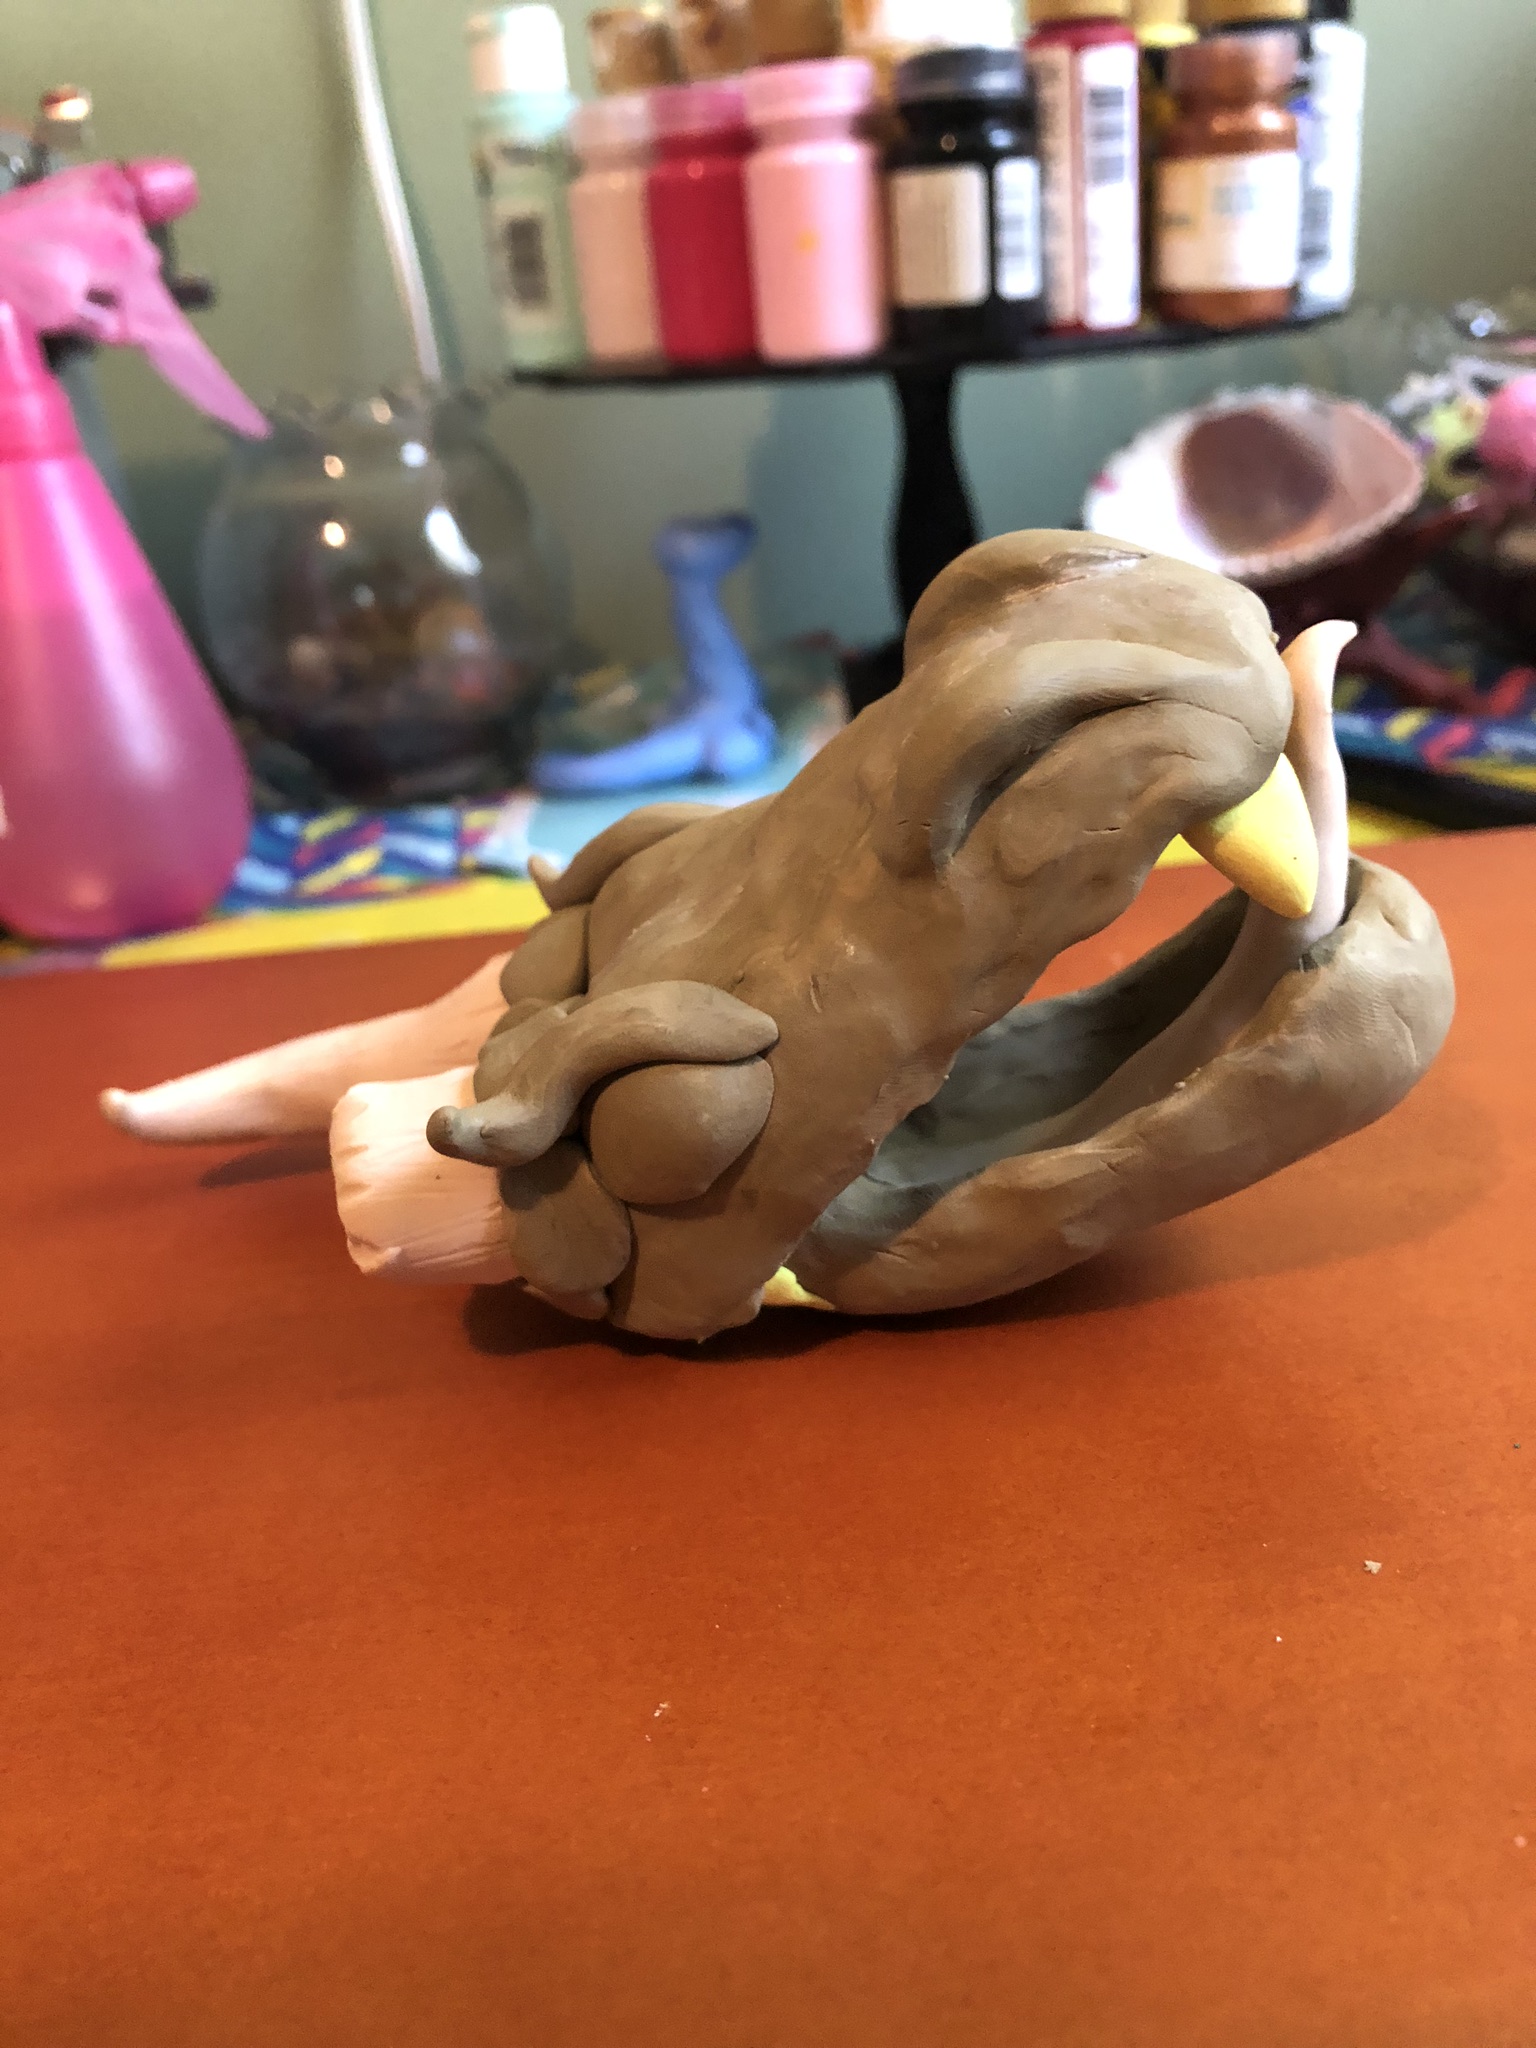
Plop one piece on top of the other and stare at it. Yep, needs some paint later.
Baking
Bake both halves at 275 for about 25 minutes. When finished, allow to cool for at least an hour.
Gluing the Polymer Clay Dragon Head Together
Since the hinge decided it didn’t want to work correctly, attach the lower and upper jaw with super glue. Make sure your charger still fits.
Finish
And the base for your dragon is done and ready to be painted as you see fit. Happy Crafting!