
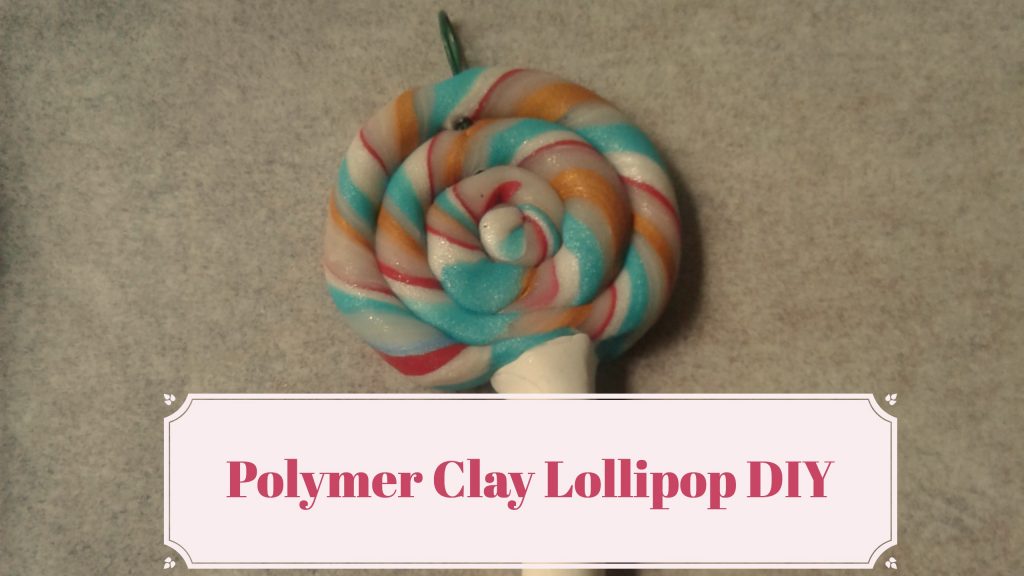
Have you ever wanted to wear a lollipop, but it was just too sticky? Then let this simple and easy tutorial guide you through how to make your own sugar free and totally wearable polymer clay lollipop.
What you will need
- Shiny white Sculpey clay
- Metallic red polymer clay
- shiny silver Sculpey clay
- Metallic teal polymer clay
- slivery bronze polymer clay
- Metallic light blue polymer clay
- Normal white polymer clay
- Translucent Sculpey
- Polymer clay glaze or clear nail polish
Step 1:Collecting your Different Colors
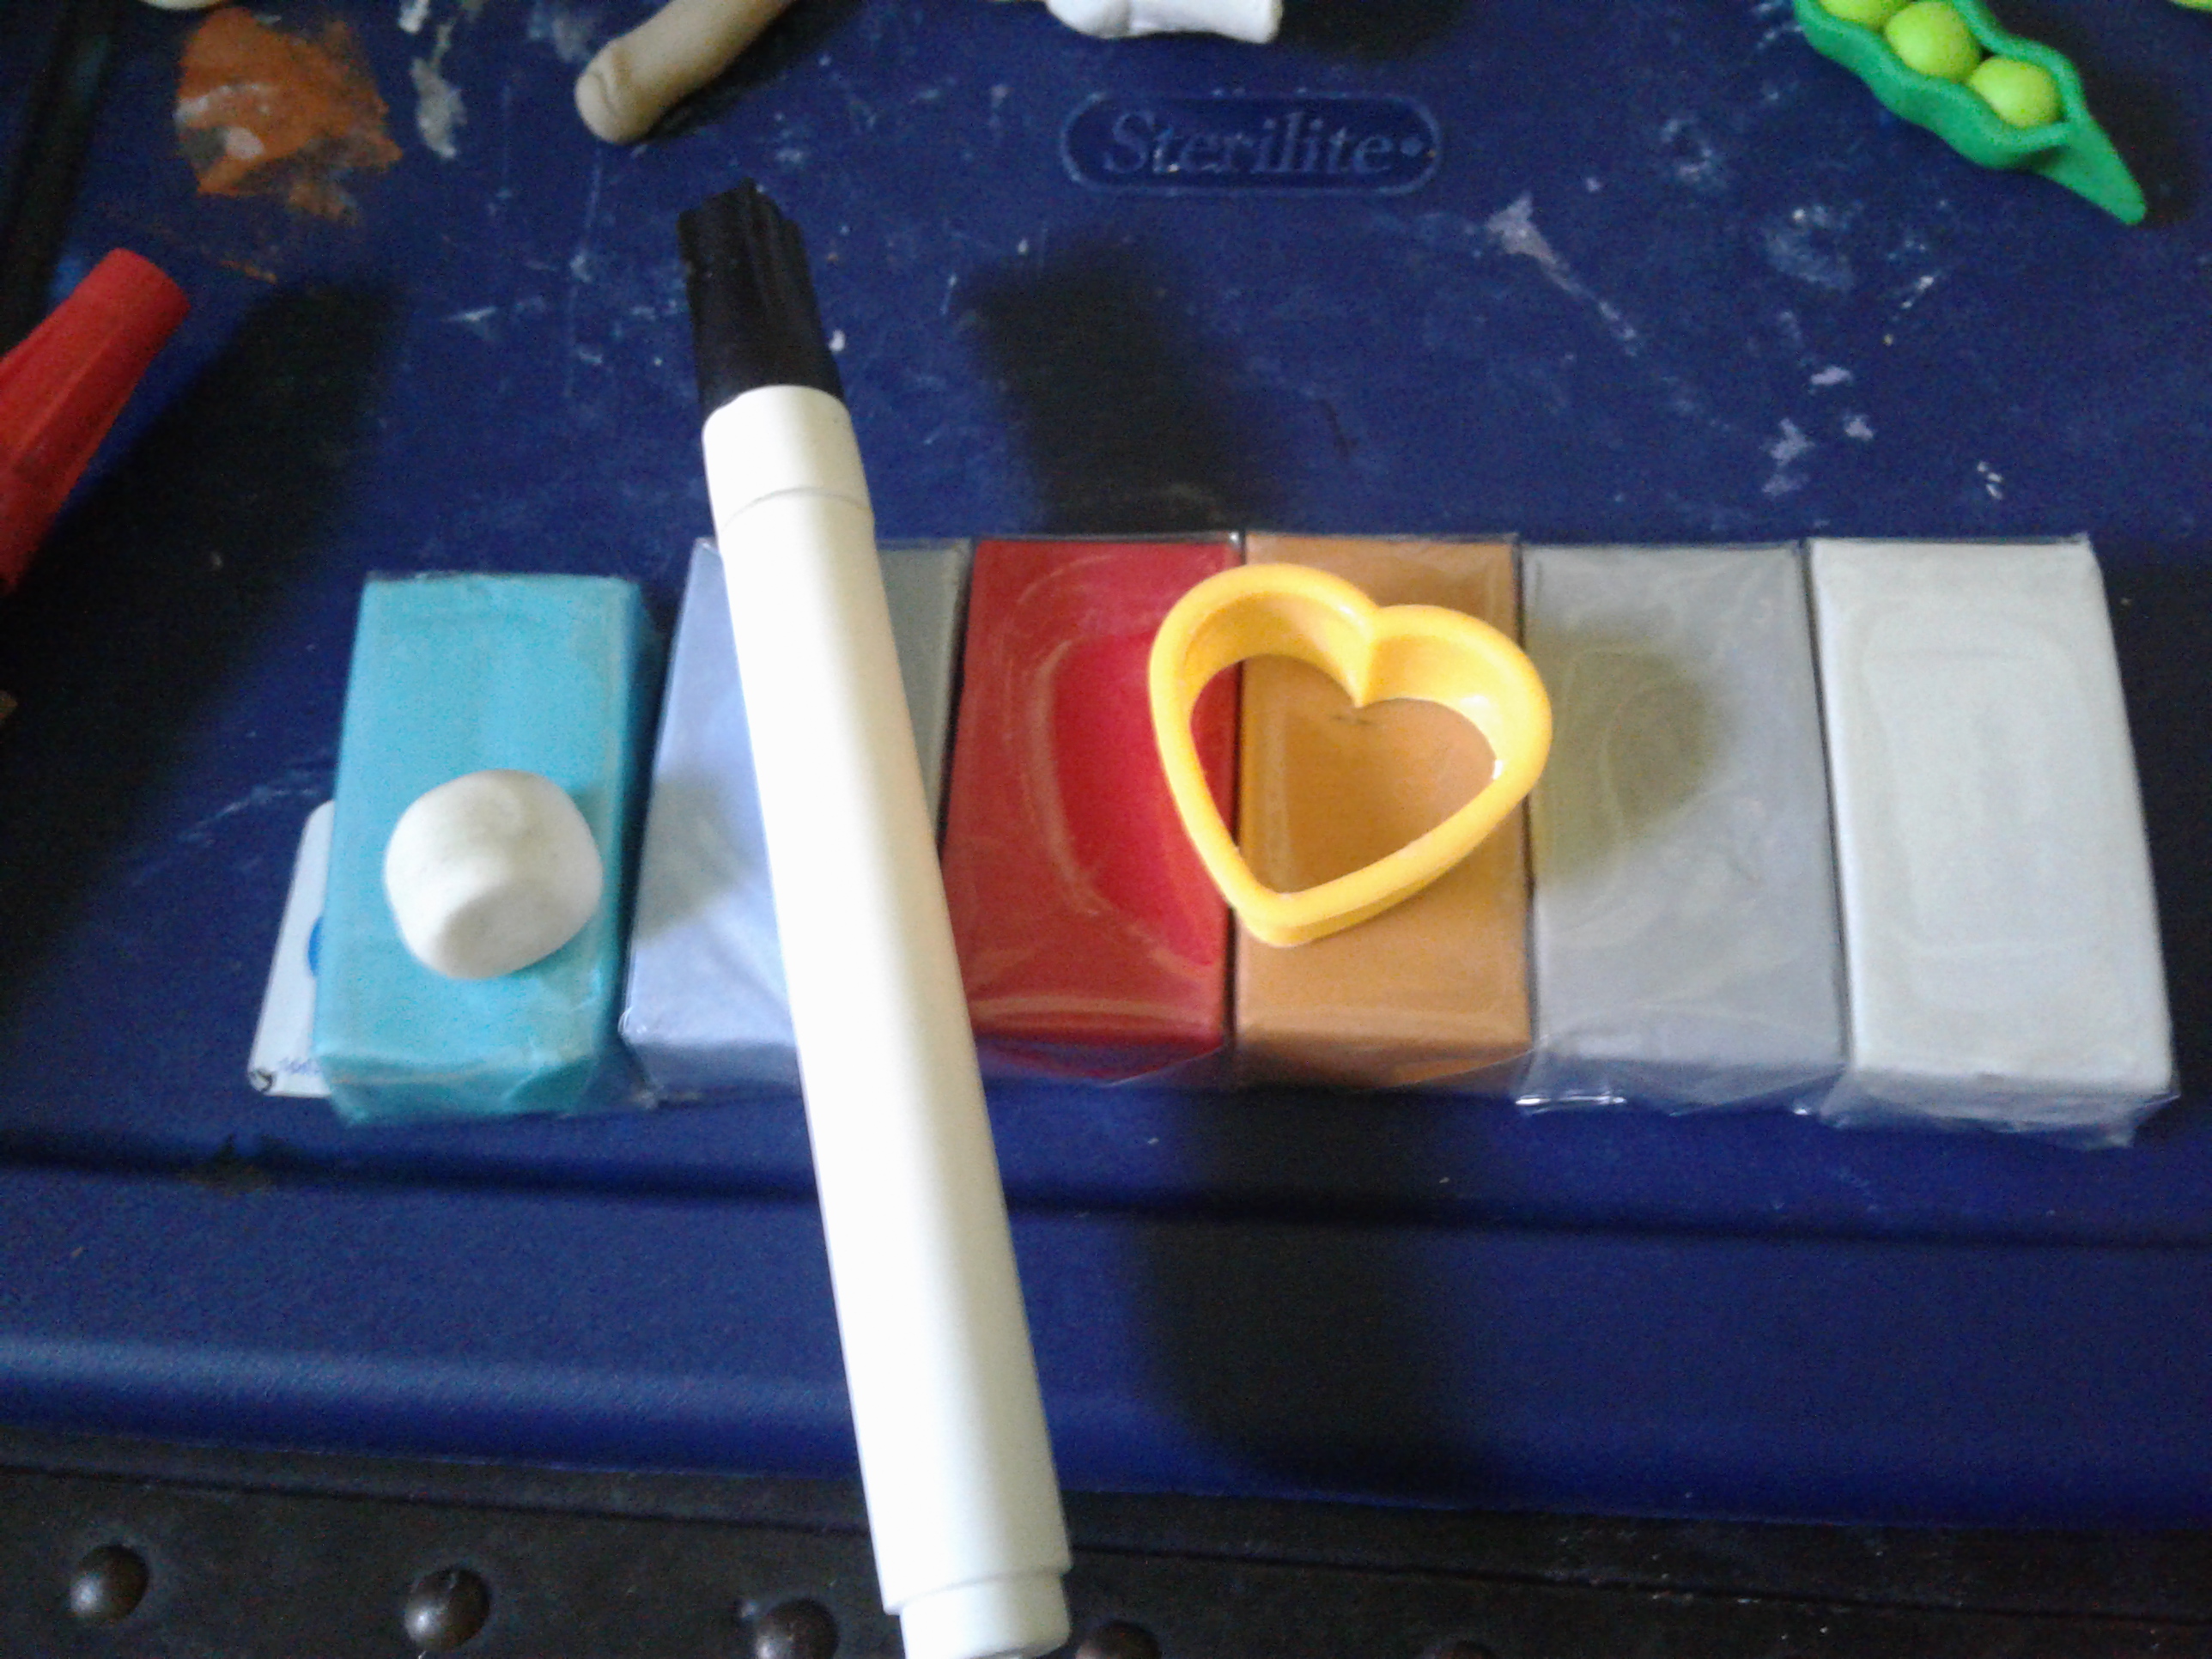
Start by rolling out small balls of each color, about a third inch round each. Separate the white and translucent first, as they will be stained by the other colors if you mold them with your hands while having other colors on them. Start with translucent, then sparkly white, light blue, silver, teal, red, and then finally bronze for the best effect.
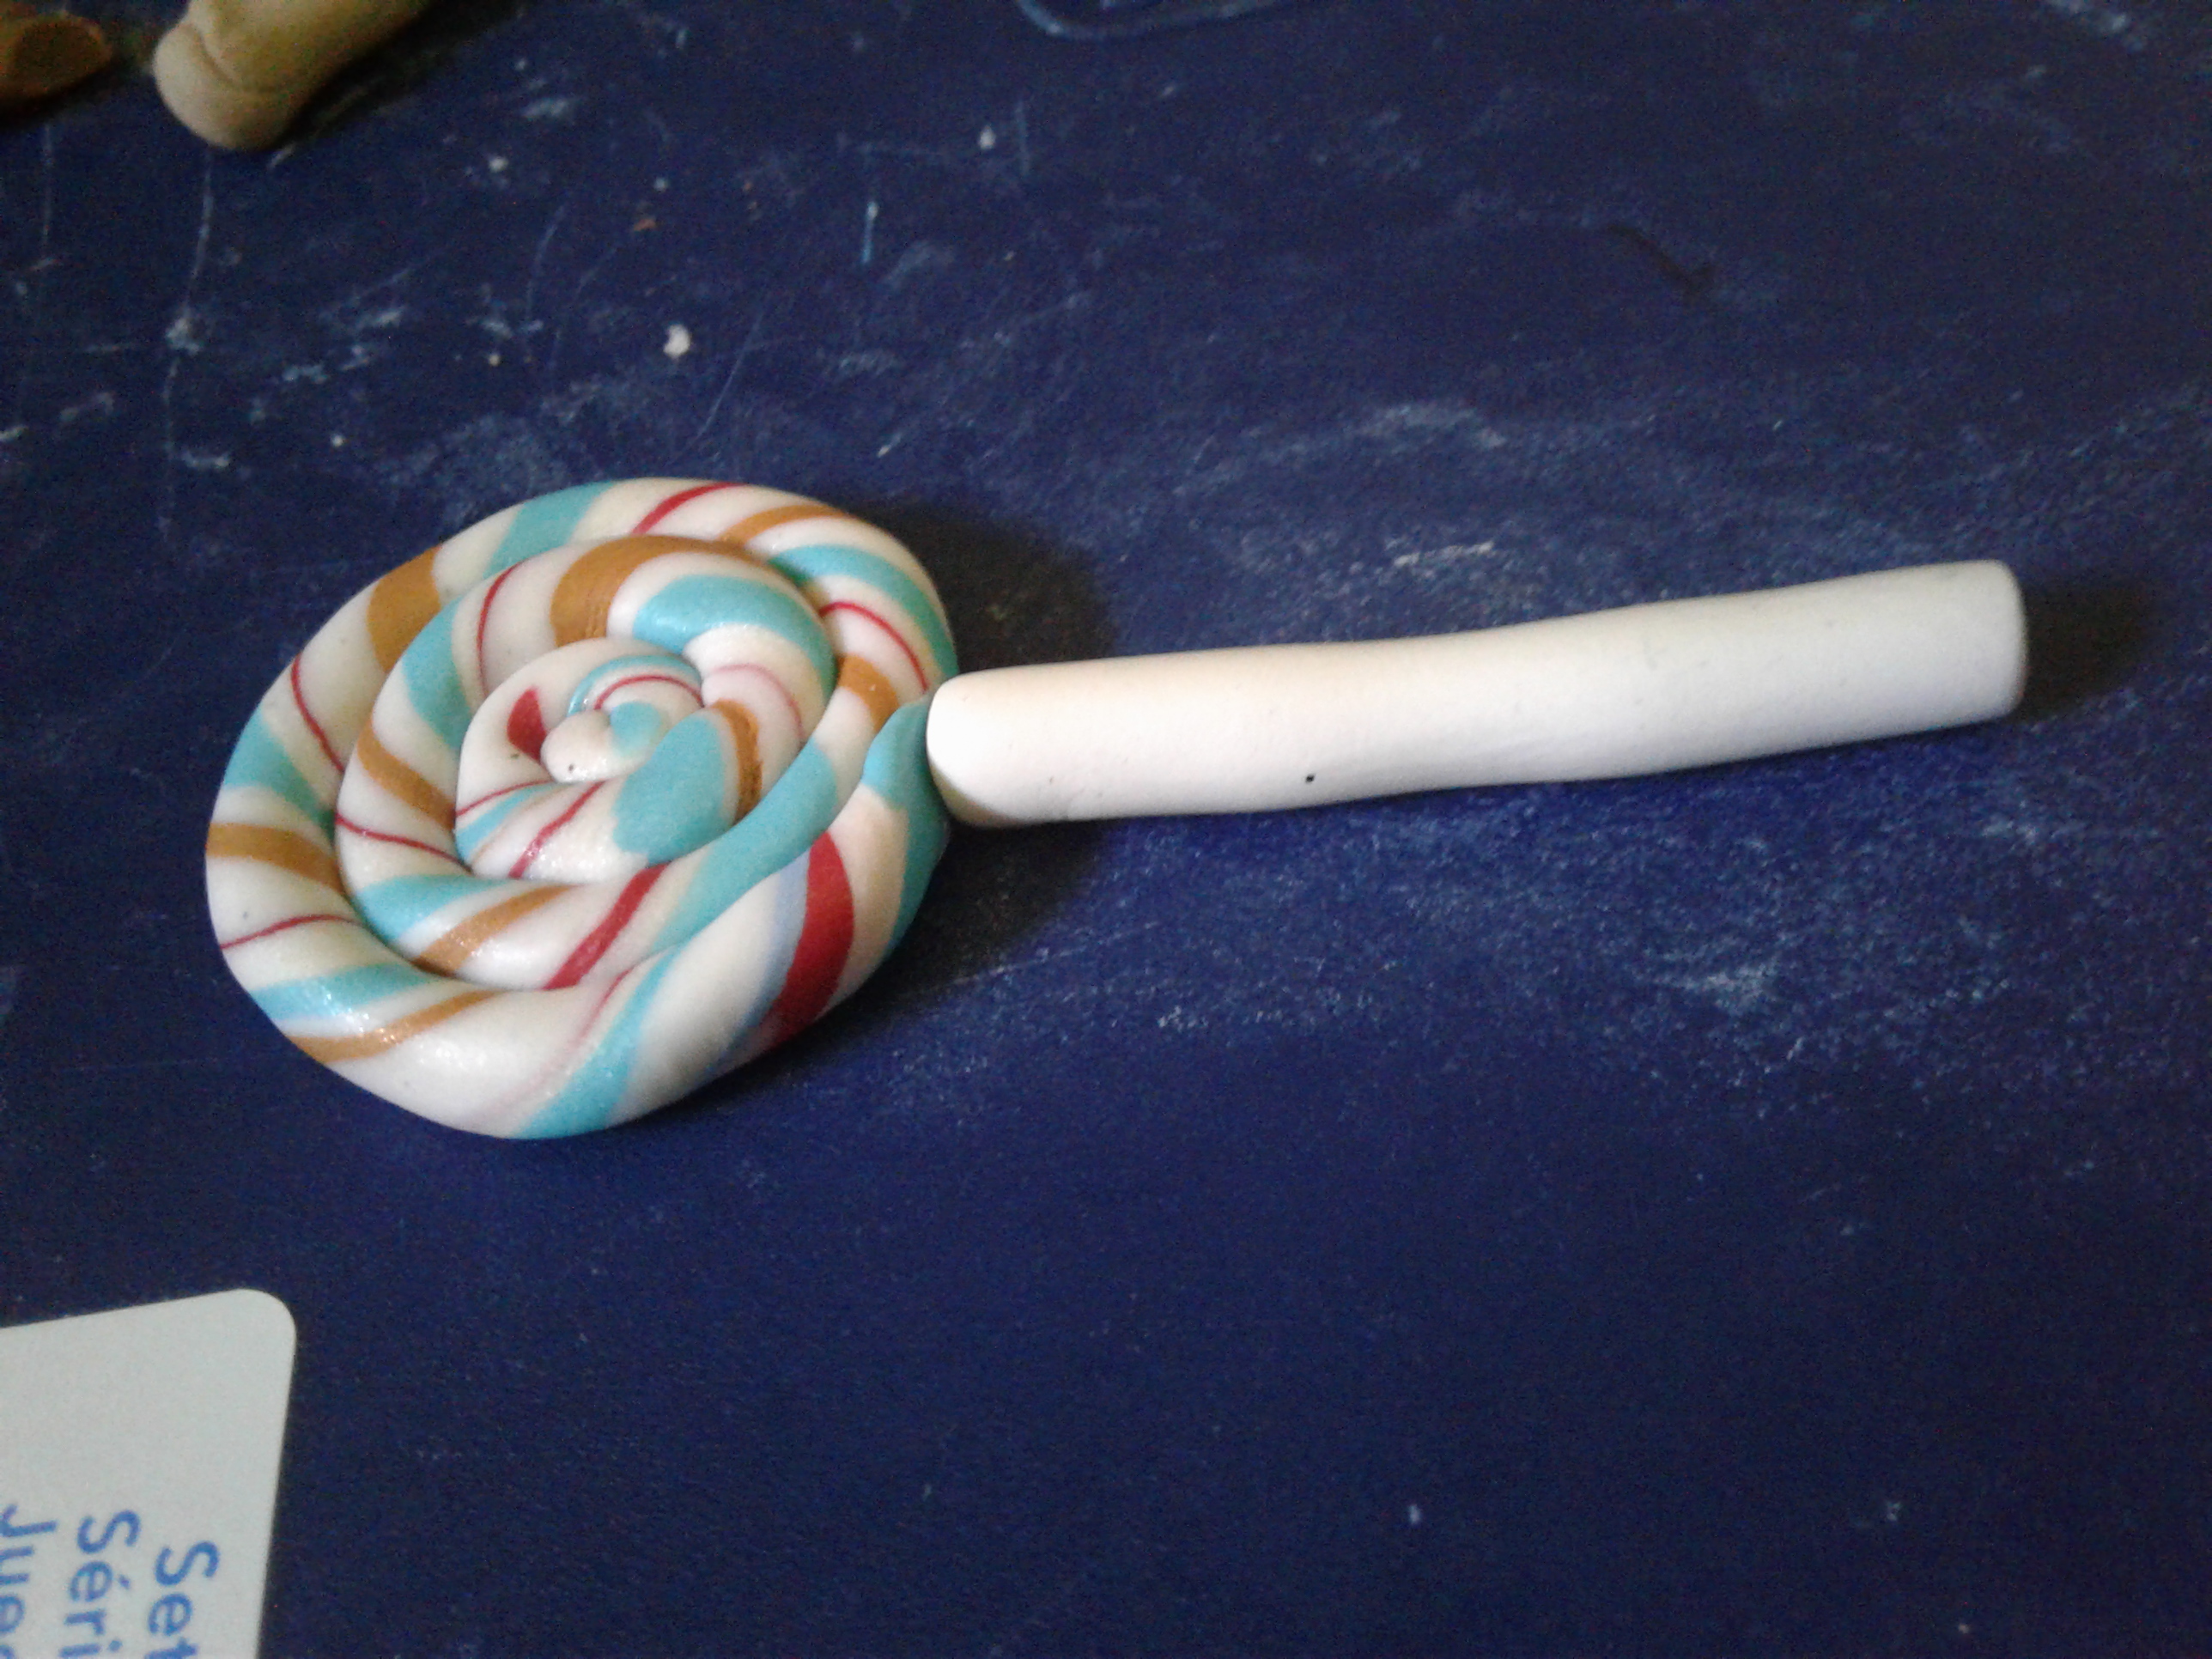
Step 2:Making the Lollipop
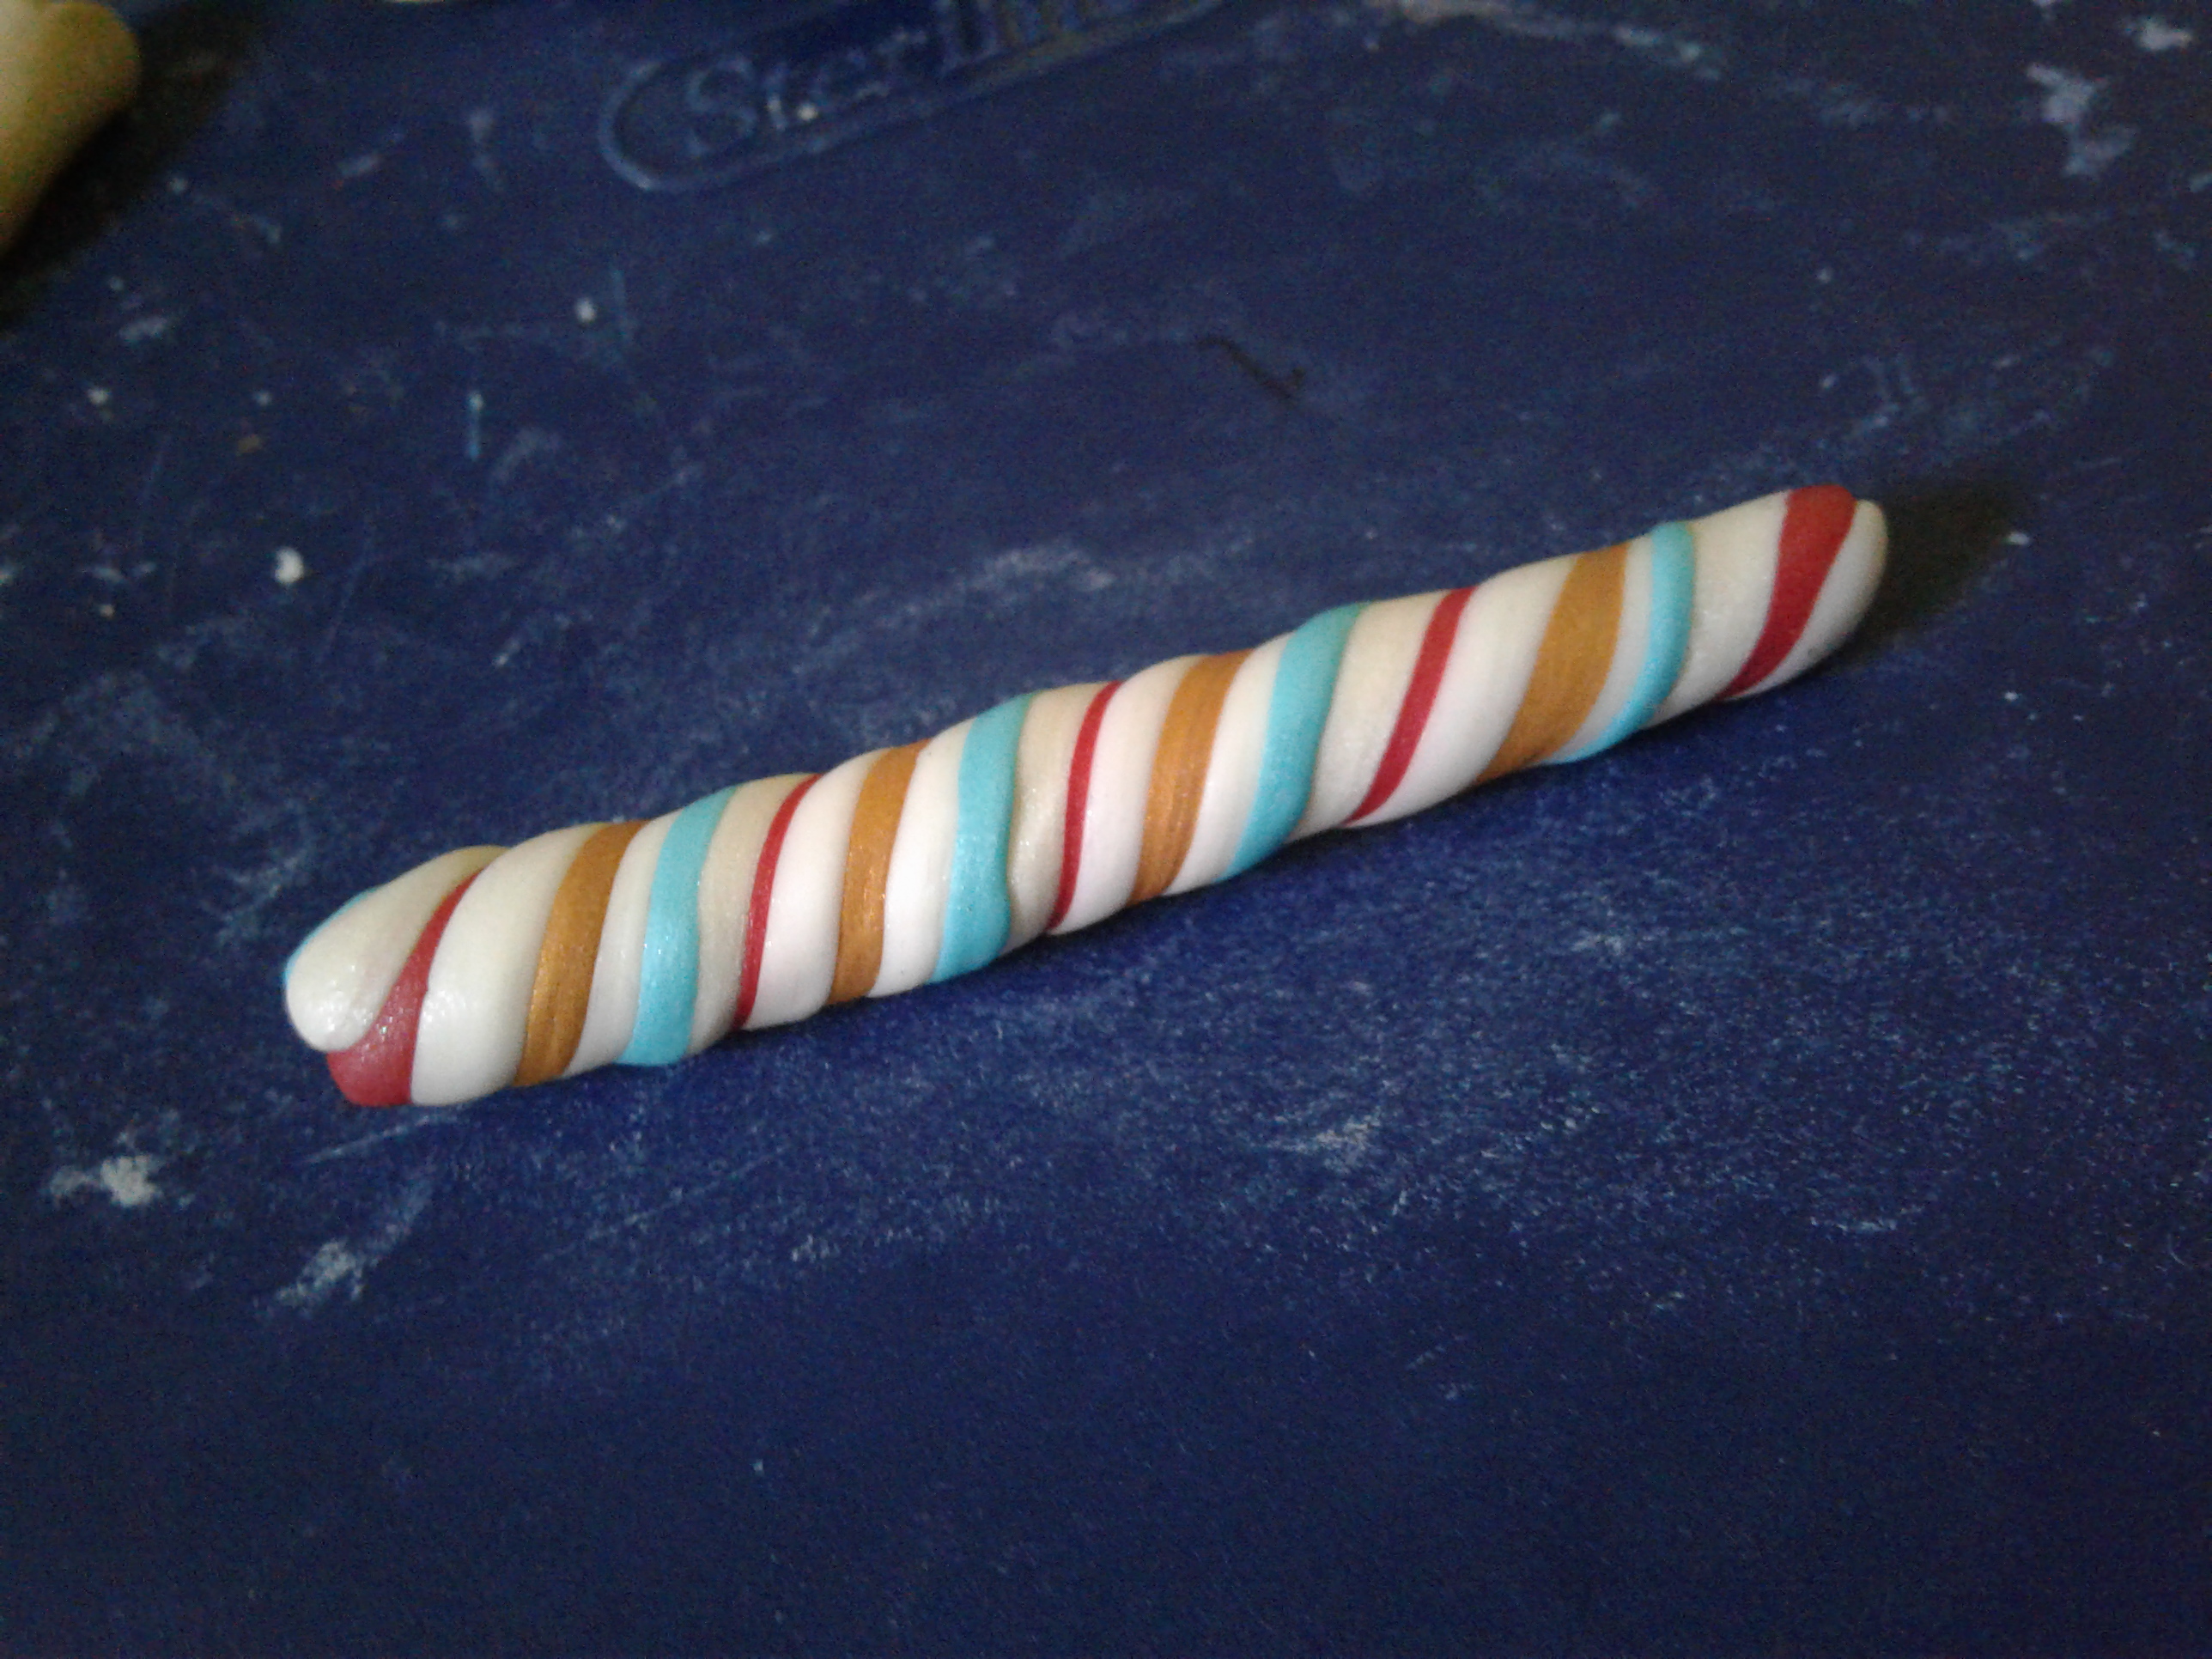
After the balls of clay are rolled out and kneaded, roll them all individually on a flat surface to about 6 inches long. Twist them together gently and roll them all together, twisting it up as much as you would like as you roll it thinner, to about a foot in length. Then roll it up in a circle and tuck the end of the twist on the side so that it leaves a slight indent in the clay for the popsicle stick.
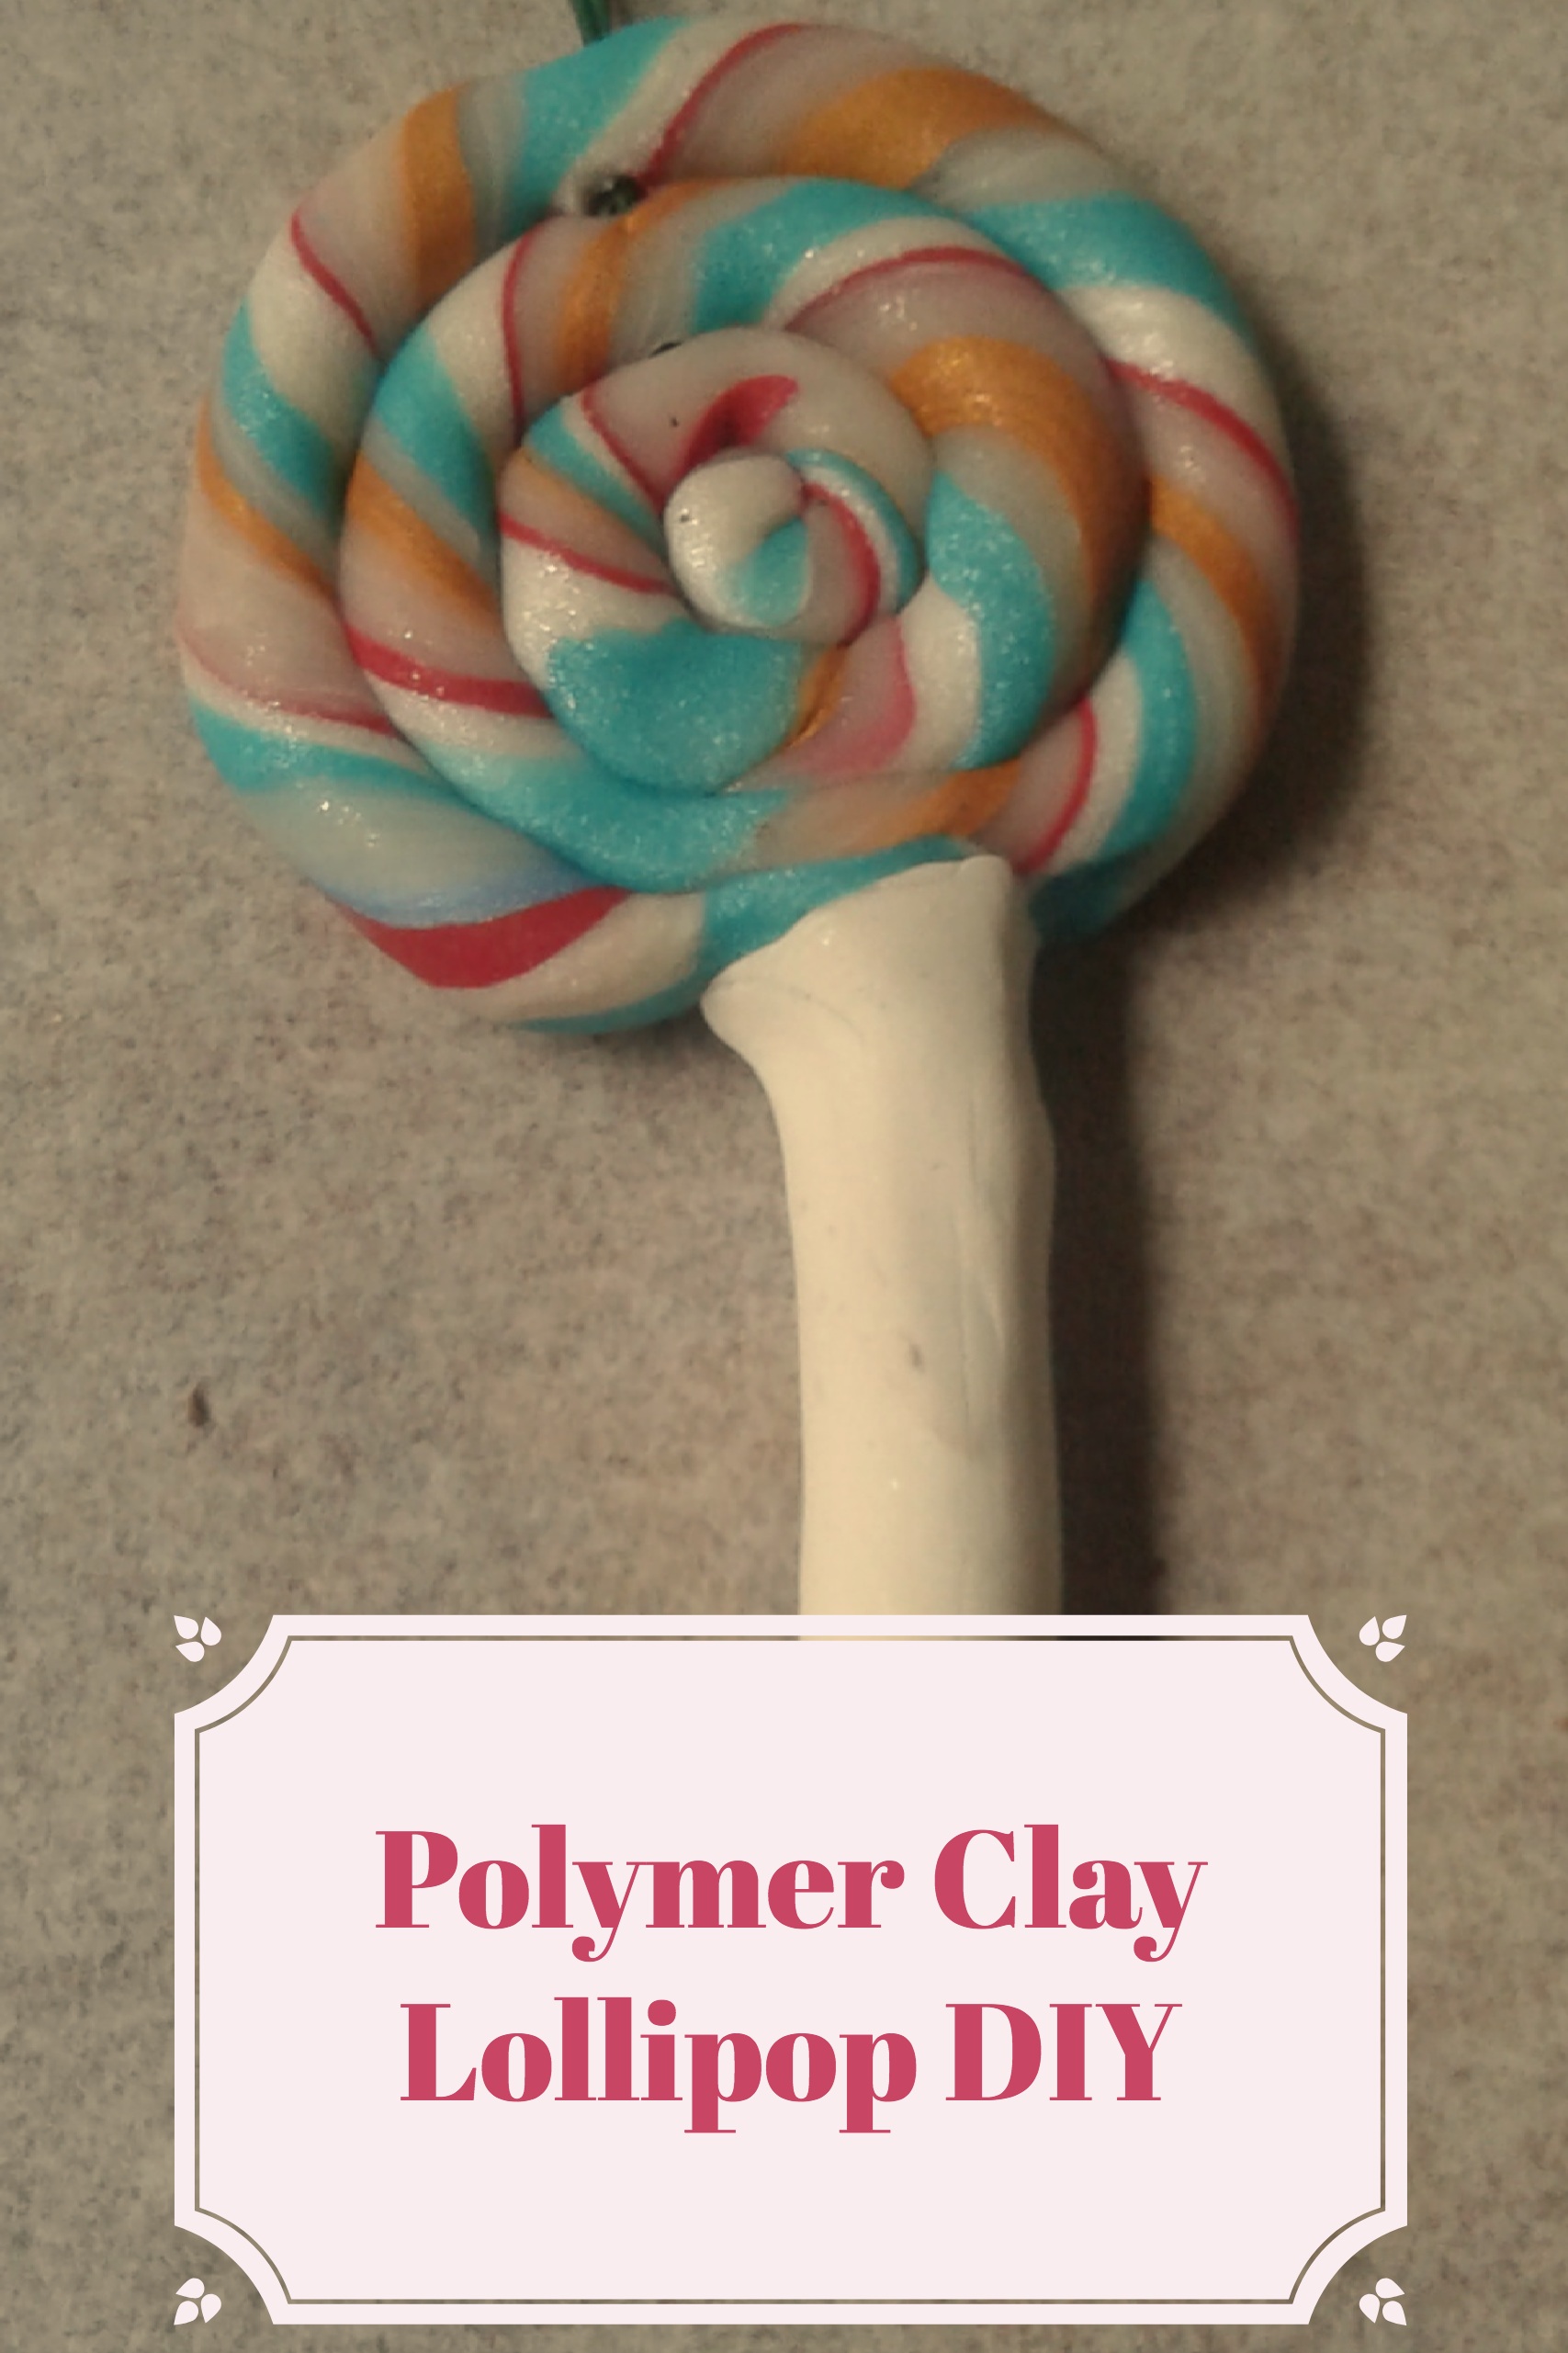
Step 3:Adding the Stick to the Polymer Clay Lollipop and Final Touches
Roll the plain white to about a third inch thickness and cut the end flat. Attach the stick to the base of the lollipop and sort of squish them together to make them fuse. Cut out a piece of wire that is slightly longer than the lollipop from the bottom of the stick all the way to the top of the lollipop. Twist the wire with a loop on the end and make sure it will fit. Use a skewer to poke a hole almost through and bake it at 275F for 15 minutes. After it comes out of the oven, superglue the metal piece into the lollipop securely and let it cure, then you are technically done. However, it will look much better if you leave the stick matte but drip clear nail polish or glaze on the candy part of the lollipop.