
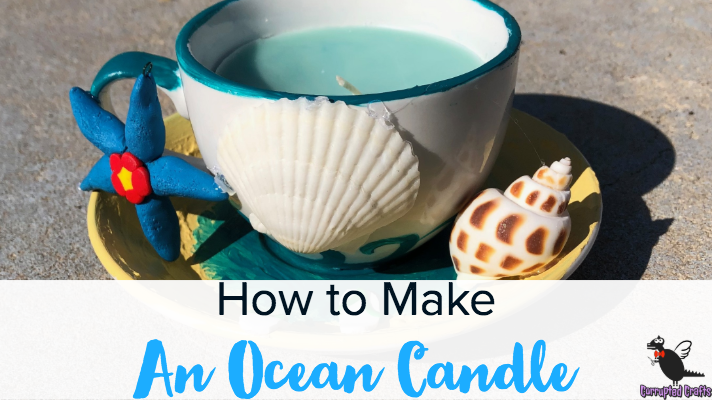
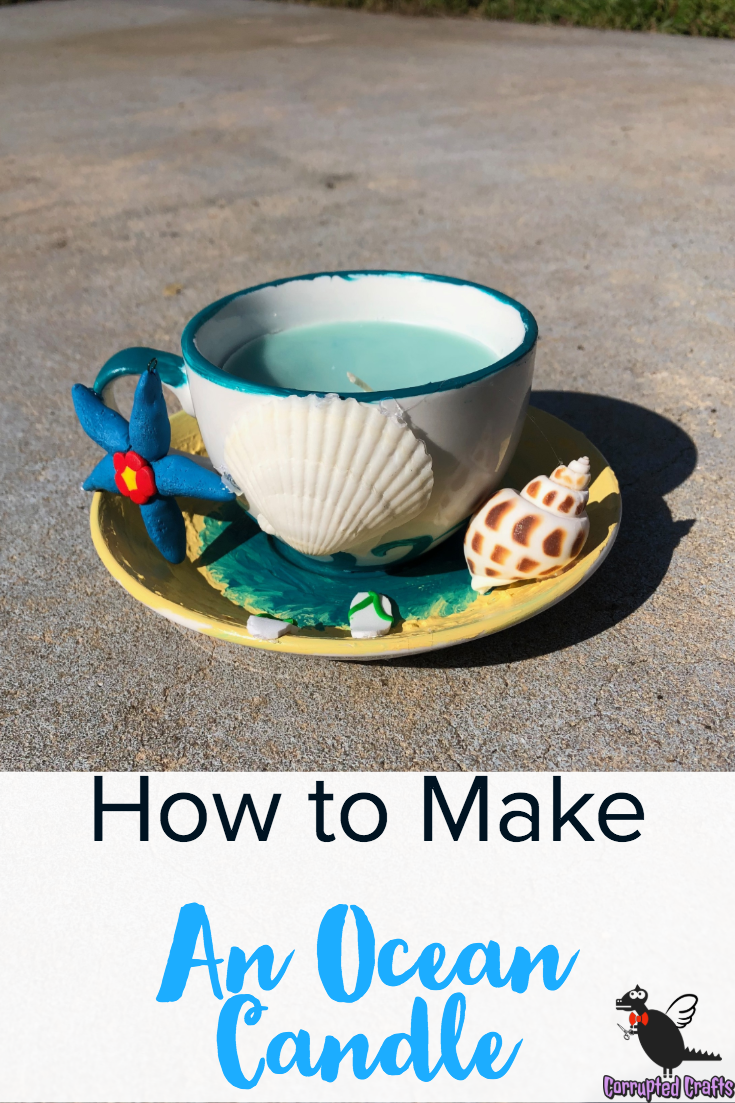
Candle making is easy and fun, and can be made in your microwave. This a great way to use up old candles and crayons, and make great gifts. This craft is pretty fast and should take no more that an hour of time altogether, excluding the wax taking its time to cool.
What you will need
- Old white candle
- Blue fat crayon from Crayola
- Yellow crayon from Crayola
- Plain white teacup
- Plastic spoon
- Boxcutter
- Chopsticks
- Candle wick
- Charms and shells
- Hot glue gun
- Blue and tan acrylic paint
- Sponge brush
Protecting your Surfaces for DIY Candle Making
Start by putting down lots of paper towels on your work surface. Candle making is super fun but also very very messy. Clean your microwave and put down paper towels on the microwave plate.
Scraping the Wax for the Ocean Candle
Use a boxcutter and gently scrape the wax off a pillar candle. This was very flaky, so do it on a paper towel. Gently take the wick out and set it aside for later.
Filling the Teacup with Wax for DIY Candle Making
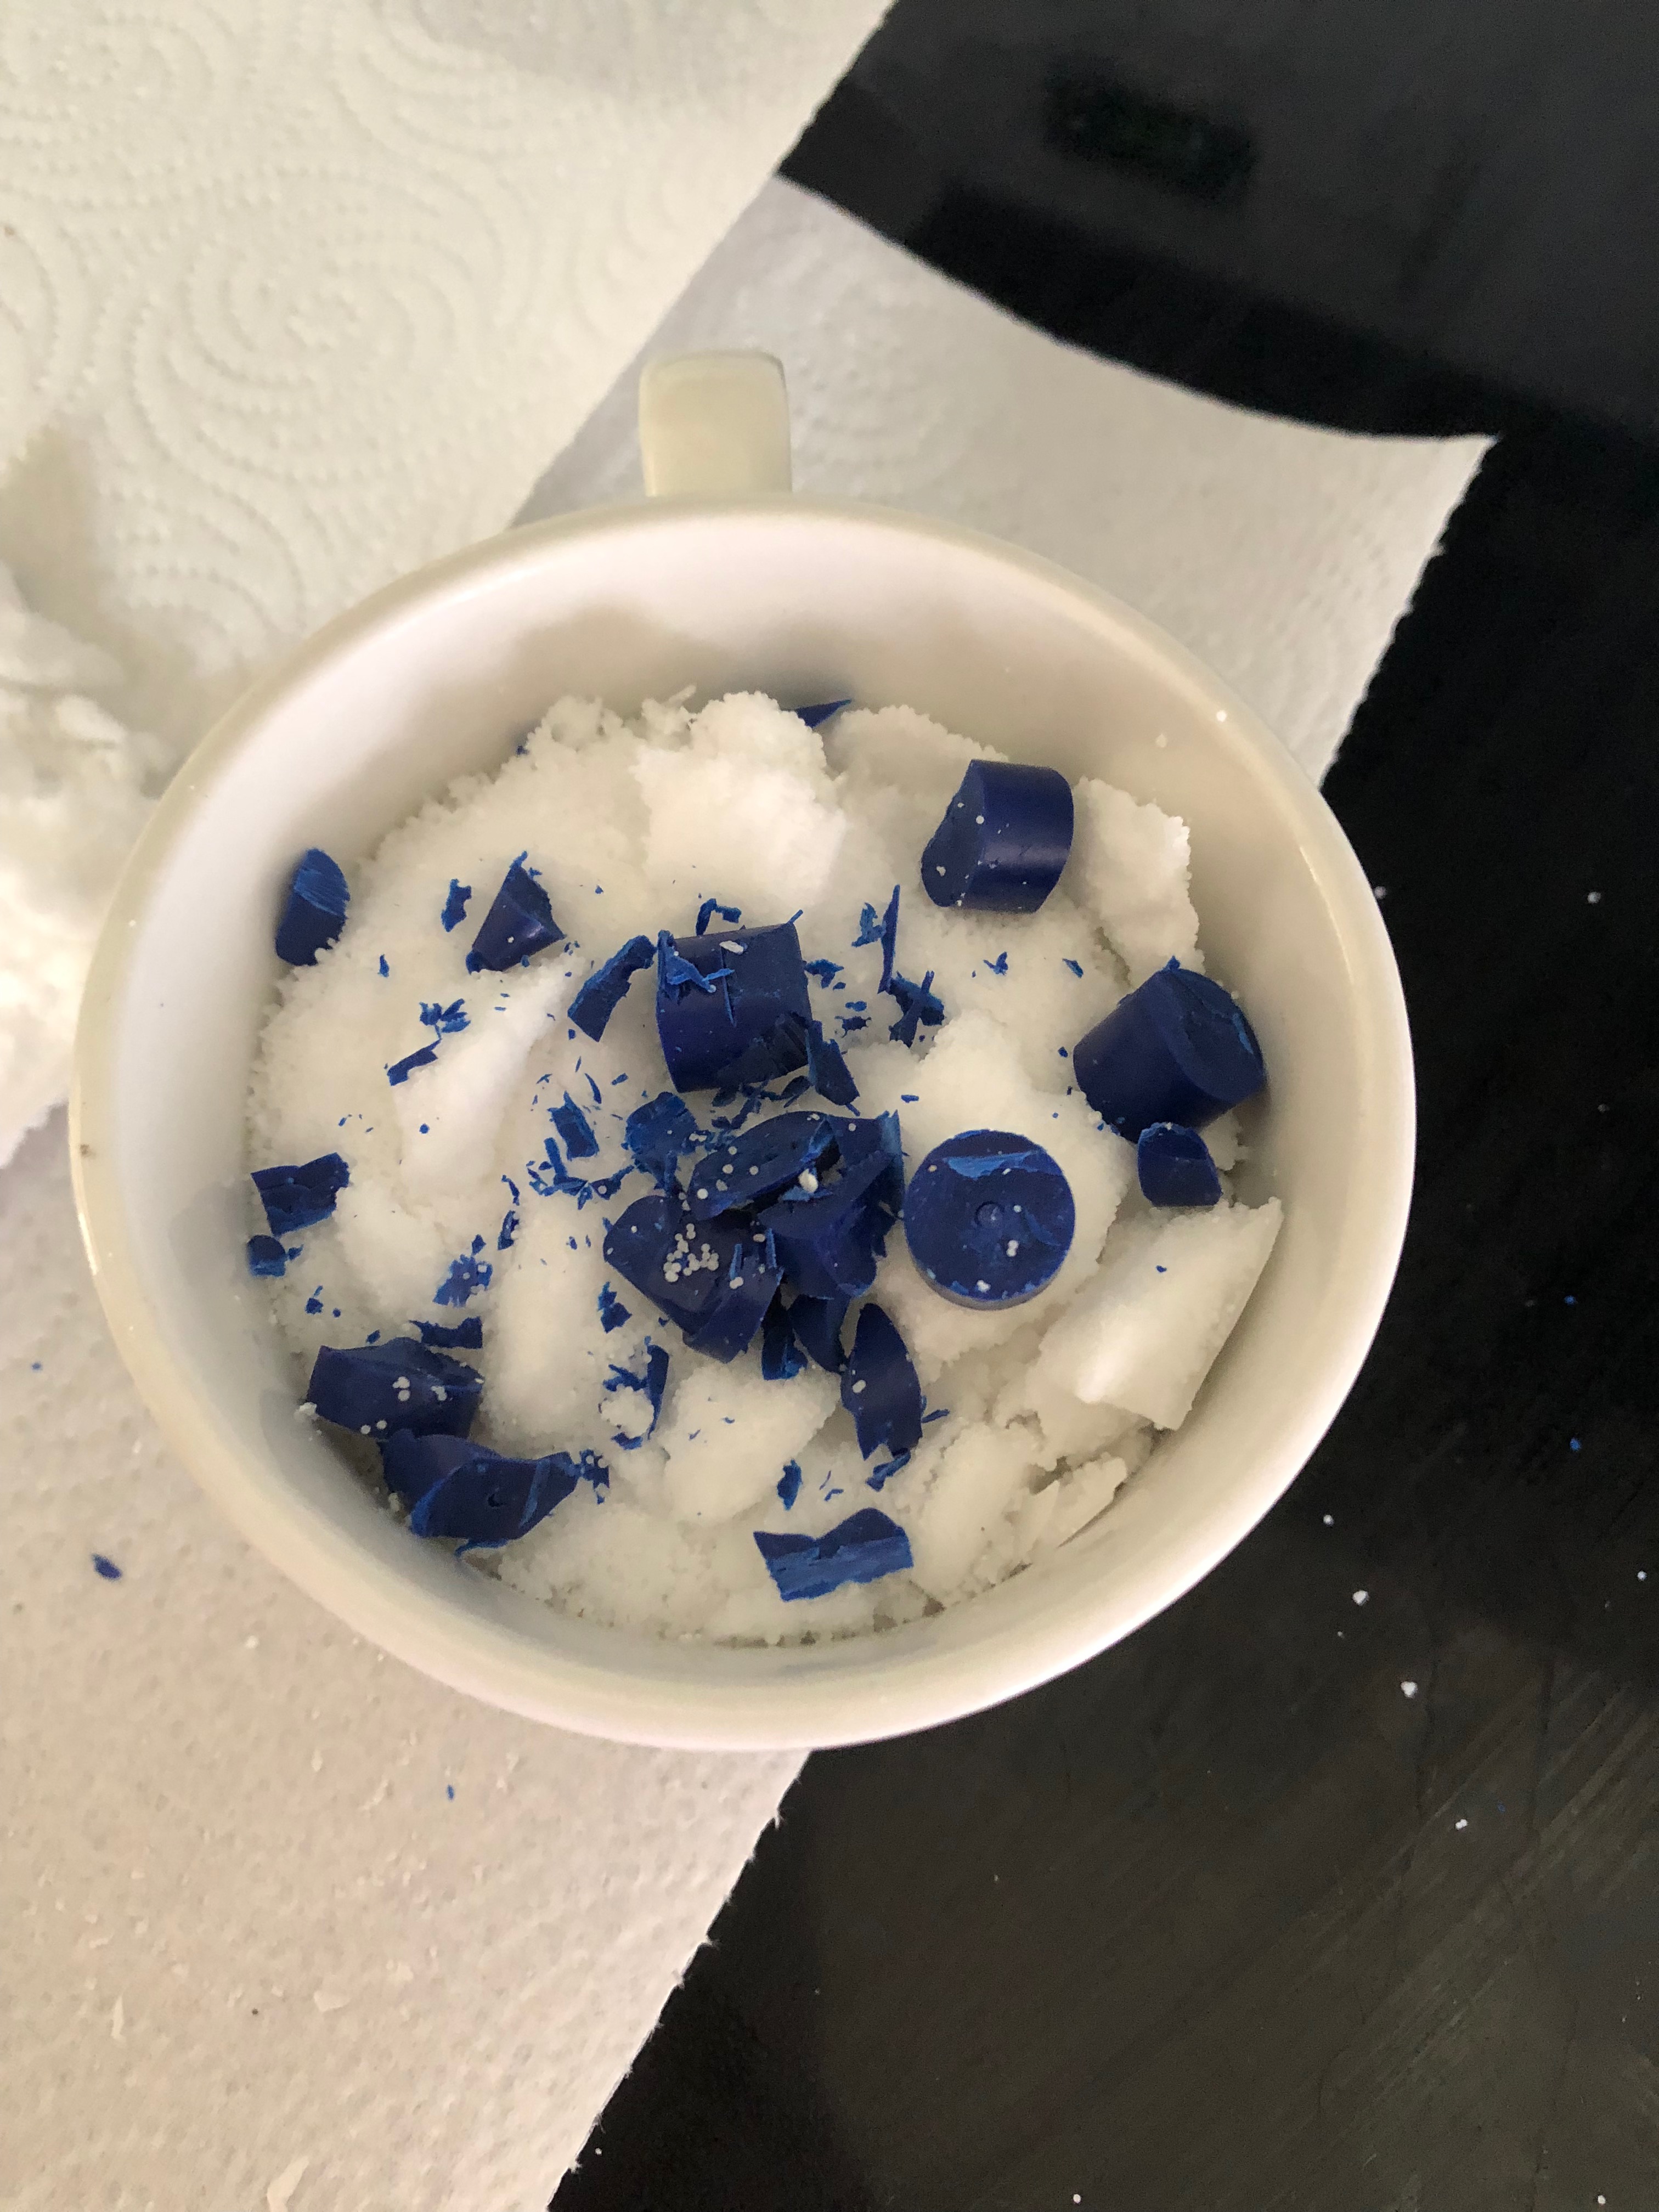
Pour your flaky wax into the teacup until it is full. Finely chop up a dark blue crayon and add it to the wax. Be aware once the wax hardens again, the pigment will mostly be at the bottom of the teacup and will not be nearly as darkly pigmented as the crayon.
Melting the Wax for the DIY Mermaid Candle
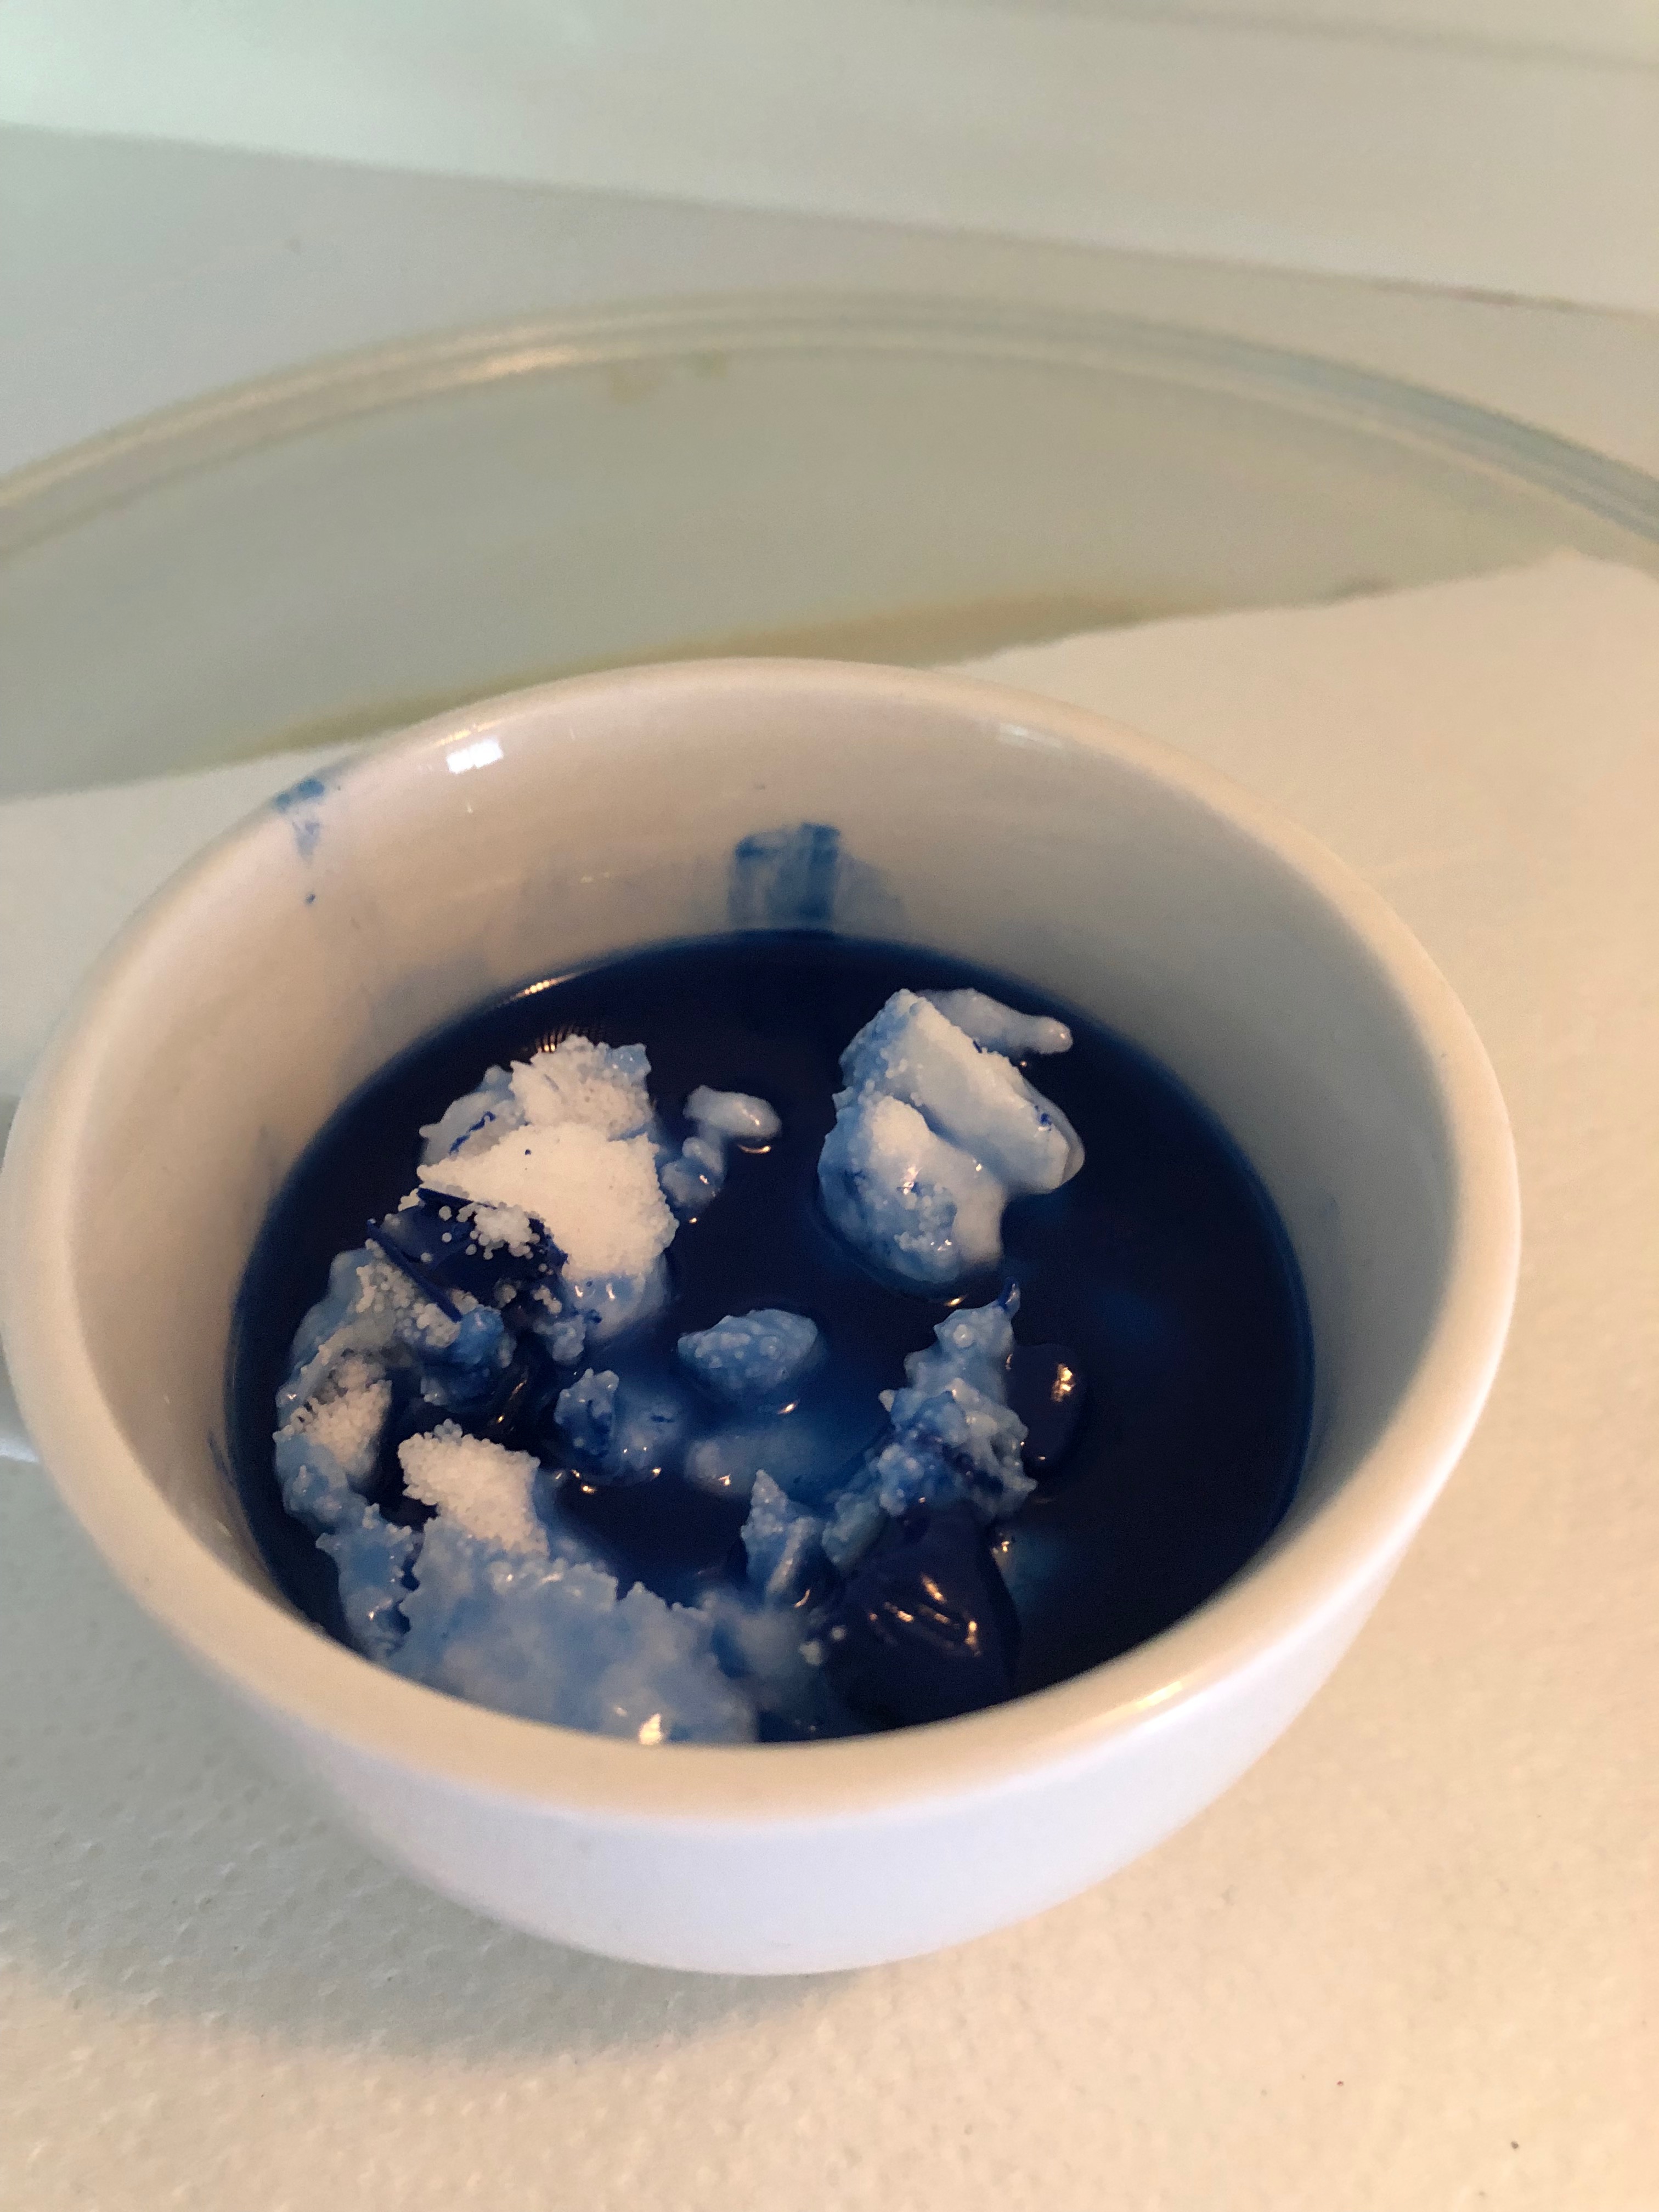
This takes quite a long time. I started at about two minutes, gave the cup a stir, recovered it, and restarted the microwave about three to four different times. Do not try to do longer increments of time to speed things up, as boiling wax is not something that is particularly fun to clean up later.
Mixing in the Yellow Crayon
Cut the tip off the yellow crayon once the wax is almost completely melted and stir it with a plastic utensil. Stick it back in the microwave until the rest of the wax is smooth and stirring it brings up no chunks from the liquid.
Adding the Wick
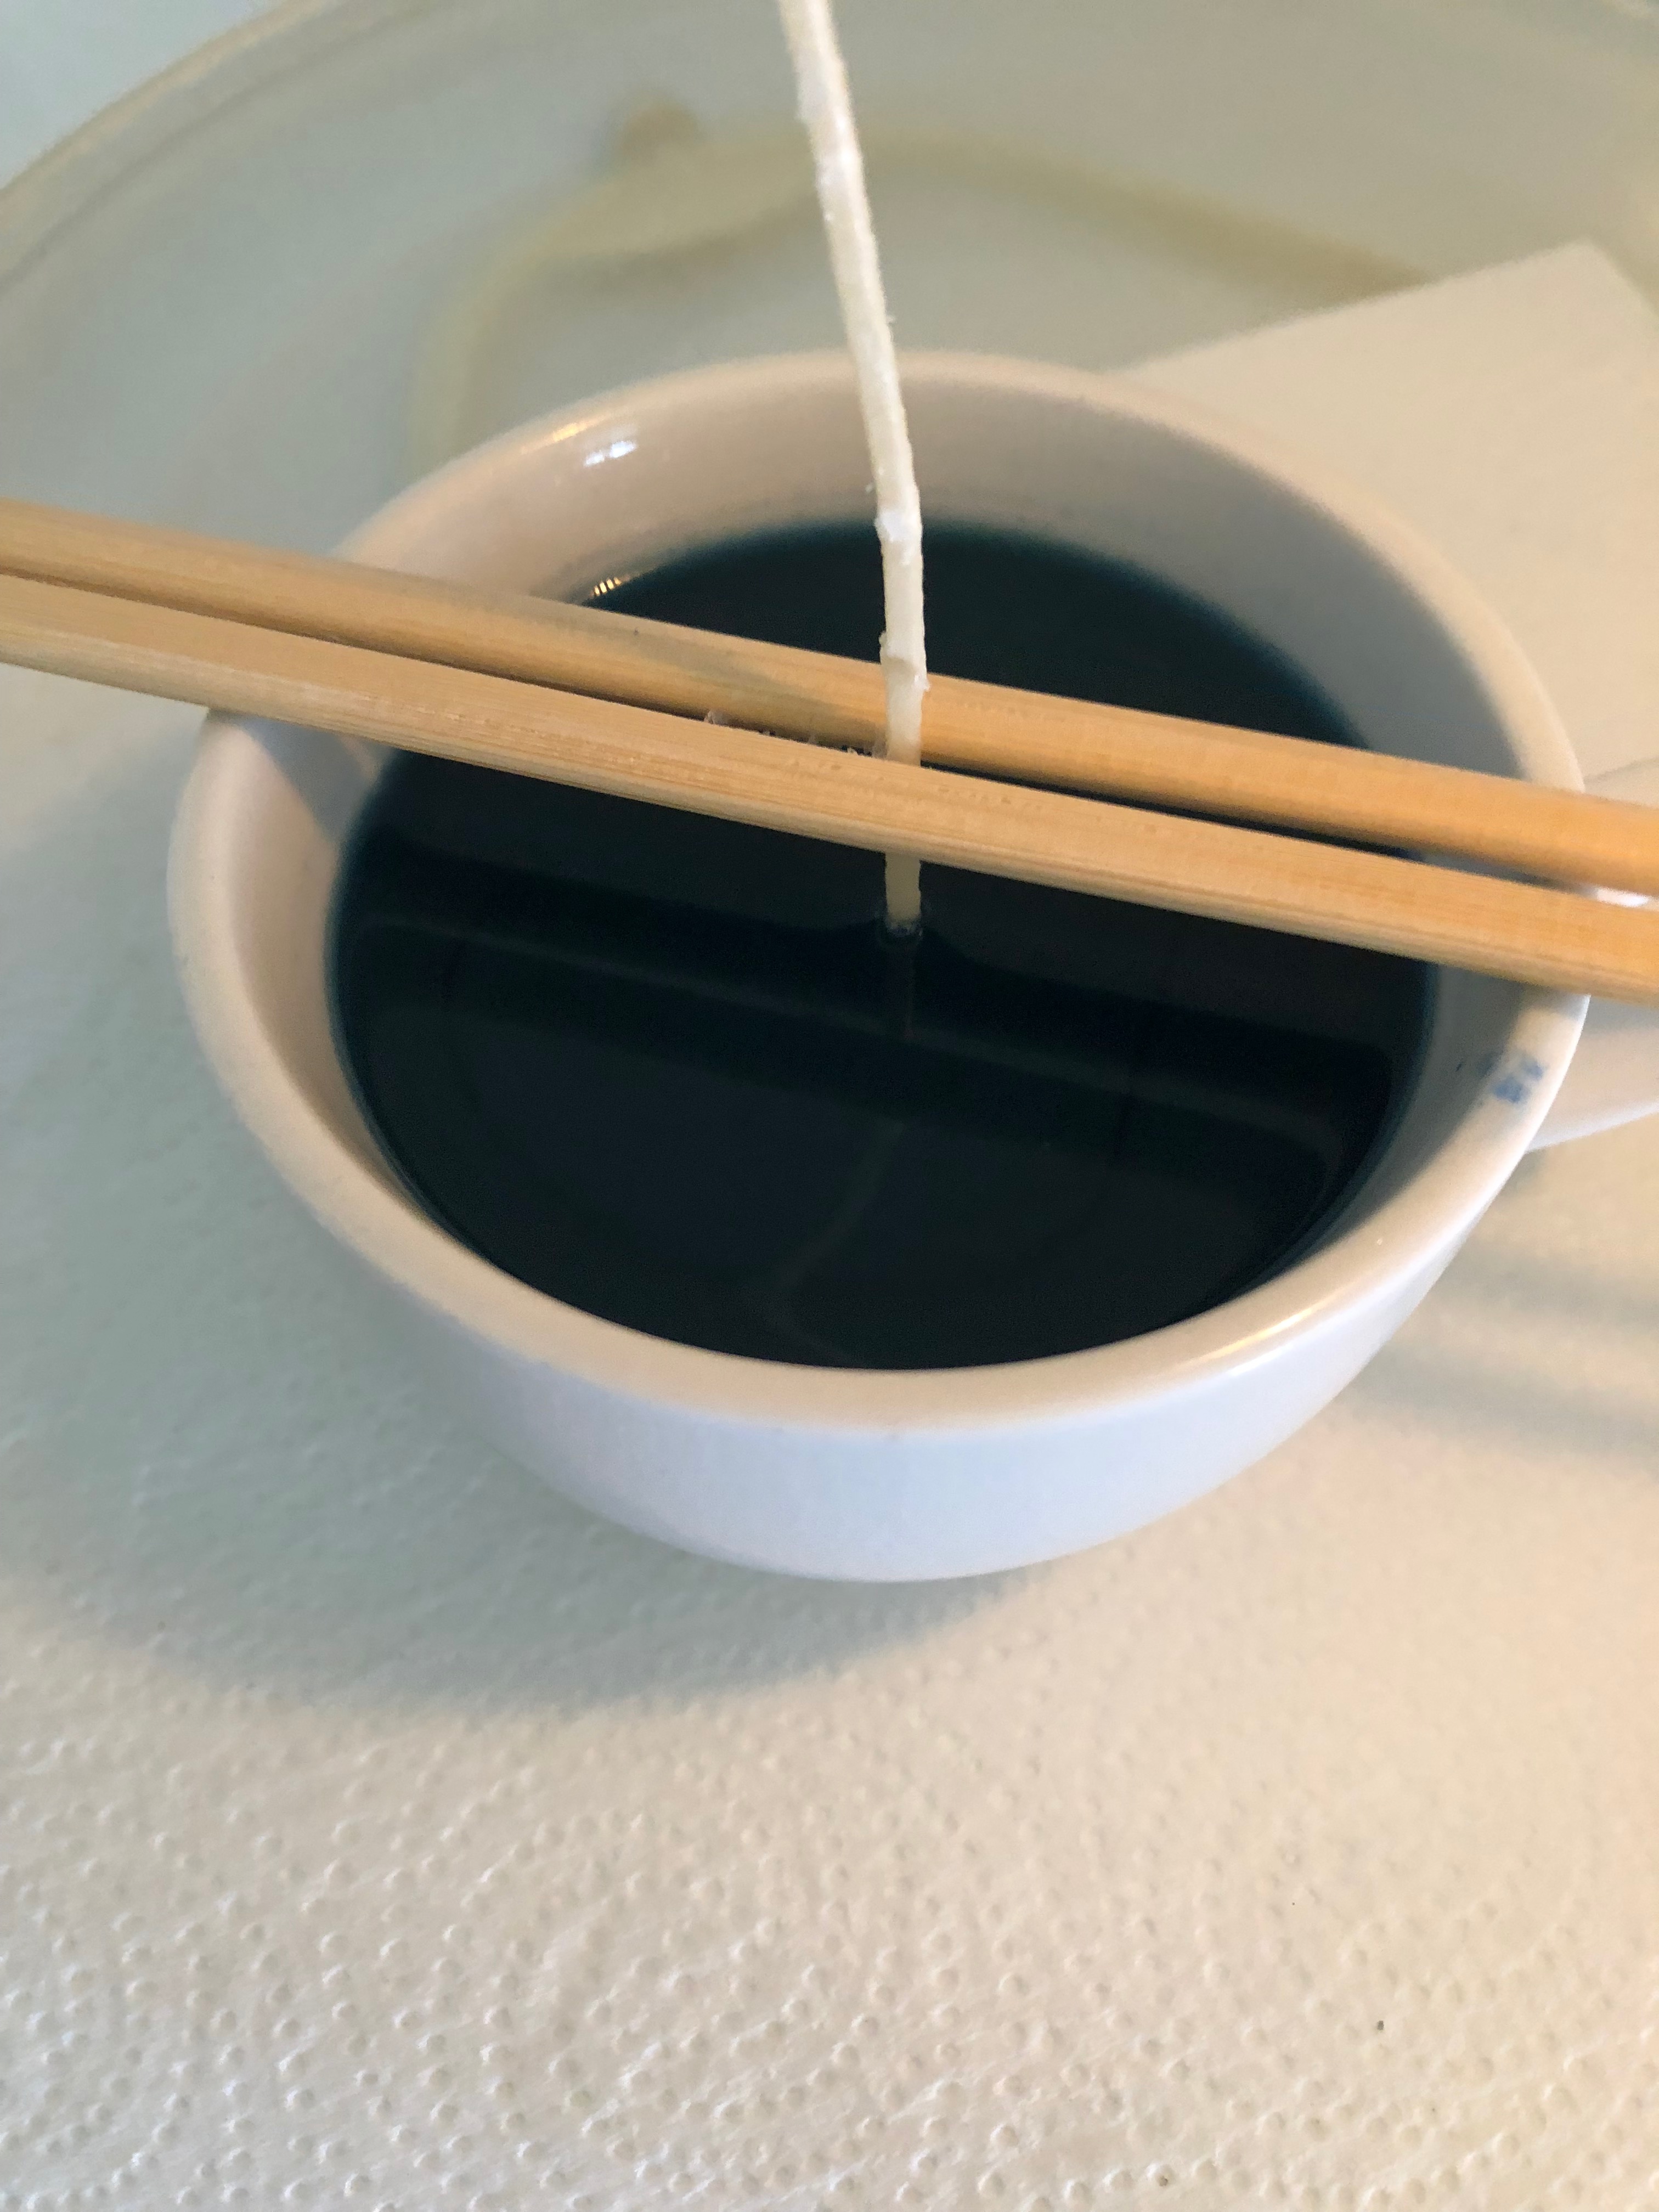
Once the wax is smooth, leave it in the teacup to sit for a few minutes while you prepare the wick. Using two chopsticks that have not been broken, slide the candle wick between the sticks and gently lay the chopsticks across the top of the teacup with the wick going all the way to the bottom and being fairly centered. Leave the cup alone for a few minutes and go do something else.
Adding Surprise Shells
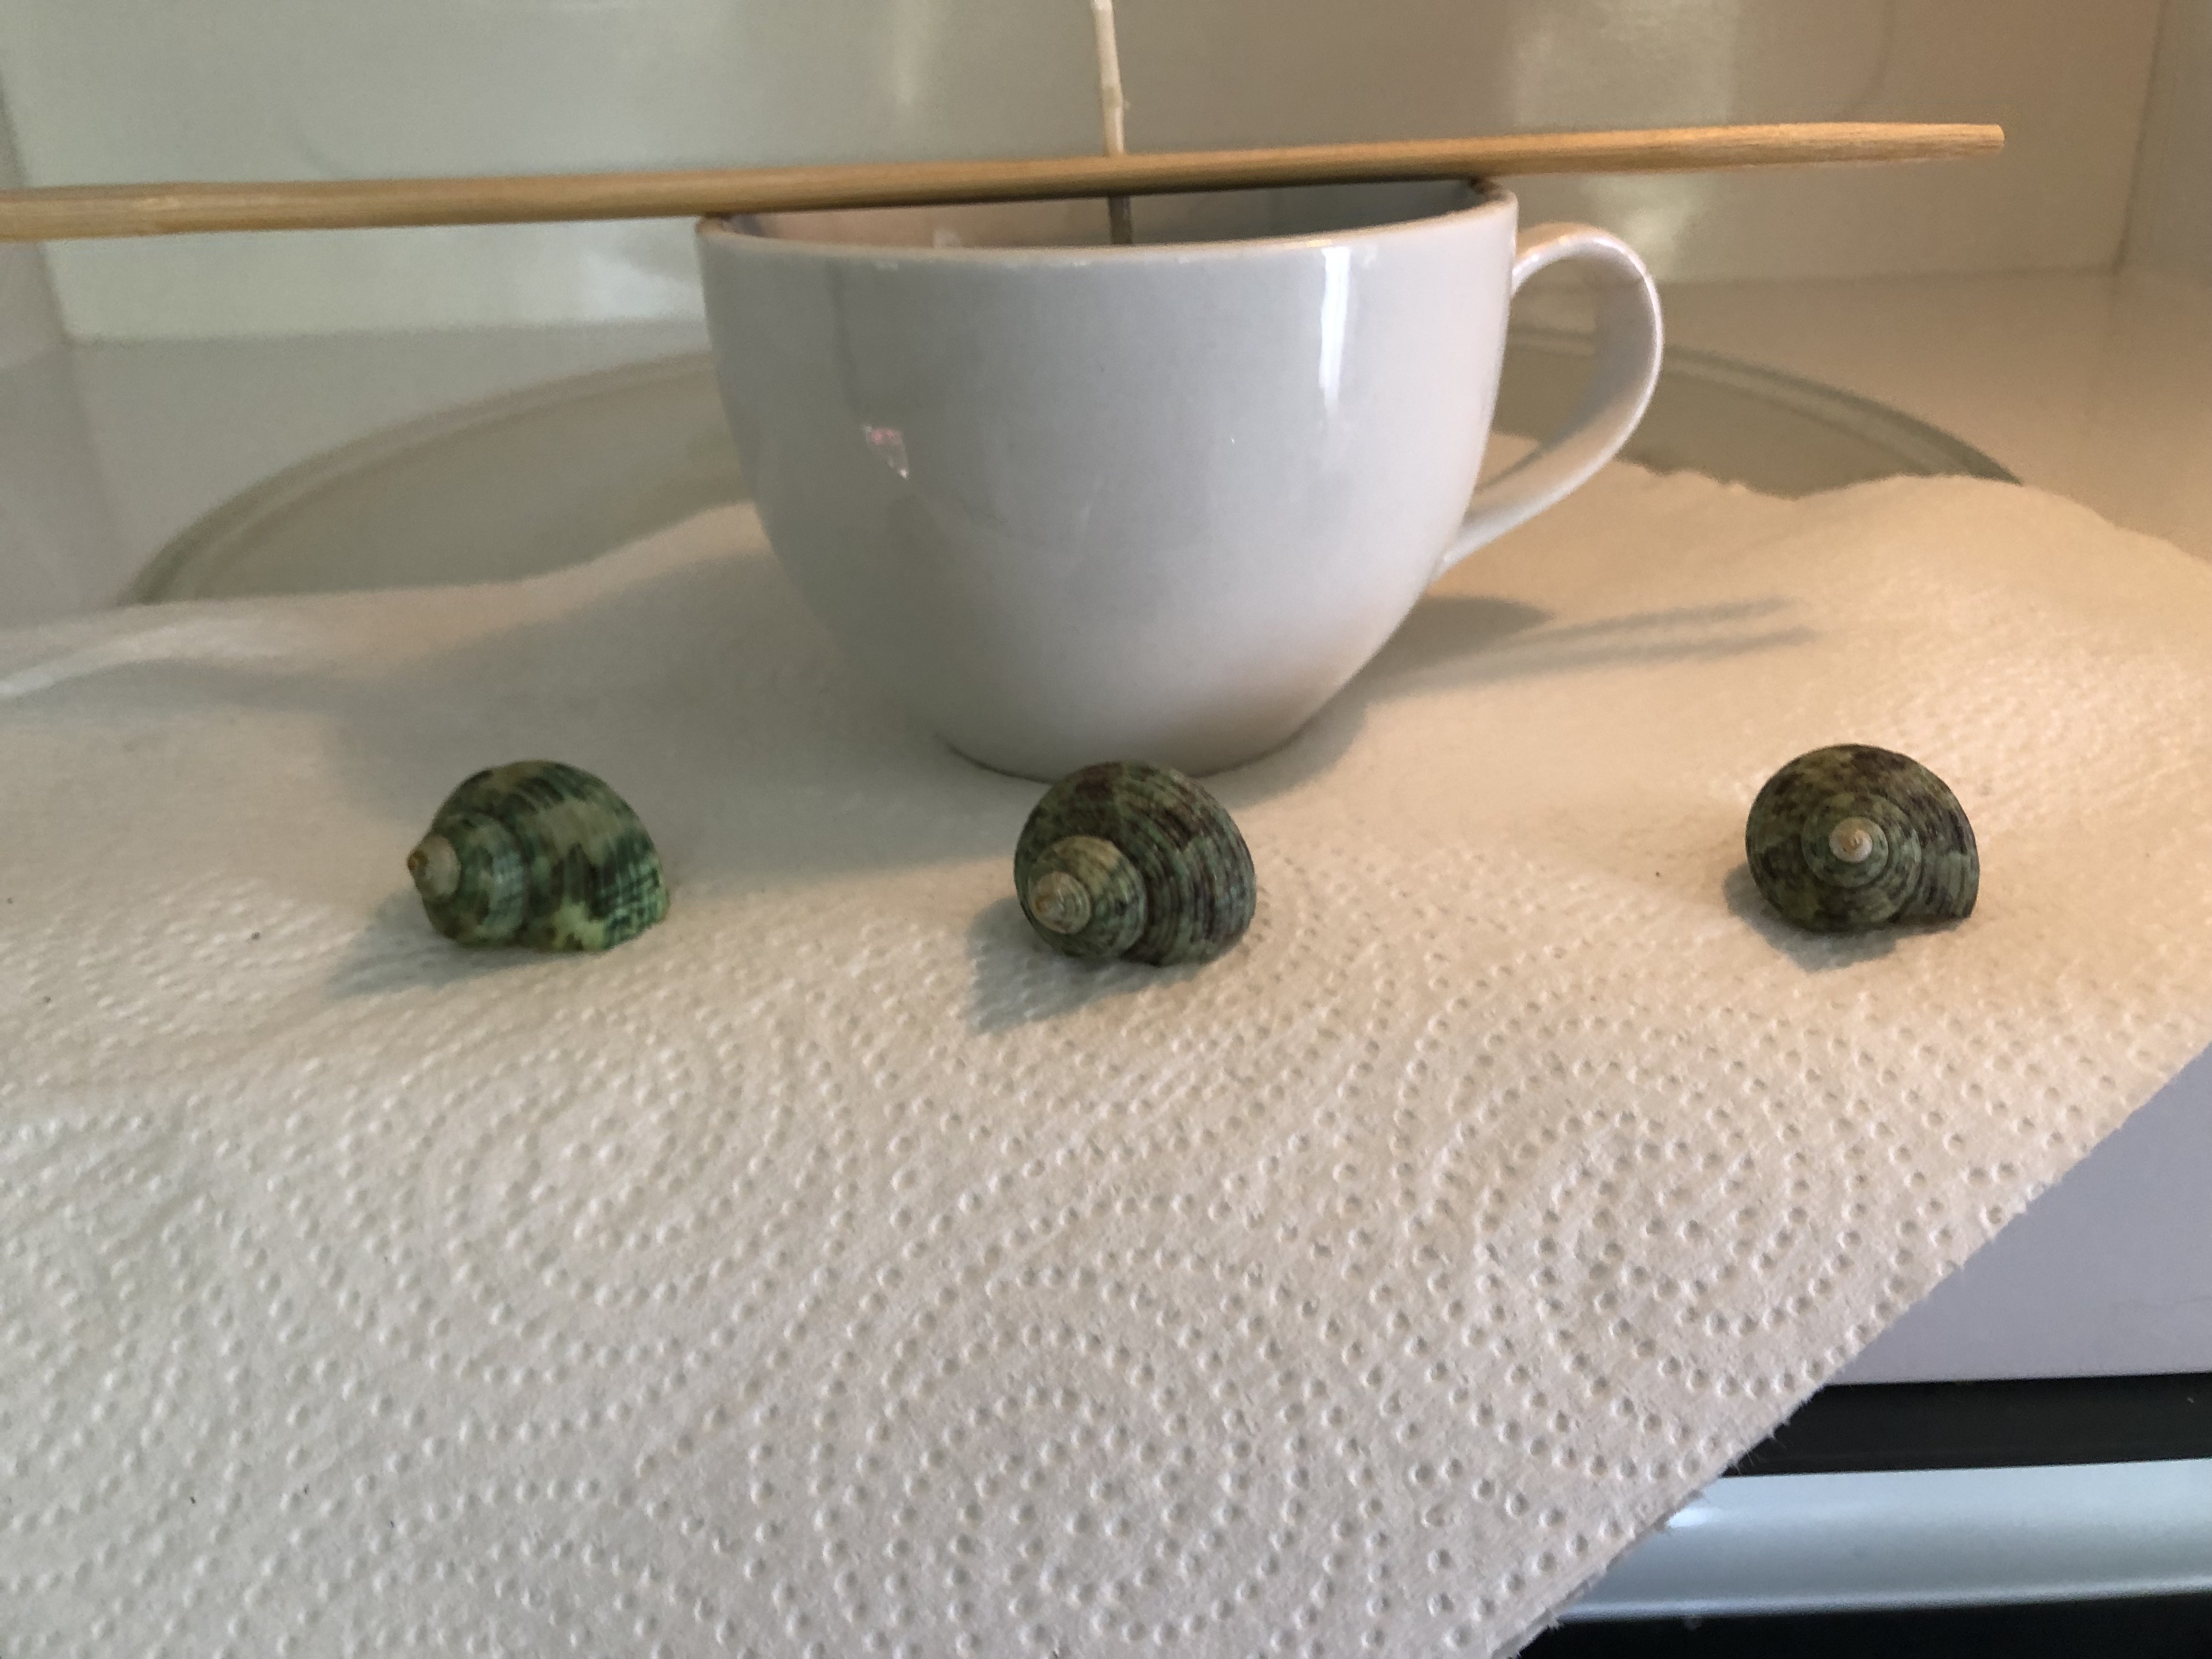
Before the wax completely hardens, pick some pretty shells to drop into the bottom for a fun little surprise as the candle melts. I also chose a few small pretty rocks and sank them between the shells around the wick.
Letting the Wax Set for the DIY Candle Making Technique
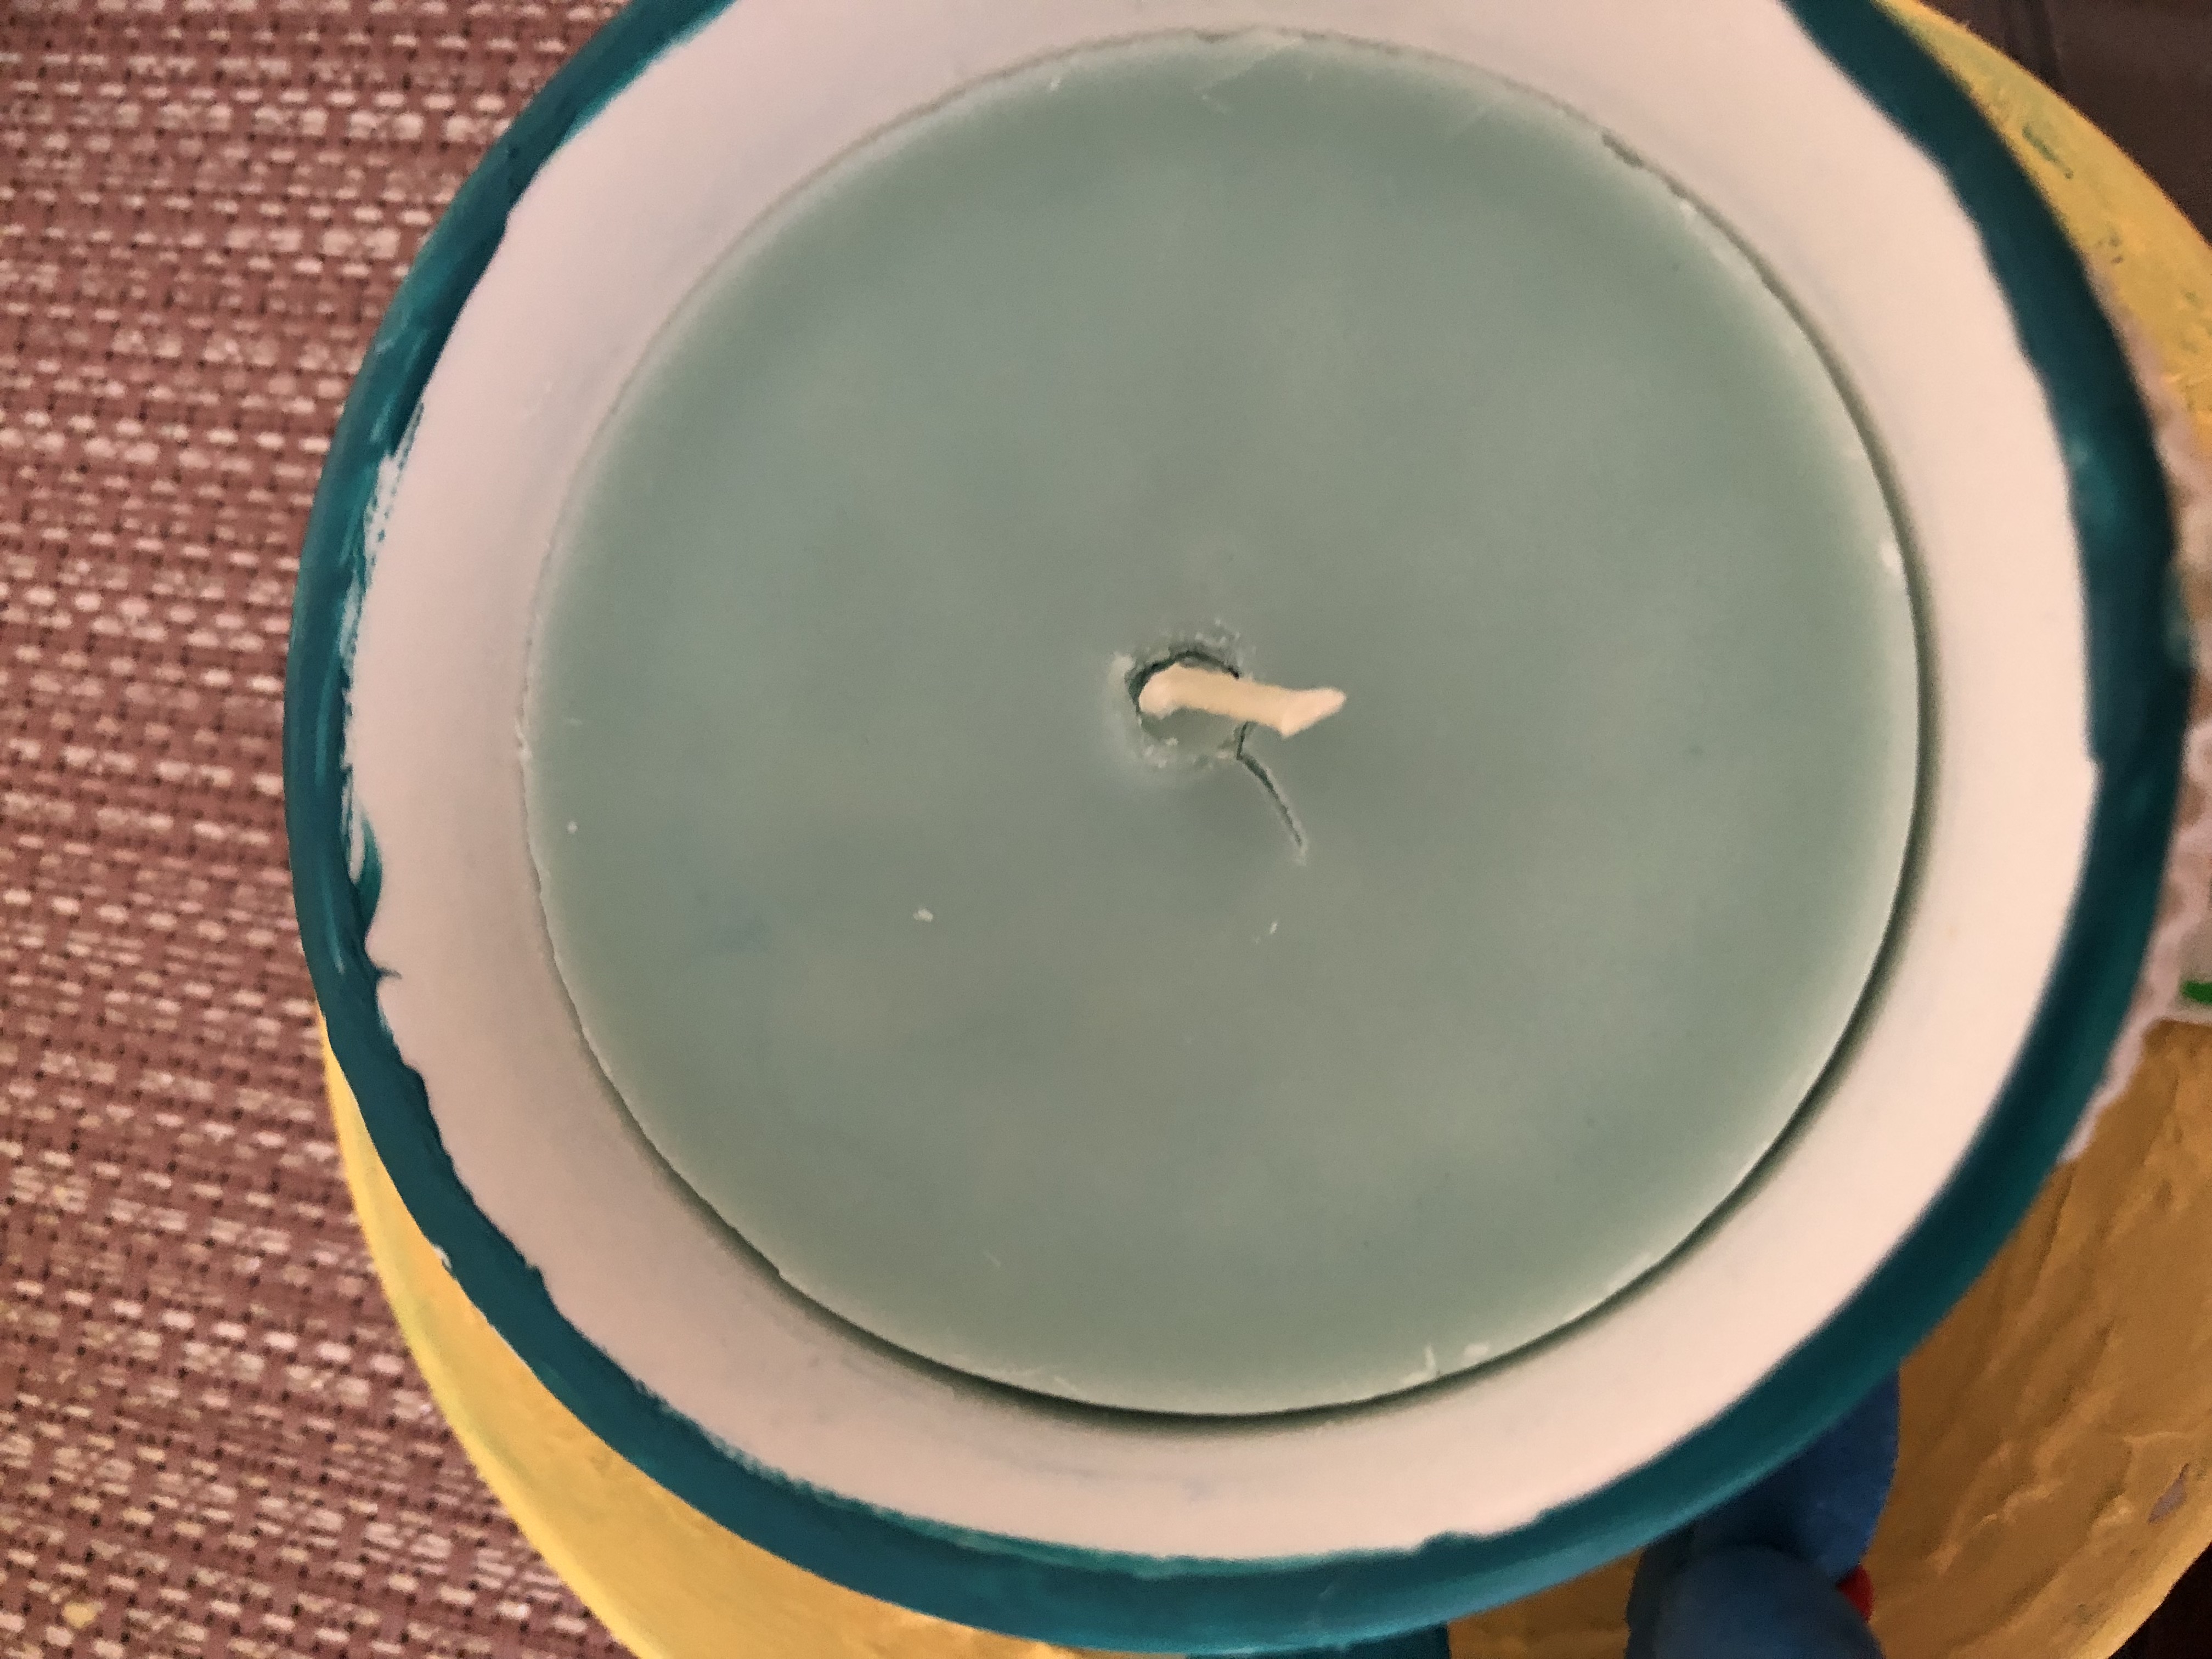
After the outside of the cup has mostly cooled, take a Tupperware and fill it halfway with ice. Plop the teacup gently into the ice for about an hour. This will make your candle solidify to the core considerably faster than normal.
Painting the Saucer
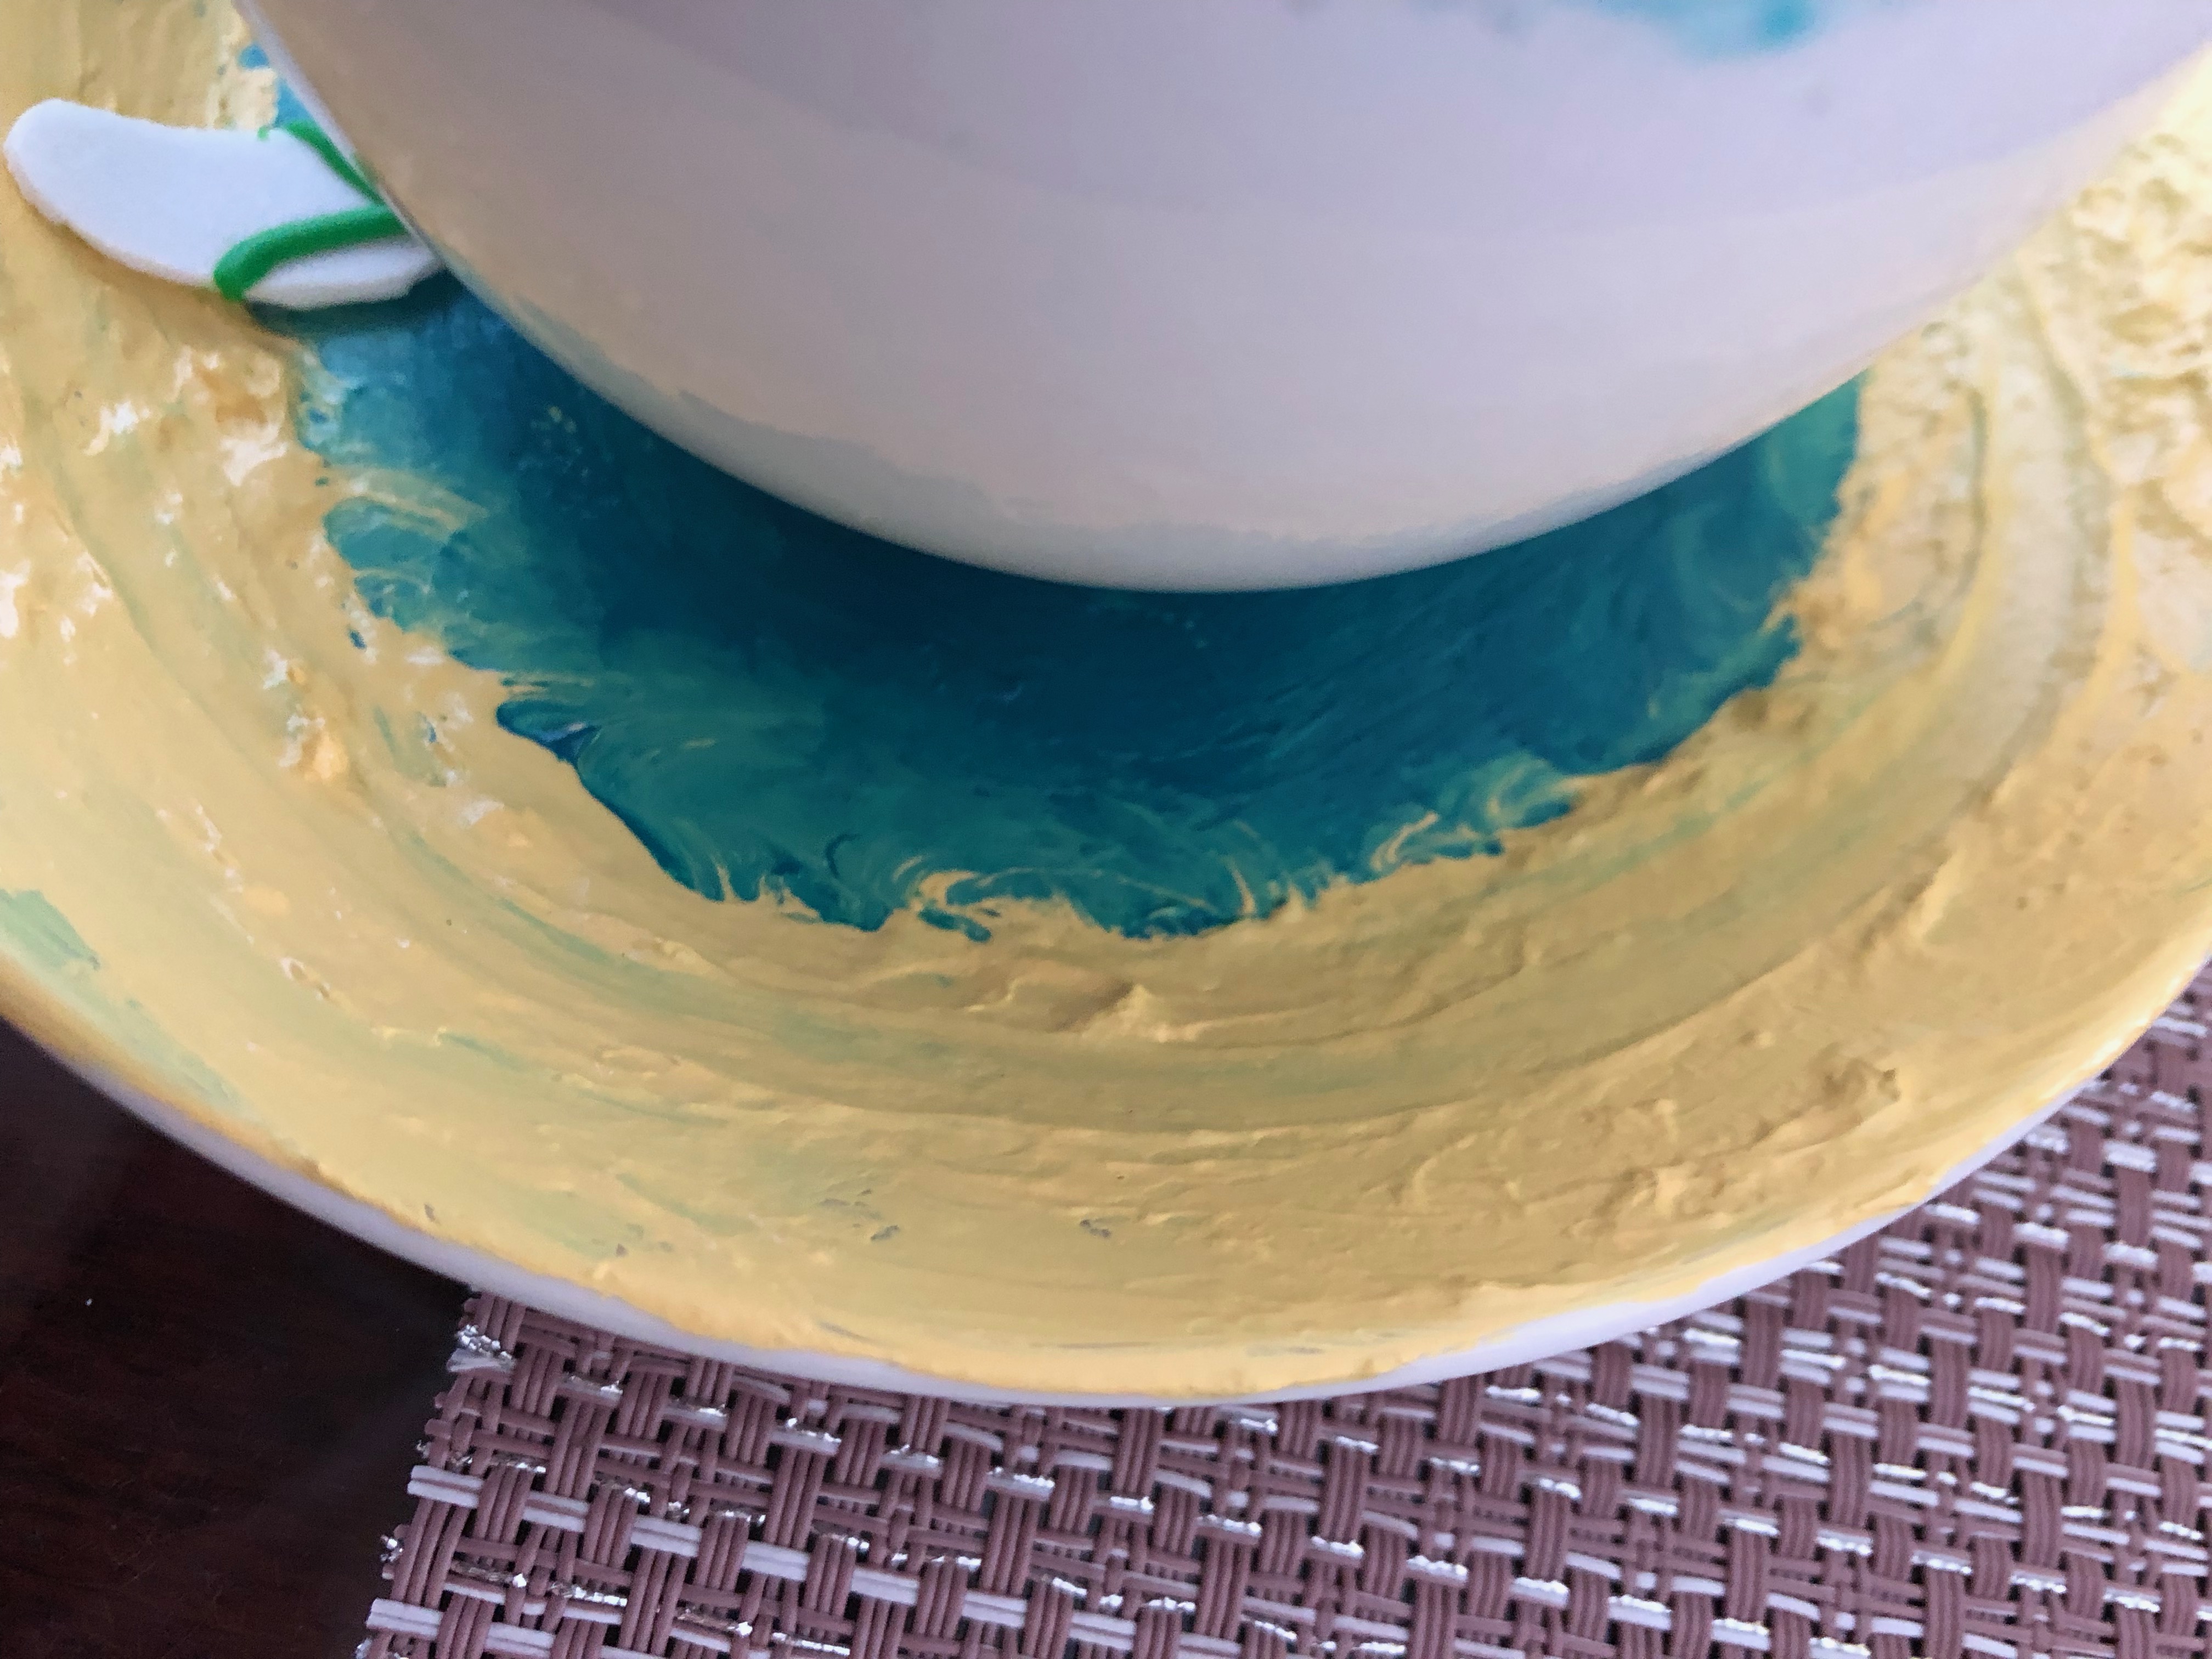
Using yellow acrylic paint that is sort of sandy colored, paint a nice coat of paint on the outsides of the saucer, making it chunky in some places and thinner in others. This will make it look almost like real sand, without the mess. Use some bluish green paint to blend into that yellow around the edges facing the middle and paint the middle that blue color.
Painting the Teacup
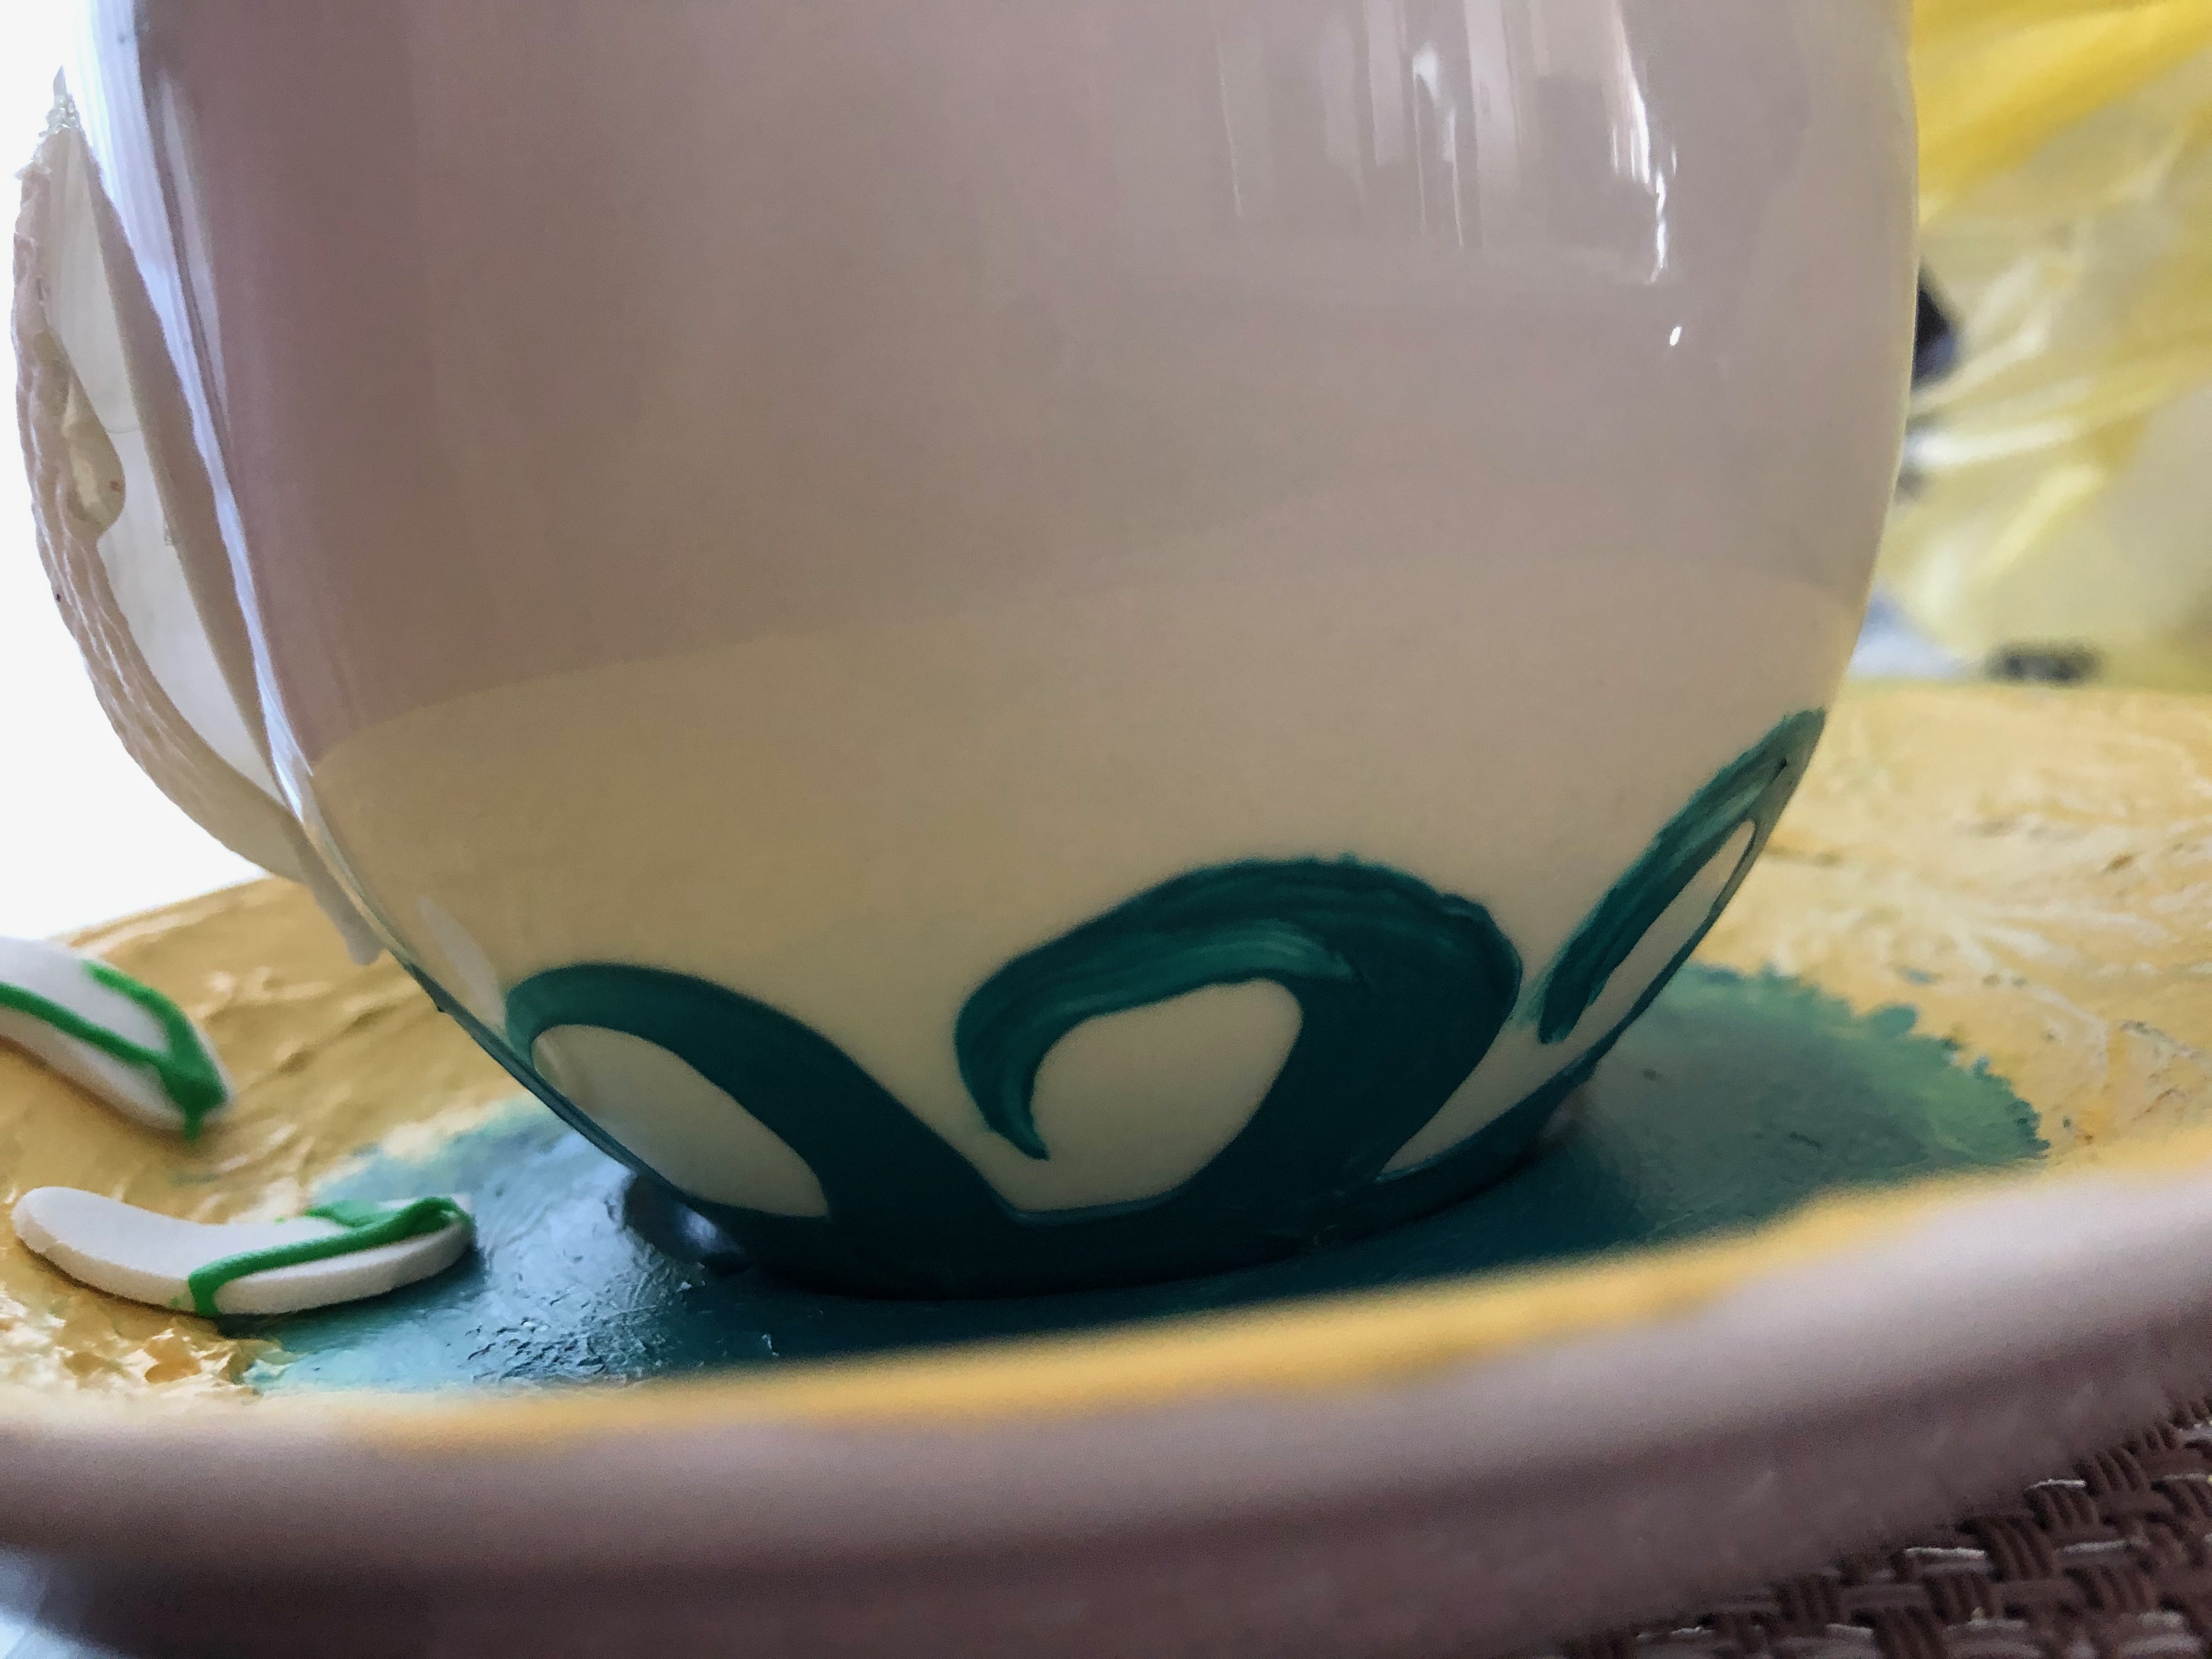
Using a fairly soft brush, paint a blue line on the handle of the teacup to cover up the crack. Make sure this coat is very thick, to fill in the gap properly. Think of the paint as a sort of frosting. Next, paint on some swirly waves along the base of the teacup to look like the ocean splashing onto the cup. Let the paint dry overnight and wash out your brush well with warm water and soap.
Attaching the Pieces Together
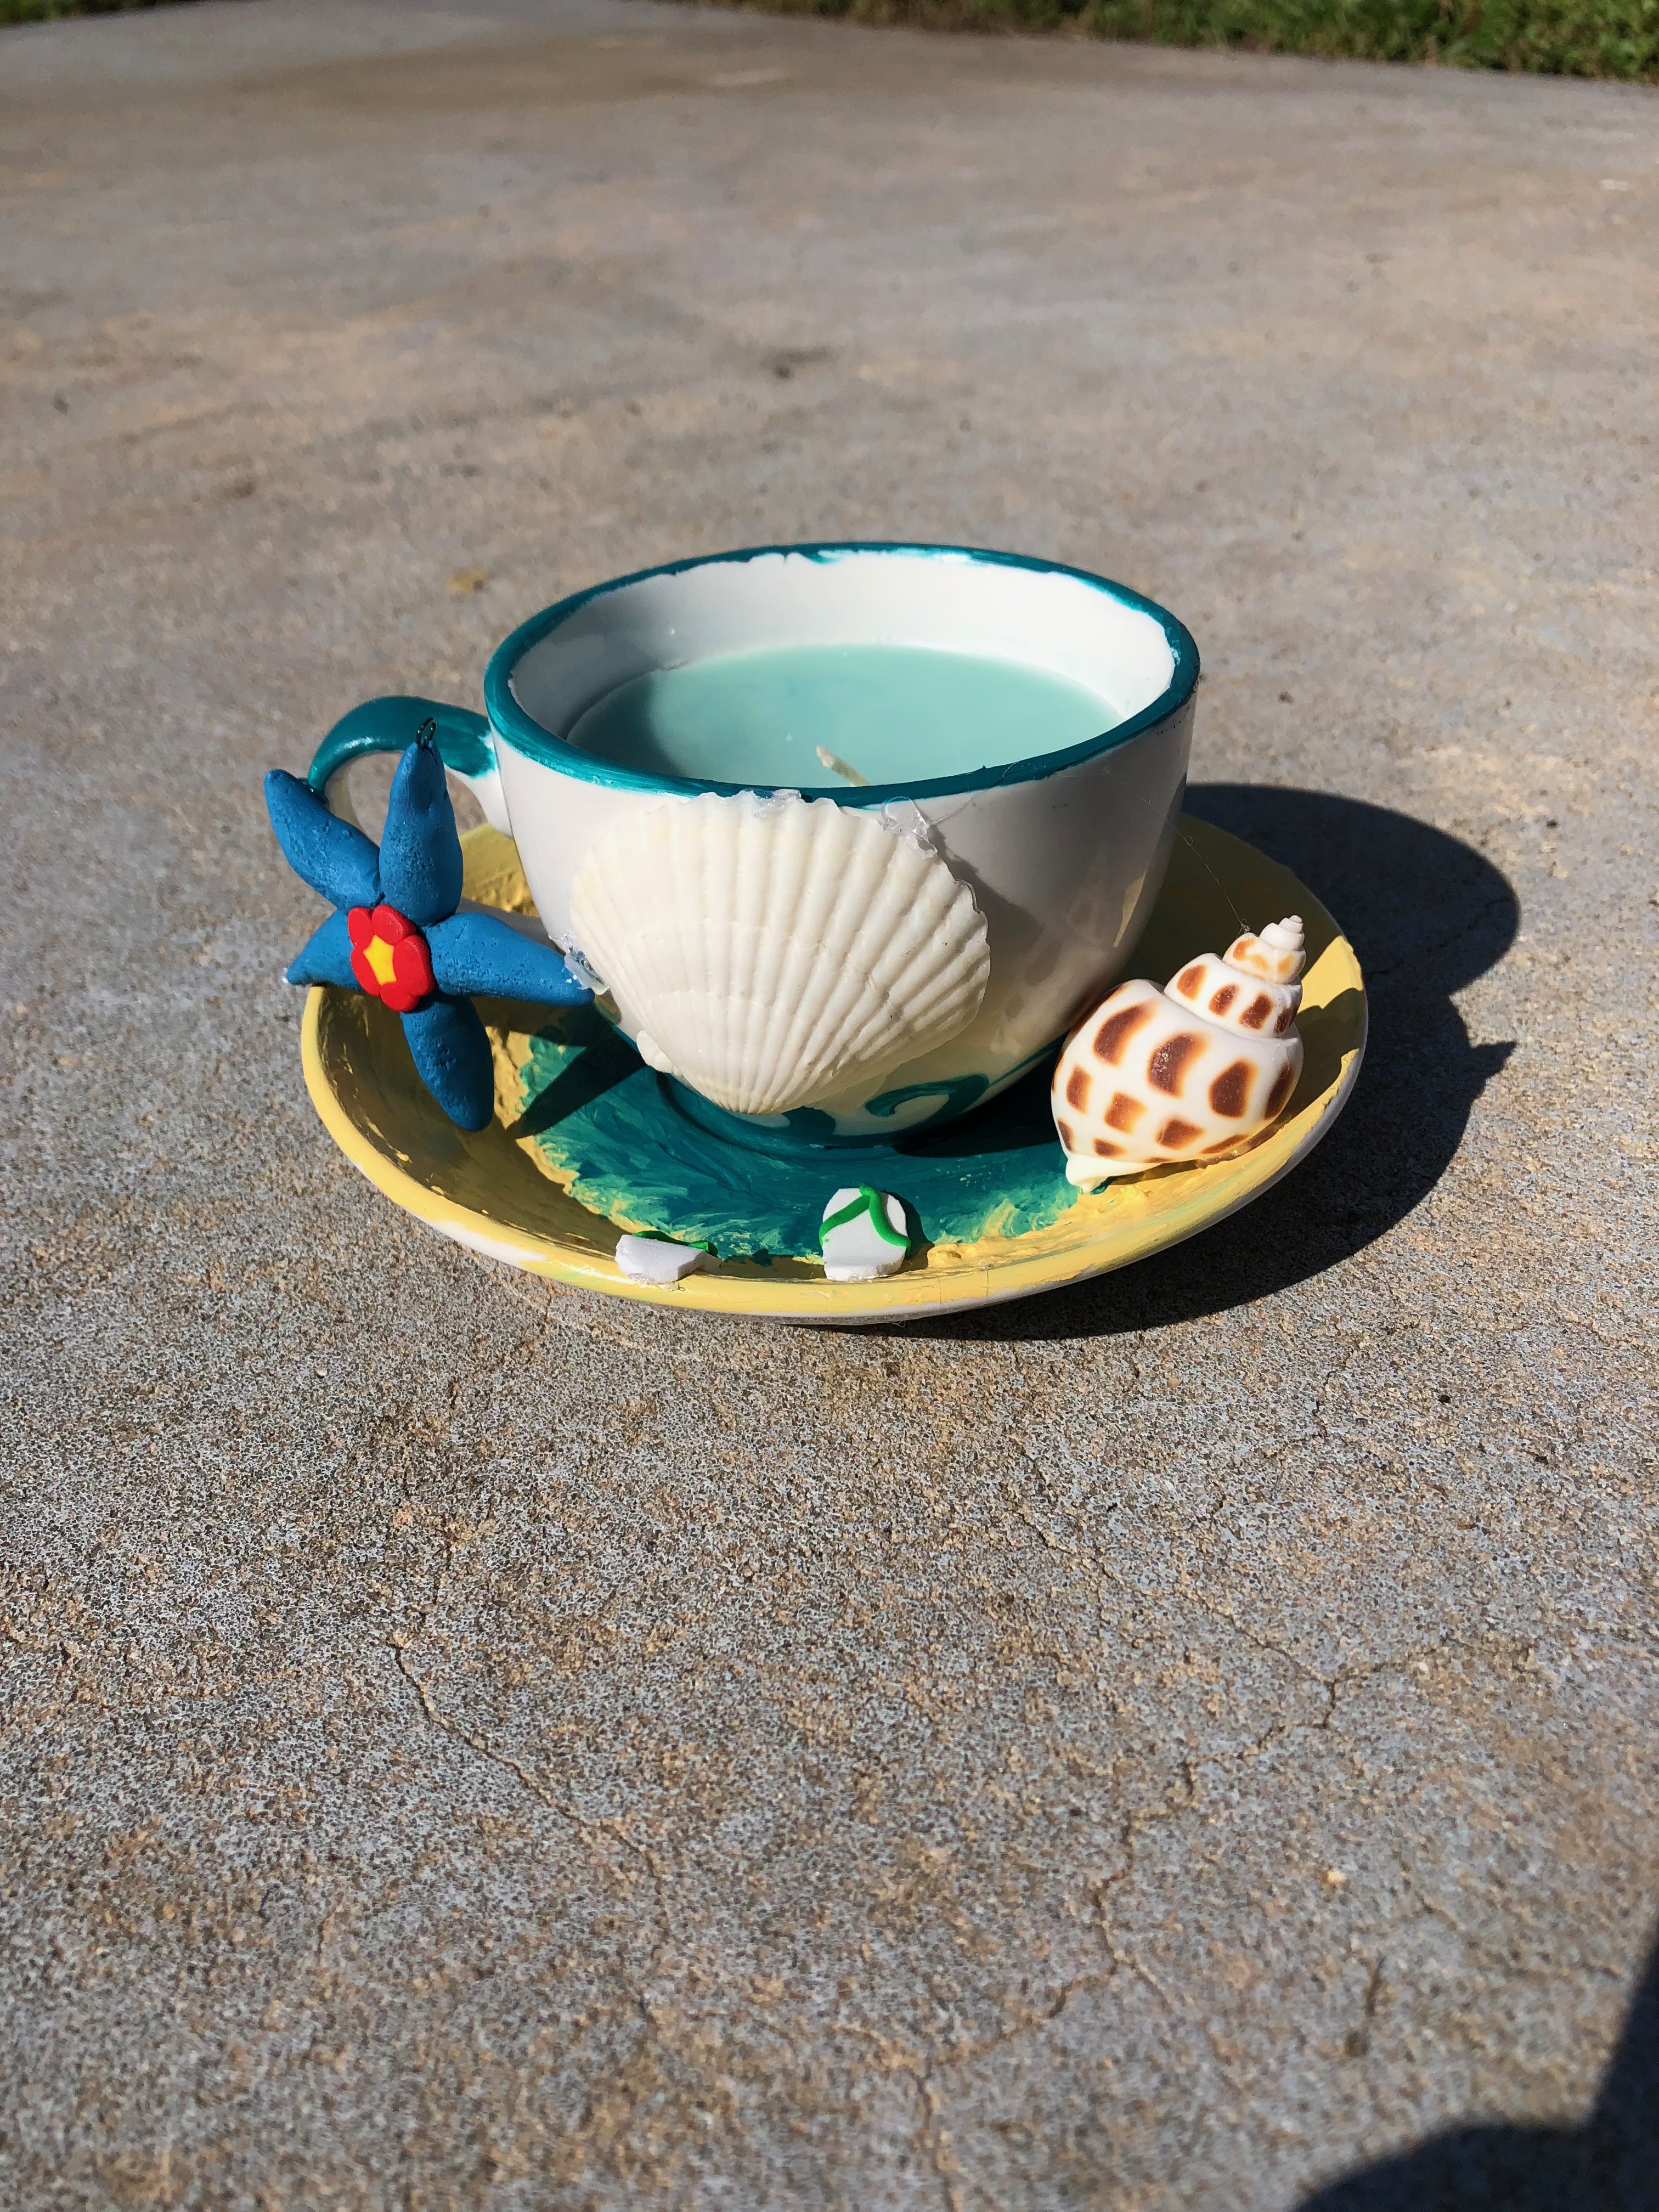
Using hot glue, attach the teacup to the base. Be careful not to burn yourself with the hot glue gun. The hot glue gun I used for this craft is super awesome, because it has a protector around the tip to keep your hands safe. I made some little foam flip flops and attached the Starfish I made in a previous tutorial, but you can put whatever you want on the outside of the cup, like shells or little crabs.
Finish
And your teacup is done. This was a very quick and fun project, and this makes a fantastic gift with little surprises inside. Happy crafting!