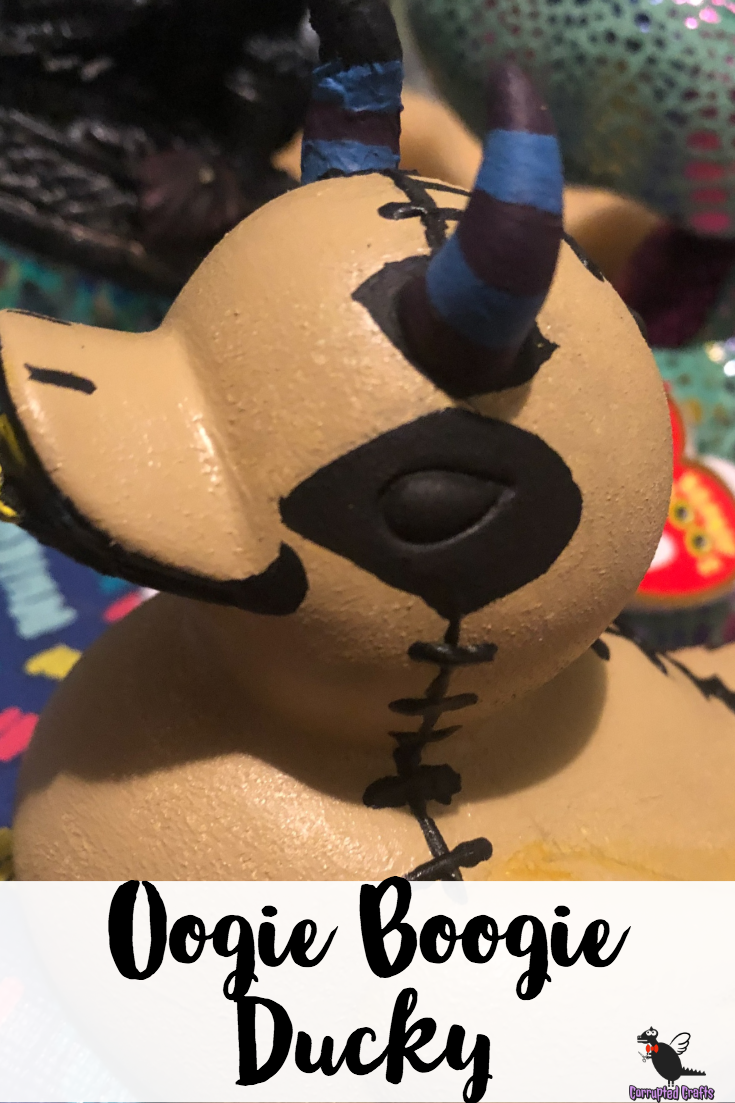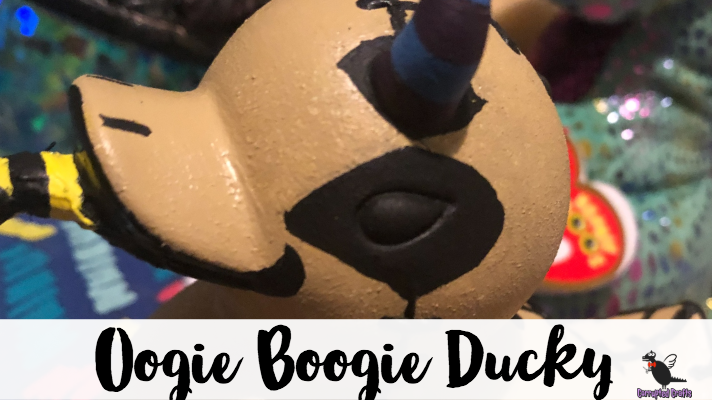
This absolutely awesome little ducky looks just like Oogie Boogie, which is quite a step up from his old ducky form. Complete with a little worm tongue, this creepy duck is super fun to make and a great addition to any bathtub. Make sure to seal him good before taking him for a swim.
What you will need
- Tan paint
- Black paint
- Brushes
- Hot glue gun
- Patience
- Strong glue
- Yellow paint
- Sponge brush
- ducky
Painting over the Black Nightmare Before Christmas Duck
This duck started out a very dark color, which is not ideal for a lighter end result. To make life easier, paint over the black duck with white paint. This will take several coats, but the end result is quite satisfying.
Painting the Tan Base Color of the Nightmare Before Christmas Duck
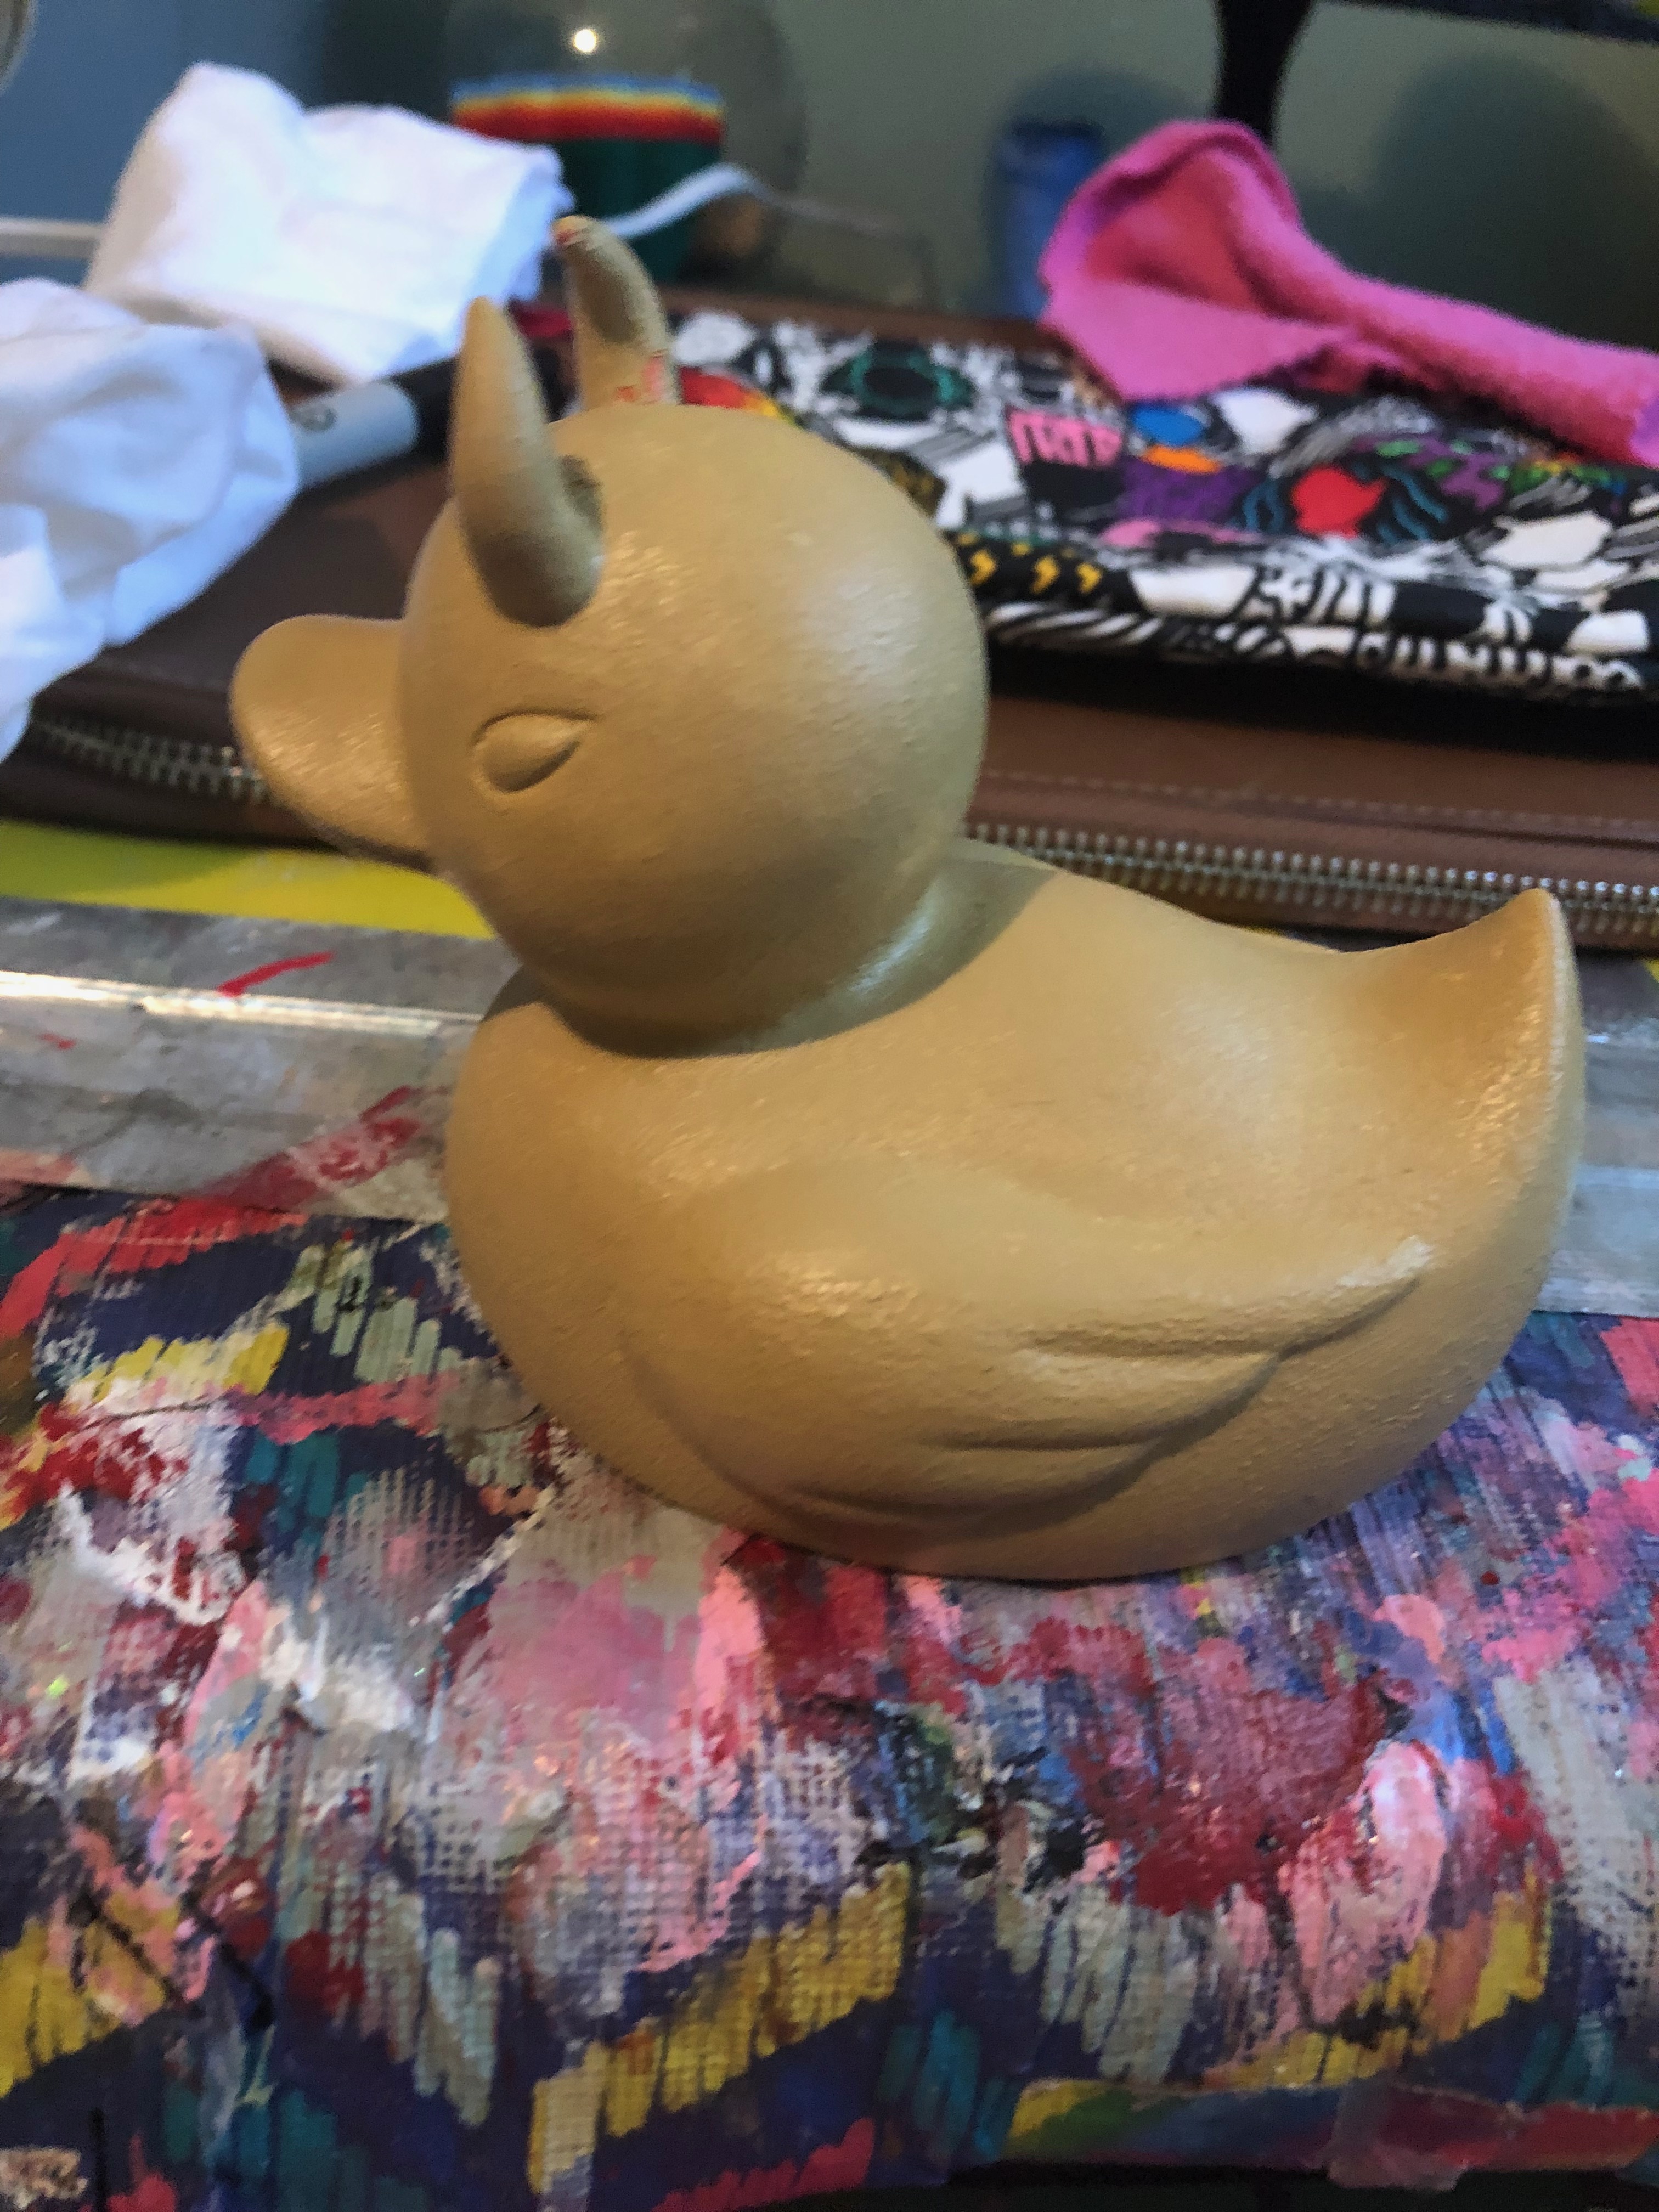
Using a big brush or a sponge brush, blob on a lot of tan paint. If you do not have tan paint, mix white and yellow paint with just a little bit of red.
Adding Texture to the Oogie Boogie Ducky
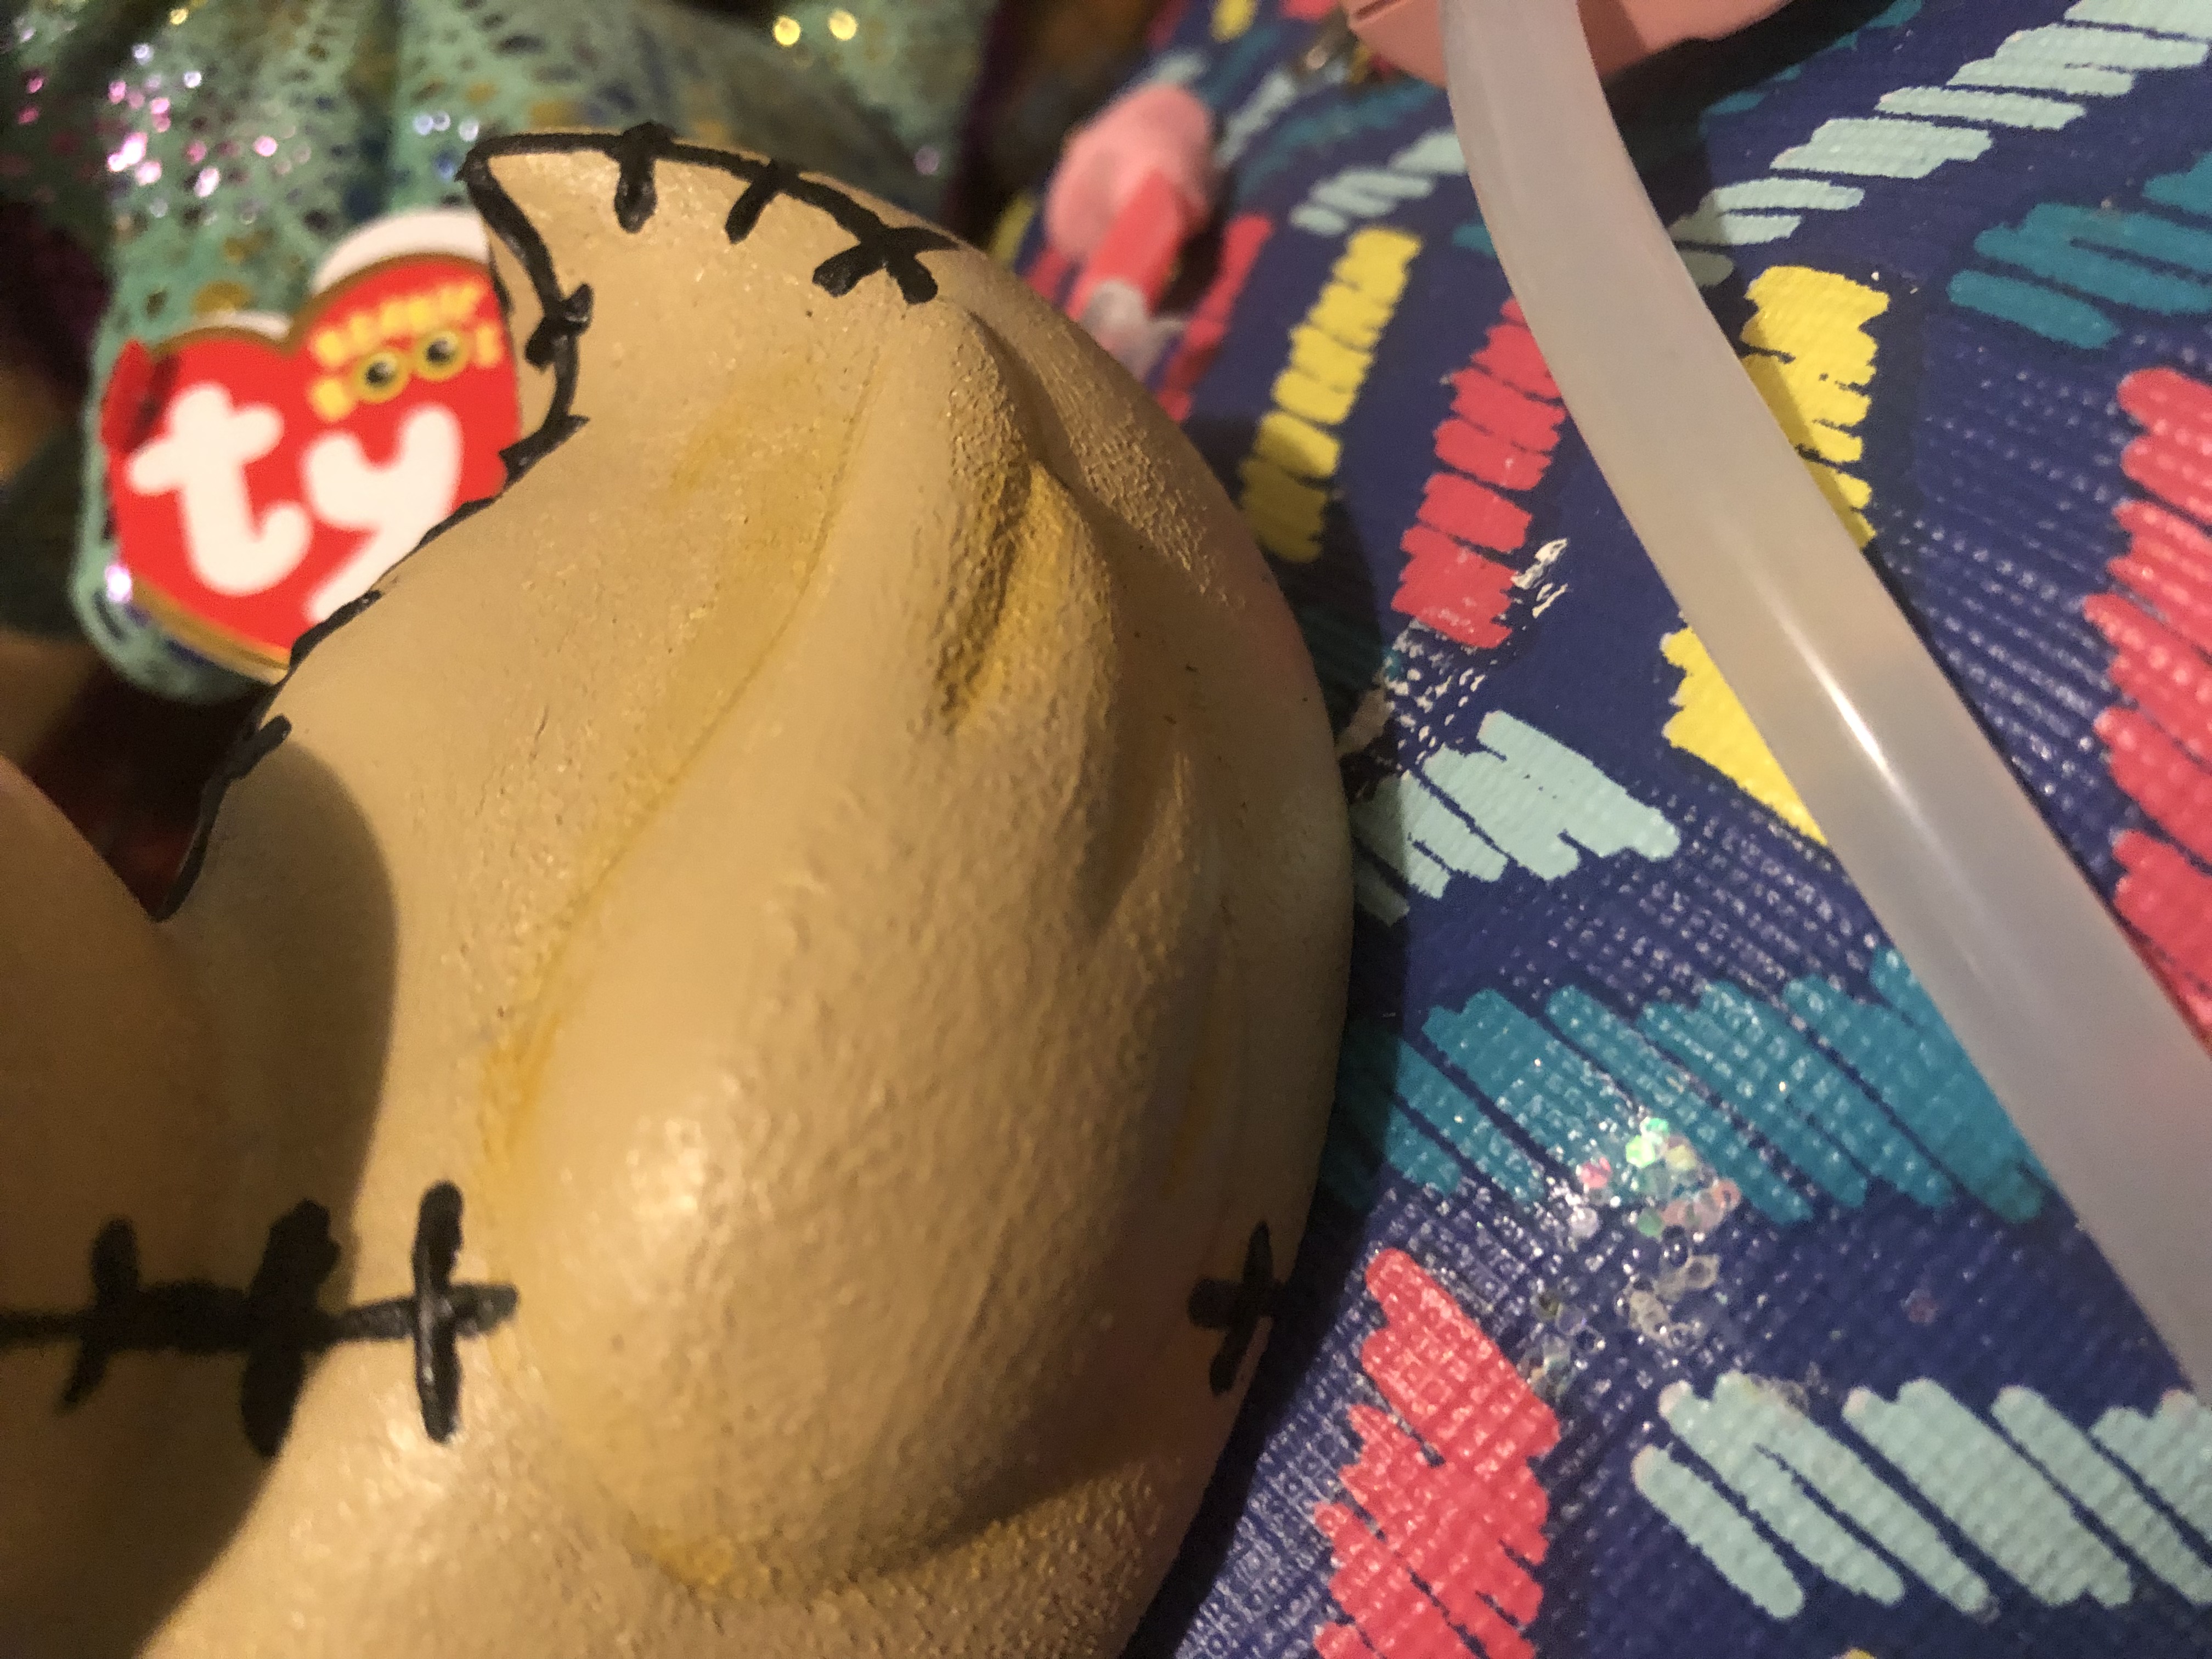
Keep layering the paint onto the duck and let it sit overnight. Be careful not to smooth the paint, as the little bumps will make the duck look more like cloth. If you really want to add detail, mix a light brown paint with water and do a wash over the duck with it to make the gaps and crevices darker and add variation.
Marking the Back of the Duck for Stitches
Use a pencil to make little marks on his back and his head for stitches. My lines started out stupidly positioned and needed to be resketched. Make sure the paint you are drawing on is very dry, or you will have to repaint the whole duck again.
Adding Black Stitches to the Back of the Nightmare Before Christmas Duck
Using puffy paint out of the bottle, squeeze little lines onto the back of the duck and use a toothpick to smooth any lumps out of the lines. Don’t flatten out the puffy paint completely, or your friend will have to be painted over again.
Drawing the Eyes of the Nightmare Before Christmas Duck
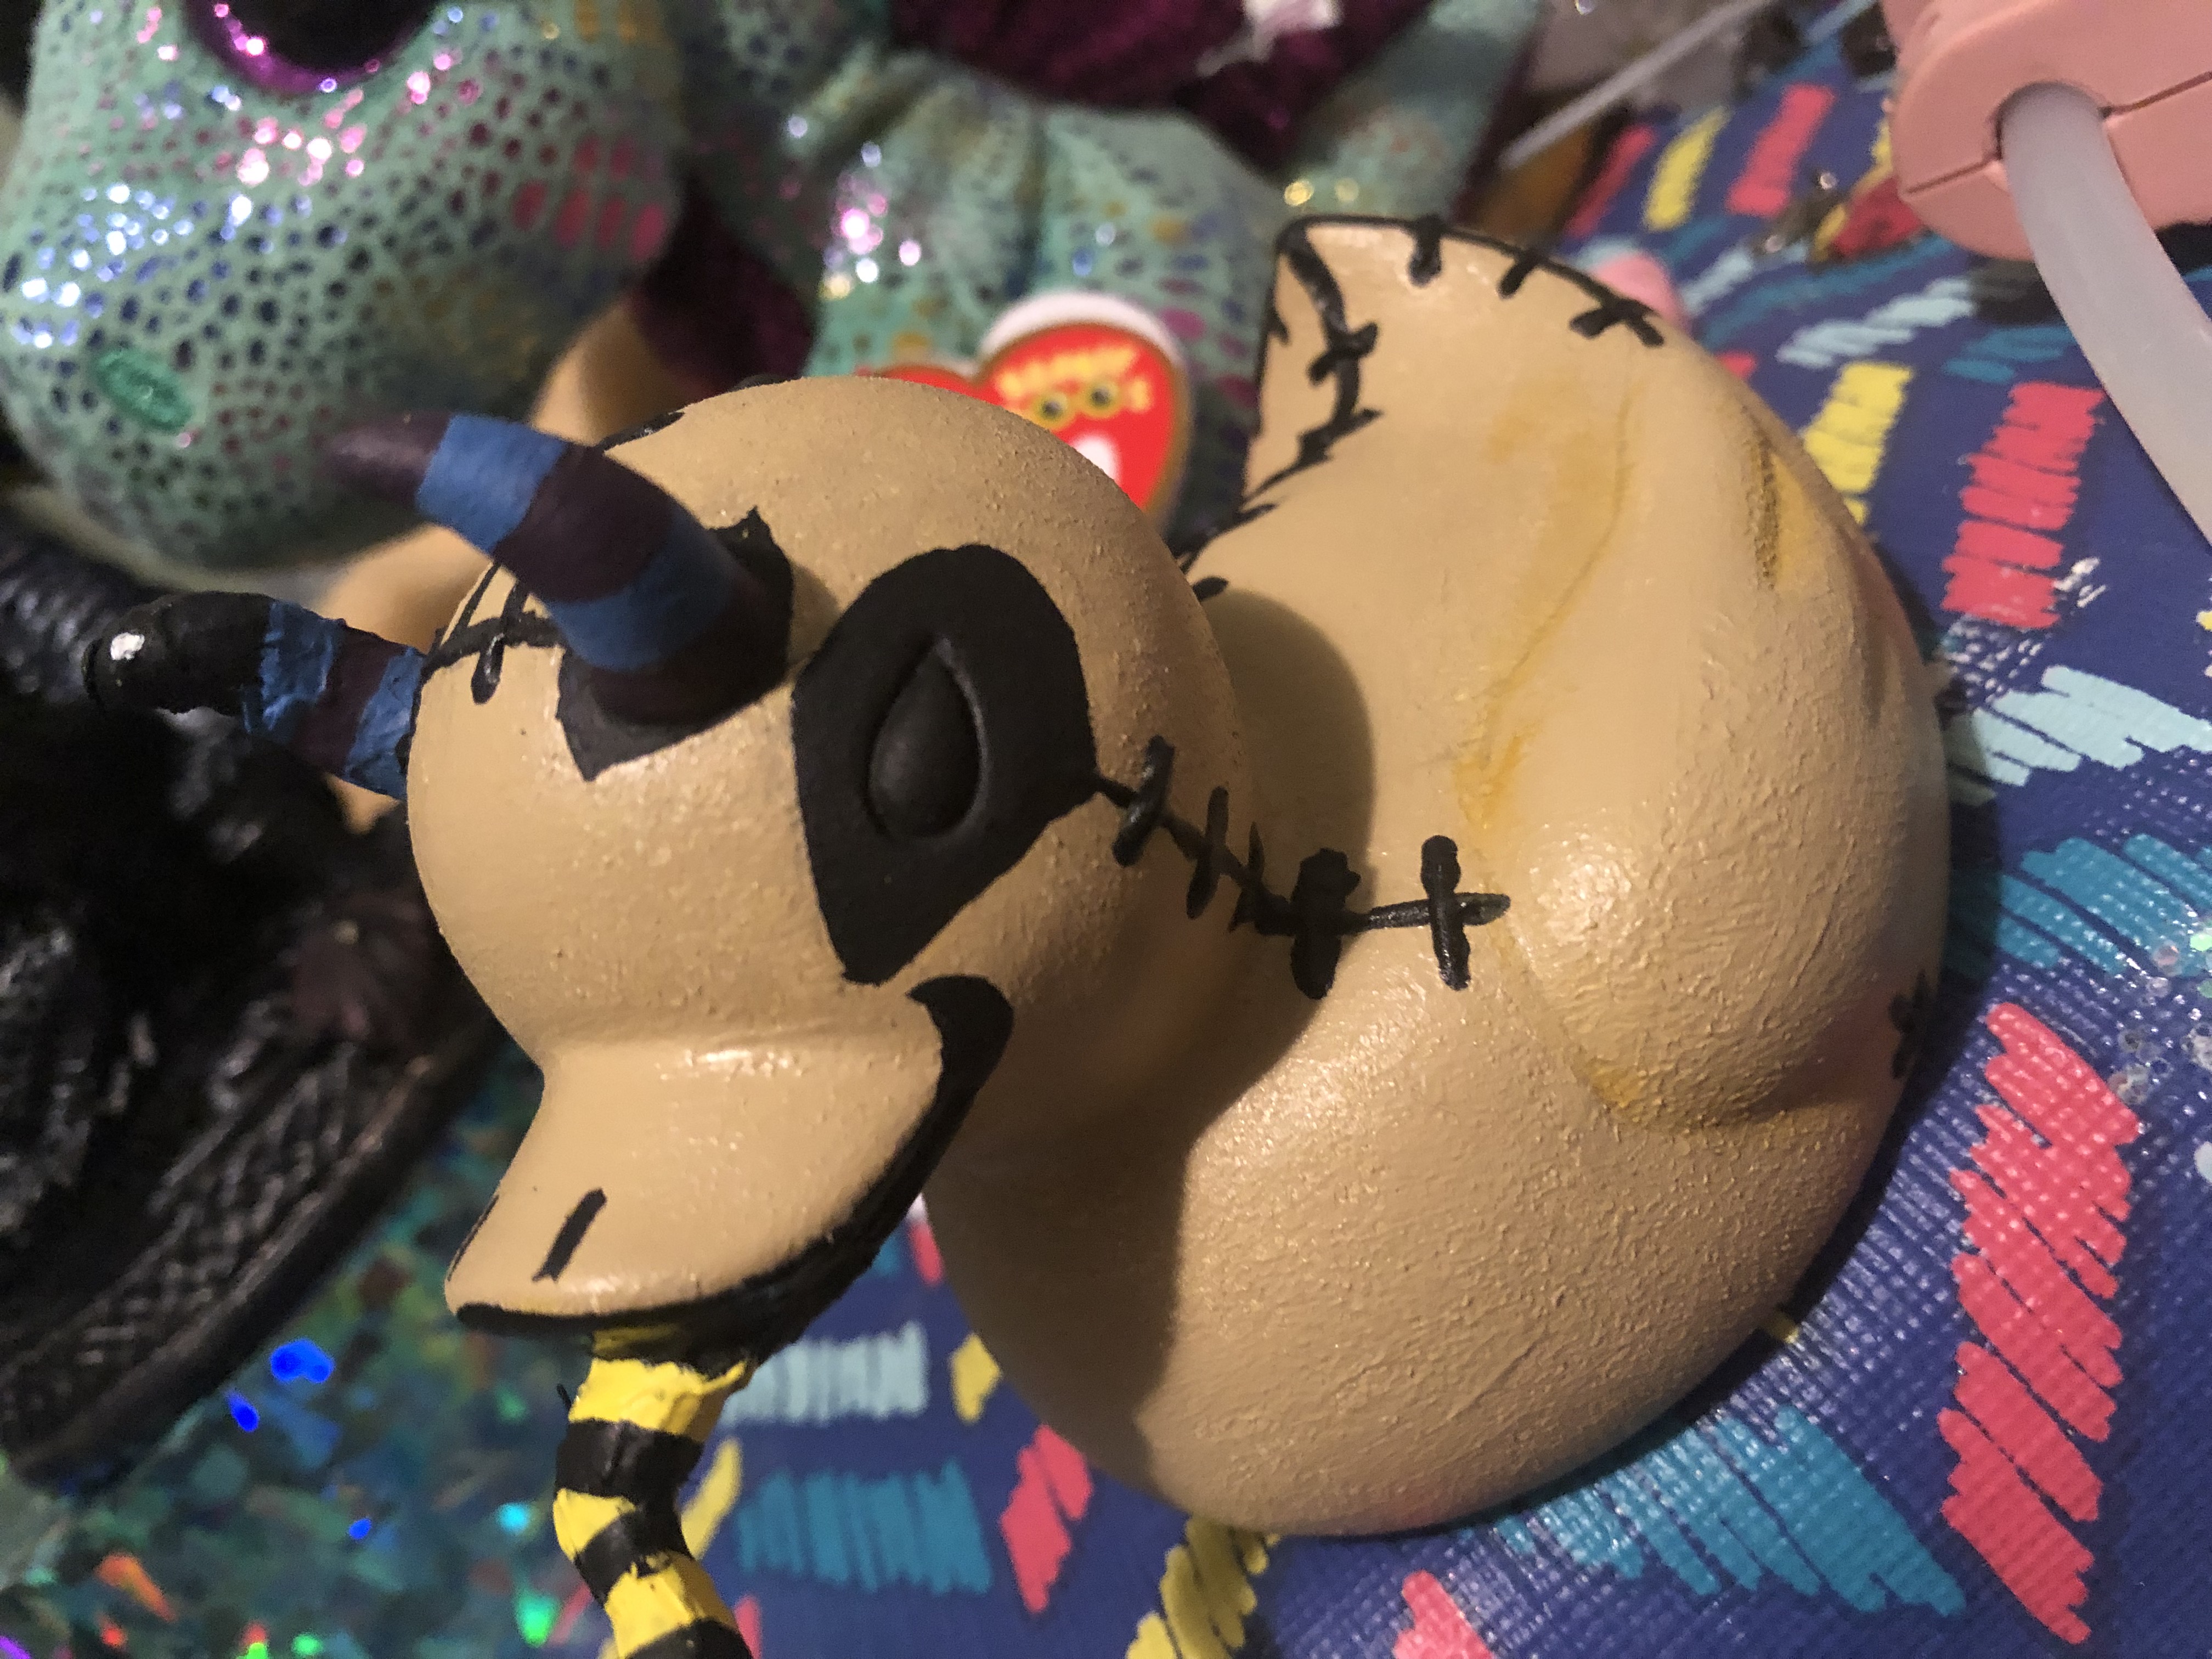
Since the old eyes were a little small, I chose to redraw them with a pencil as a base. This allows you to make clean lines and even eyes. You will likely see the indent of the eyes, you can fill the indent with a little bit of puffy paint or leave it be as a reminder of what he once was.
Painting the Eyes and Mouth
Using a fine paint brush, put black paint on the underside of the beak, the bottom jaw, and in both eye sockets. Be careful when painting your lines to not go over them, as it is really hard to cover up black paint.
The Concept of Hot Glue Sculpting
I had this idea to use hot glue instead of Sculpey for details, because hot glue builds on itself quickly and has the same flexibility as the duck itself. Heat will also melt and bond the glue to the plastic duck, meaning it will stay put.
The Test Run
I started by attempting to make a little worm out of hot glue. I learned quickly that hot glue is a pain to sculpt with, and can become stringy quickly. If your hot glue gets stringy, use the tip of the gun to melt the glue down again and wrap it around the sculpted thing.
Sculpting the Horn of the Nightmare Before Christmas Duck
Cut the tip of the horn off first. After the horn has been removed, add a little nub of hot glue to the end of the horn and gently sculpt it into a nubby little head. Let it cool completely before painting.
Painting the New Snake Worm
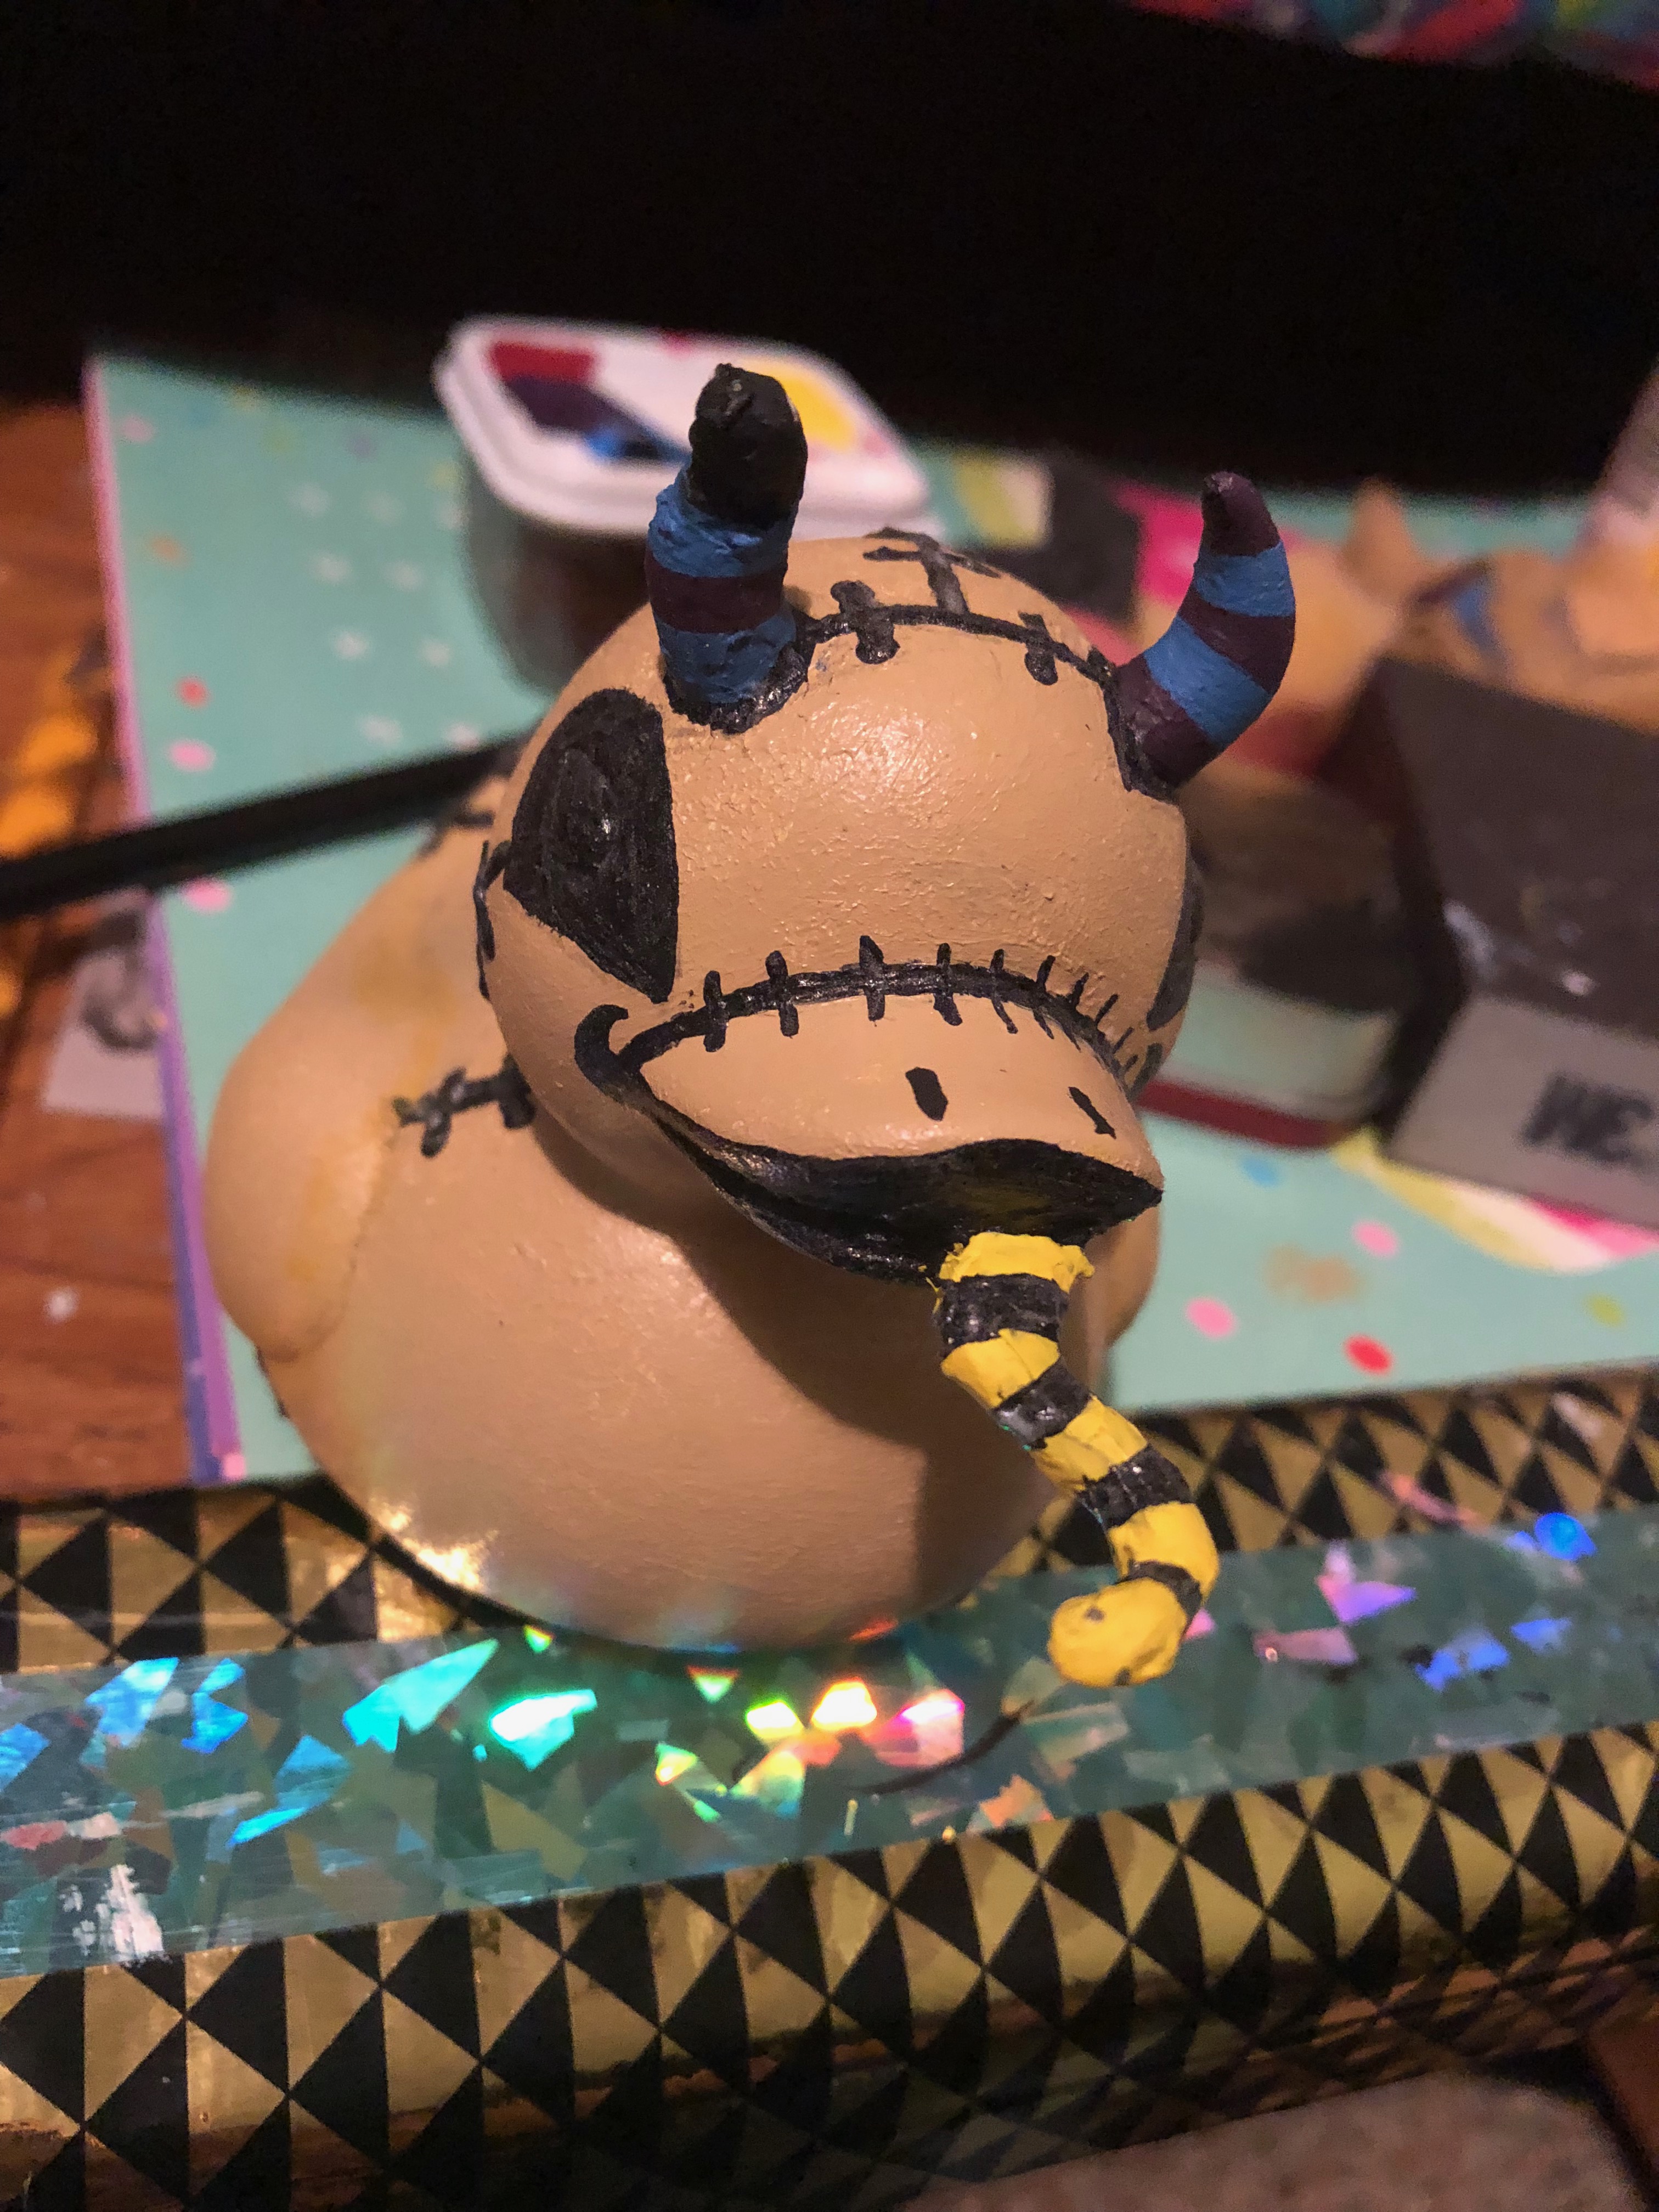
The idea behind the little nubby worm friend is that he is one of oogy’s bugs, so I painted black around the base of either side to make it look like he split a seam and then painted the little worm black and blue. This didn’t turn out the best but it still was pretty cute. Part two of this craft will be out Wednesday, Happy Crafting