

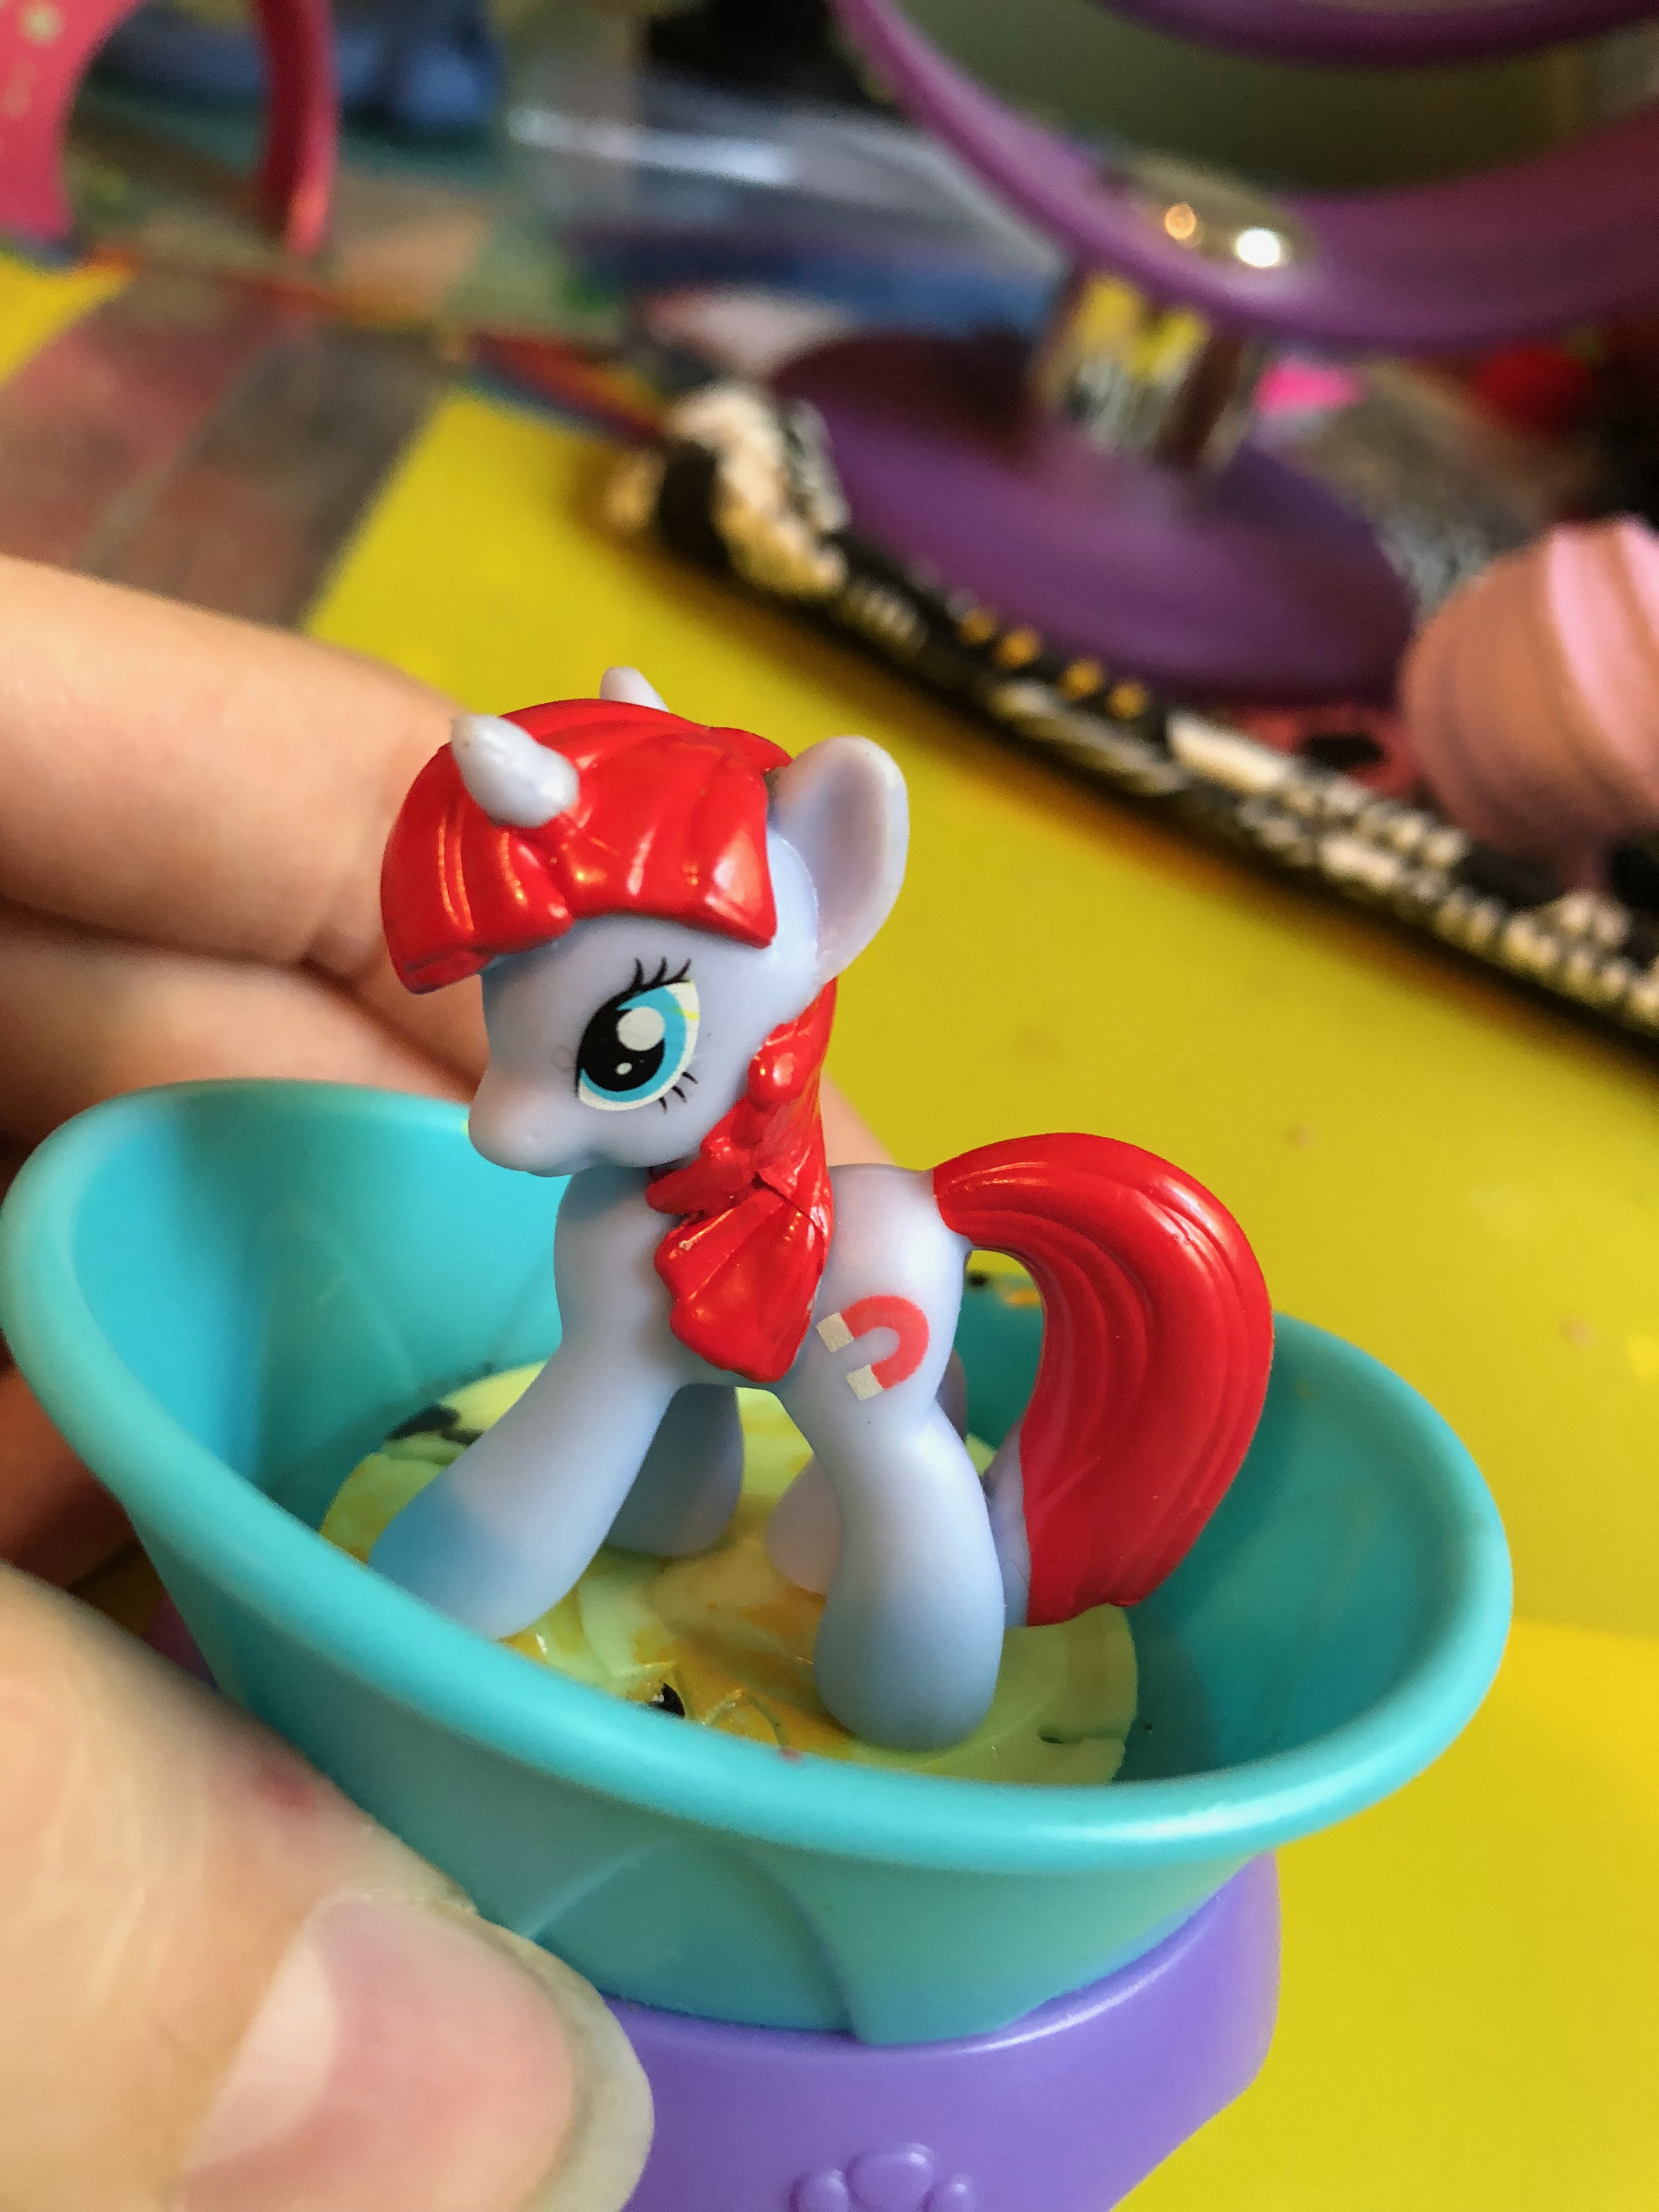
The struggle to find LPS to paint has been real. At a lovely little resale shop though, we found a bucket of these little ponies, and I decided to give them a try. This little pony went from Magnet Bolt to Mint Coco.
What you will need
Painting over the Old MLP
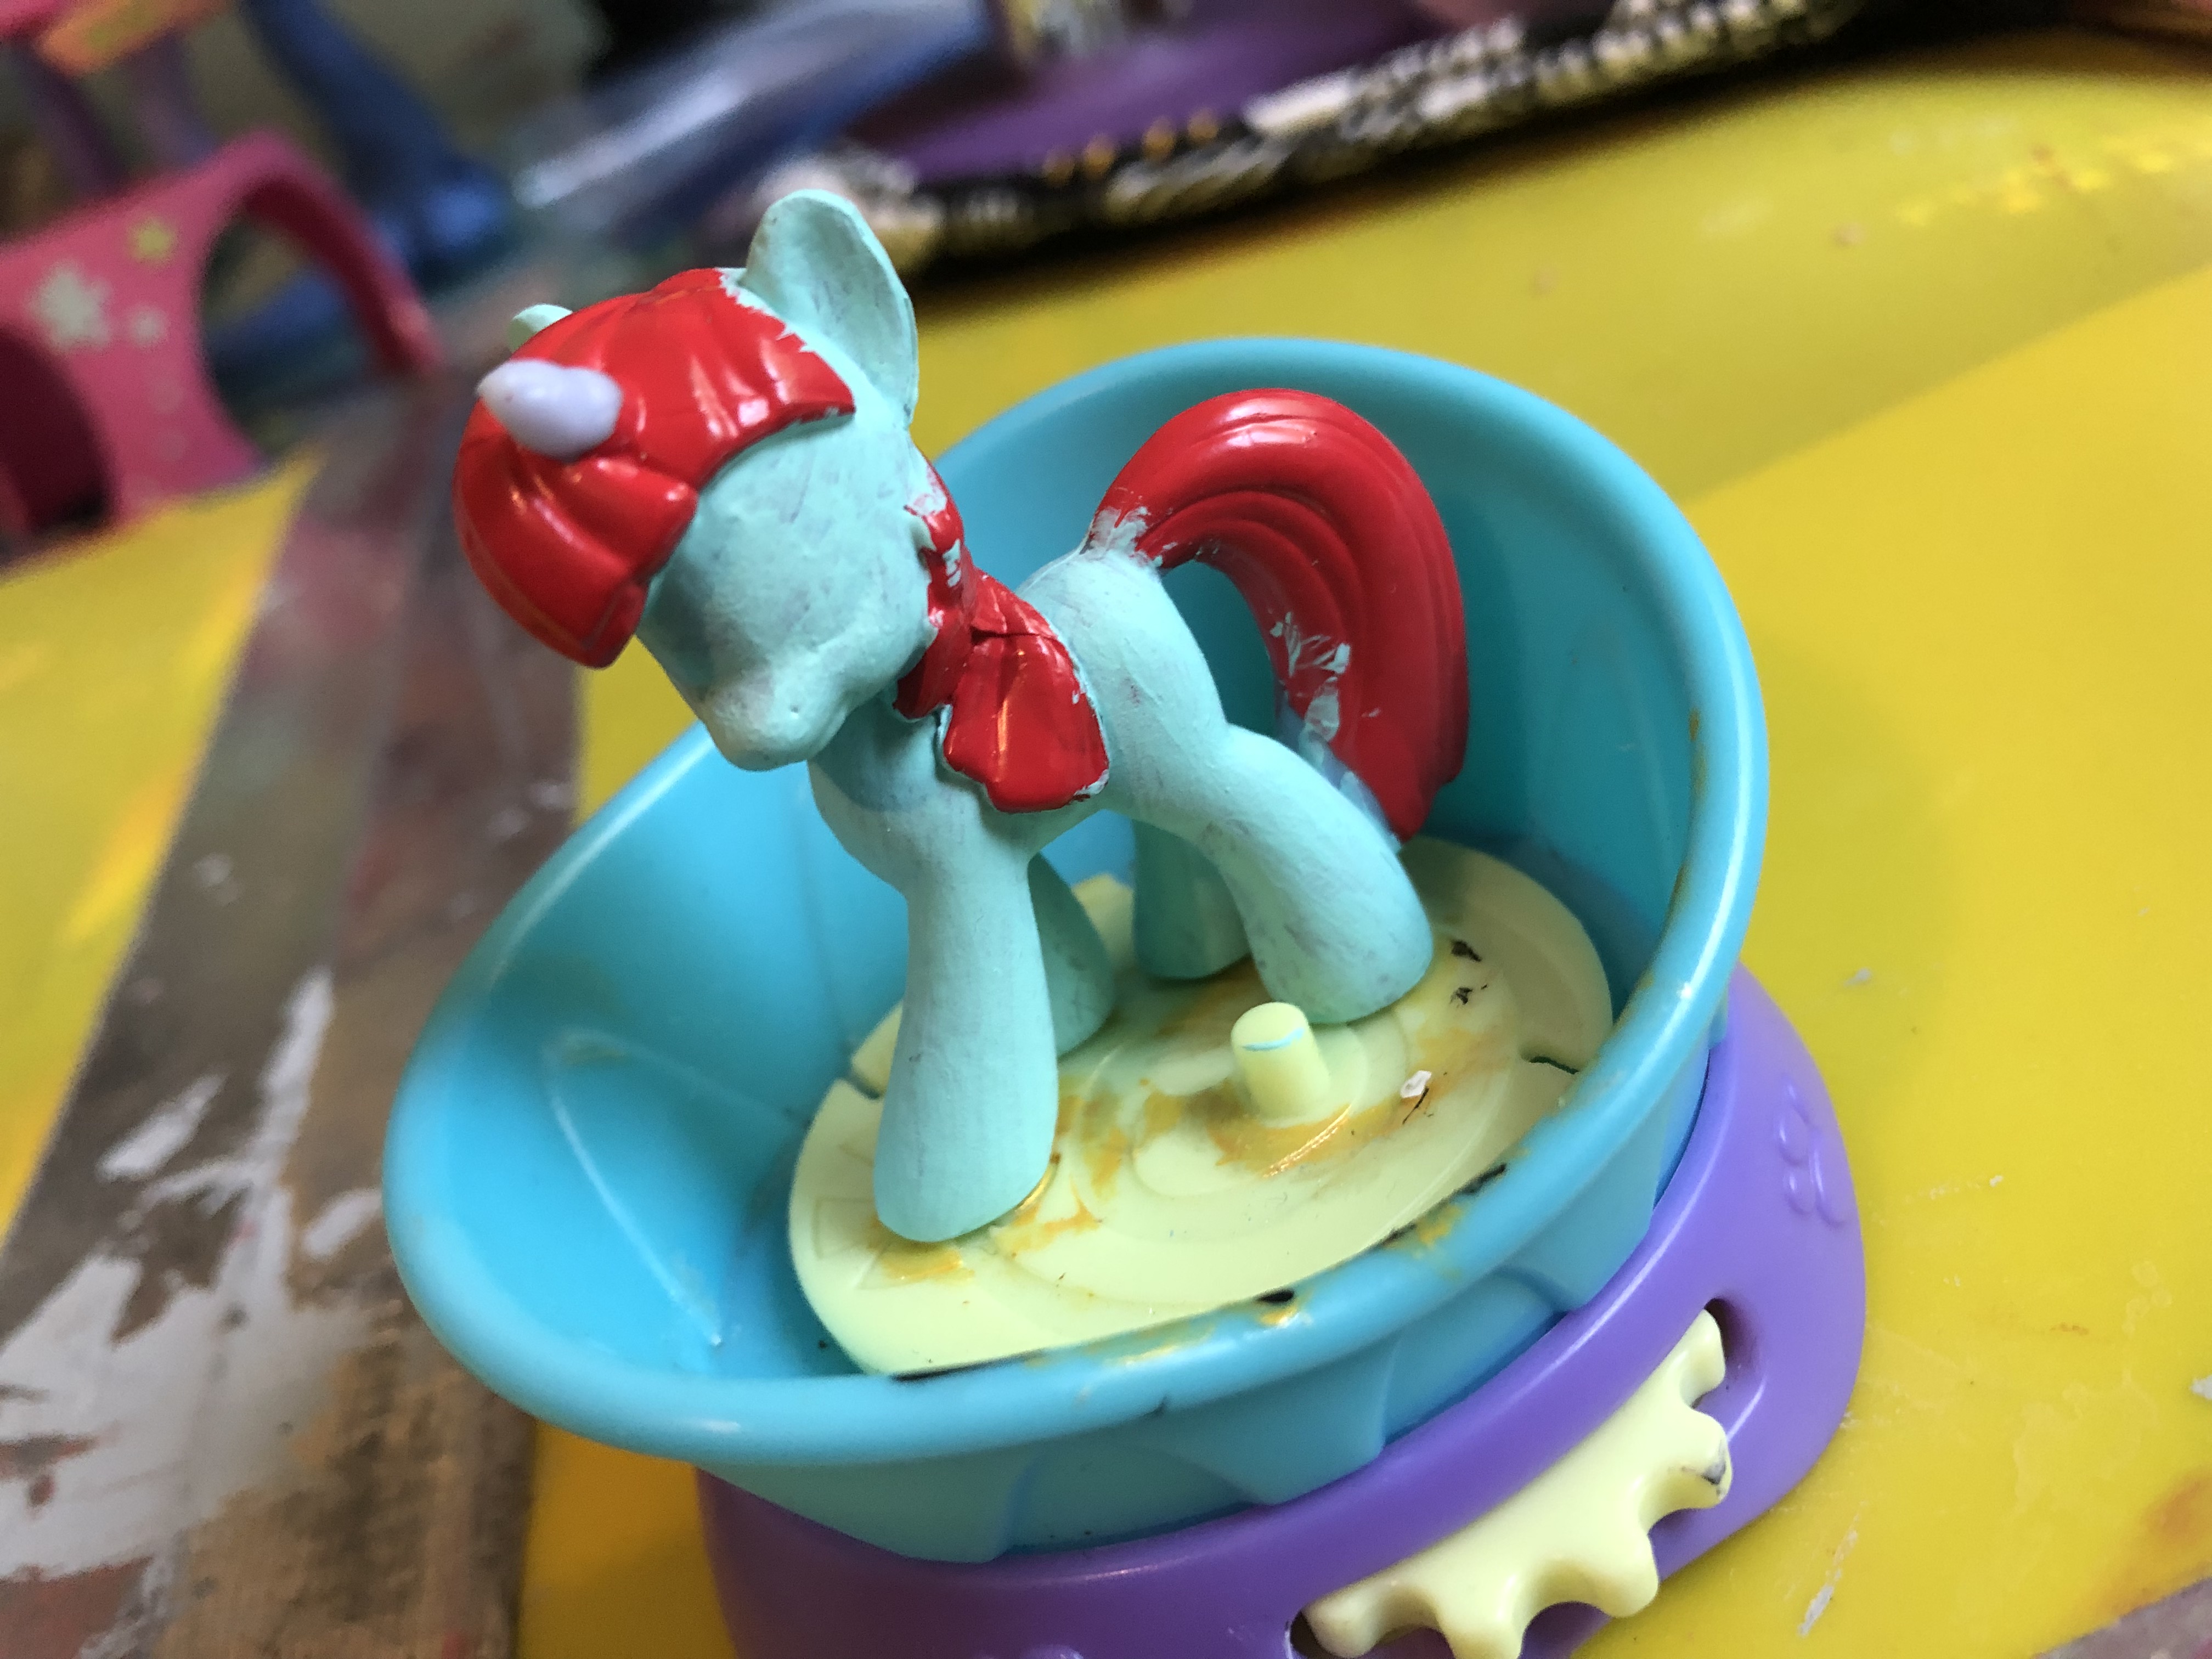
Start by painting the entire thing mint green. Do 2-3 coats to cover the blue base and wait for it to fully dry. This paint dried matte, which was perfect.
Marking the eyes for the MLP Makeover
Optionally, you can draw in pencil where you would like the eyes to be, to make sure your shape is correct before painting them later. I chose not to do this, since my pony has eye indents already.
Painting the Tail and Mane
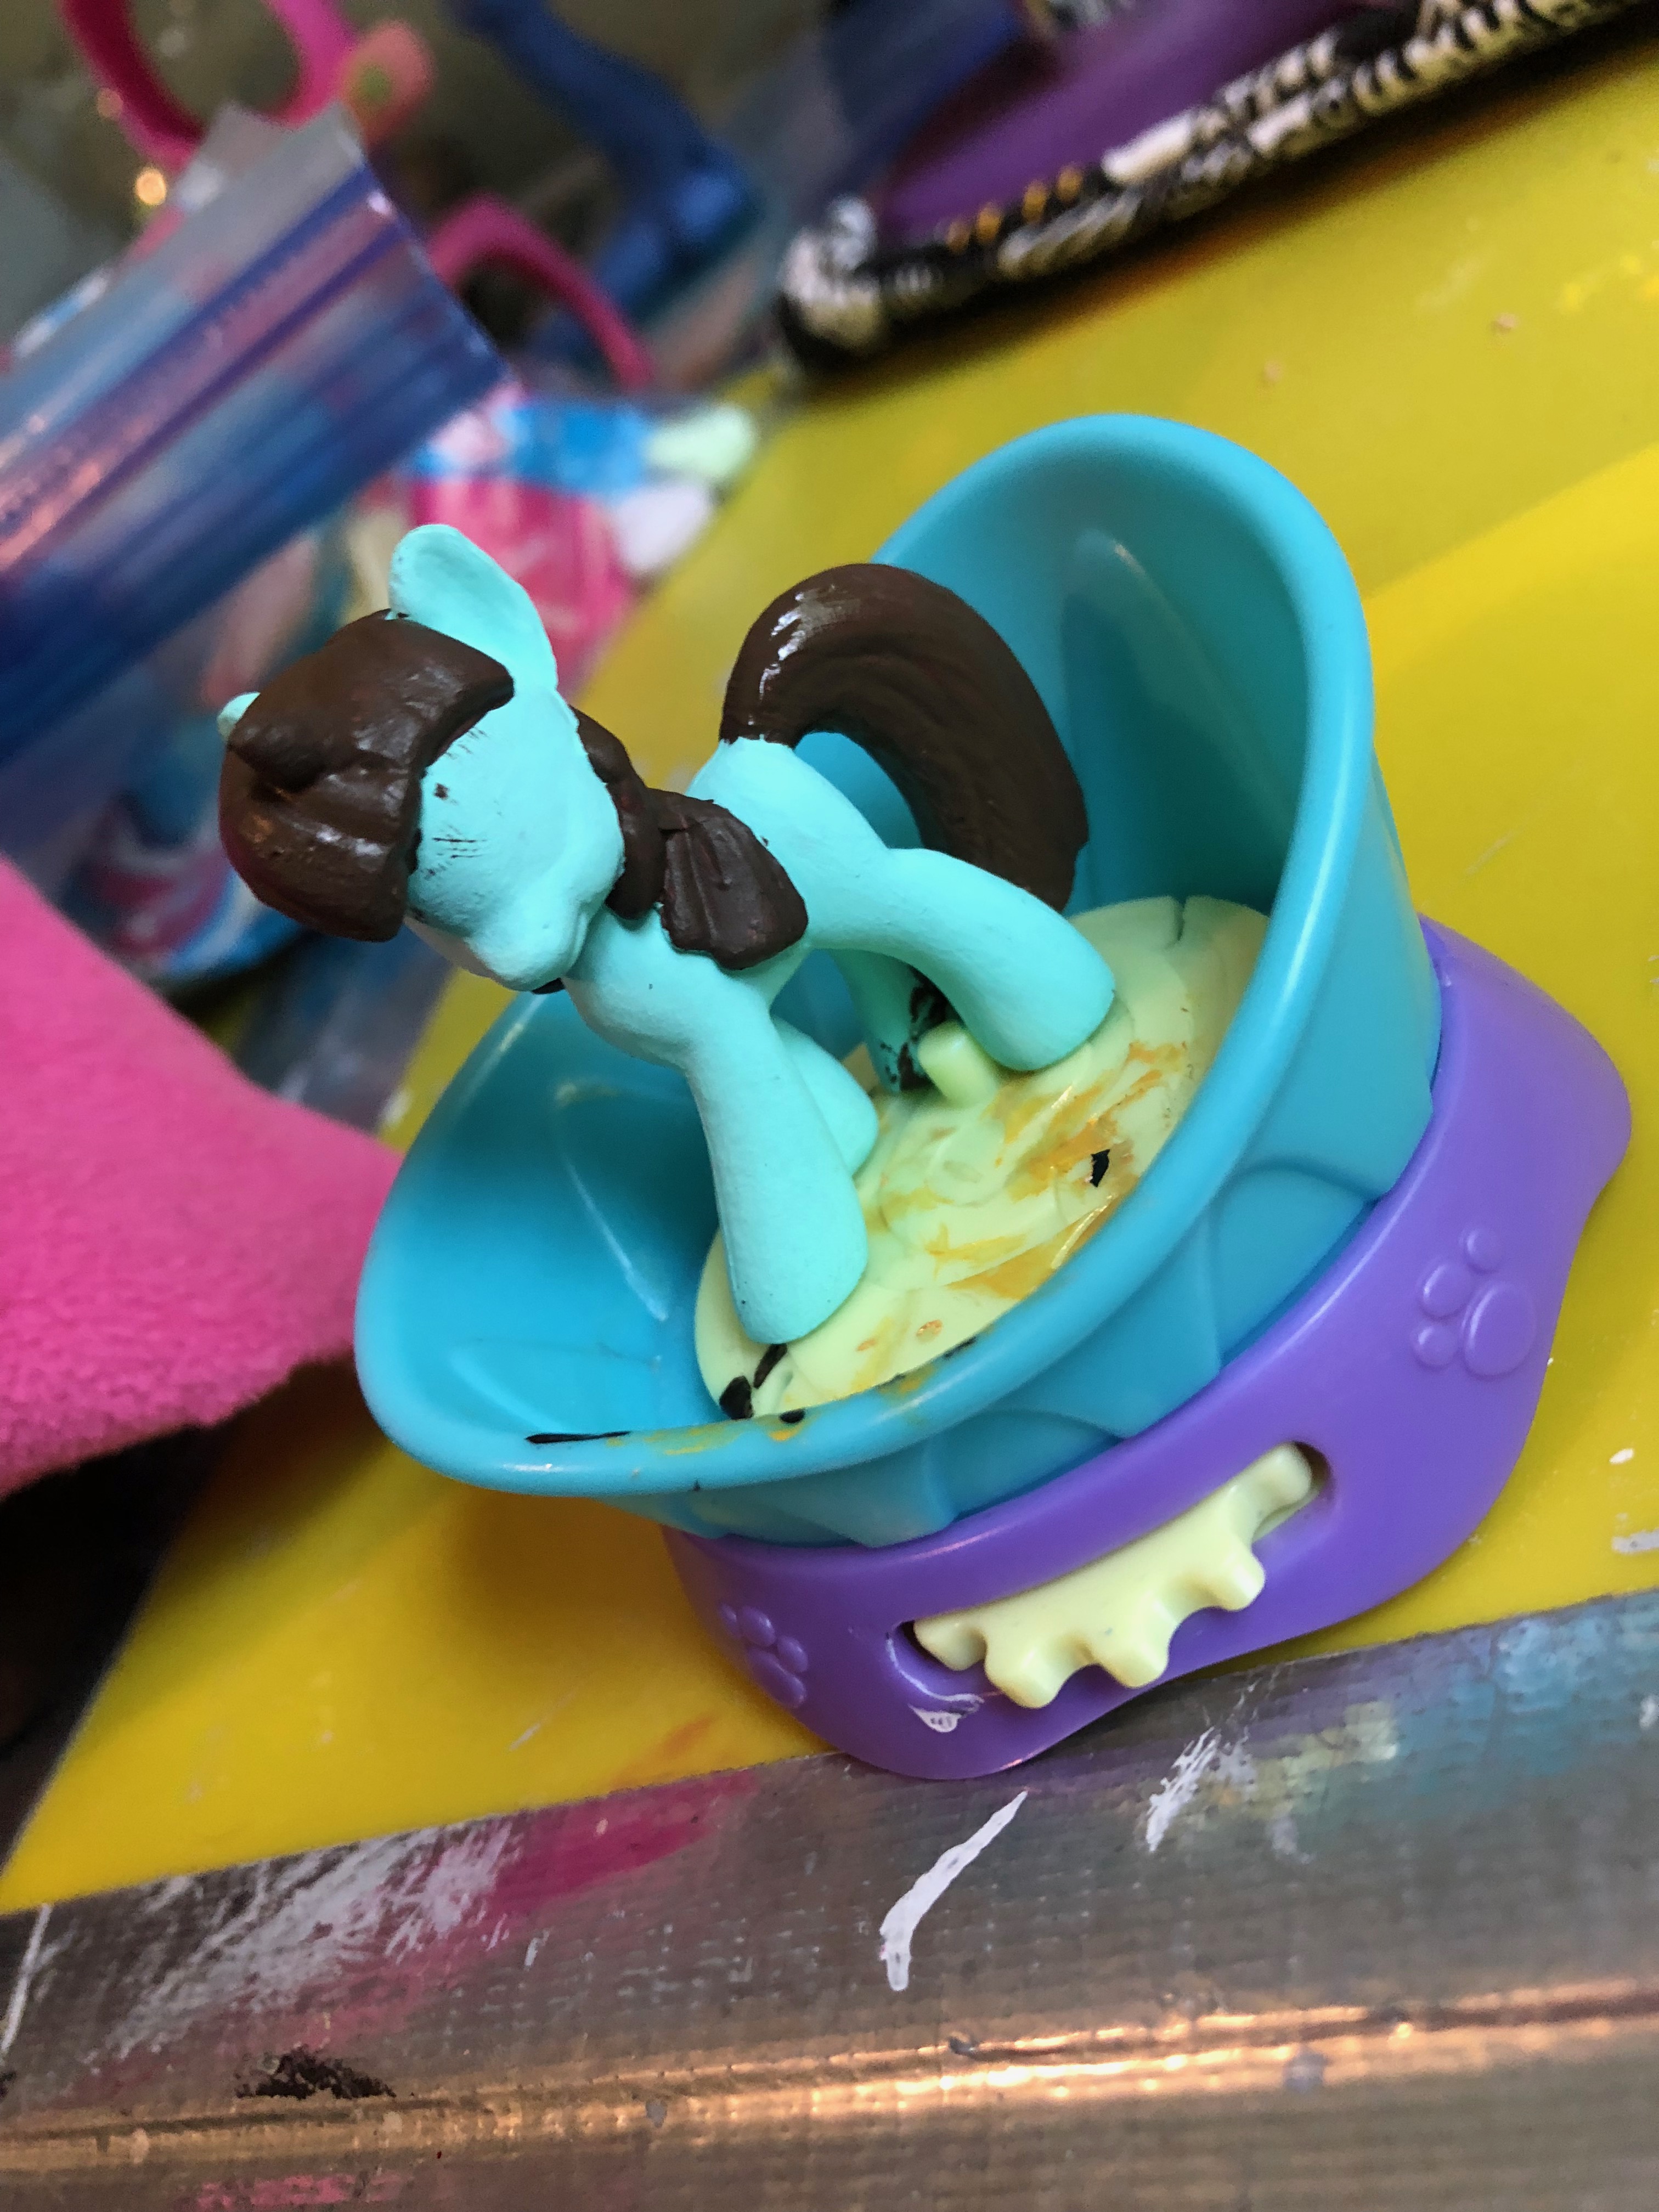
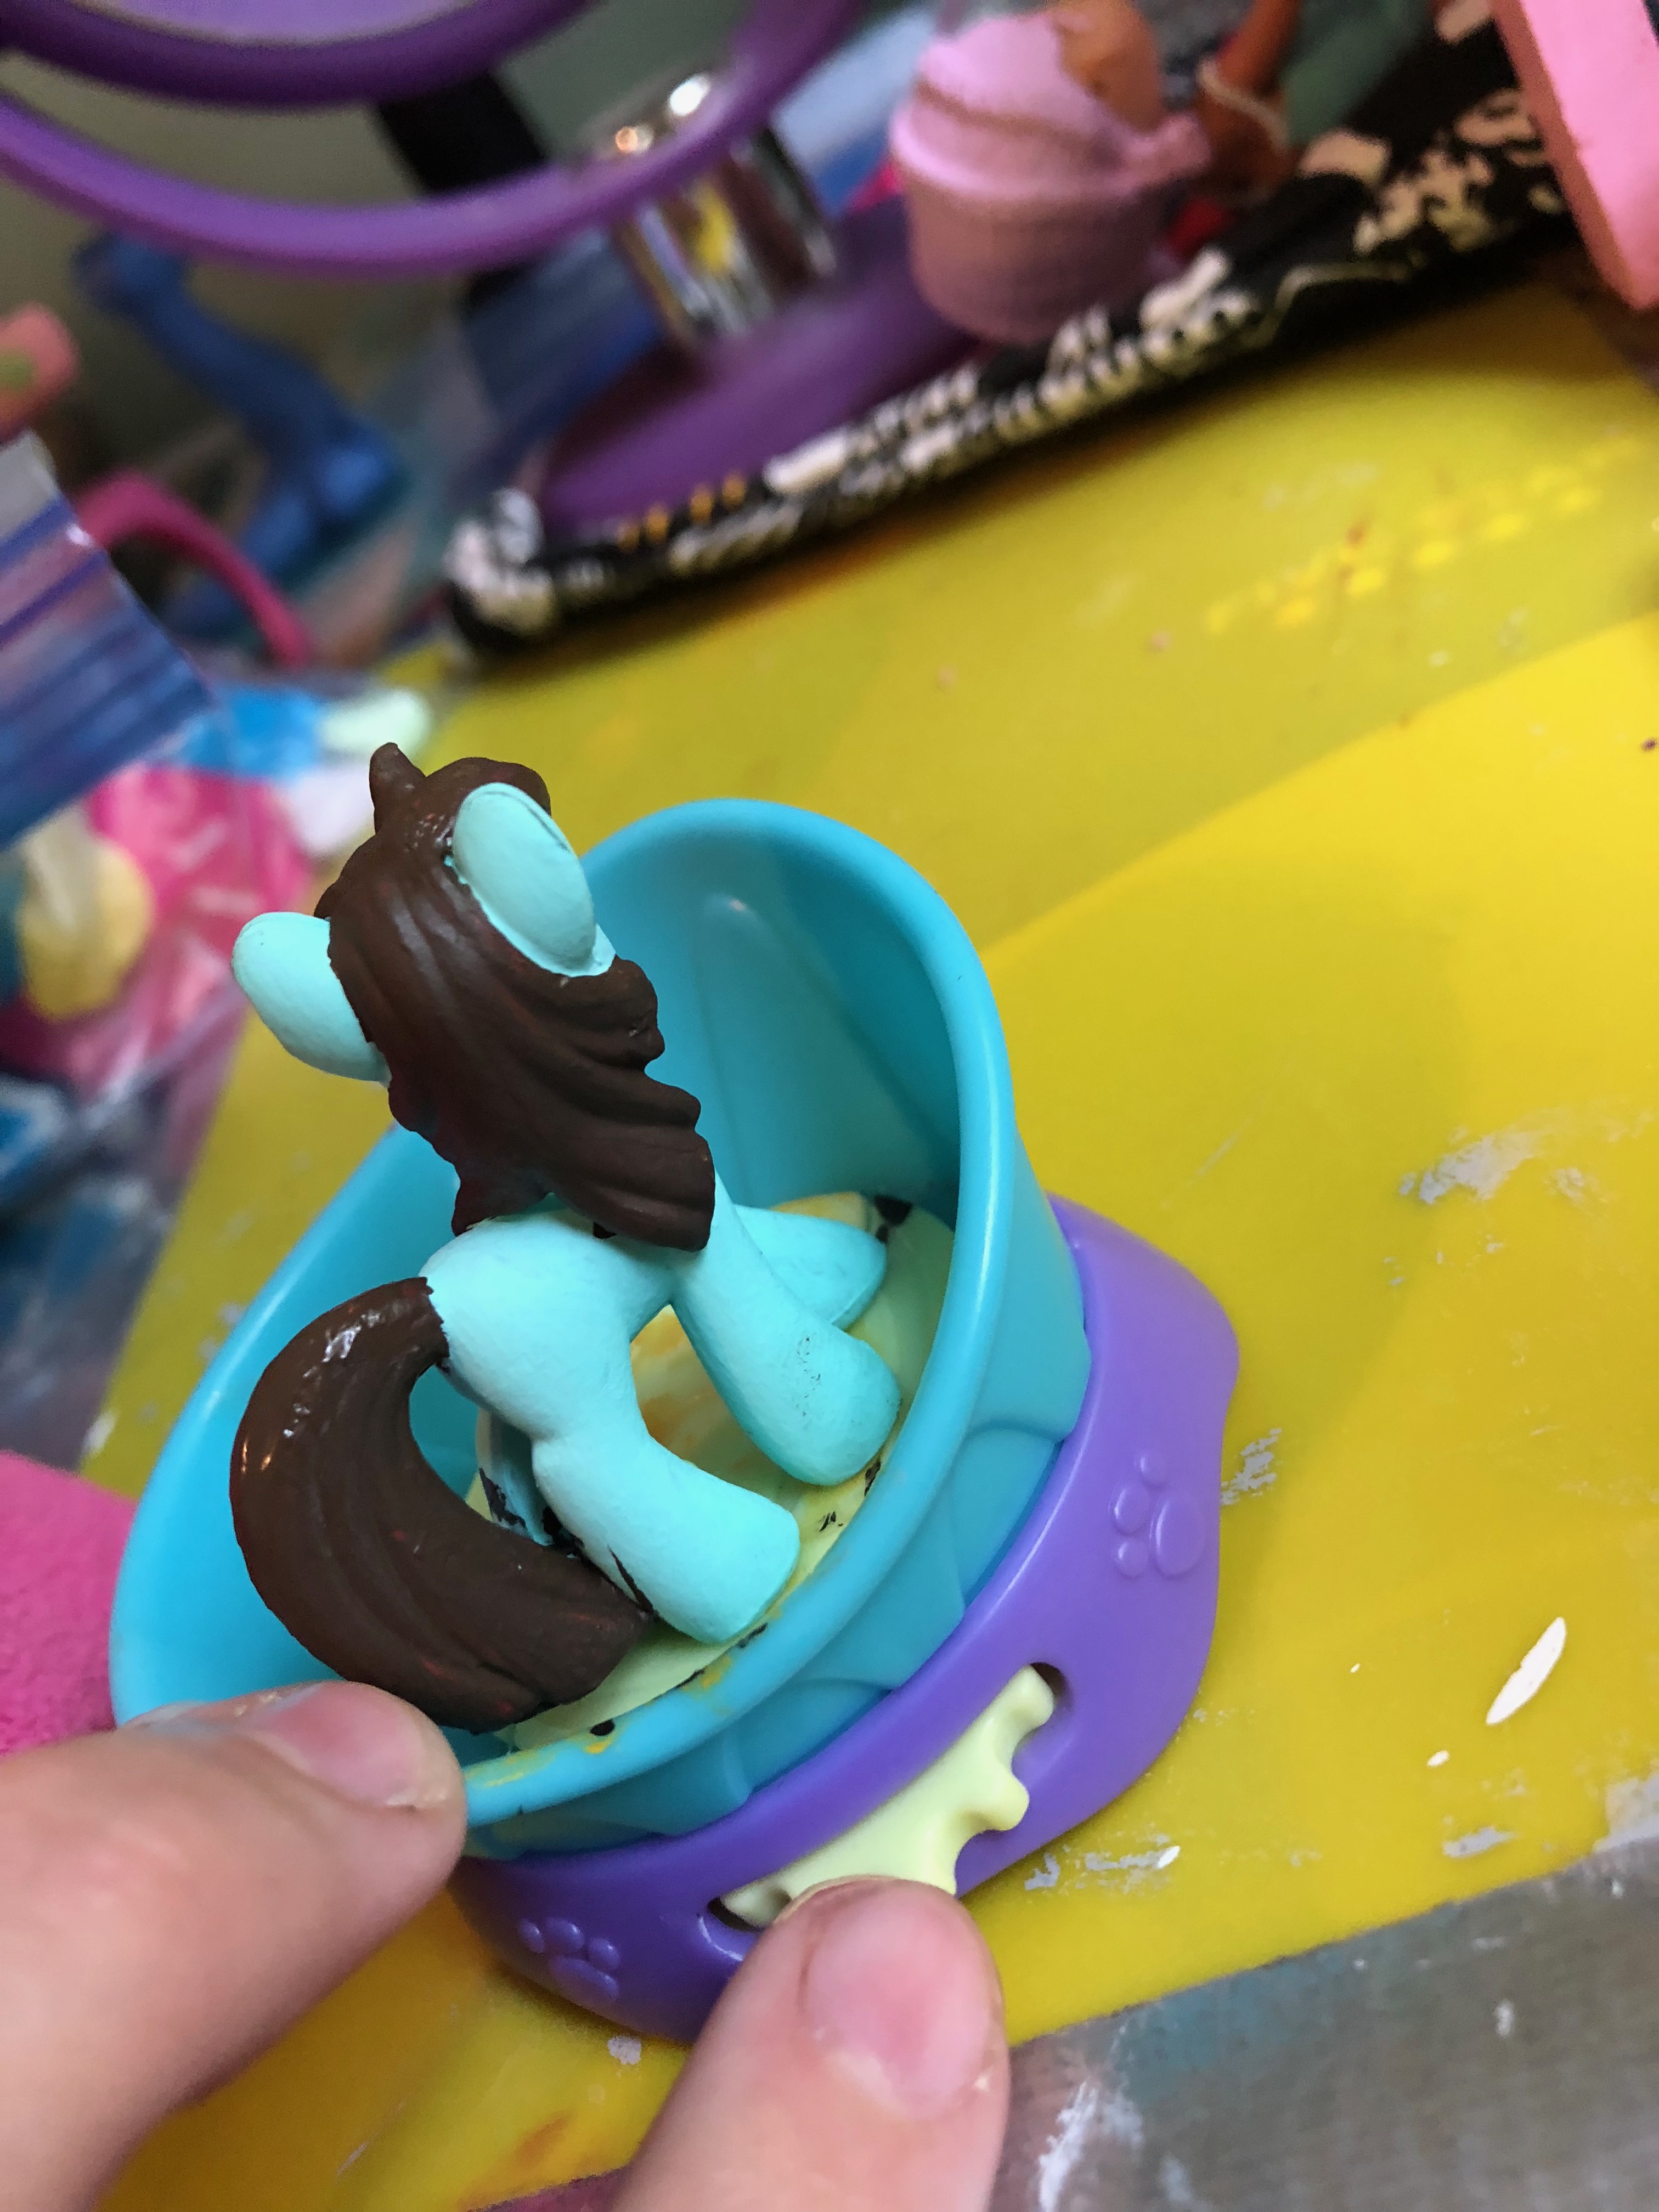
I found a nice, chocolatey brown and completely covered the tail and mane, making sure to get in all the nooks and crannies. This will probably take a few coats to get full coverage. Cover up any brown spots on the green with more green paint.
Adding Variation to the MLP Makeover
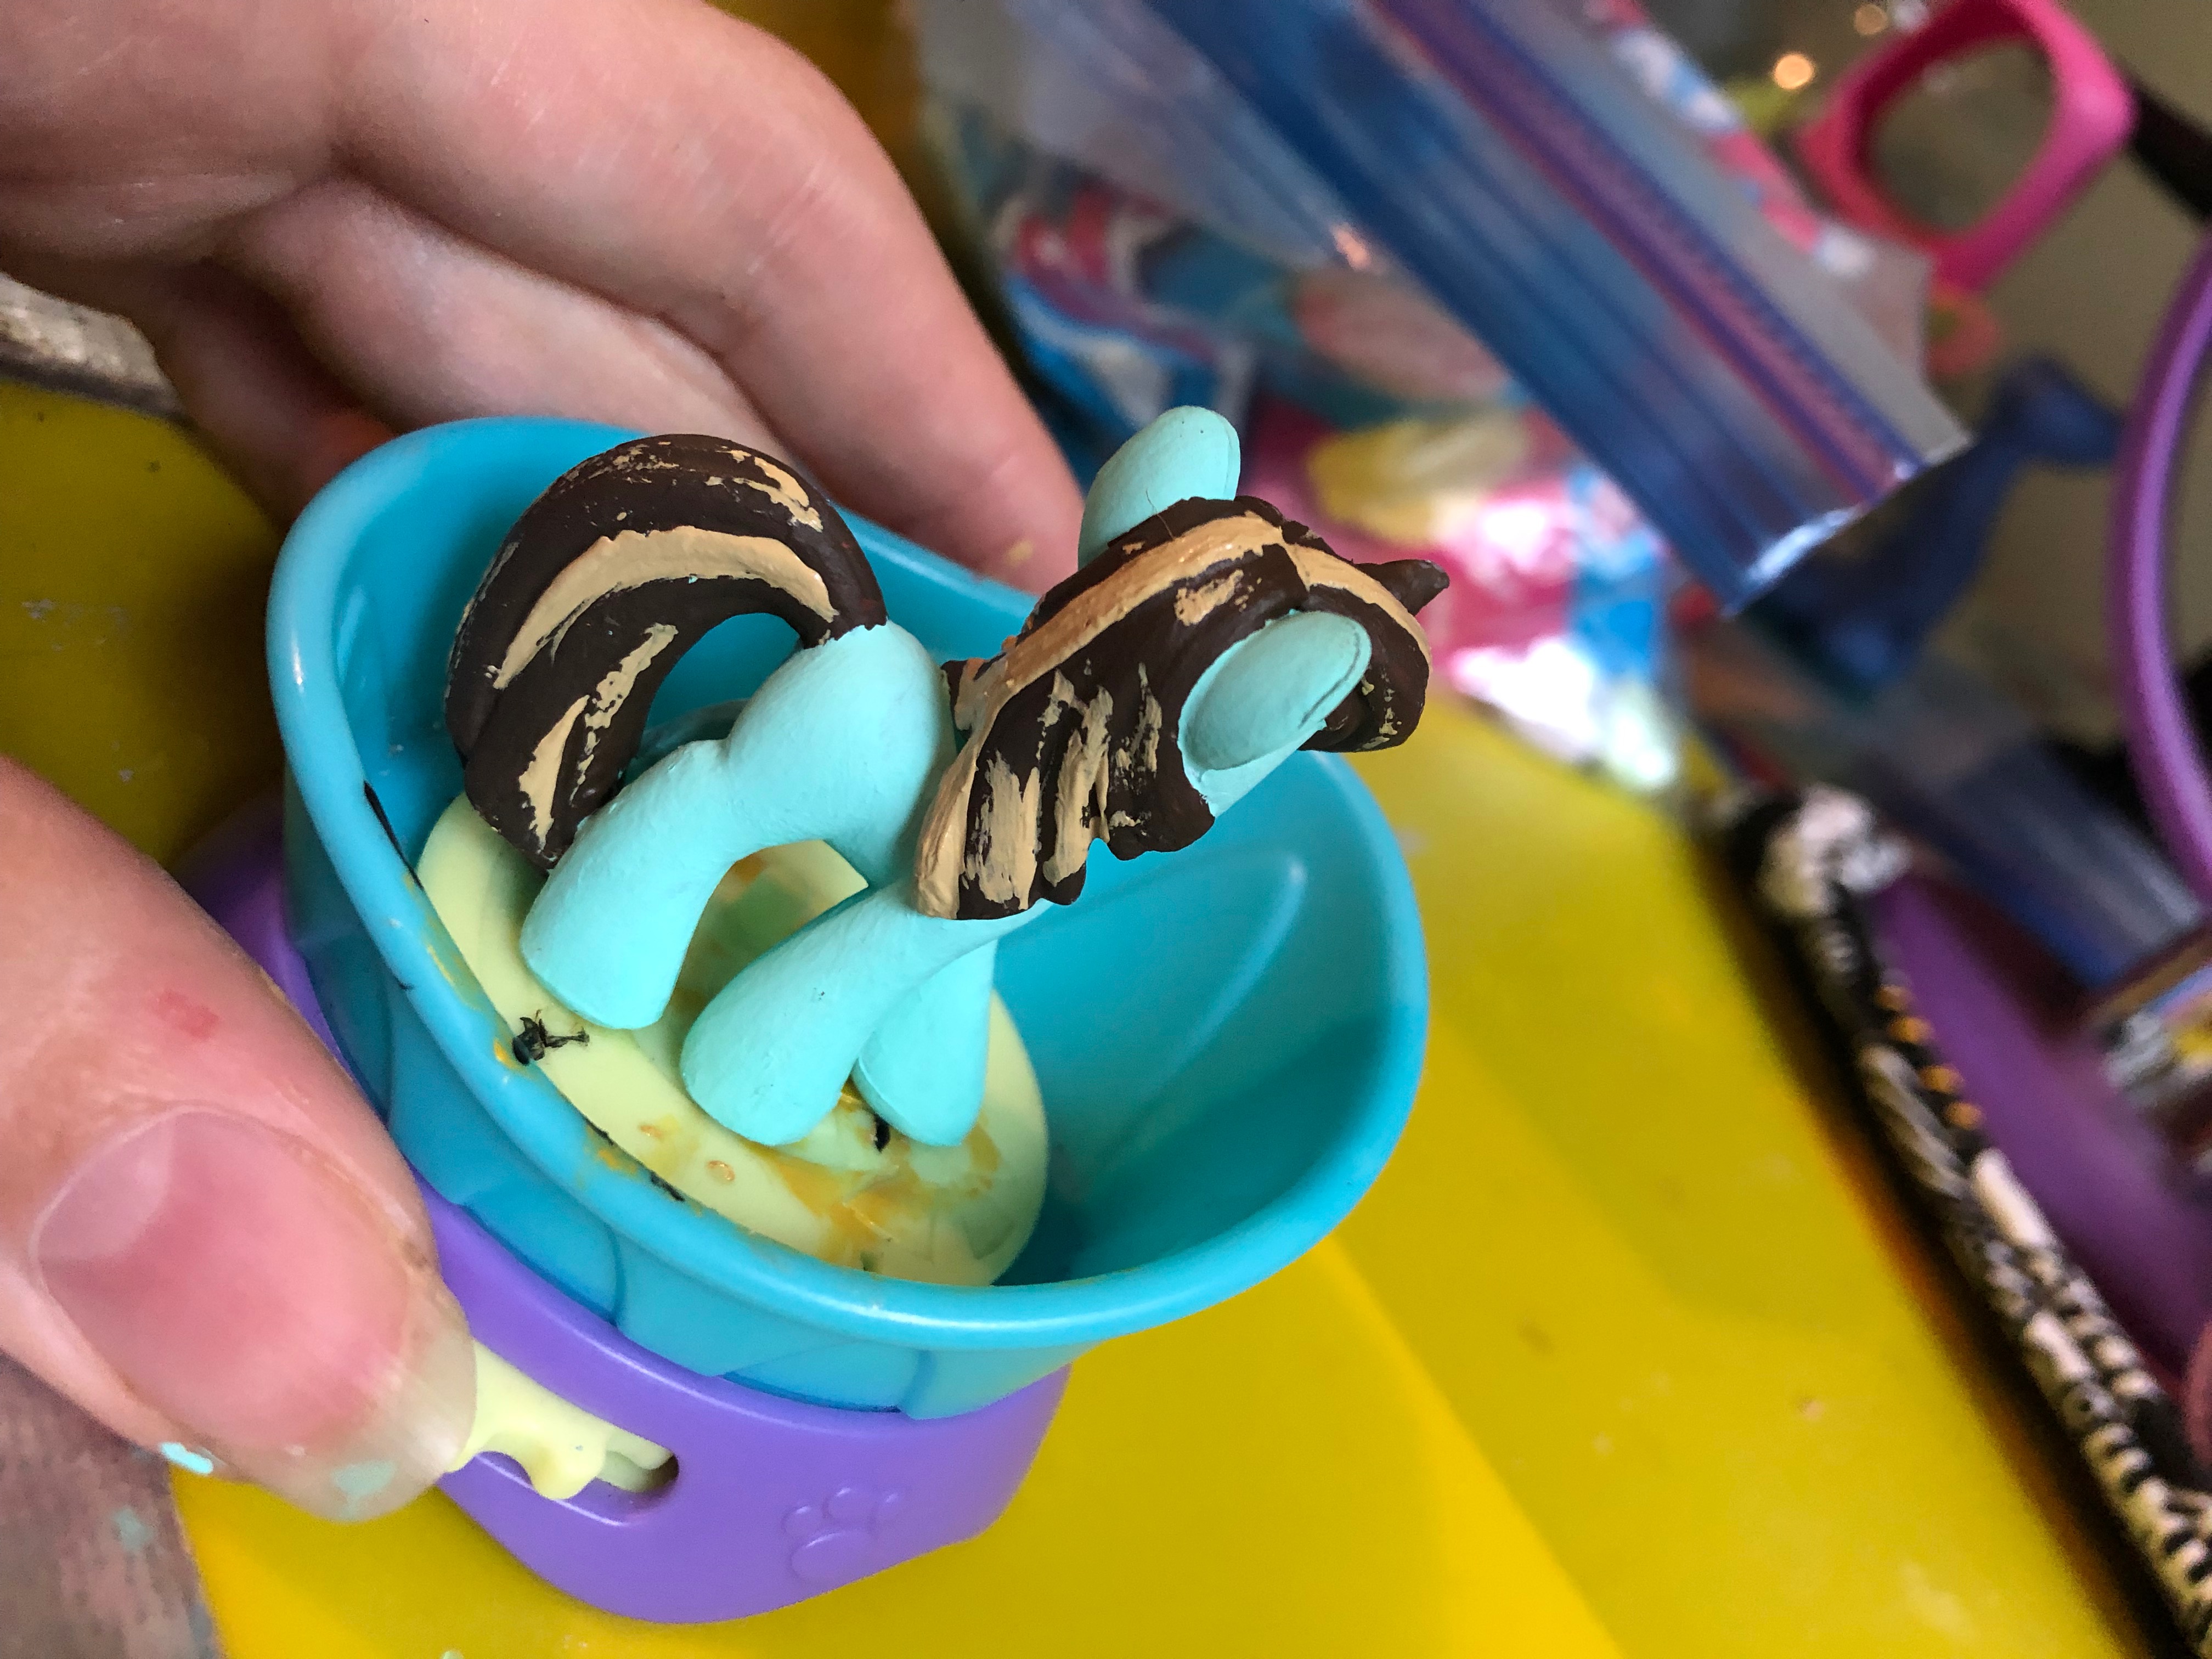
Since this looks a little plain, take some lovely light brown or tan paint and add streaks to her hair. Realize after doing this that she looks like she covered herself in peanut butter, and that it is a little weird.
Painting over your Mistakes
Pull out that dark brown again and do another coat. That tan must go at once. Maybe it’ll come back another day on a Peanut butter and Jelly Sandwich pony.
Adding New Highlights to the MLP Makeover
This time I used the same mint green as on the body, and it seemed to work quite well. You could also add an even dark brown in streak form to define parts of her hair if you really want to.
Starting the Eyes of the MLP
Paint a good thick white base coat over the eye marks and let it completely dry before moving on. This may take a couple of layers, but make sure it is entirely opaque as this will be visible at the end of the craft.
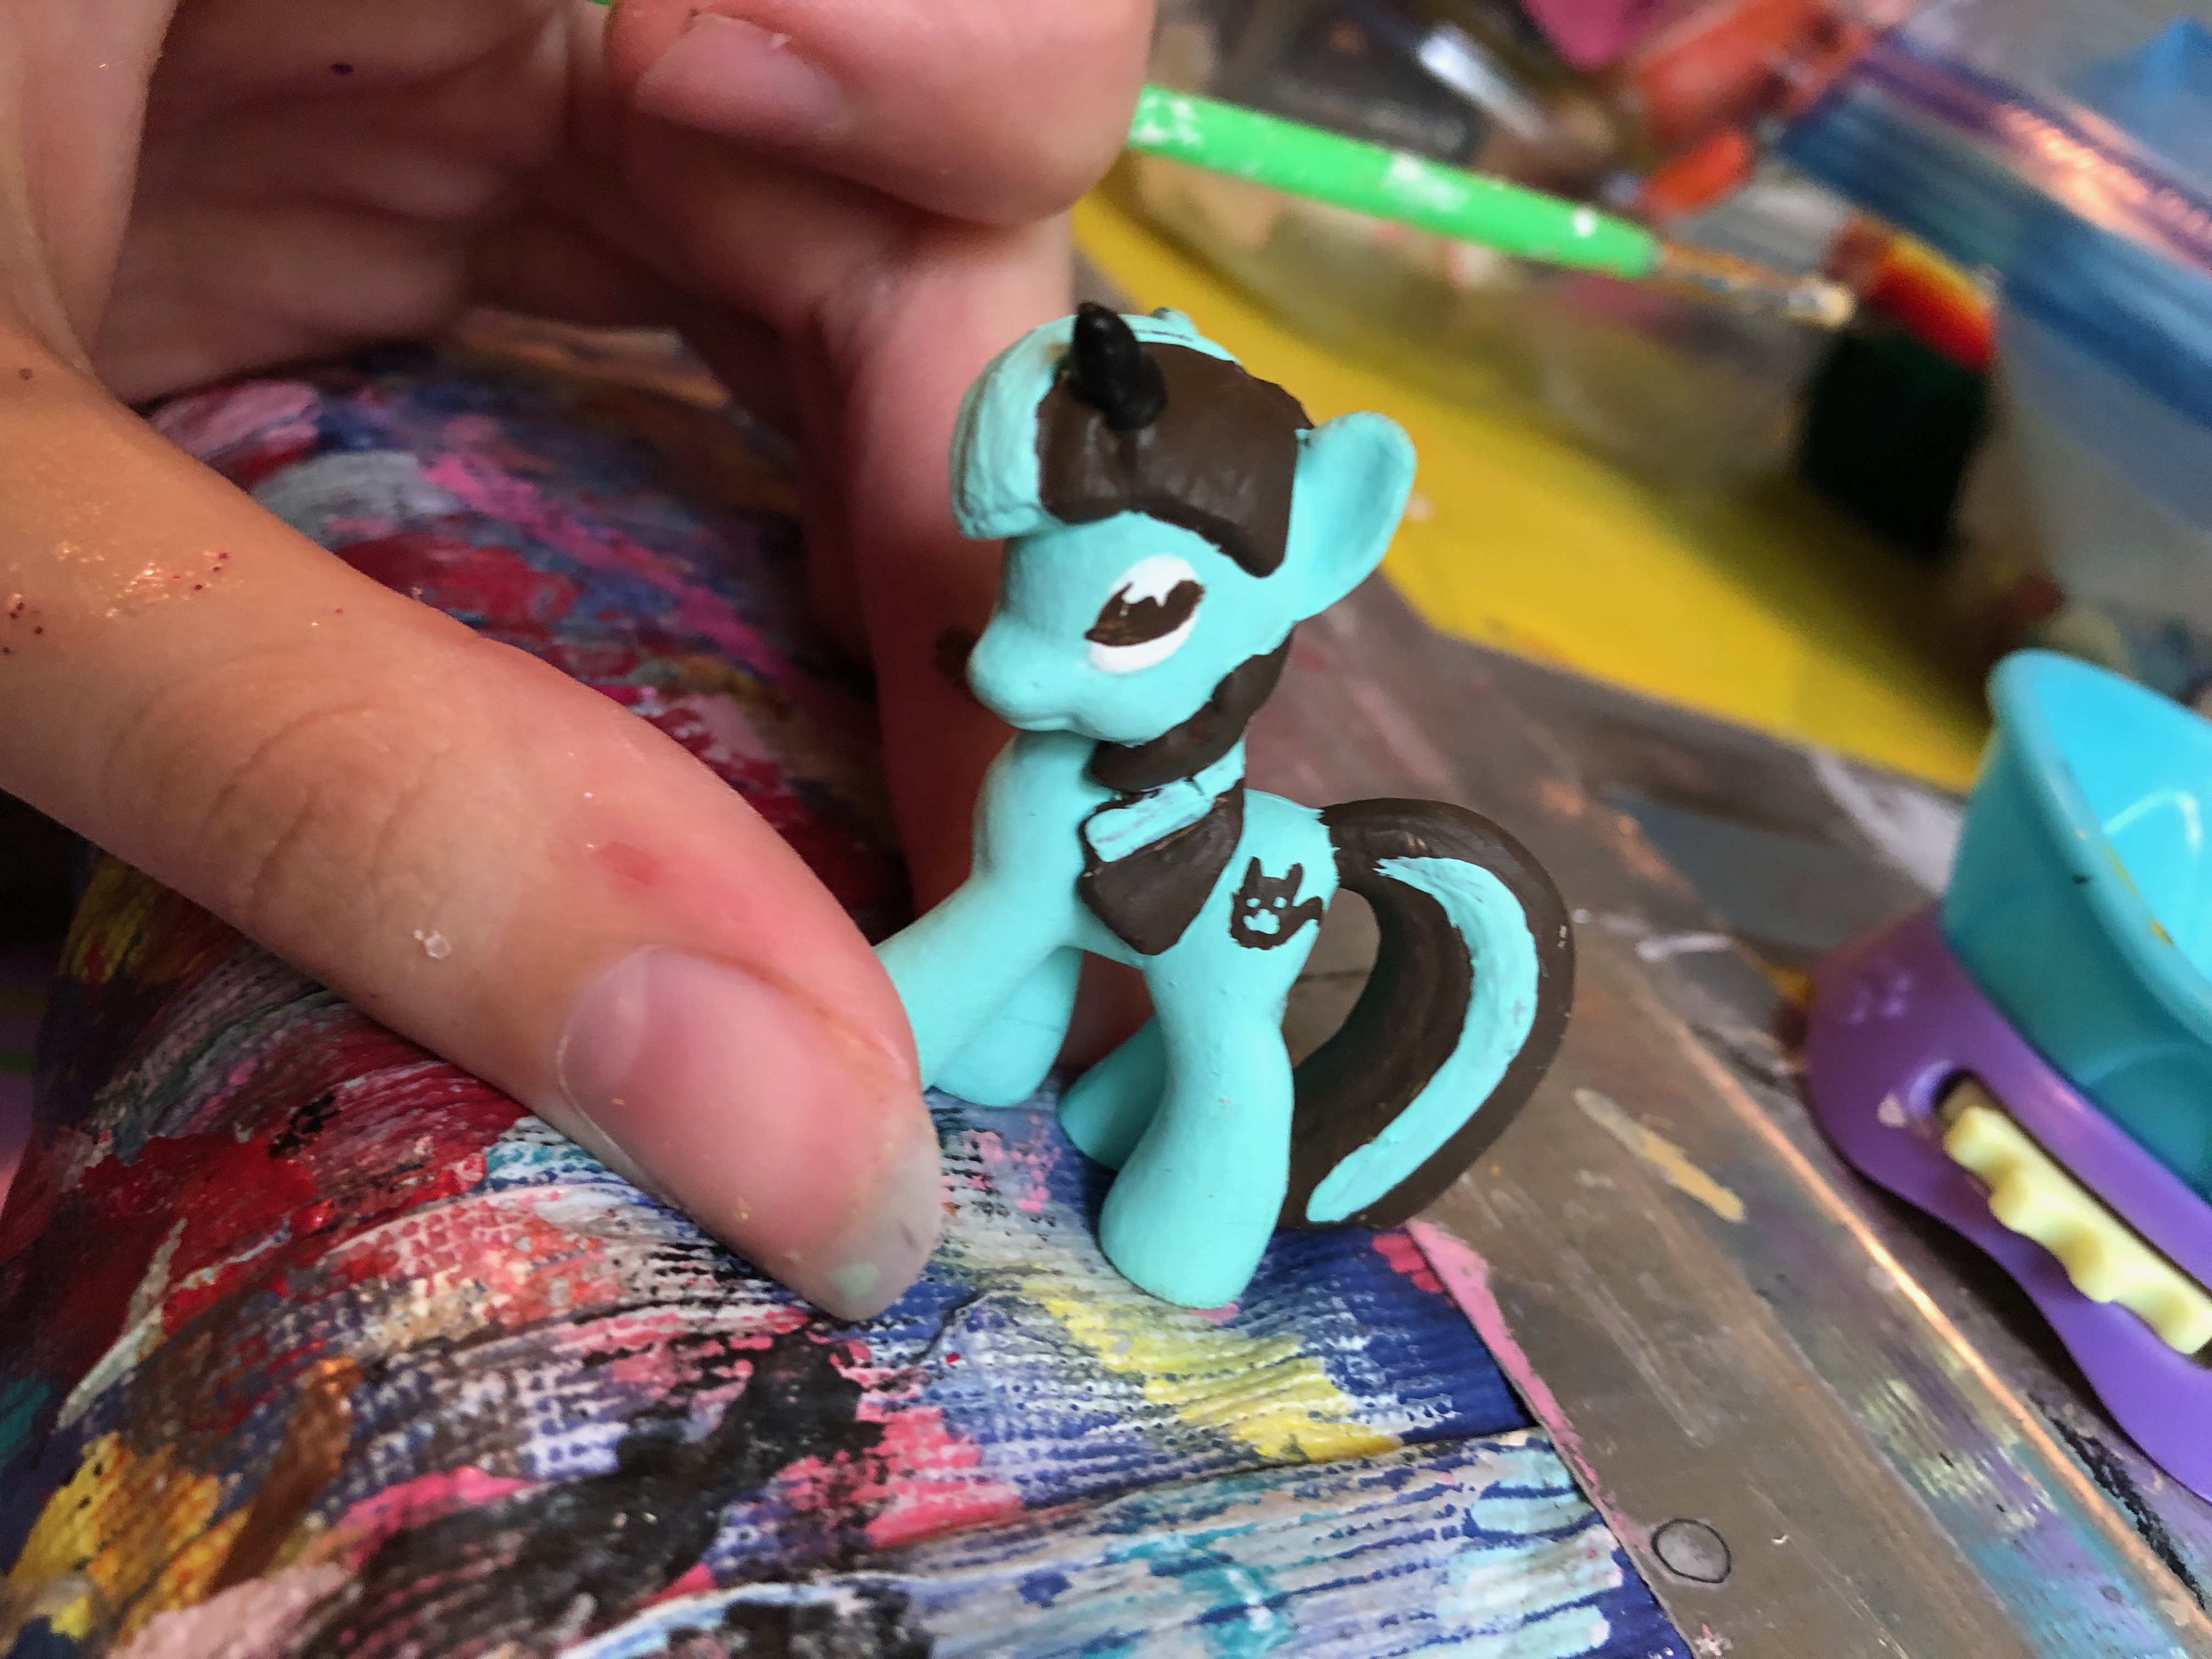
Painting on the Colors, Eyelashes and Horn of the MLP Makeover
Next, do a simple brown iris, and a black pupil. Don’t make it too complicated, these ponies have fairly simple eyes. Use a fine brush to add lots of eyelashes and a little eyeliner on the top of the eye.
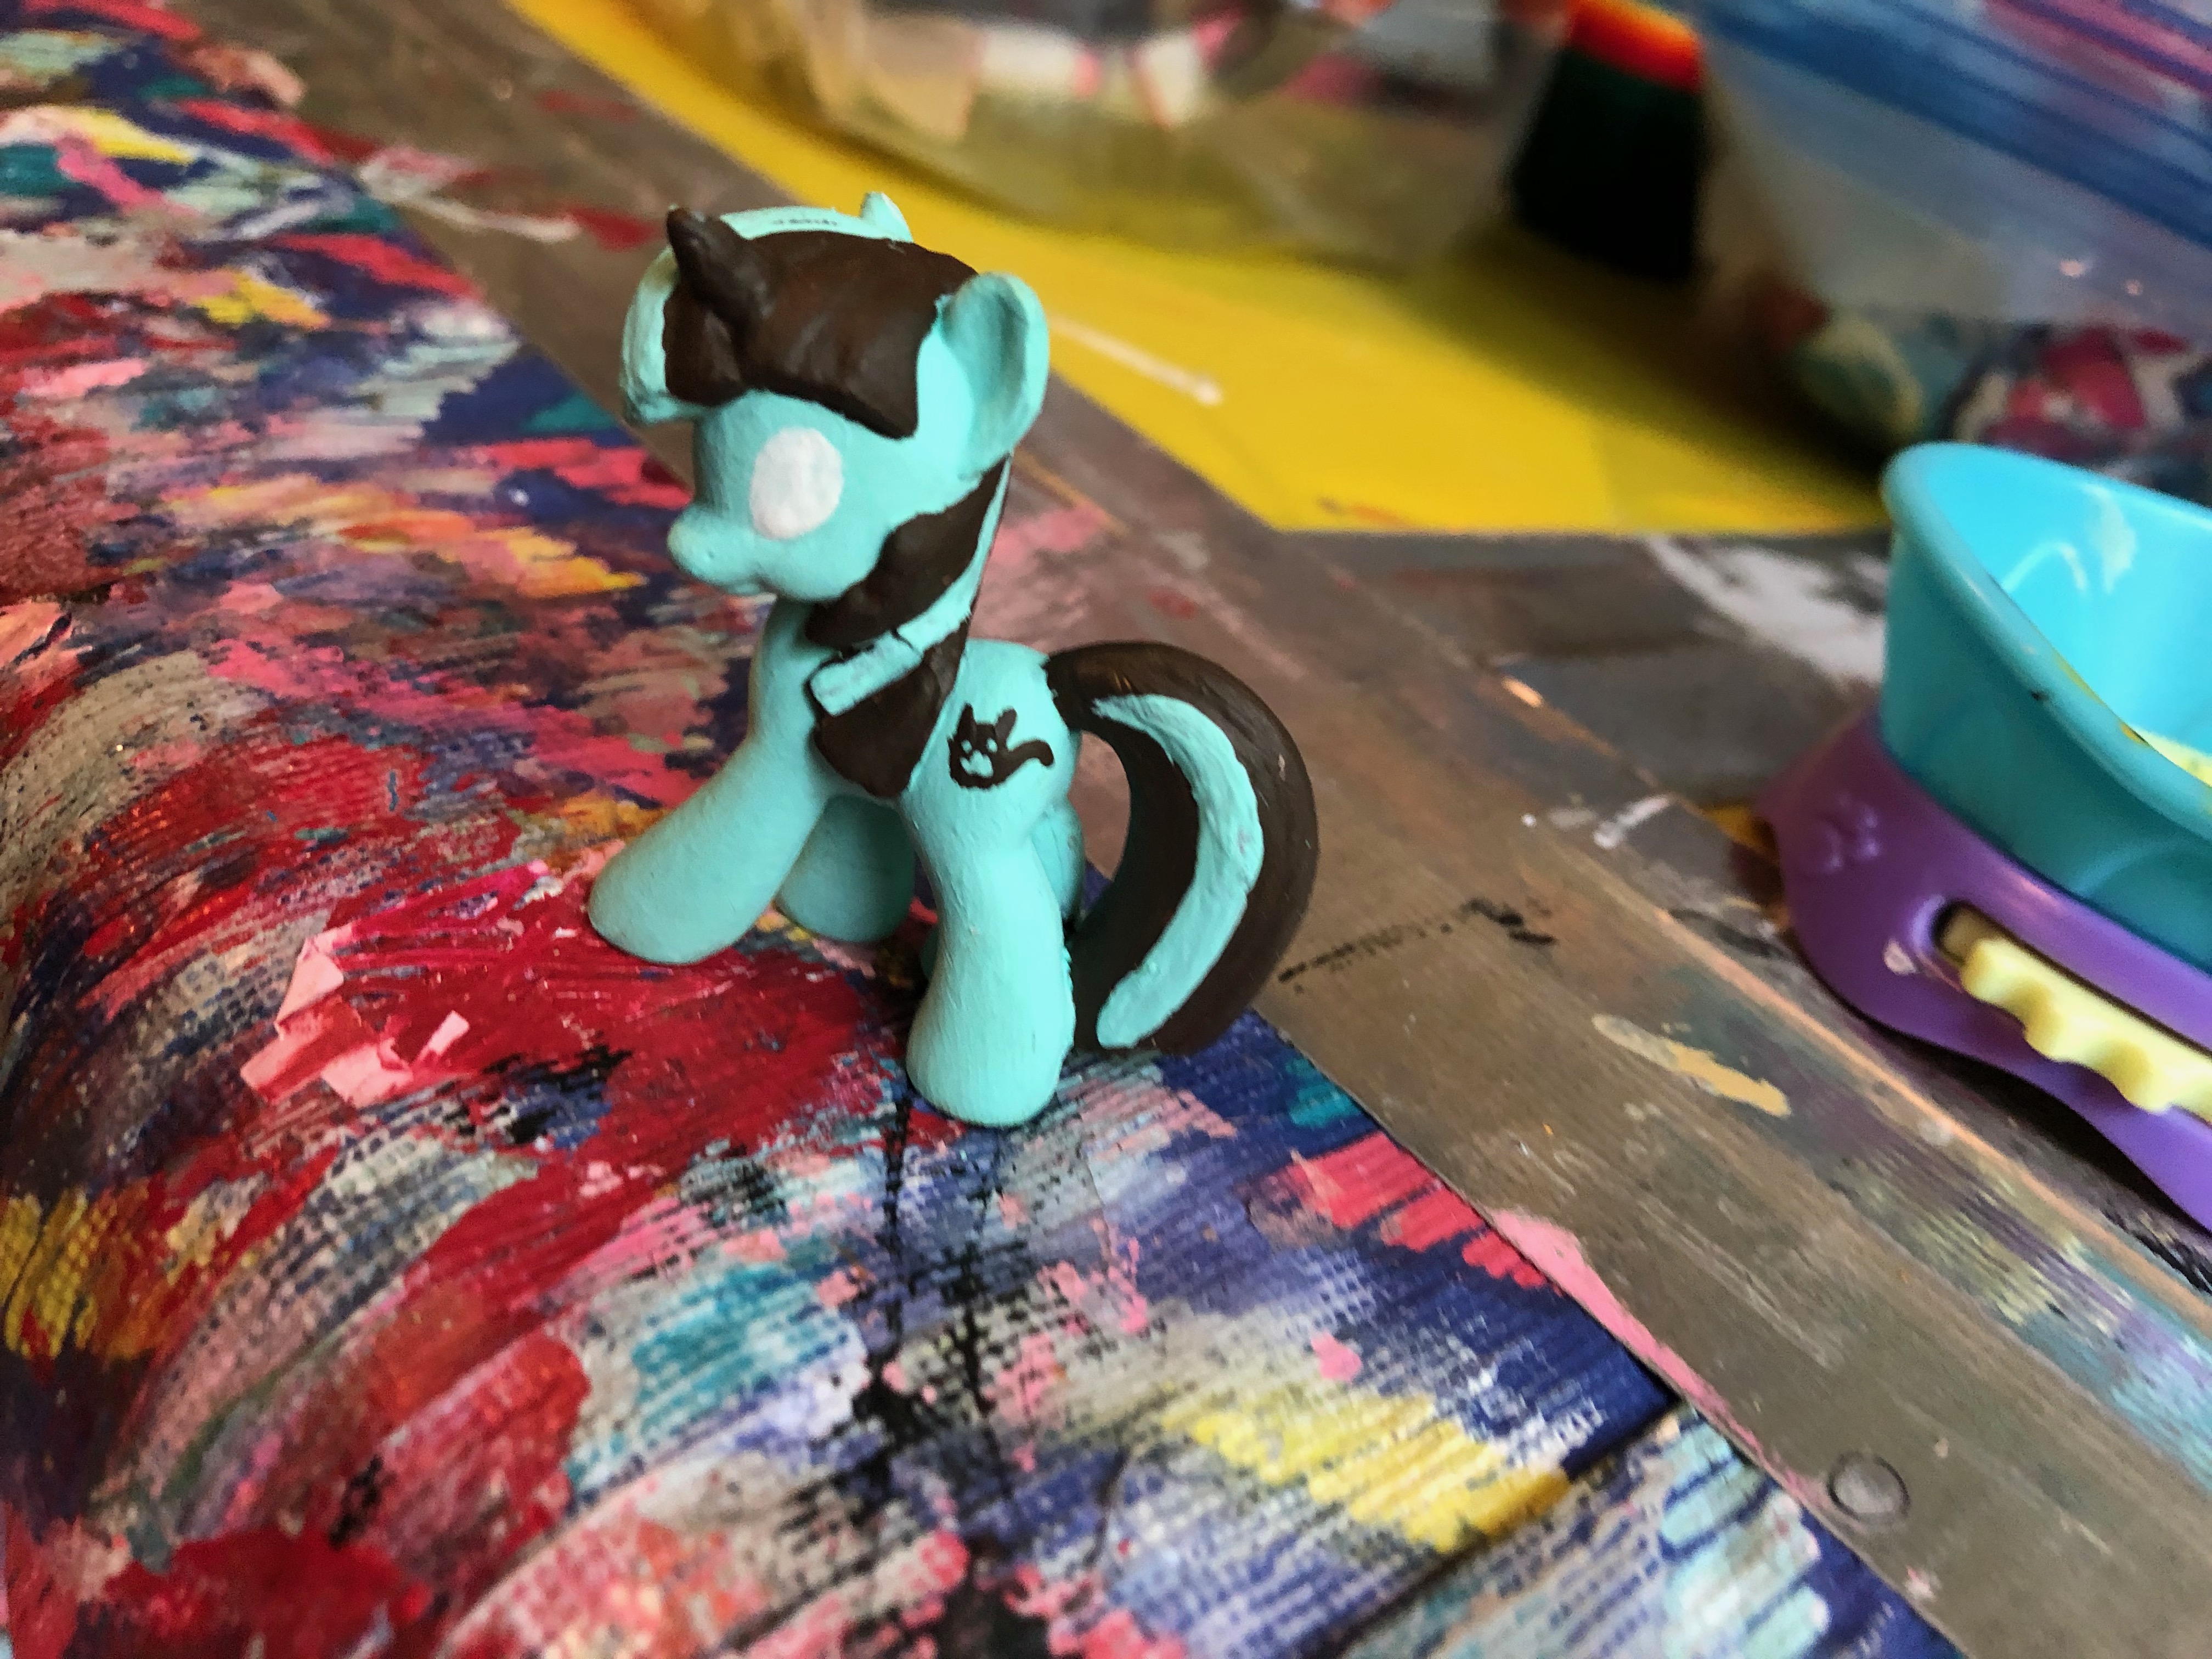
Cutie Mark
The most important part of this tutorial is the cutie mark. I decided to go with a little brown chocolate squirrel or a cat thing with a little face. Use a super thin brush and some brown paint to make the cutie mark.
Optional Clear Coat
If you are worried about the paint wearing off, a clear coat can protect your pony from getting scraped up if dropped or mishandled. Otherwise, this step is entirely optional.
Finish
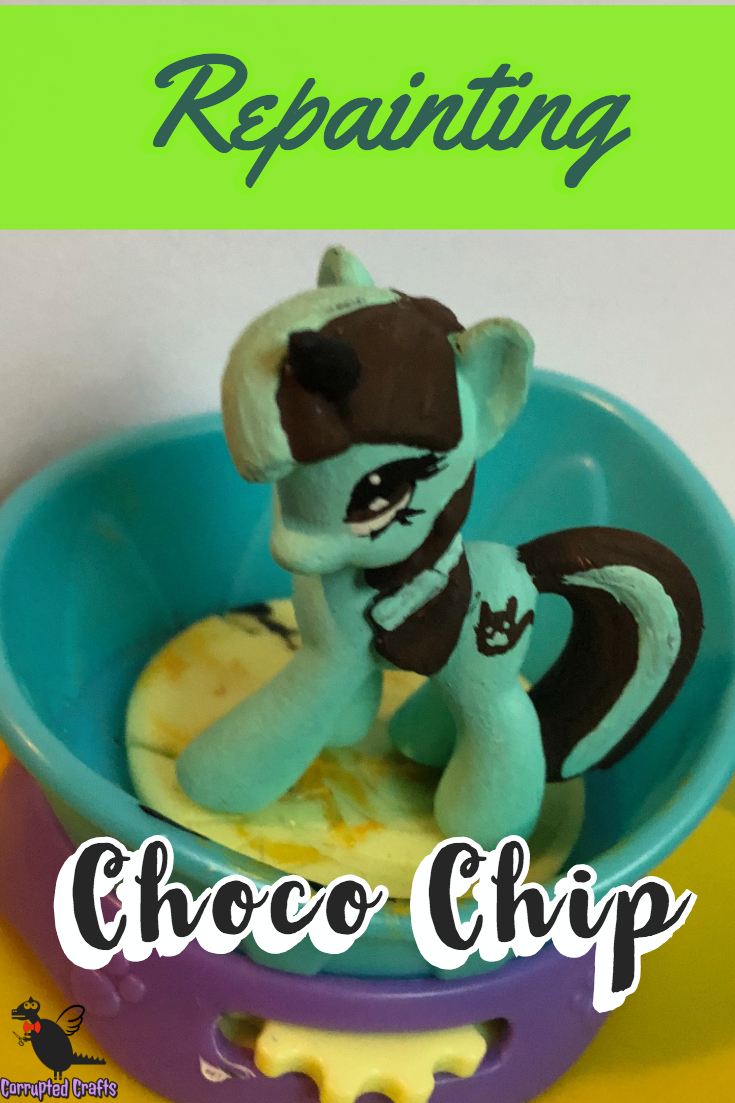
And now your little Choco Chip Pony is done. This was a really fun craft and I think I will be doing more ponies with intricate designs soon. Happy Crafting!