
One of the coolest and most impressive characters you can play as in Legend of Zelda: Hyrule Warriors is named Volga, the dragon knight. He is super hard to beat, but playing as him is so fun because you can spam the buttons and he just absolutely blasts away the opponent. He is terribly arrogant and funny, and his dragon form is super fun to draw. Let’s get started on The Dragon Drawing Step by Step.
What you will need
Dragon Drawing Step by Step: The Base lines of the Claw
Start by drawing the palm of the claw facing out at you. Volga’s front claws only have two front talons and one back talon, so start with the V shape of the upper claws and make them look more bony and gnarly, and give him a decent sized palm. I learned later on that the bottom claw here looked silly, avoid this issue by making sure your claw slightly turns to one side.
Dragon Drawing Step by Step: Drawing the Head Shape
Sculpt out the basic general shape of the dragon head. Start with a small circle, and add a chunky rectangle, then carve out the upper jaw. The lower jaw is trickier to draw, make the edge of the lower jaw match with the tip of the upper jaw, and make sure to show a bit of the inside of the mouth.
Drawing the Dragon Drawing Step by Step Eyes and Finishing the Base Lines
The eye was a very simple triangle with a little tiny slash through the top edge, and the rest of the base lines basically included a few lines for the wings and a few lines for marking where the underbelly goes as well as the back legs and the other front leg.
How to Draw Dragon Feet
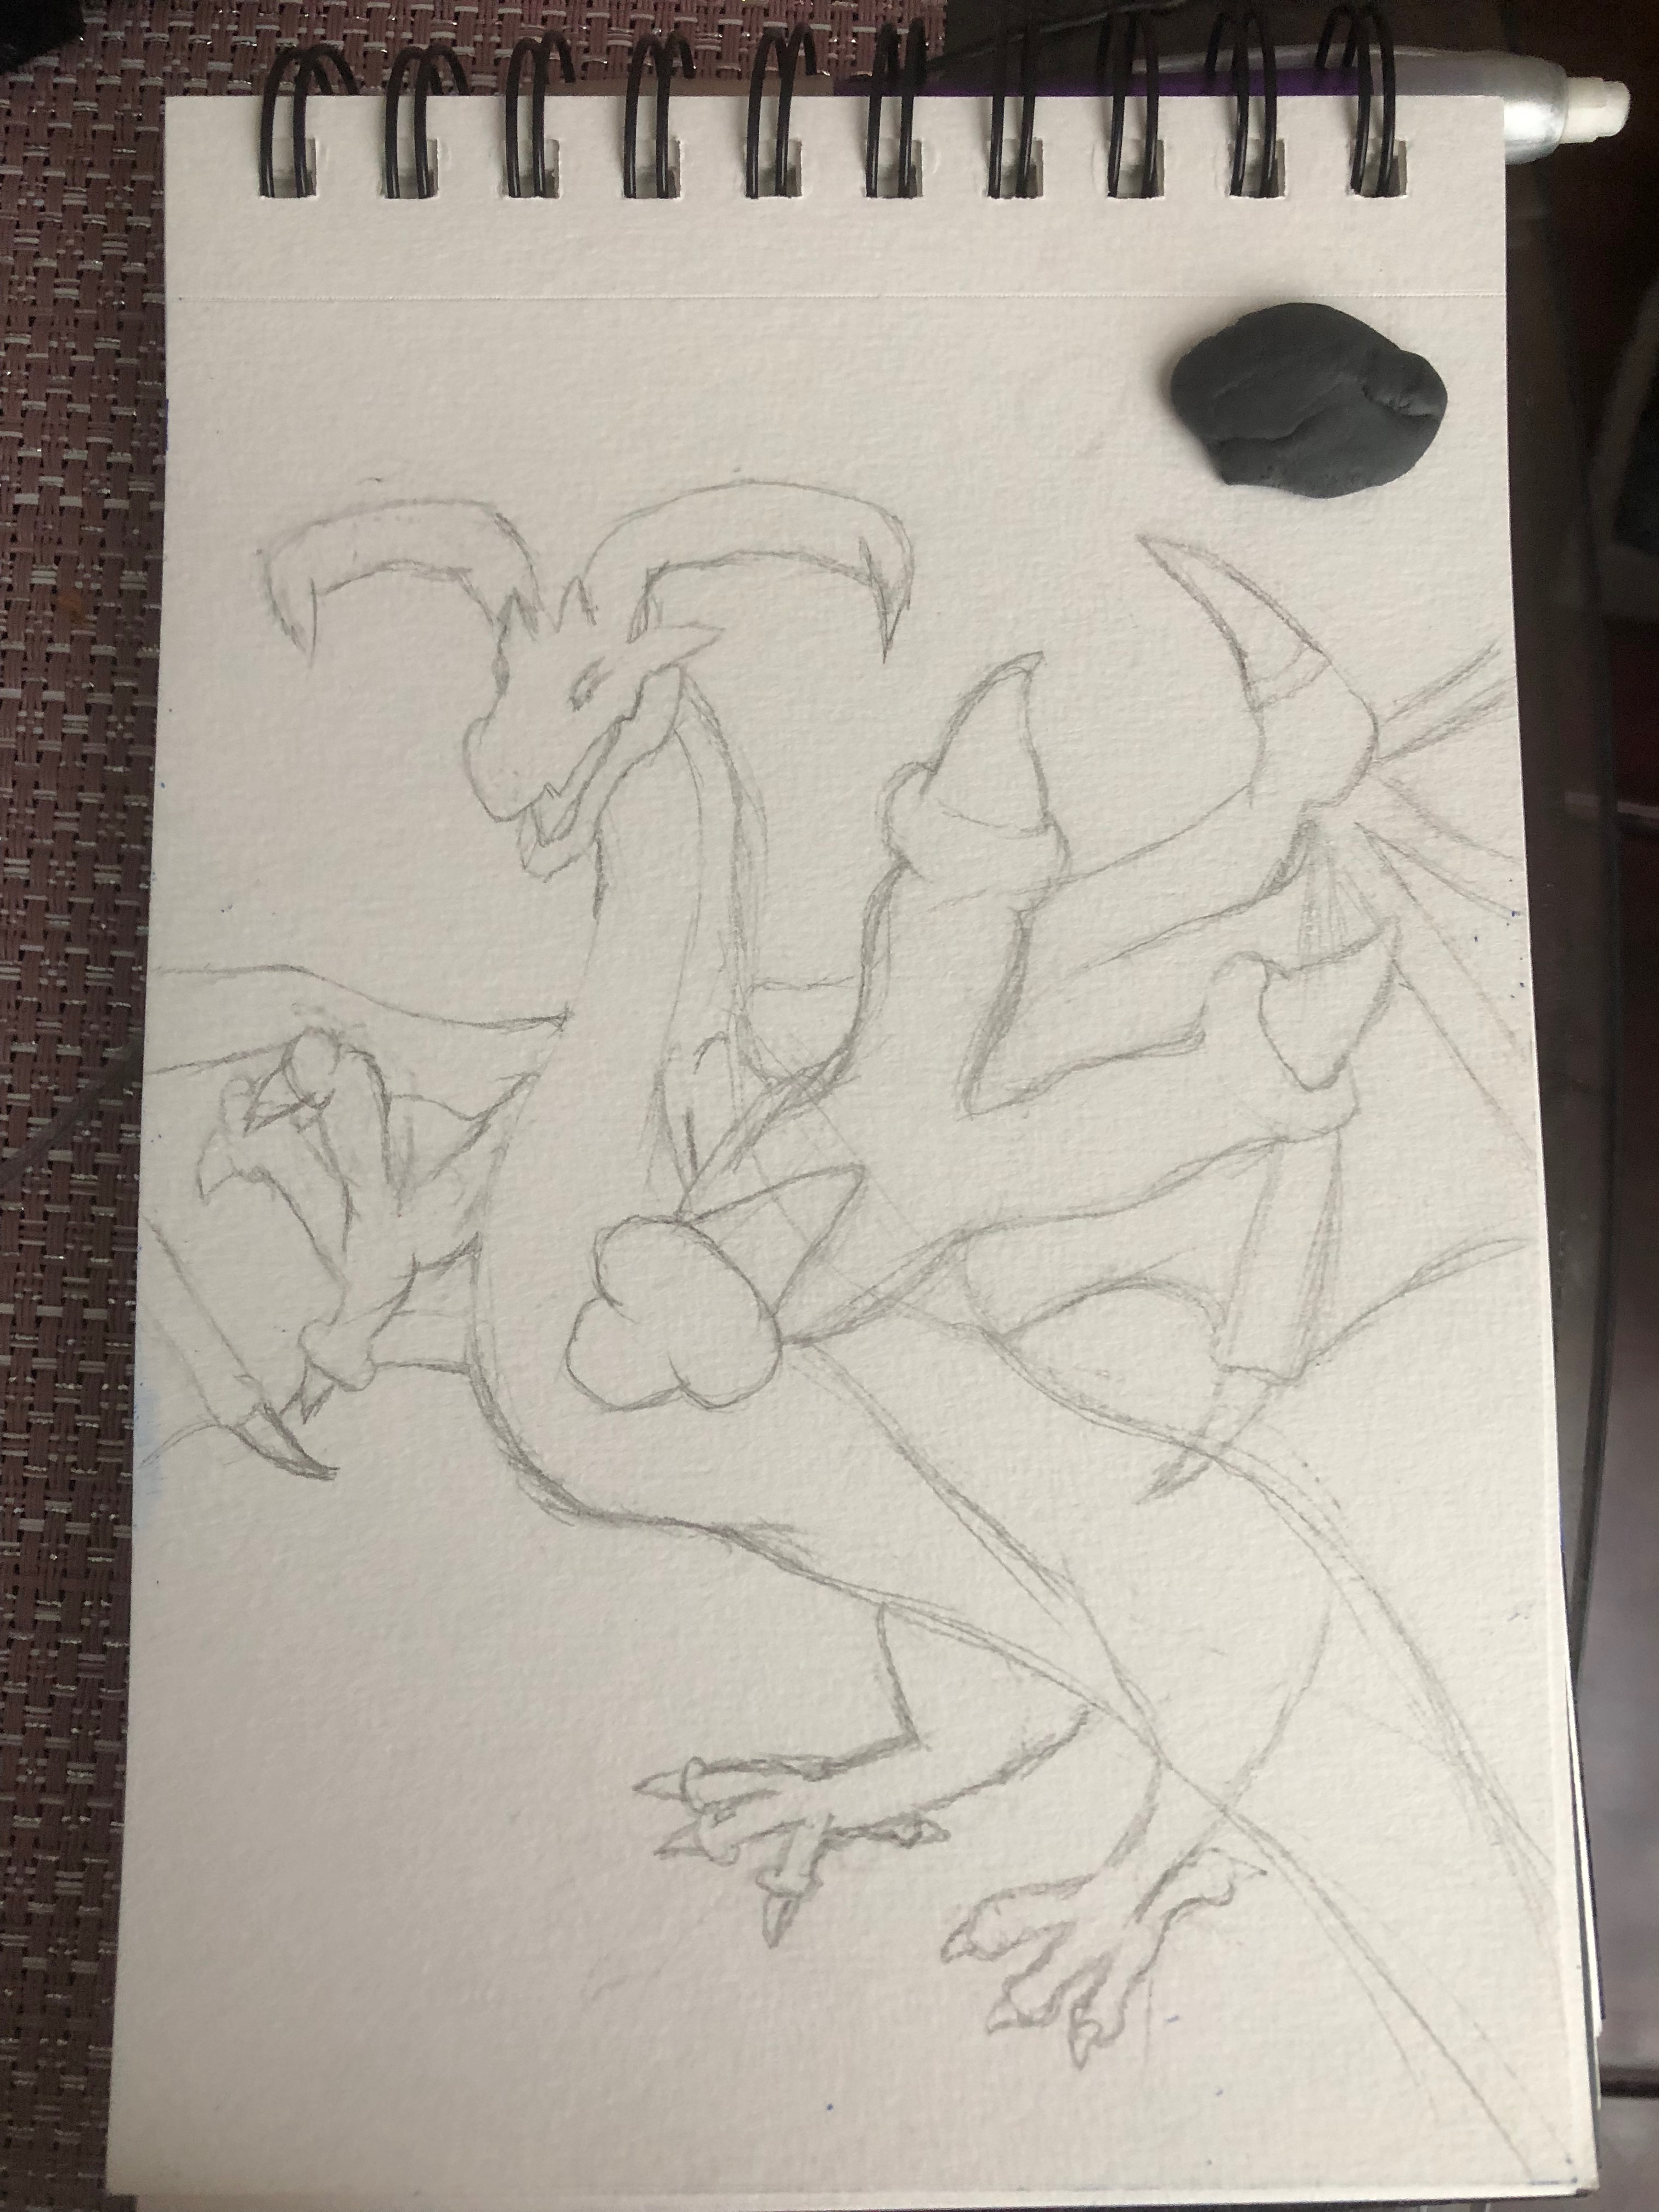
Dragon feet are quite honestly hard to draw. I sort of draw dragon feet similar to frog feet, mostly longish and bony toes with sharp, short, curved claws coming out of each toe. Remember to make them thick, as thin dragon claws look weird. Volga only has three toes per foot, so be prepared to compensate for that.
Dragon Drawing Step by Step of the Tummy Scales
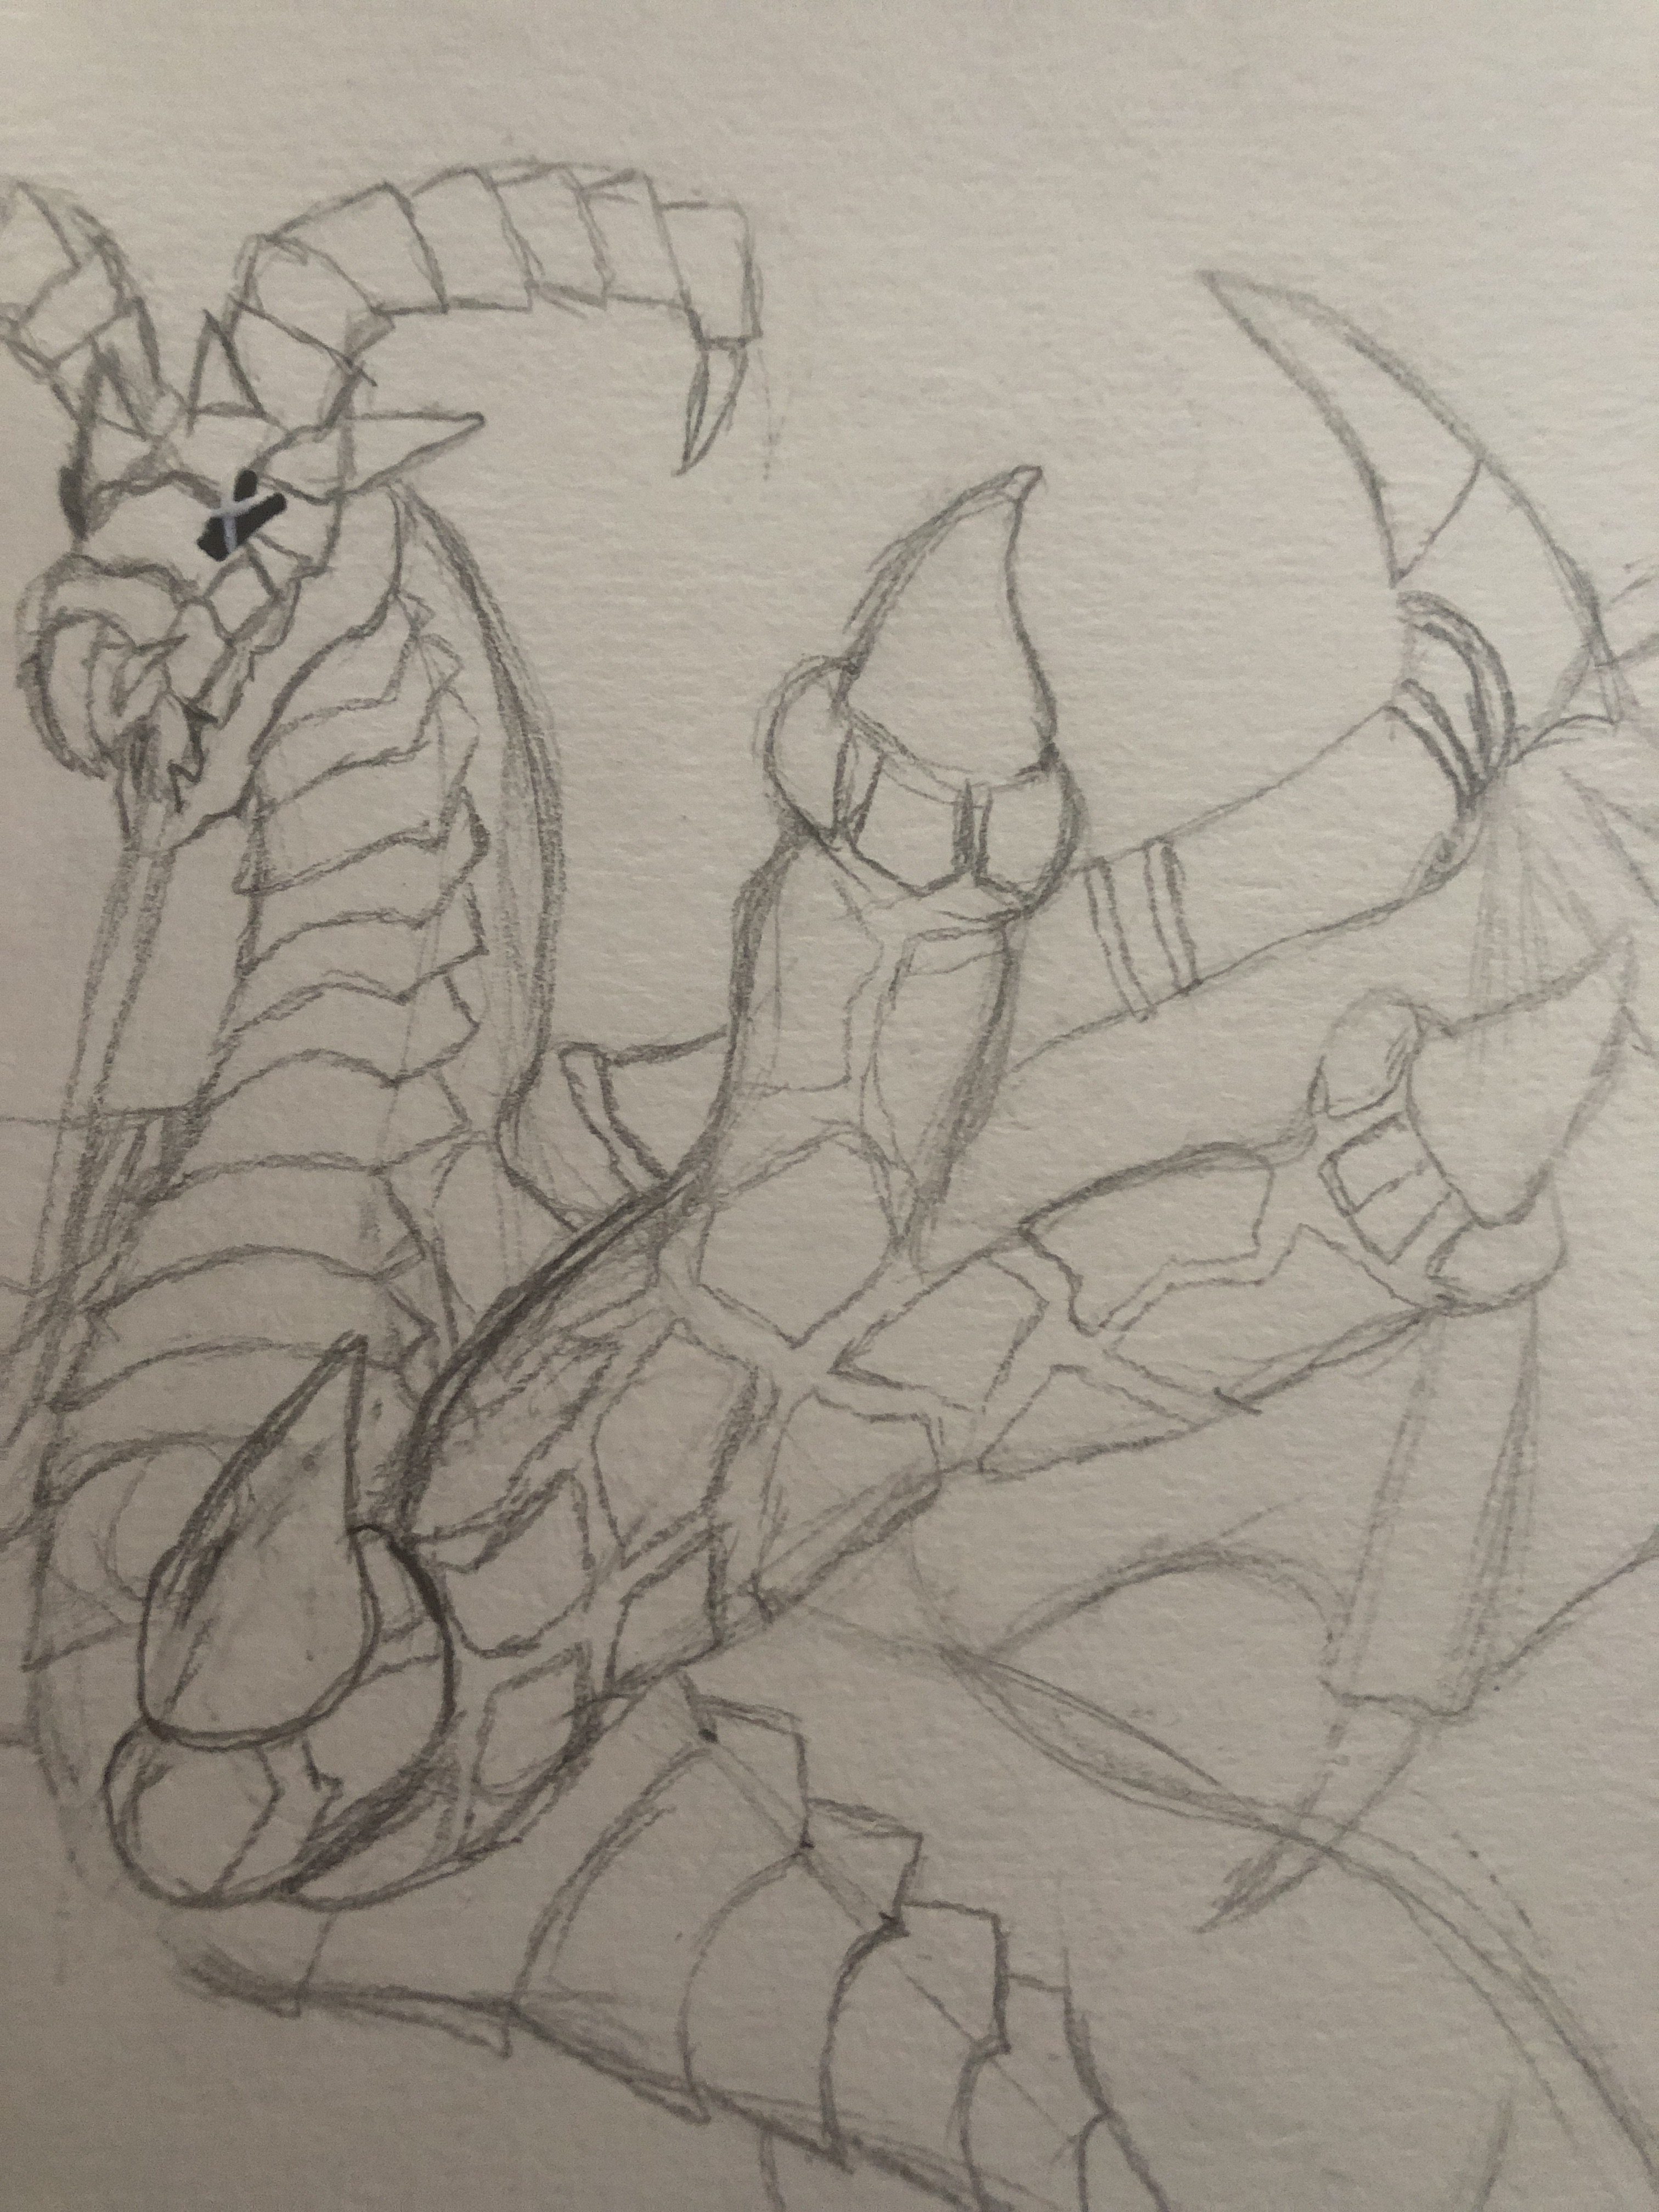 Volga’s tummy scales are a little weird. Start by making dots along your underbelly line on the side, one dot for each scale of the tummy. Next, draw lines going from under the chin, out across the main scales, and back into that point. Keep that zig zag line going all the way to the tail. Take your pencil again and draw a curve from the point to the other side of the dragon, jutting out the line slightly to make the scales look more 3D. Lightly darken lines as needed to make the scales look individual.
Drawing Dragon Wings
Looking at Volga’s wings, you see that each bone has a black claw as does the joint of the wing. Draw your lines spread out like the bones of the wing, and using a reference photo, draw out where all the red parts of the wing go. Next, more finely tune the little lines where the bones go. Draw the small thin gold and black bands around the joint of the wing, the middle of the main bone, and one more at the base of the wing near his body. If you can’t see any of these areas, that means your dragon is too in the way and you should have made the claw smaller and moved over your dragon.
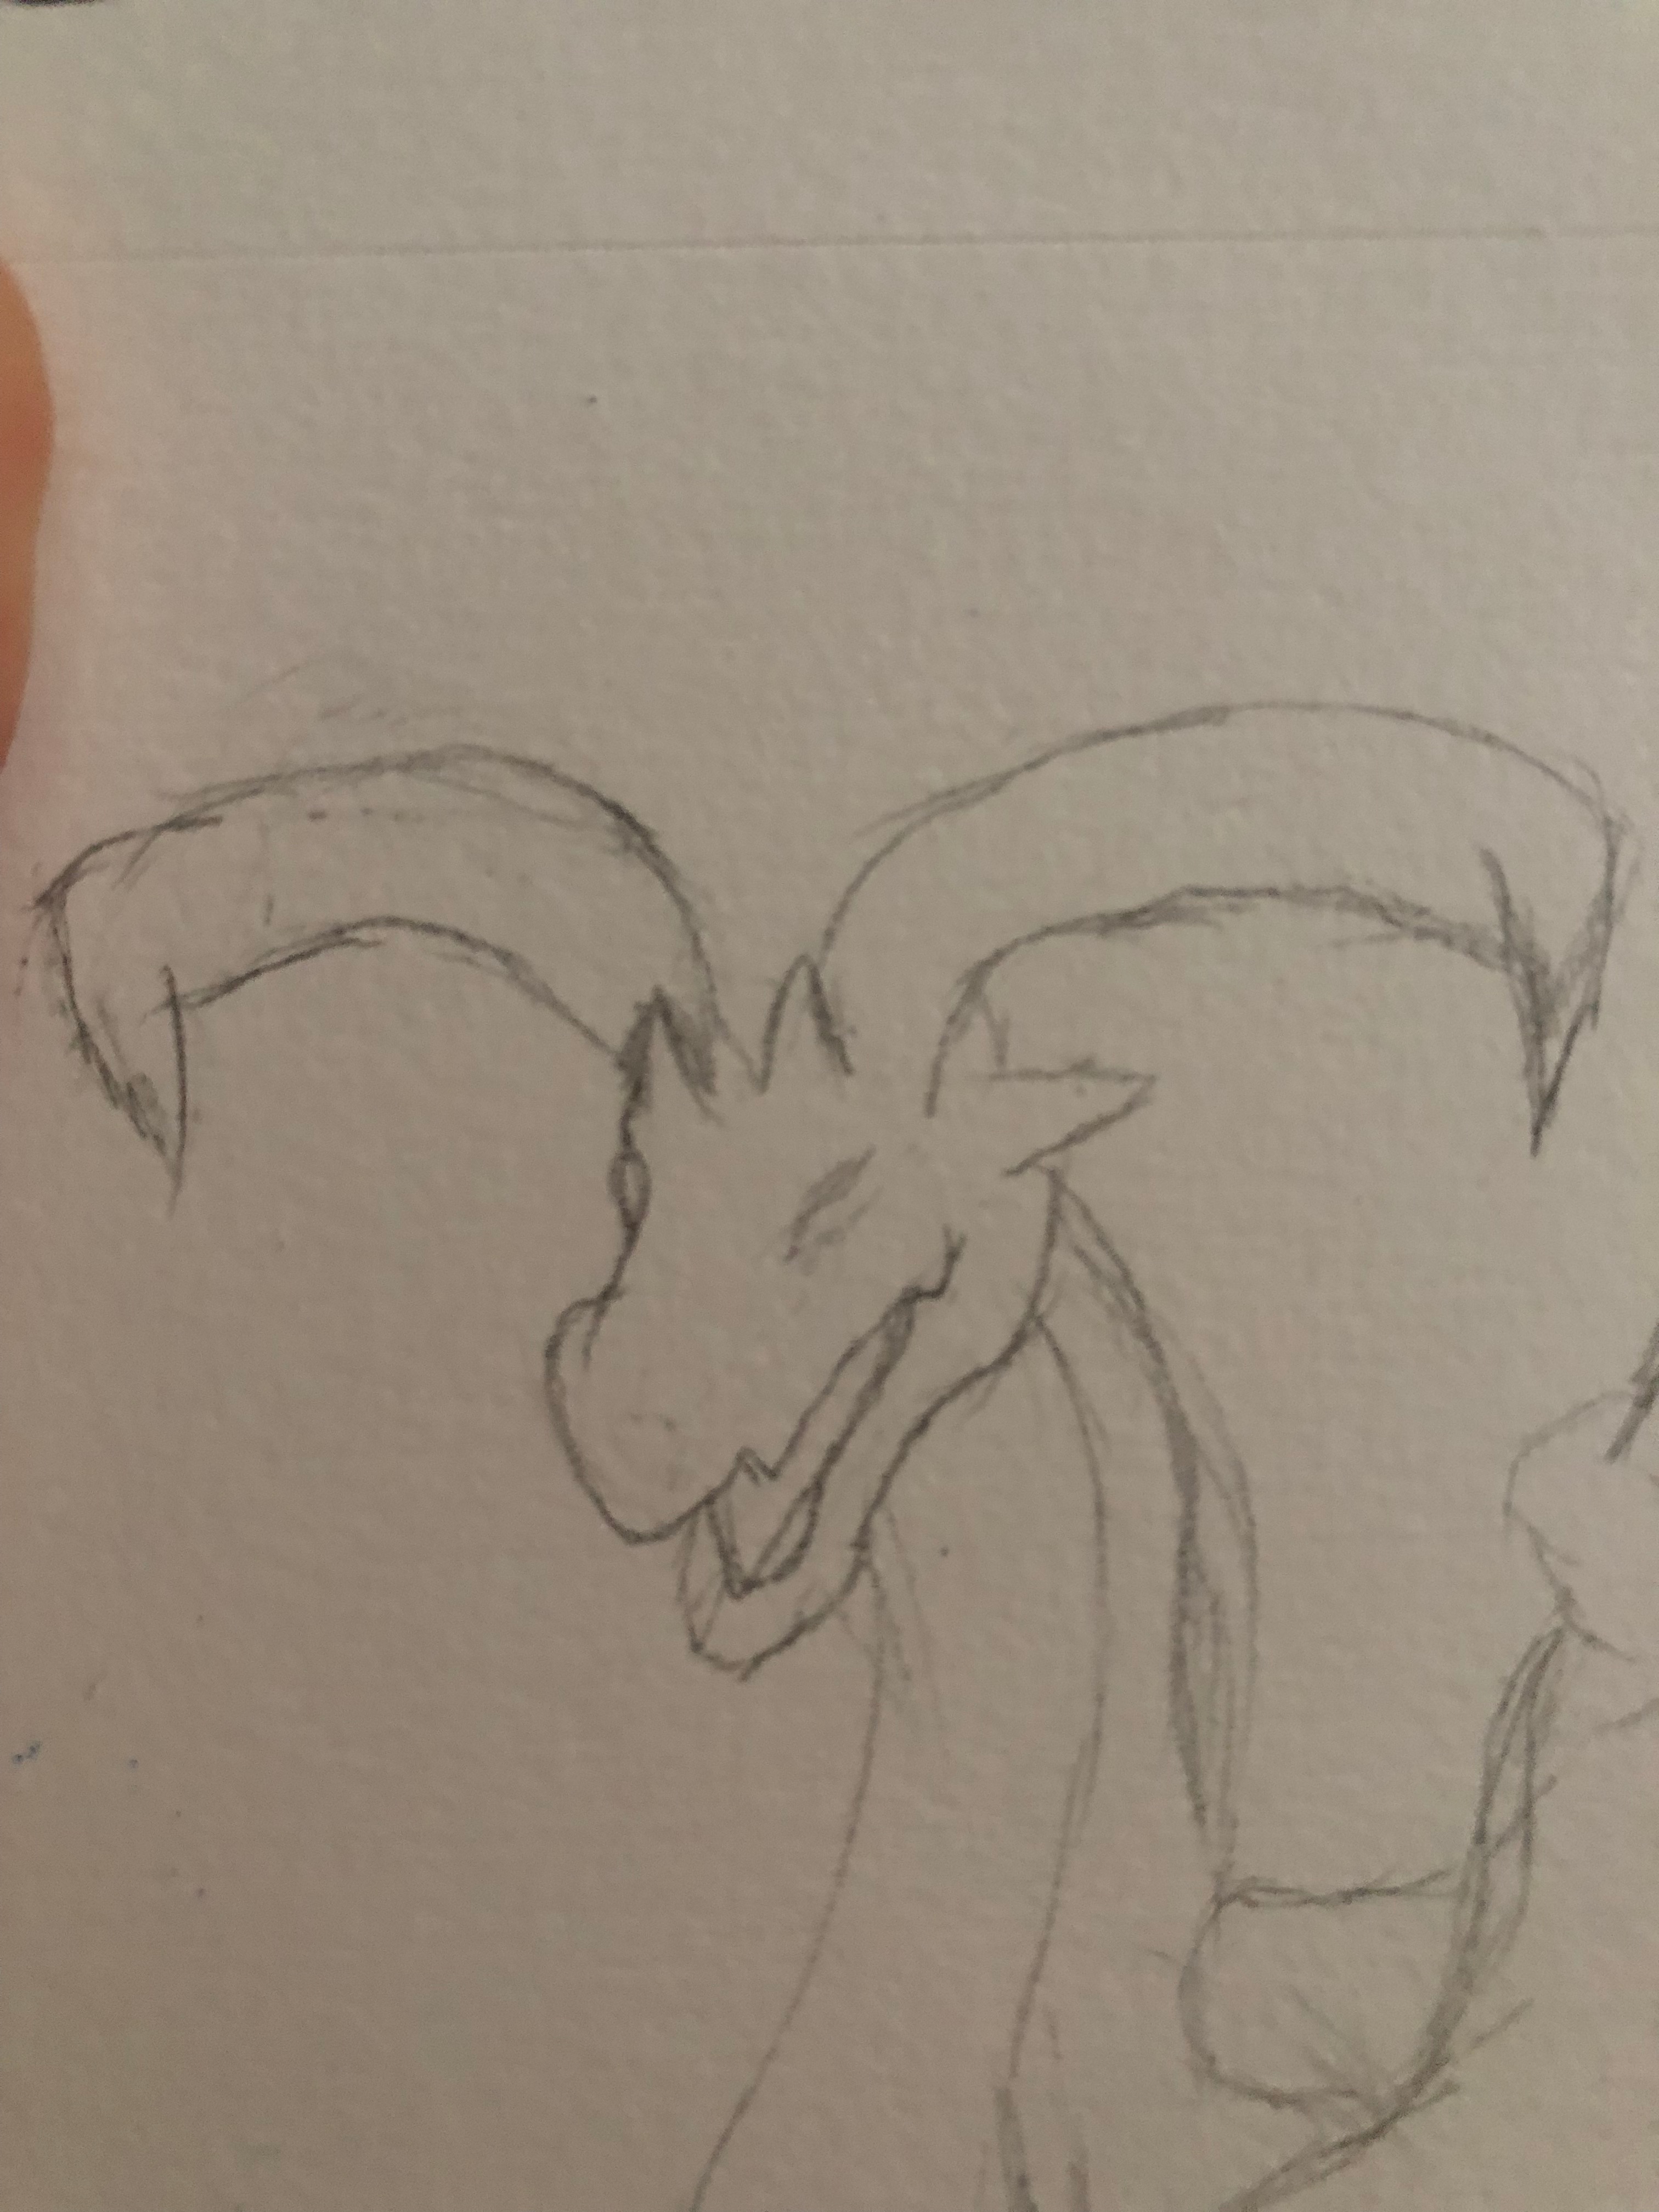
Shaping the Muzzle of Volga
Add the front part of the dragon by sketching three little points like the front of a mask. Add the scales to his snout and head making little blocky shapes.
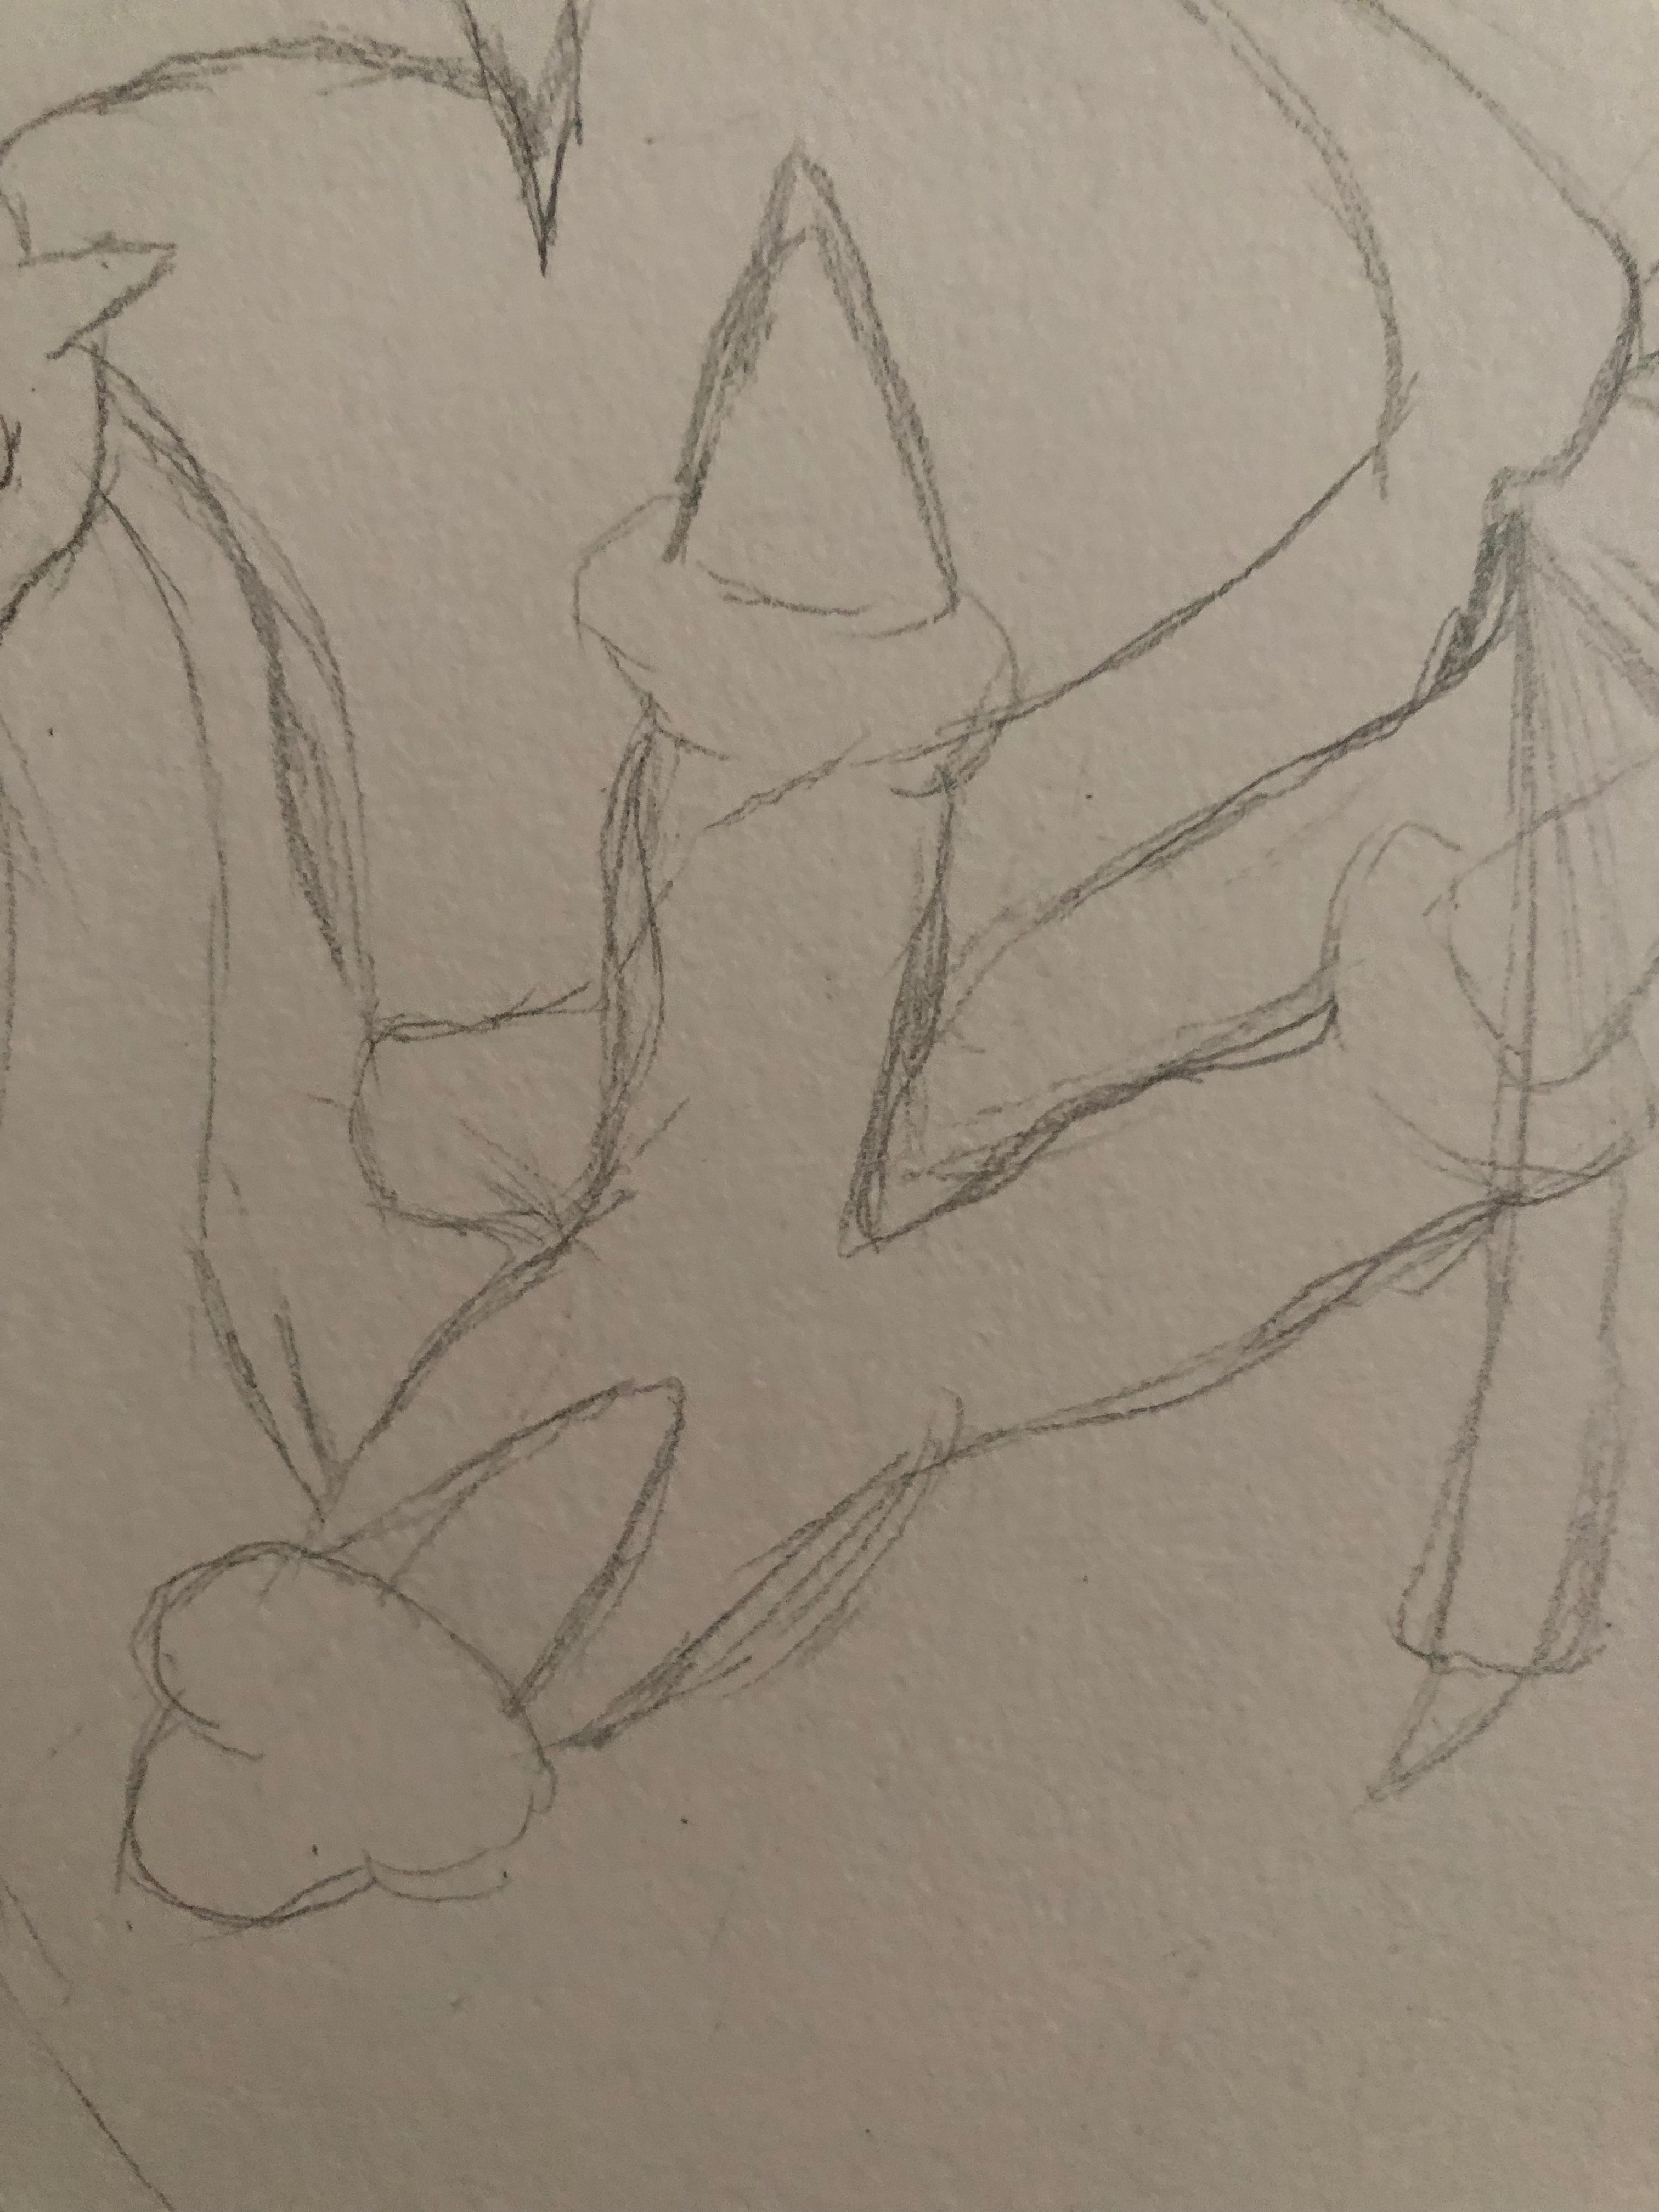
Drawing the Horns on the Dragon Drawing Step by Step
Along the weird curvy outline, start drawing little boxes. Draw these little boxes all the way down to the very tip of the horn, and add a triangle to the end of each horn.
Adding the Tongue
The tongue is very simple. Draw a slightly wavy line going from the inside of his mouth down his front a good couple inches hanging out. Volga has a long tongue which represents his hair on the top of his helmet.
Copying the Drawing
Pop the sketchbook onto a scanner and make a couple of copies to edit. It’s easier to edit a copy, knowing you can throw it away, rather than an original piece.
Darkening the Outlines of the Dragon Drawing Step by Step
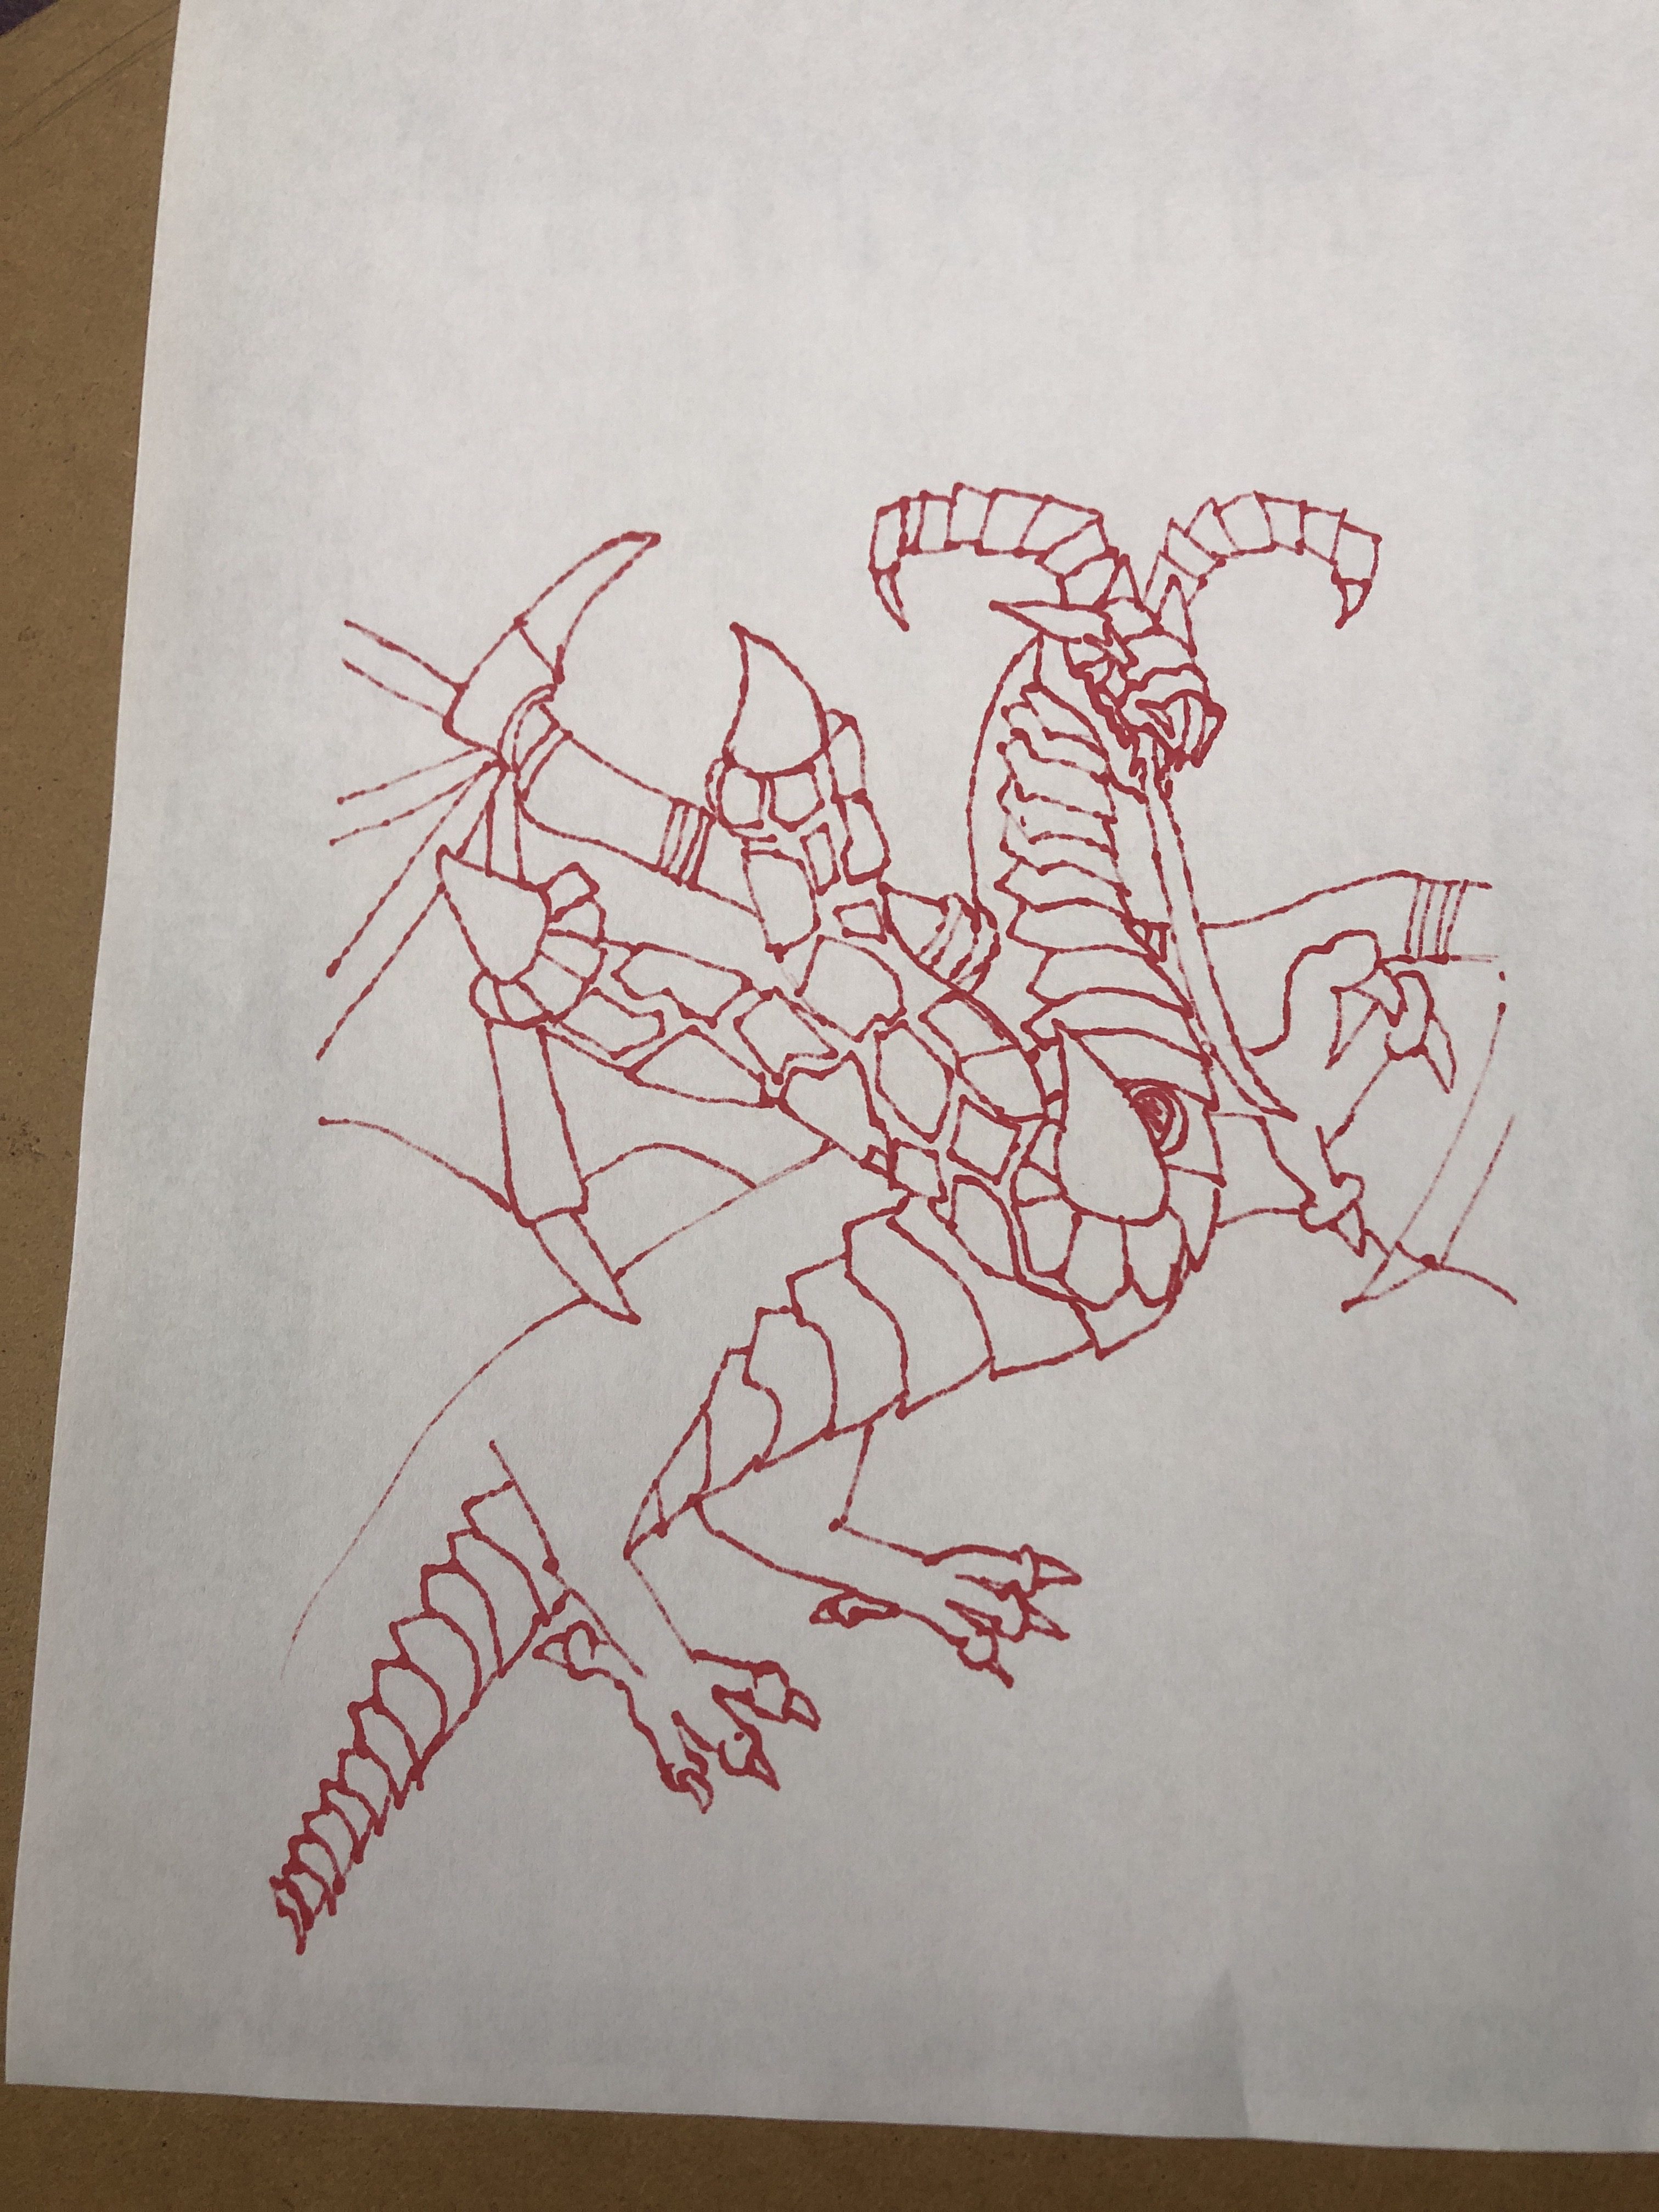
Using my red marker, I added the outline of the dragon and the claw to the paper and flipped it over, revealing the inverted pattern. Make sure you use your markers on a piece of cardboard or whatnot to protect your work surfaces.
Adding Pops of Color
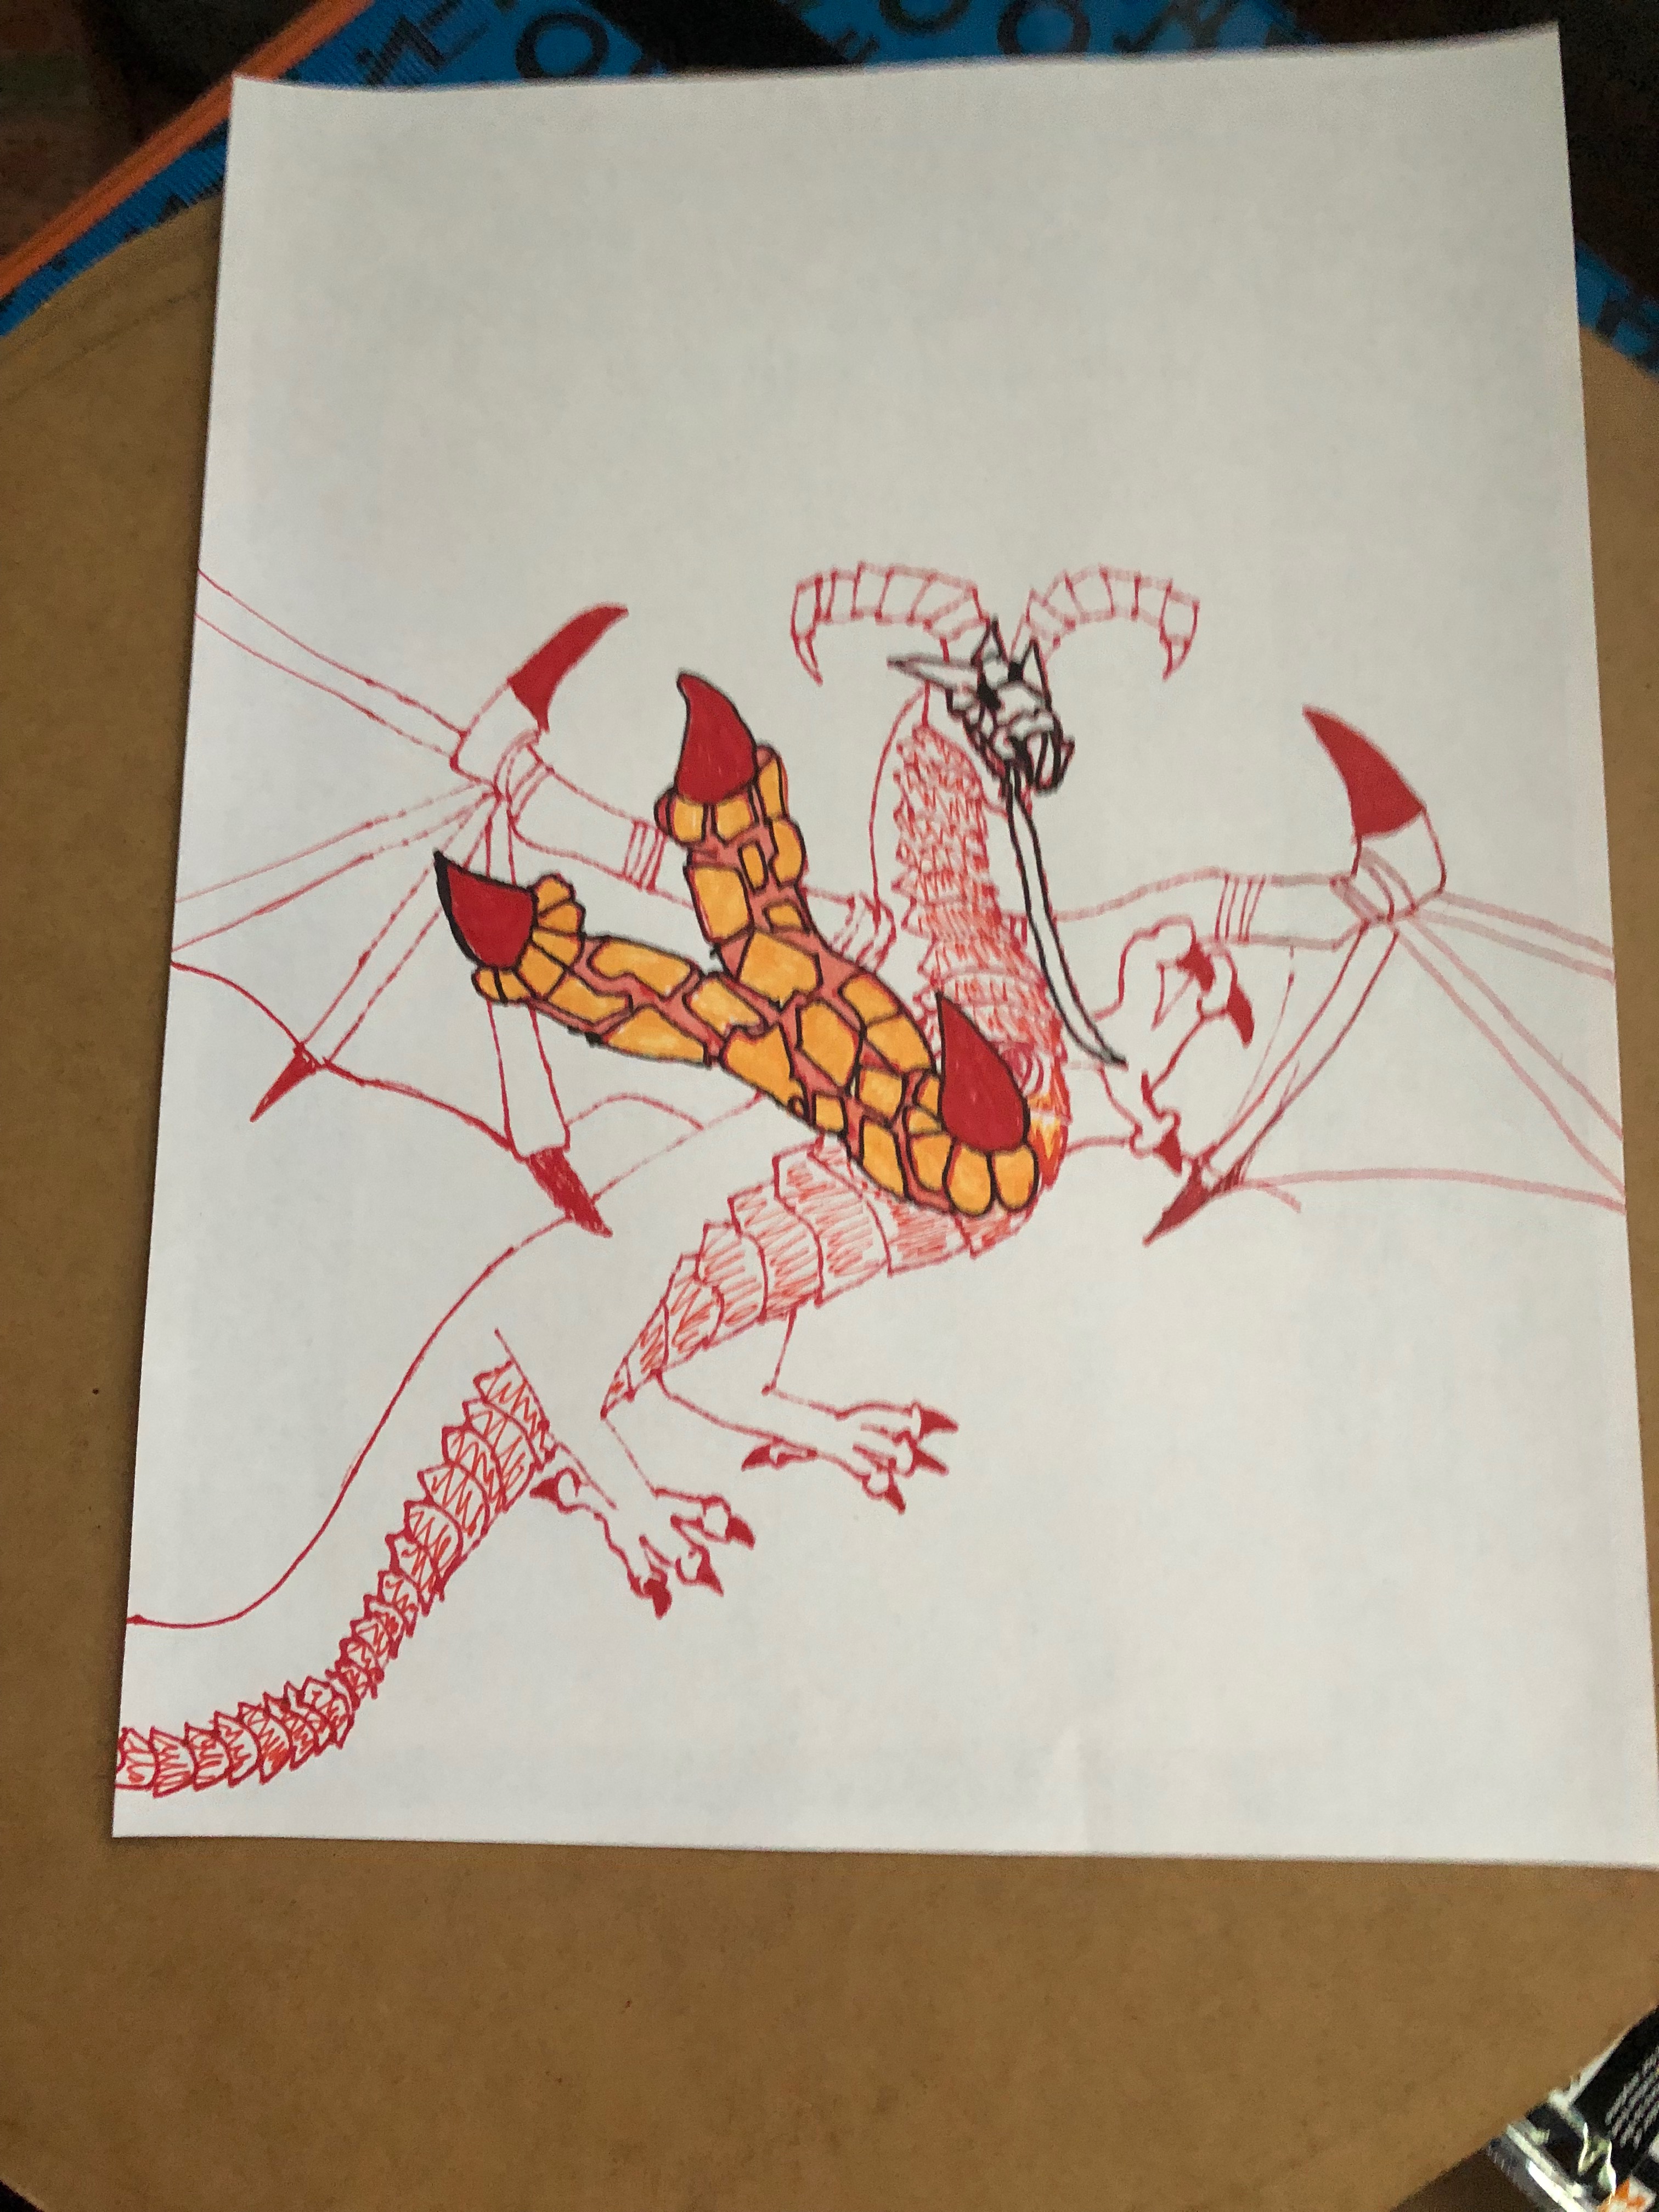
Add pops of peach or yellow here or there to make him brighter or darker, depending on where your lighting should be. I chose to leave mine his default red, but you certainly can color yours.
Coloring the Claw
The claw needs a black outline, and should be colored in lighter tones such as light orange, peach, and yellow. This will show the claw is closer than the dragon in the background. I also added some giraffe ish markings to make it seem more cracked and dry and scaley.
Finish
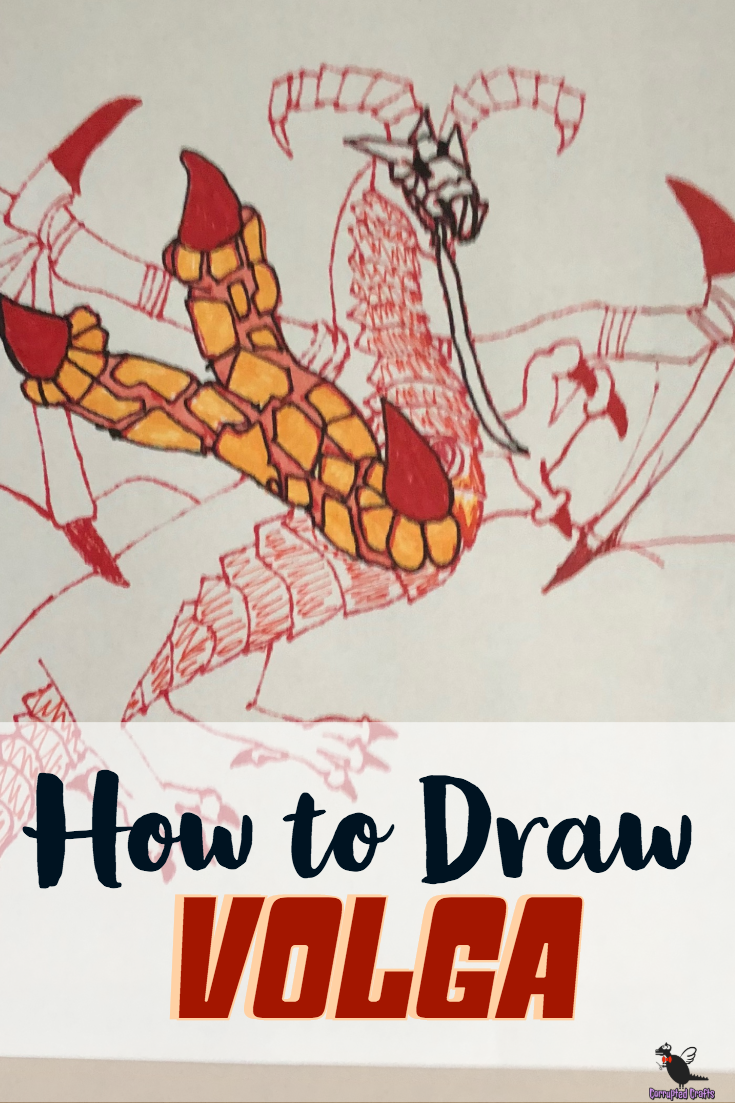
And you dragon is drawn, copied and colored. Make sure to protect your original drawing so you have the untouched version safe. Happy Crafting!