
So I recently learned a very easy way to make a cape for a plush friend that requires no sewing. This tutorial will walk you through how I made this stuffed animal costume cloak.
Materials
- Felt or some kind of fabric that will not fray
- Sewing scissors
- Paper plate
- A plushie friend, the one used in this tutorial is nicknamed Nutella
- Sharpie in a visible color, metallic works on most fabric
- Safety pin
- Fake gem
- Glue, either hot glue or Krazy glue
Step 1: Prepare to Make your Stuffed Animal Costume Cloak
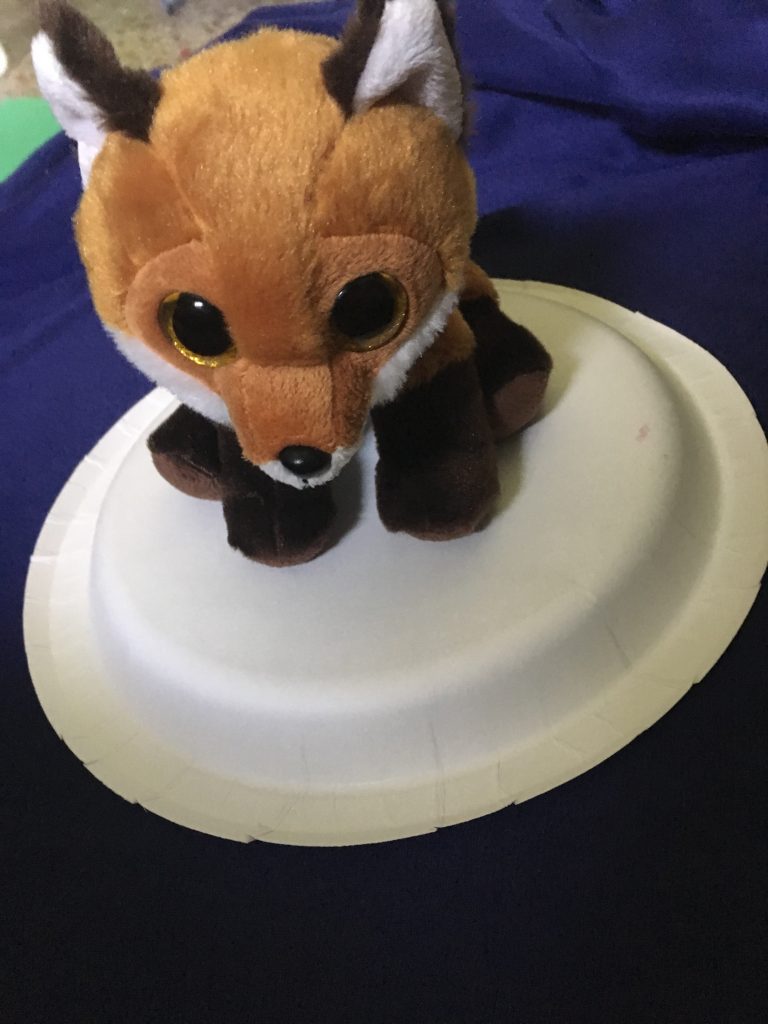
Start by laying out your fabric carefully facedown on a flat surface. Choose a medium sized stuffed animal, place the paper plate face down on the fabric once smoothed, and set the plush down on top of the plate. Stare at the plush intensely.
Step 2: Make your Marks

After your plush has been thoroughly intensely examined, carefully move it to the side and weight the paper plate down with something heavy so that it does not move while you trace around it. Using a silver sharpie, carefully trace around the plate, making sure the marker lines are very visible.
Step 3: Cutting out the Stuffed Animal Costume Cloak
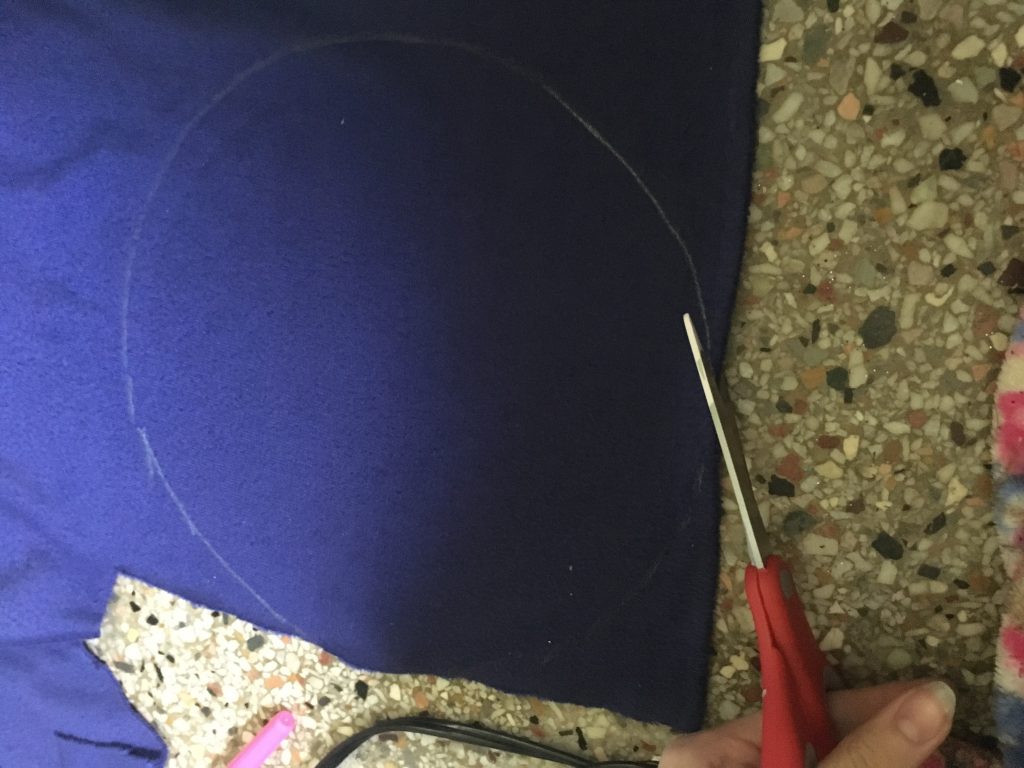
Once traced, use a pair of very sharp sewing scissors to cut out the fabric. You may wish to have a parent help you with this step, as it is a little difficult to cut out a perfect circle. Trim down any rough edges to make the cloak look more put together.
Step 4: Fitting the Cloak on the Plushie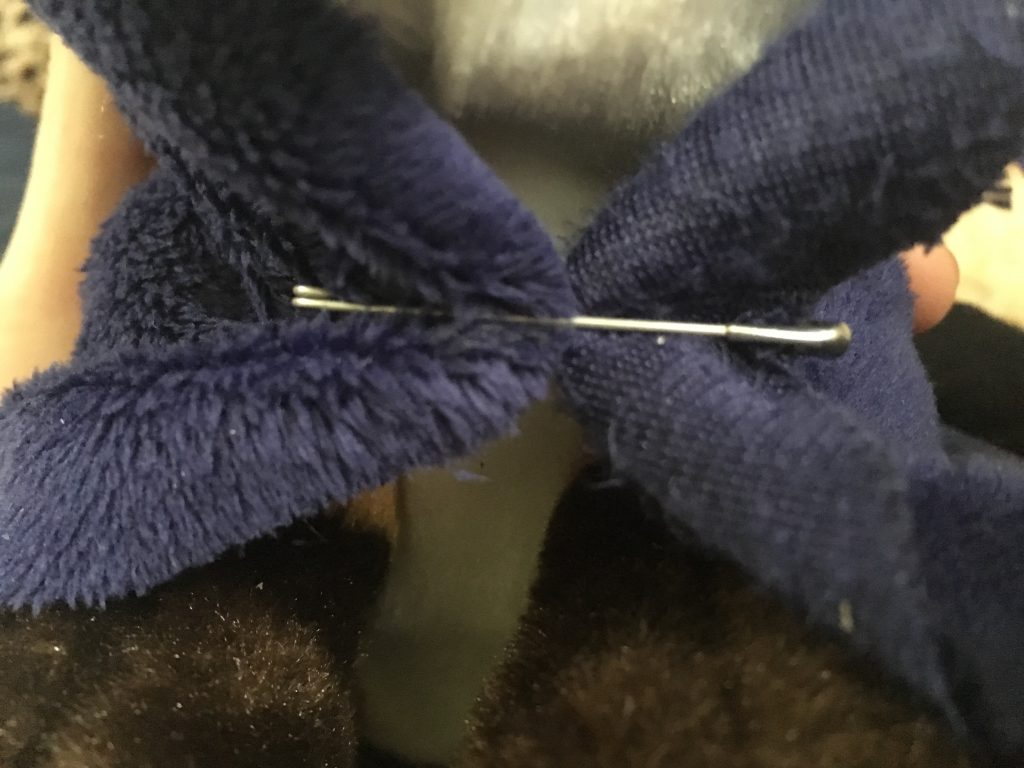
Wrap the cloak around the stuffed animal, pulling it over his or her head like a hood and pinning it at the neck snugly with a safety pin, being careful not to stab it to the stuffed animal’s neck.
Step 5: Making the Cloak Custom to the Plush Friend’s Head
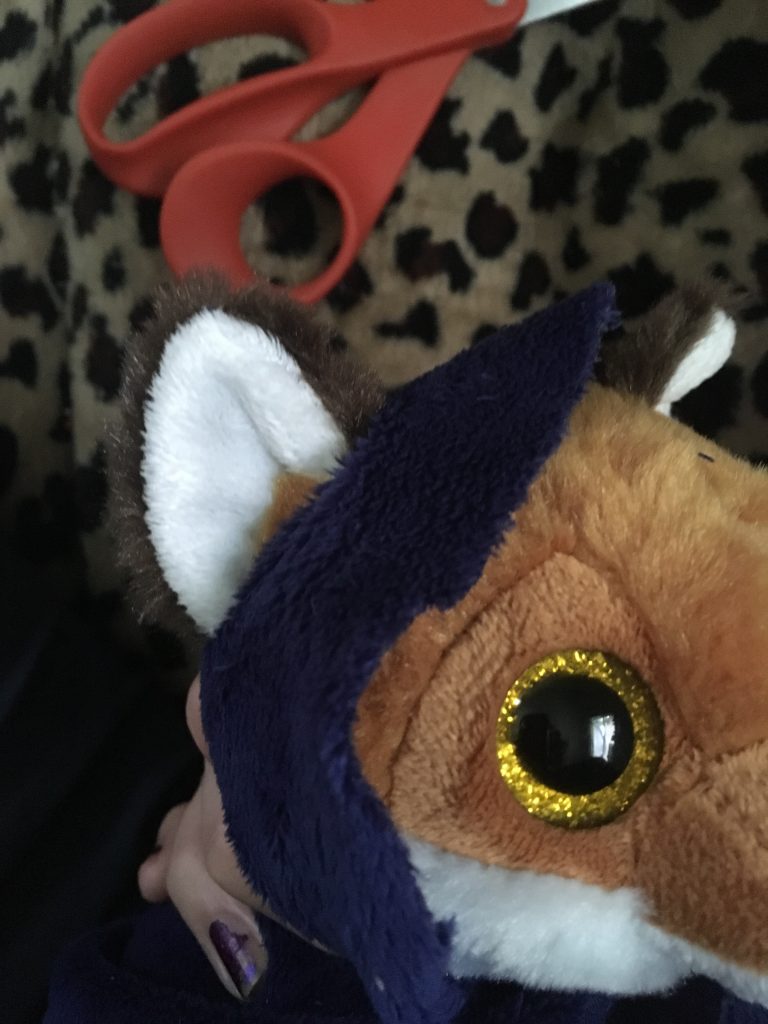
Start by pulling the hood all the way up over the ears, and feel where the ear connects to the head. Hold the fabric away from the plush so as not to cut them, and cut a small slot for the ear to poke through. Try to make it as close as possible to the actual base of the ear length, not too tight or too loose and do the same for the other ear.
Step 6: Adjusting and Cutting the Tail Hole on the Stuffed Animal Costume Cloak
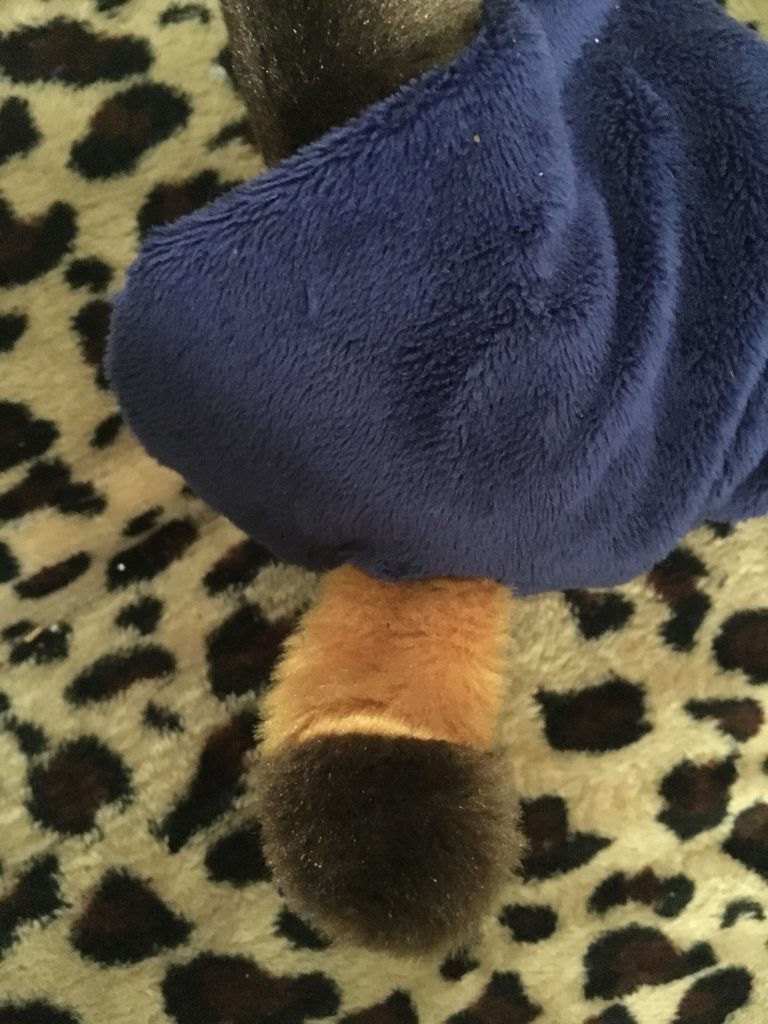
Gently pull it down to smooth any wrinkles and fit the plush correctly, and similar to the ear holes, find the base of the tail and cut a small hole just big enough for the tail.
Step 7: Making the Pin for the Stuffed Animal Costume Cloak
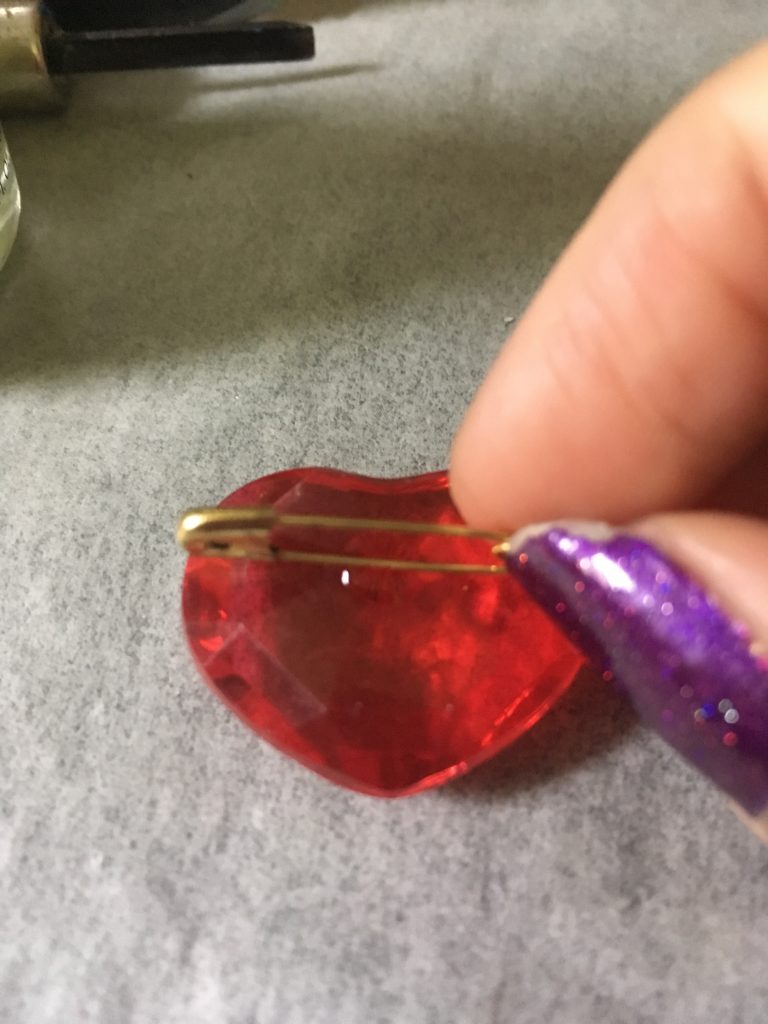
Using a pretty gold safety pin, glue a plastic gem to the back of the pin using a dot of Krazy glue or hot glue. Be very careful not to glue the pin the wrong way or flat, because if you cannot use the safety pin it completely defeats the purpose and you will have to reglue it. Allow to dry for at least 15 minutes.
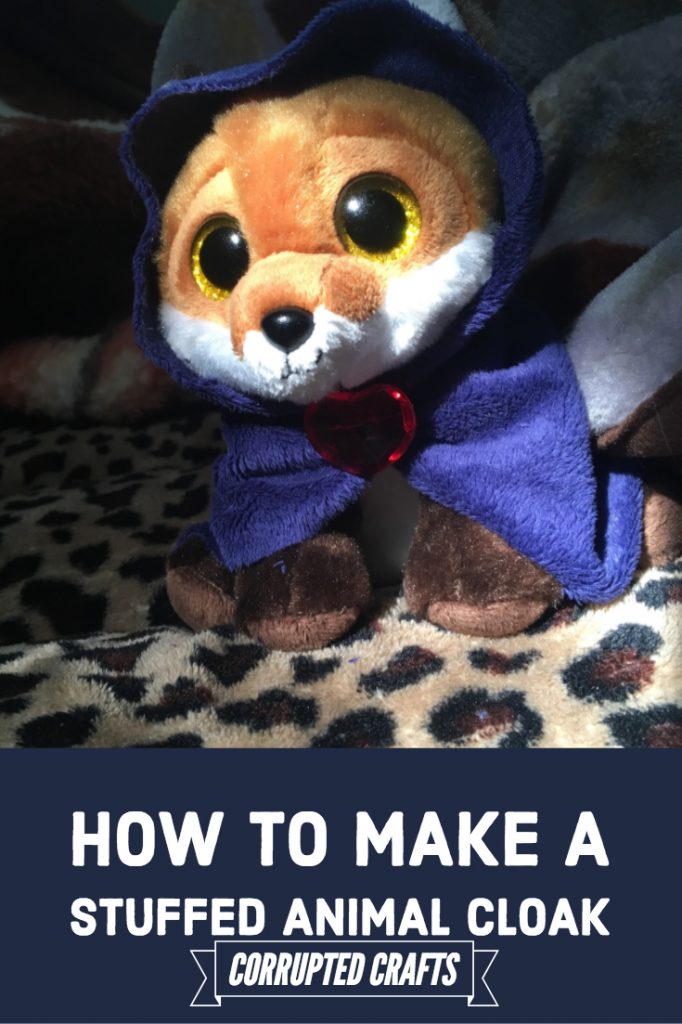
Step 8: Pin and Finish
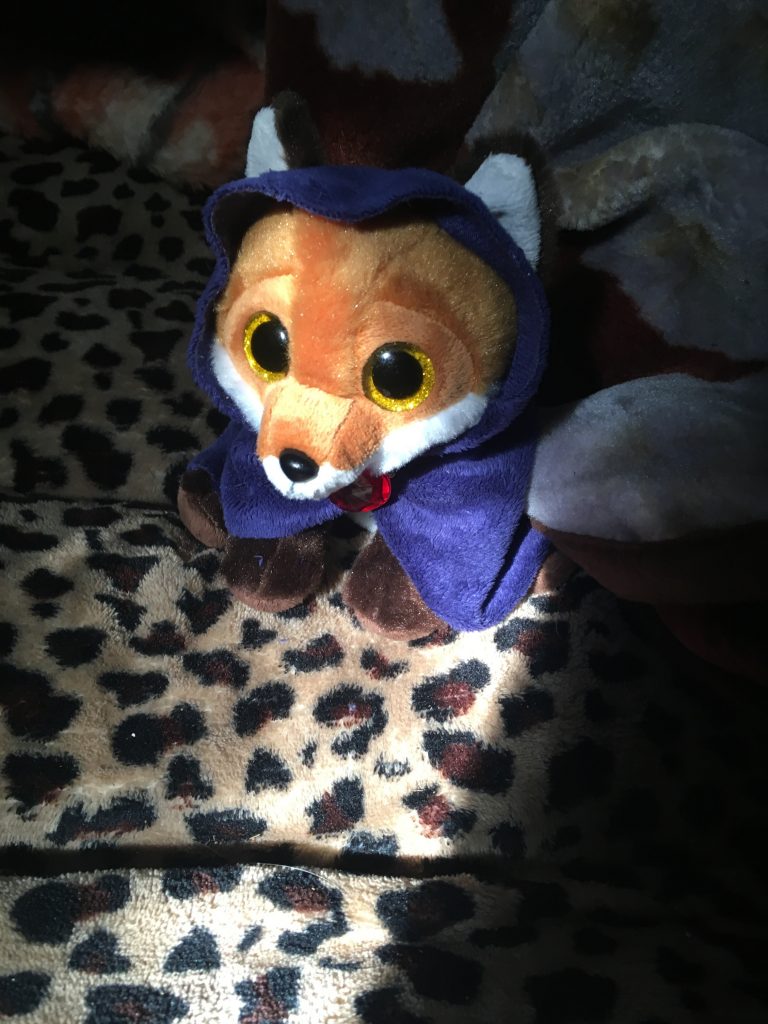
Carefully take out the other safety pin and put the other pin in its place. Be careful not to stab the plush with the pin, and you are done. Happy crafting!